
To make sure the hull halves match along the waterline, Ted sands the cut edges even with a sheet of coarse-grit sandpaper taped to his workbench.

Ted glues the hull halves together, temporarily taping the deck in place to ensure proper alignment.

“Continue to use the scribing tool until you see a thin line on the hull’s inside,” Ted says. “You could cut all the way through with the scribing tool, but it’s easier to finish with a razor saw.”

Ted adds a waterline plate to stiffen the ship’s sides and add an illusion of depth in the water. First, he traces an outline of the hull on .030″ styrene sheet.

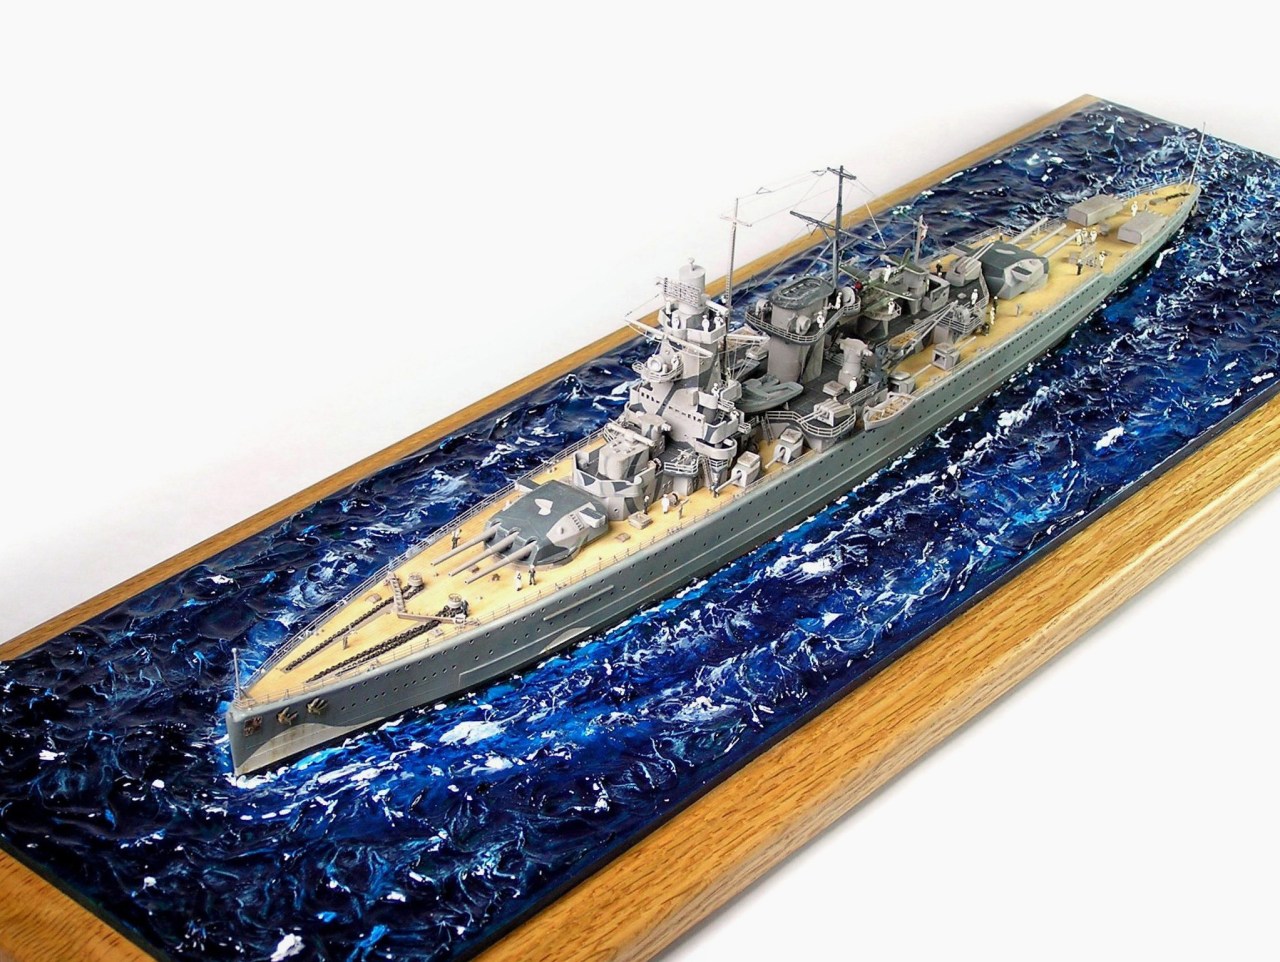
Then, assemble the ship as usual. You can attach the model to a finished wood base or create a sea for the ship to sail through. The choice is yours!

Trim the waterline plate’s excess plastic with a sharp hobby knife.

Ted carefully runs a scribing tool along the hull, using the labeling tape as a guide. He makes several passes to cut a deep groove.

Starting at the bow and working toward the stern, Ted cuts along the groove with a razor saw. “If you find the cutting difficult or the saw binds, go back to the scribing tool and cut a little deeper,” Ted says.

On some models, the waterline is marked with a raised line on the hull. Ultimately, it is up to you to decide how high or low you want your ship to sit in the water. Once satisfied with the waterline location, mark it with plastic labeling tape.

Waterline ship models have become popular in larger scales, but, for a long time, kits with a waterline option typically came in 1/700 scale or smaller. Many of us have larger-scale ships in our stashes that don’t offer the waterline display, which means cutting the hull: a daunting prospect to be sure.


However, it doesn’t have to be. Using a methodical approach and tools every modeler should have, anyone can convert a full-hull ship model for waterline display.


Download the article in PDF form at the bottom.
Once the cut is complete, you have the beginnings of a waterline ship model. But it’s not ready yet.
Once the plate is almost even with the hull, Ted starts shaping it with coarse sandpaper, shifting to medium for final shaping and fine to finish it off. Use putty as needed.
Ted super glues the hull to the waterline plate and allows the assembly to dry overnight.
He cuts along the line with a pair of scissors. “No need to be exact,” he says. Make sure to leave some space around the edge for final shaping.
