
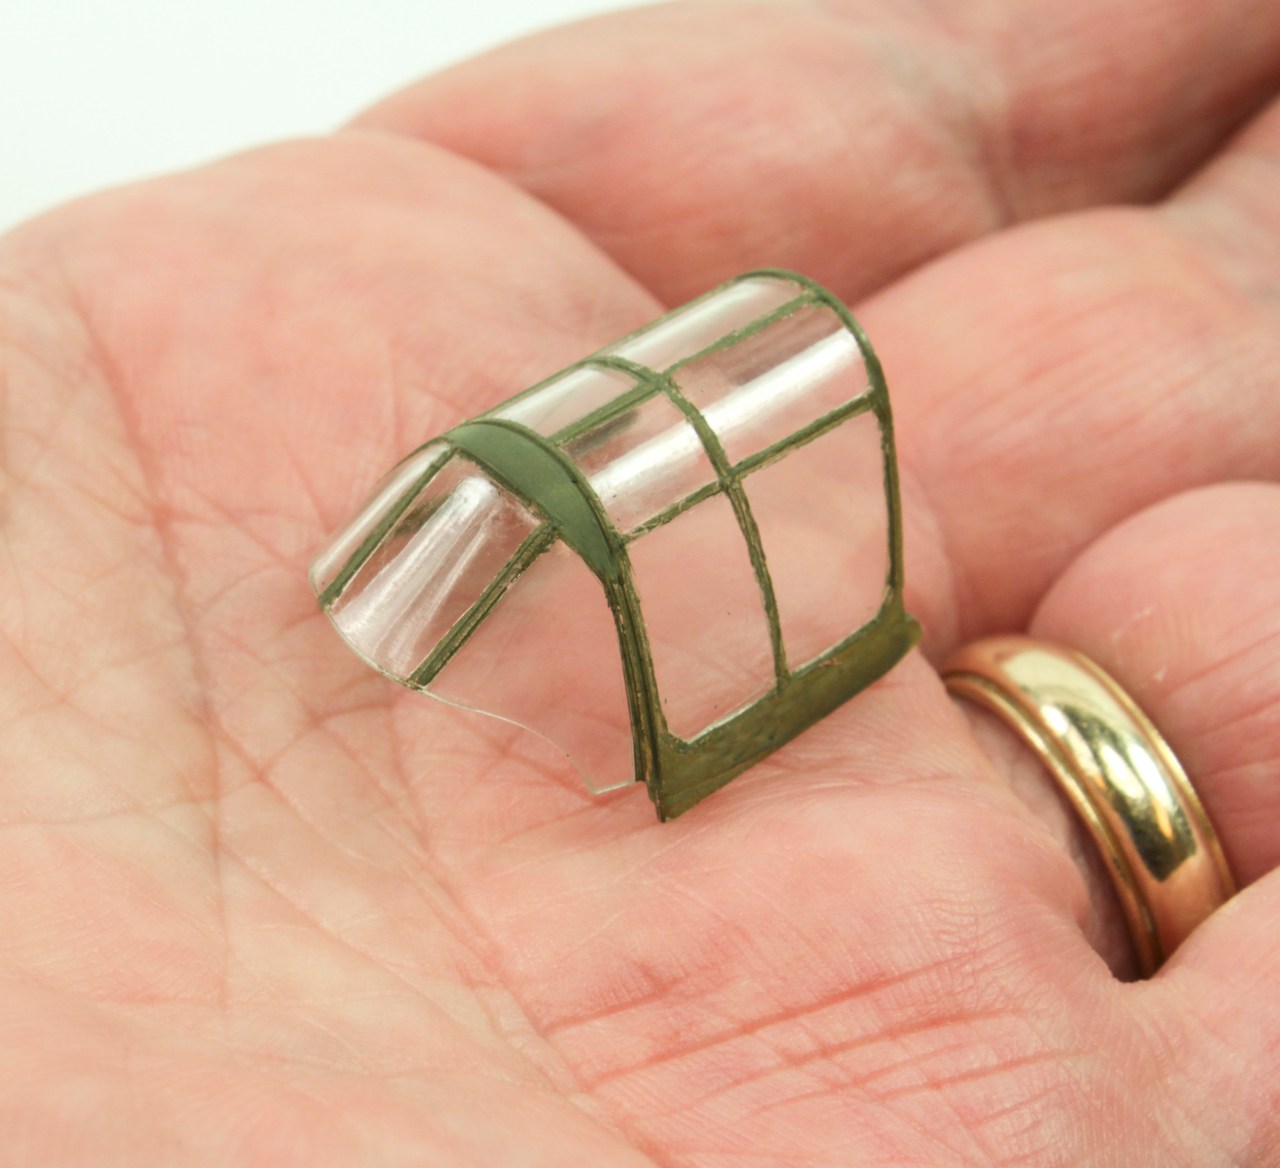
Technique #1: Pre-cut masks
For complicated framework or faint, ill-defined panel lines, pre-cut masks are my favorite. Designed for specific kits, they are accurate and easy to apply.
Slip the tip of a hobby knife under a corner of the mask and pull it from its adhesive backing.

Place the mask on the model; align at least one side of the mask before burnishing it down. Not too hard, though — don’t distort the shape of the mask.

After painting, press or gently rock the knife blade along the edge of the mask to break it from the paint.

Gently turn up a corner of the mask and use tweezers to remove it. If it is stubborn, knife it again. You want those edges to be clean!

Technique #2: Adhesive foil
Faintly molded frames or panel lines and a desire for very fine edges makes adhesive-backed foil a good choice. Aluminum or gold foil is less reflective than others, which makes it easier to see. Apply a little more than you need and burnish it down.

Then, using a new hobby knife blade — and I mean brand new — trim along the frame.

Use tweezers to pull excess foil away.

After painting, a blunt toothpick is all you need to start lifting the foil.

Walt Fink, a top modeler, cleaned up the plastic, dipped the canopy in Pledge Floor Gloss (PFG), and finished the frame with a flat clear. That takes a mighty steady hand, but it looks great.

Technique #3: Masking with tape
If a canopy’s panel lines are raised in sharp relief, you can mask it with tape. But there is an essential caveat — it must be Tamiya tape or something equally thin and pliable so you can burnish it tightly to the framework.

Once the outline is clearly defined, use a brand-new blade to trim. Work one panel at a time so the tape hews to the canopy’s curves.

If you airbrush with acrylic paint and don’t coat with PFM beforehand, after removing the mask you can use a toothpick to clean up the lines. It will remove the paint without scratching the plastic.

This still needs touch-up, D, but it sure beats painting it freehand!

There are parts of an aircraft model where you can get away with mistakes. The canopy is never one of them. Spots of glue or squiggly framework on clear parts can spoil a model more surely than anything.
But if you’ve ever loused one up, you are in excellent company. That’s why you read so many articles and tips about it. Here are three of the most common — and reliable — ways of masking a canopy for painting. Click on each photo to enlarge it.
