
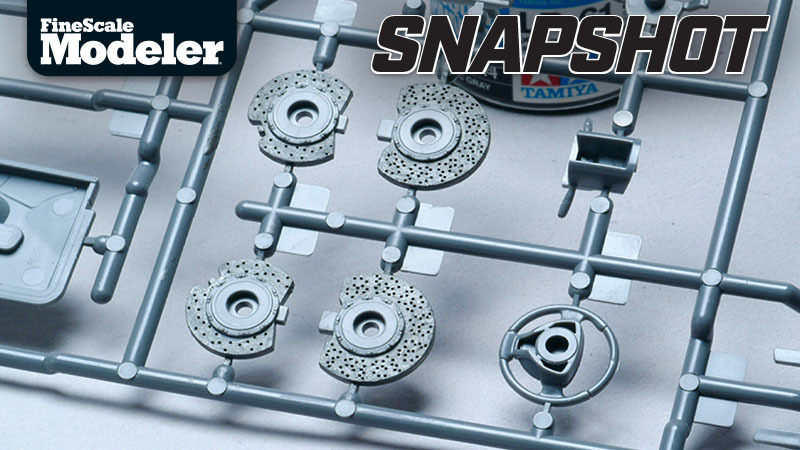
The brakes from a Tamiya 1/24 scale Aston Martin DBS are similar to what you may find in many other plastic model car kits. Here’s an easy way to detail them for a better appearance on your replica.
You’ll sometimes have holes molded into the rotors, but they’re often soft. Chuck a No. 77 (.018 inch) bit in a pin vise and drill holes in the rotors just 10 or 15 turns deep; no need to go all the way through. Here, I’ve already drilled the rears and have started on the fronts.

Yes, I leave the rotors on the sprue to provide a handle. Don’t worry about excelsior (the curly shavings) that may stay in or on the edges of the holes after drilling them. A quick scrub with a dry toothbrush eliminates them.

Often, some of the holes will need a second chasing with the pin vise. After the holes have been chased, rub them with 400-grit sandpaper. Since the brakes are composite, you don’t have to sand in a circular motion. Random and uneven sanding lines are good, in this case.

Tamiya Metallic Gray (nos. LP-61 or XF-56) makes a great base color for the brakes. You could airbrush it on, but I prefer to hand-brush the paint onto the rotors for a coarser and less uniform texture.

After the paint fully dries, add more metallic lines to the rotor with a graphite pencil. (The top rotors in this photo only have paint on them.) Use the side of the pencil lead and the point to “color in” and add more texture. Like the sanding, uneven is good.

After finishing the faces, remove the rotors from the sprue and touch up the edges with metallic gray before installing the calipers. This process is quick, easy, and adds a level of detail that anyone viewing your model can appreciate.
