
First, I tackled the canopy. I masked it and applied chromate green with a brush around the joint. This was allowed to dry.
Then I applied Mr. Surfacer 1000 over the painted area. When this was dry, I wrapped sandpaper around the tip of a hardwood dowel sharpened in a pencil sharpener and blended the joint with careful sanding.
I airbrushed chromate green over the entire canopy.
For a homemade painting stand, I secured my display rod in a pair of sliding bar clamps and wrapped it in masking tape. I applied flat white primer to identify flaws, which I filled with GSI Creos’ Mr. Surfacer. After these blemishes were fixed, I re-applied the flat white. When this was dry, I masked the location of the national insignia on the upper port wing with a round garage sale sticker and drafting tape.
Loose note card masks were applied to the fuselage and empennage (tail assembly). I then sprayed a coat of Testors RAF medium sea gray for the upper surface color. After this was dry to the touch, I removed the masks, then set the model aside to dry thoroughly.
I then carefully brush-painted the engine cylinders with Testors steel non-buffing Metalizer and applied Testors gray enamel on the crankcase.
To paint the observation windows and tires, I cut and applied masks of drafting tape. A freezer bag protected the rest of the model as I airbrushed Testors gunship gray to these areas.
When done, I again set the model aside to allow the paint to settle and dry for a couple of days. Then I inspected it using my Mag Lite flashlight; a few sink spots and blemishes were found, fixed, and repainted on the upper wings.
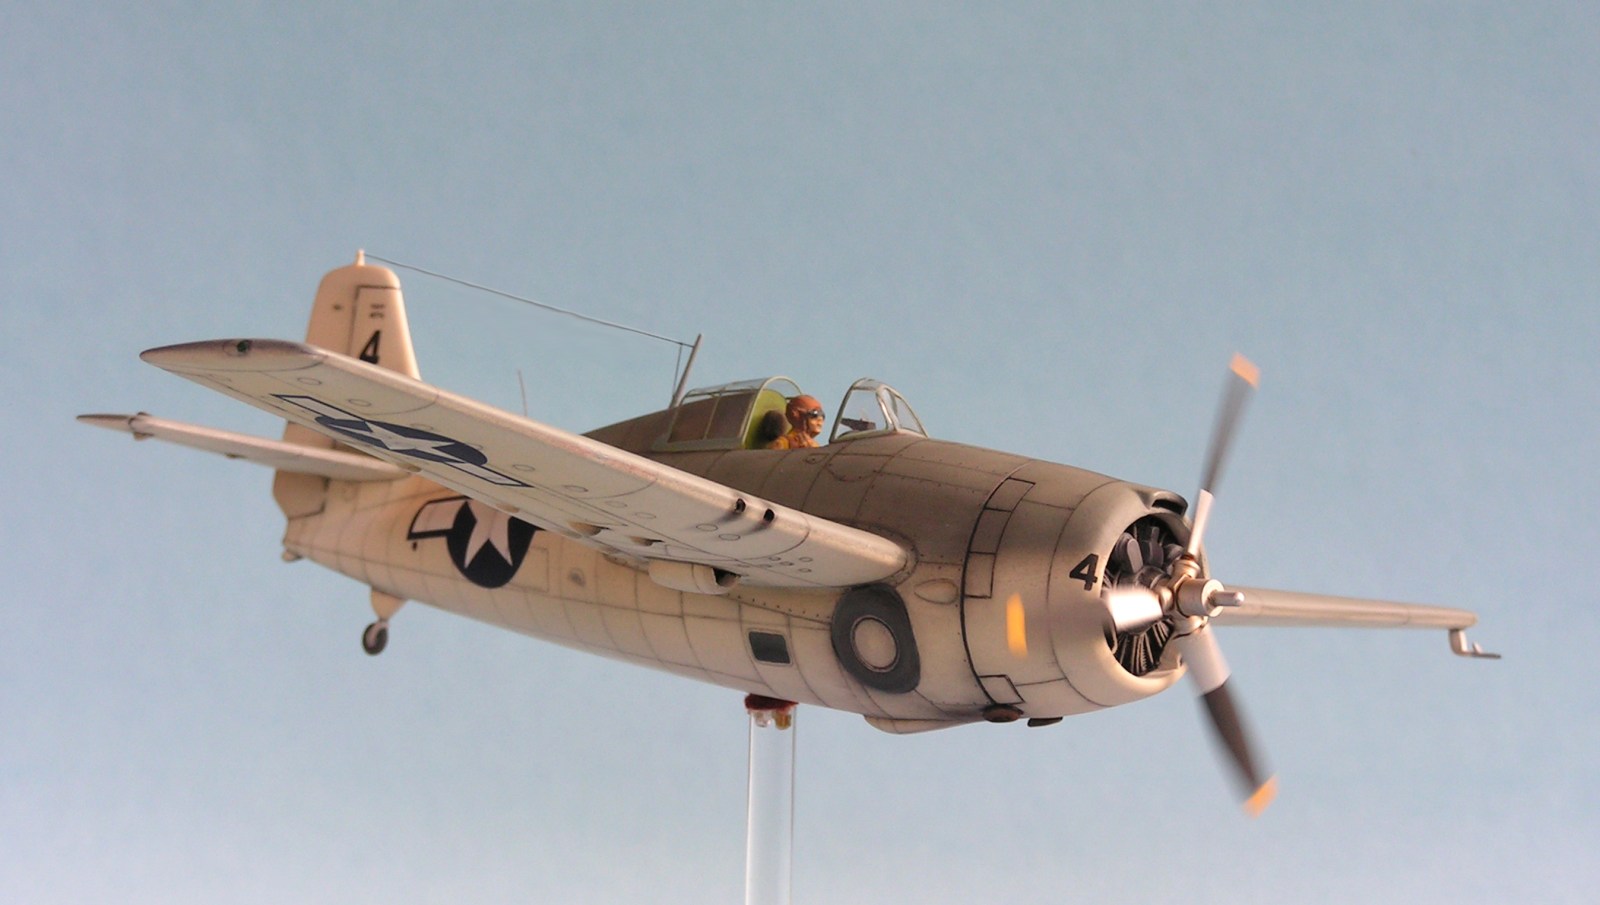
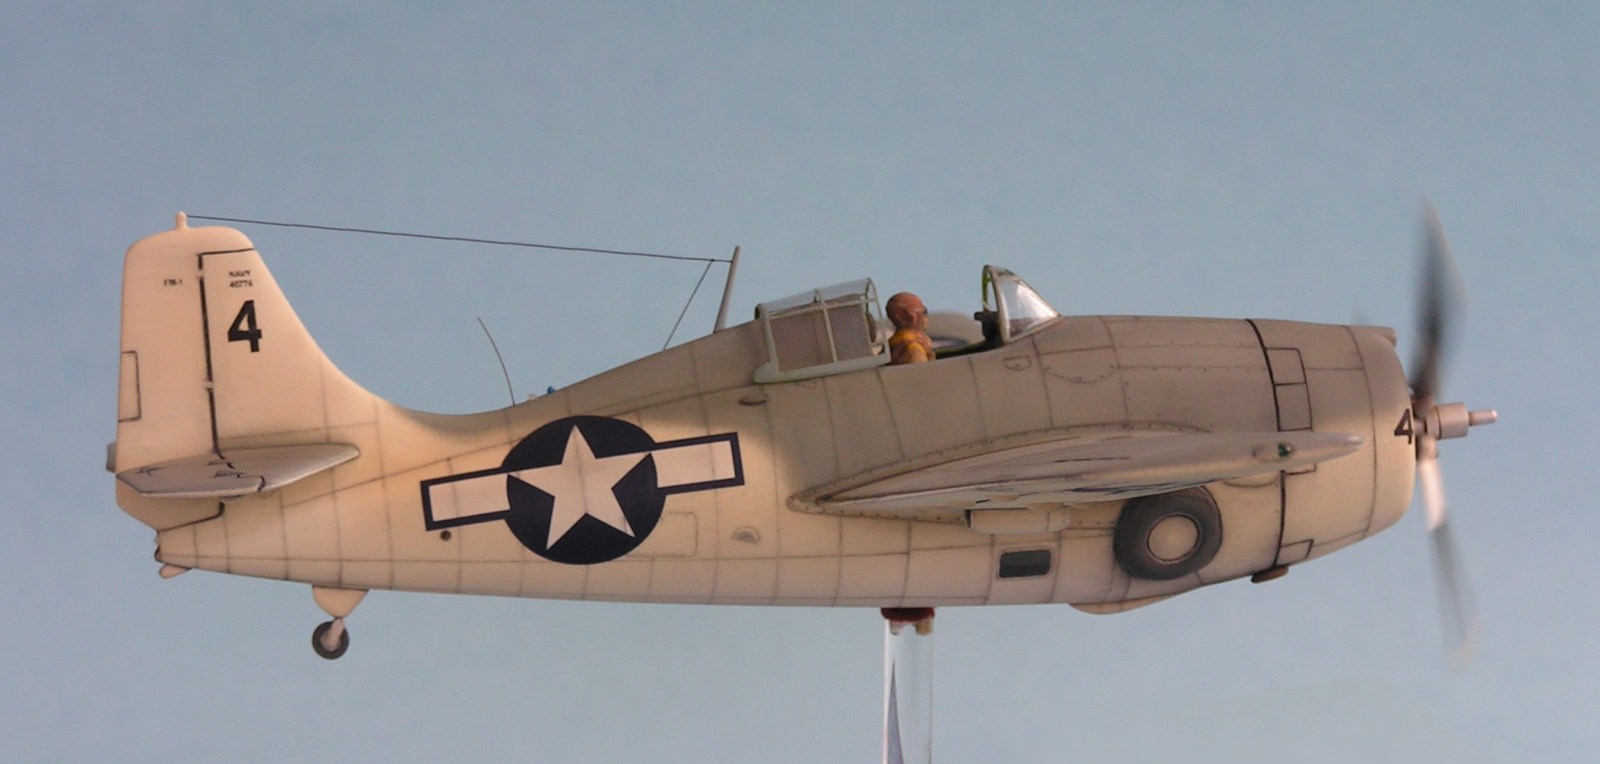
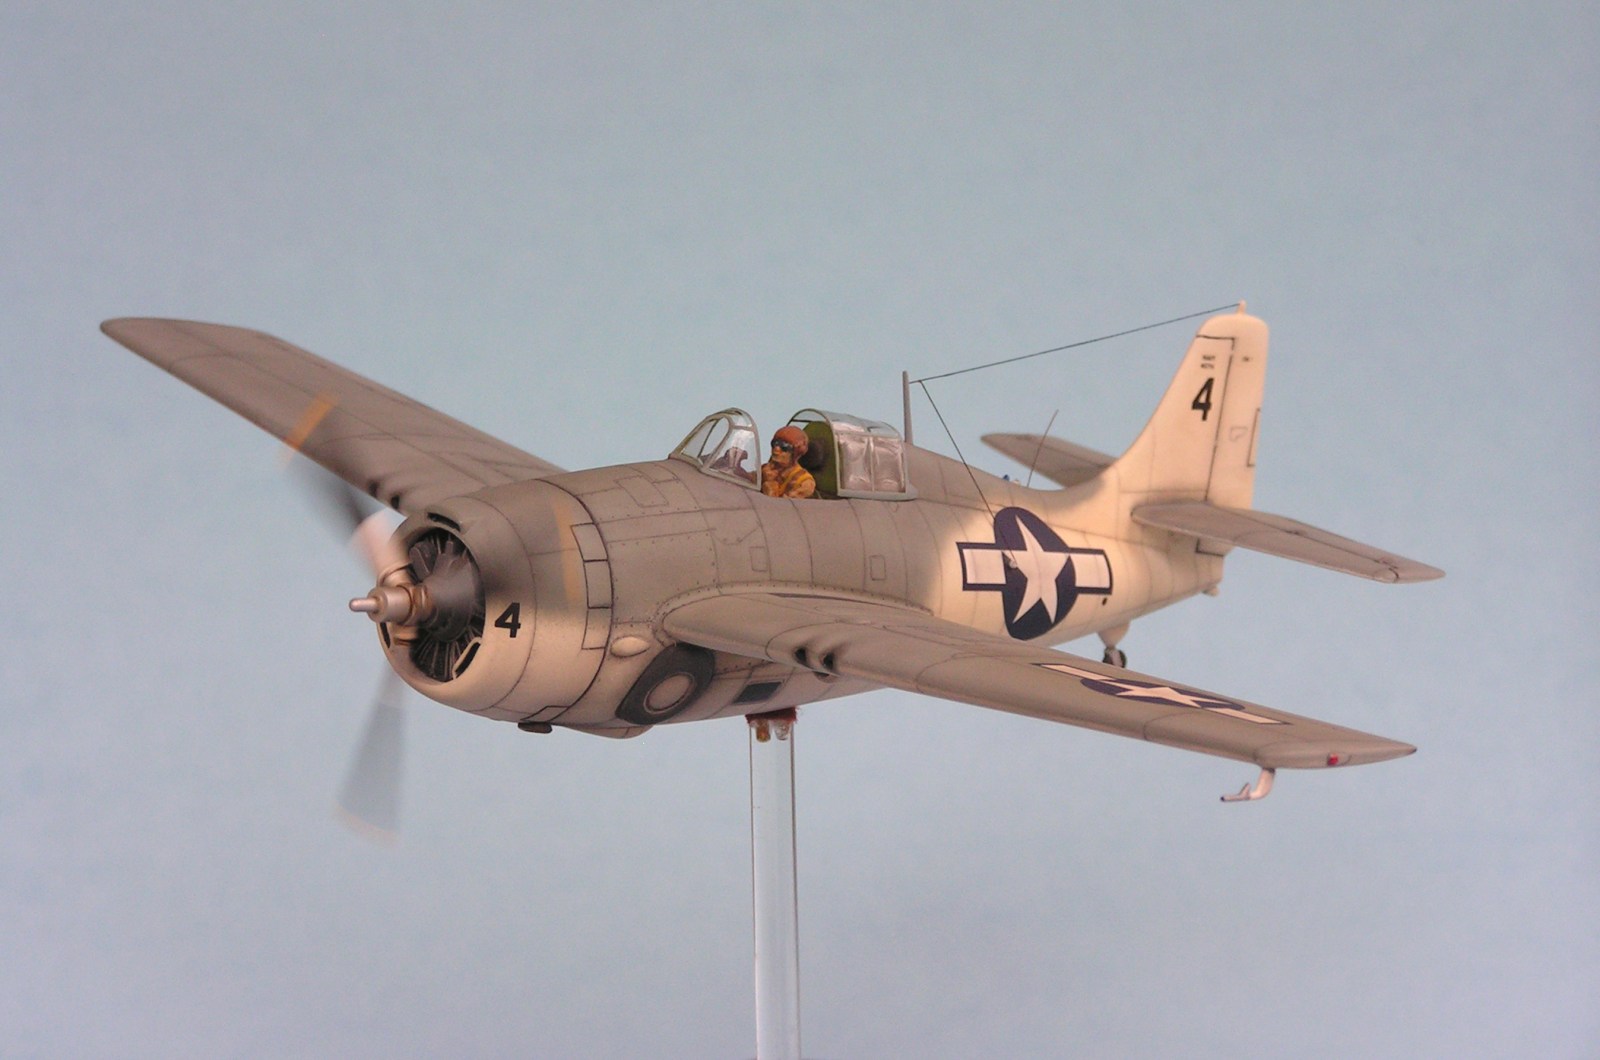
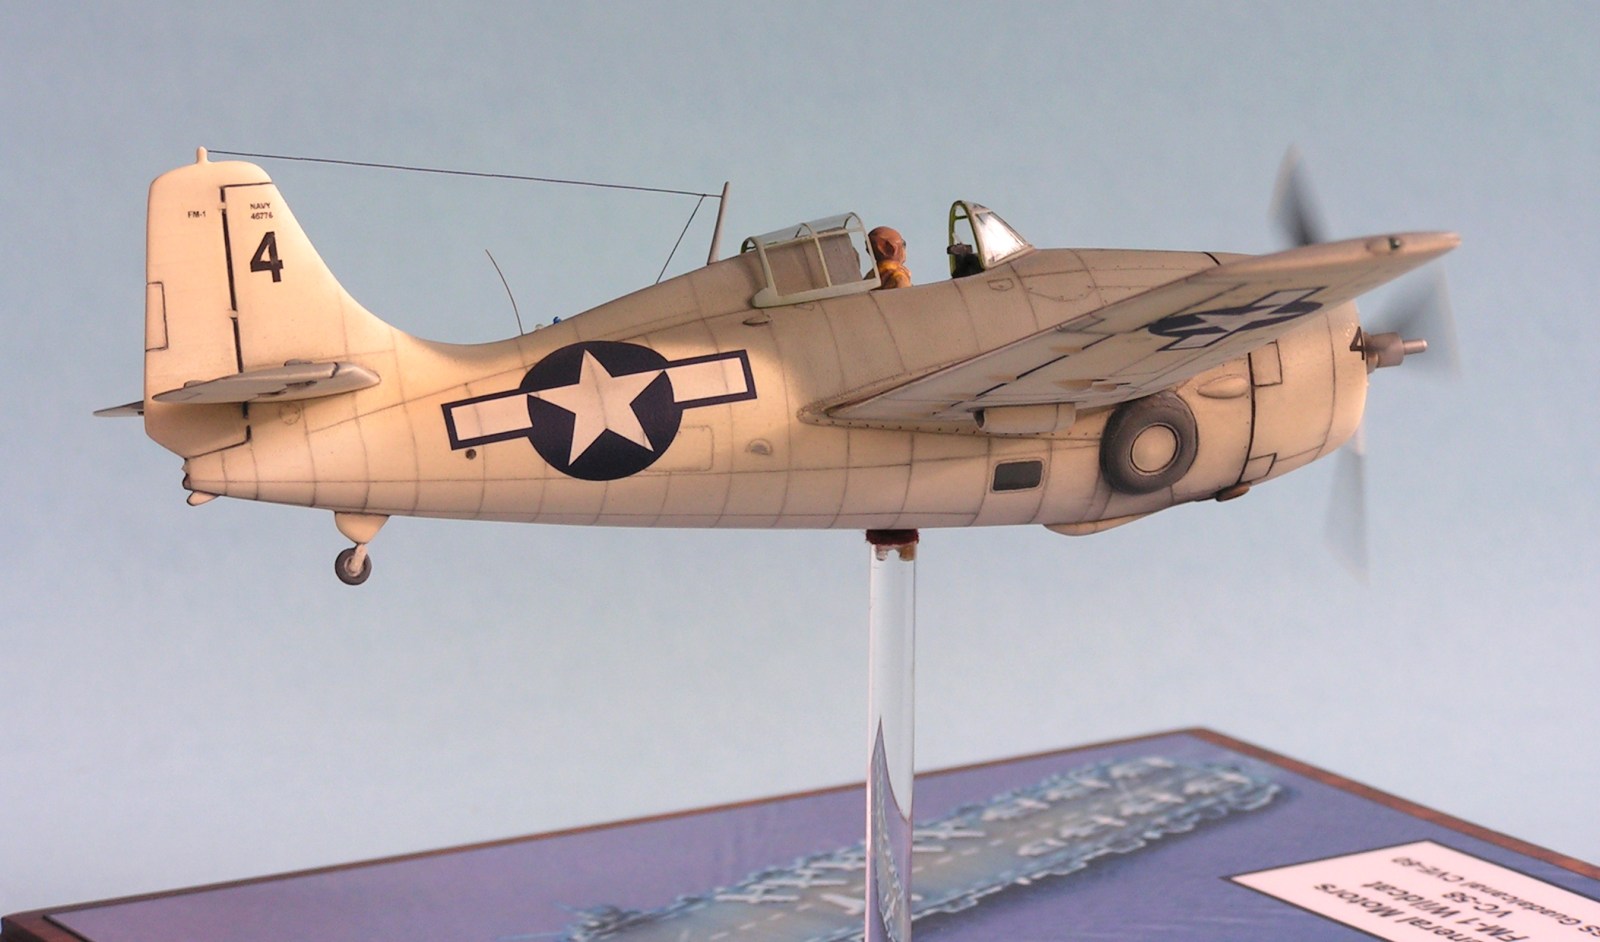
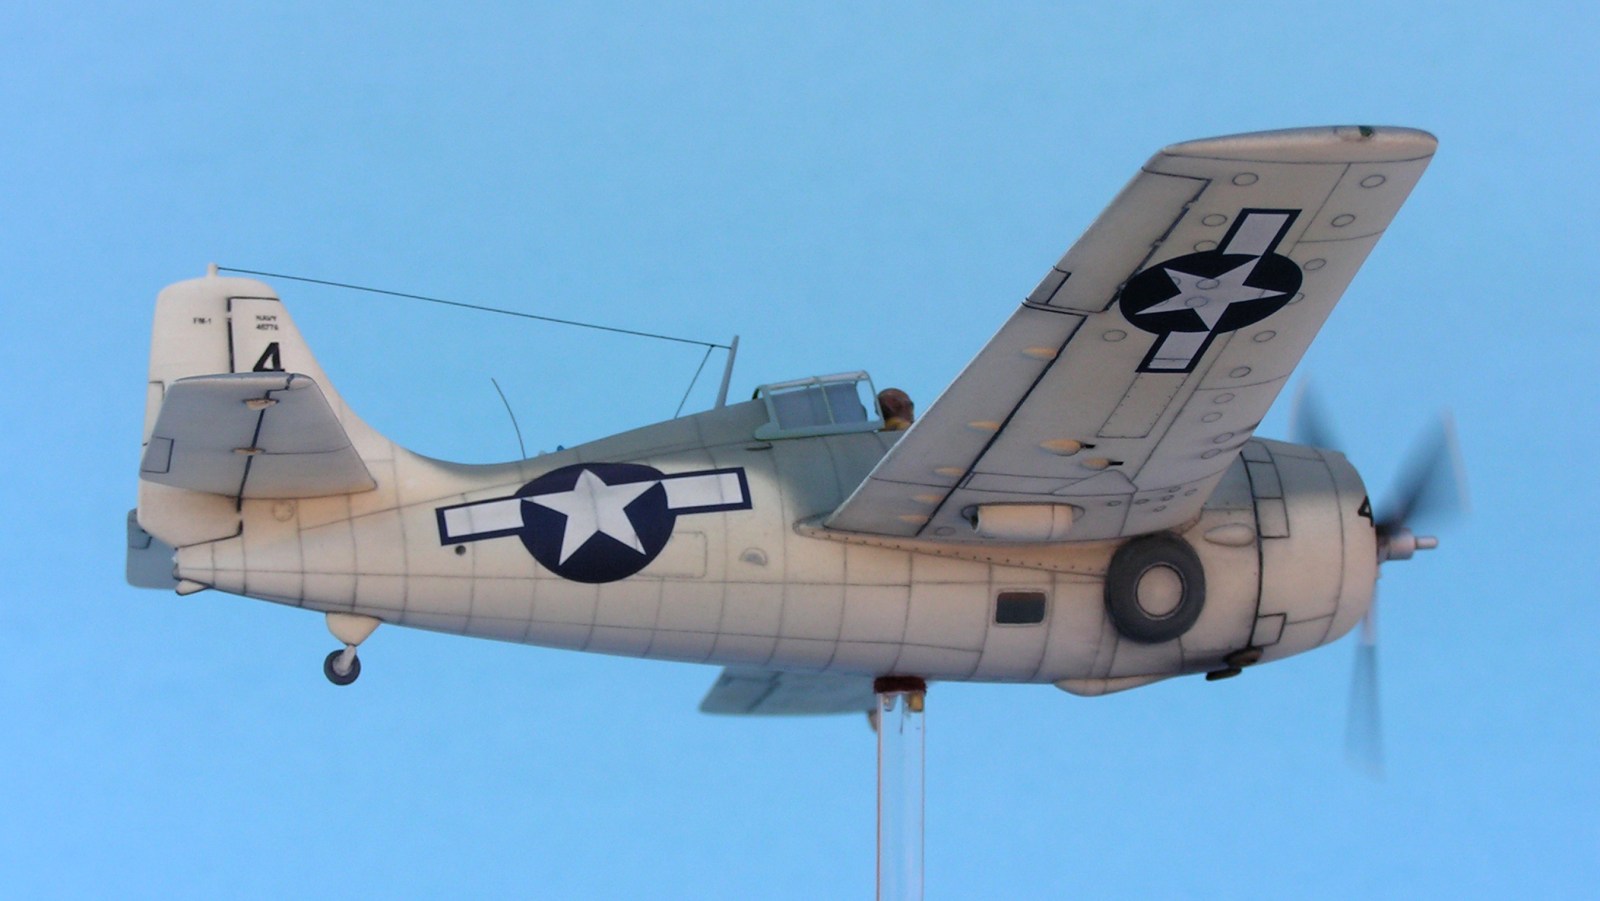
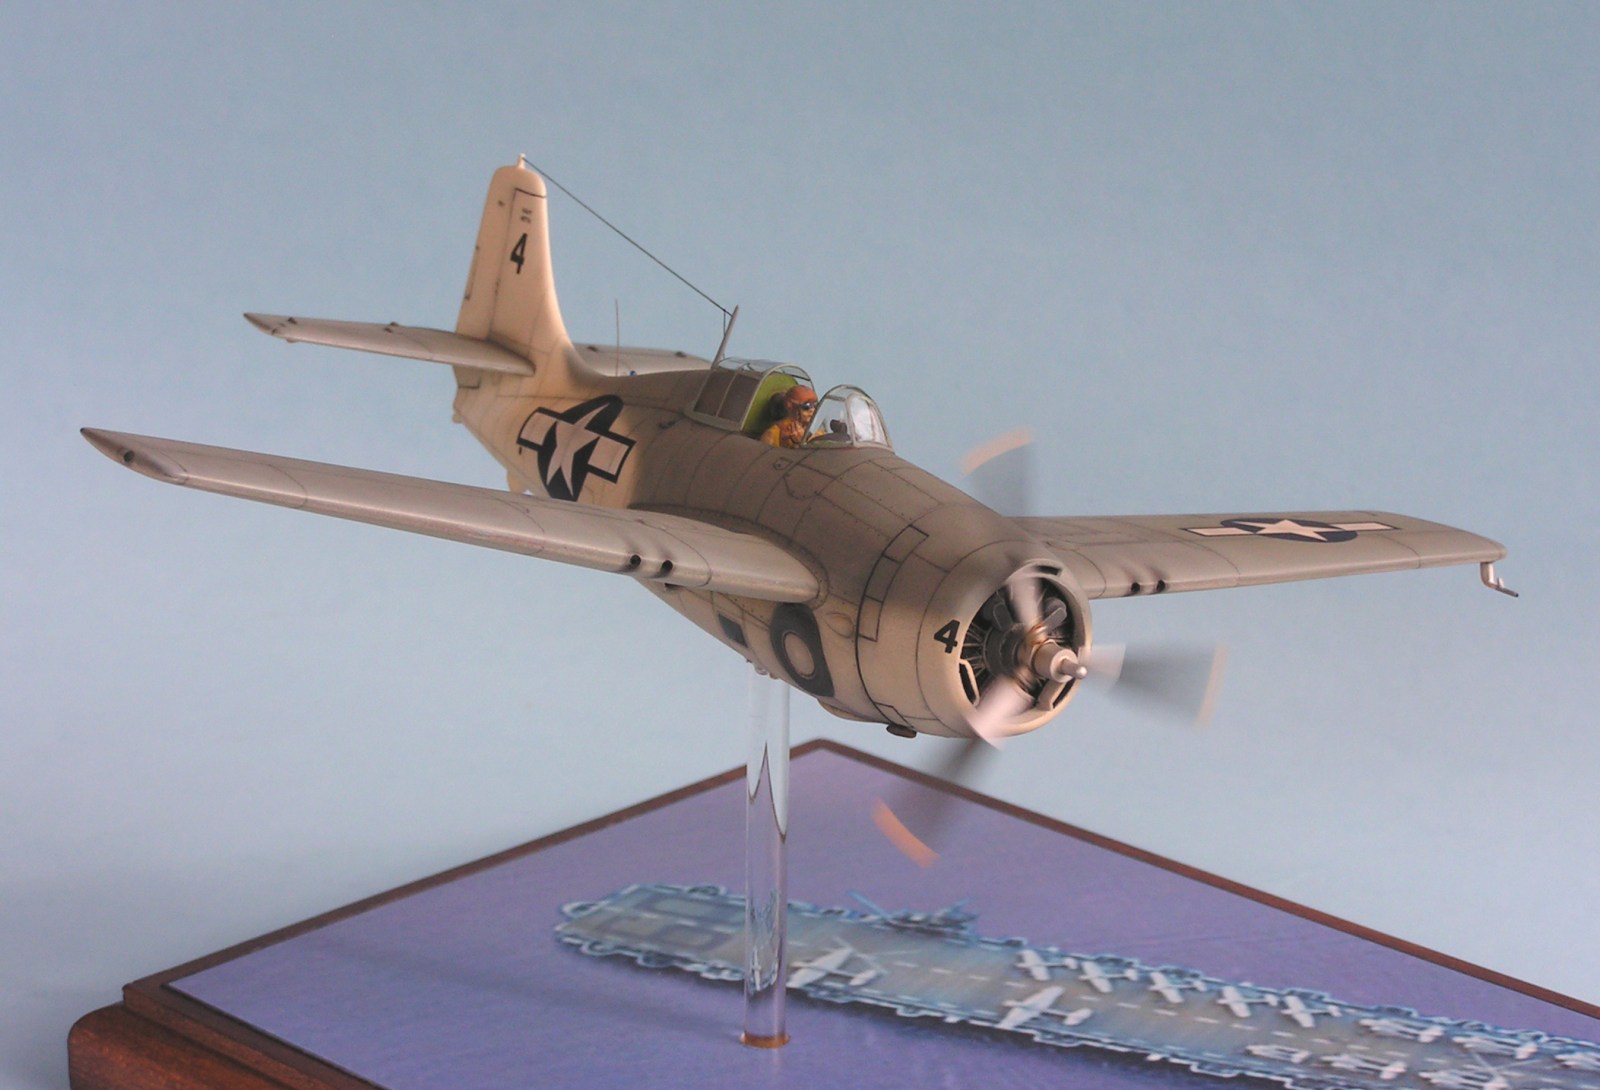
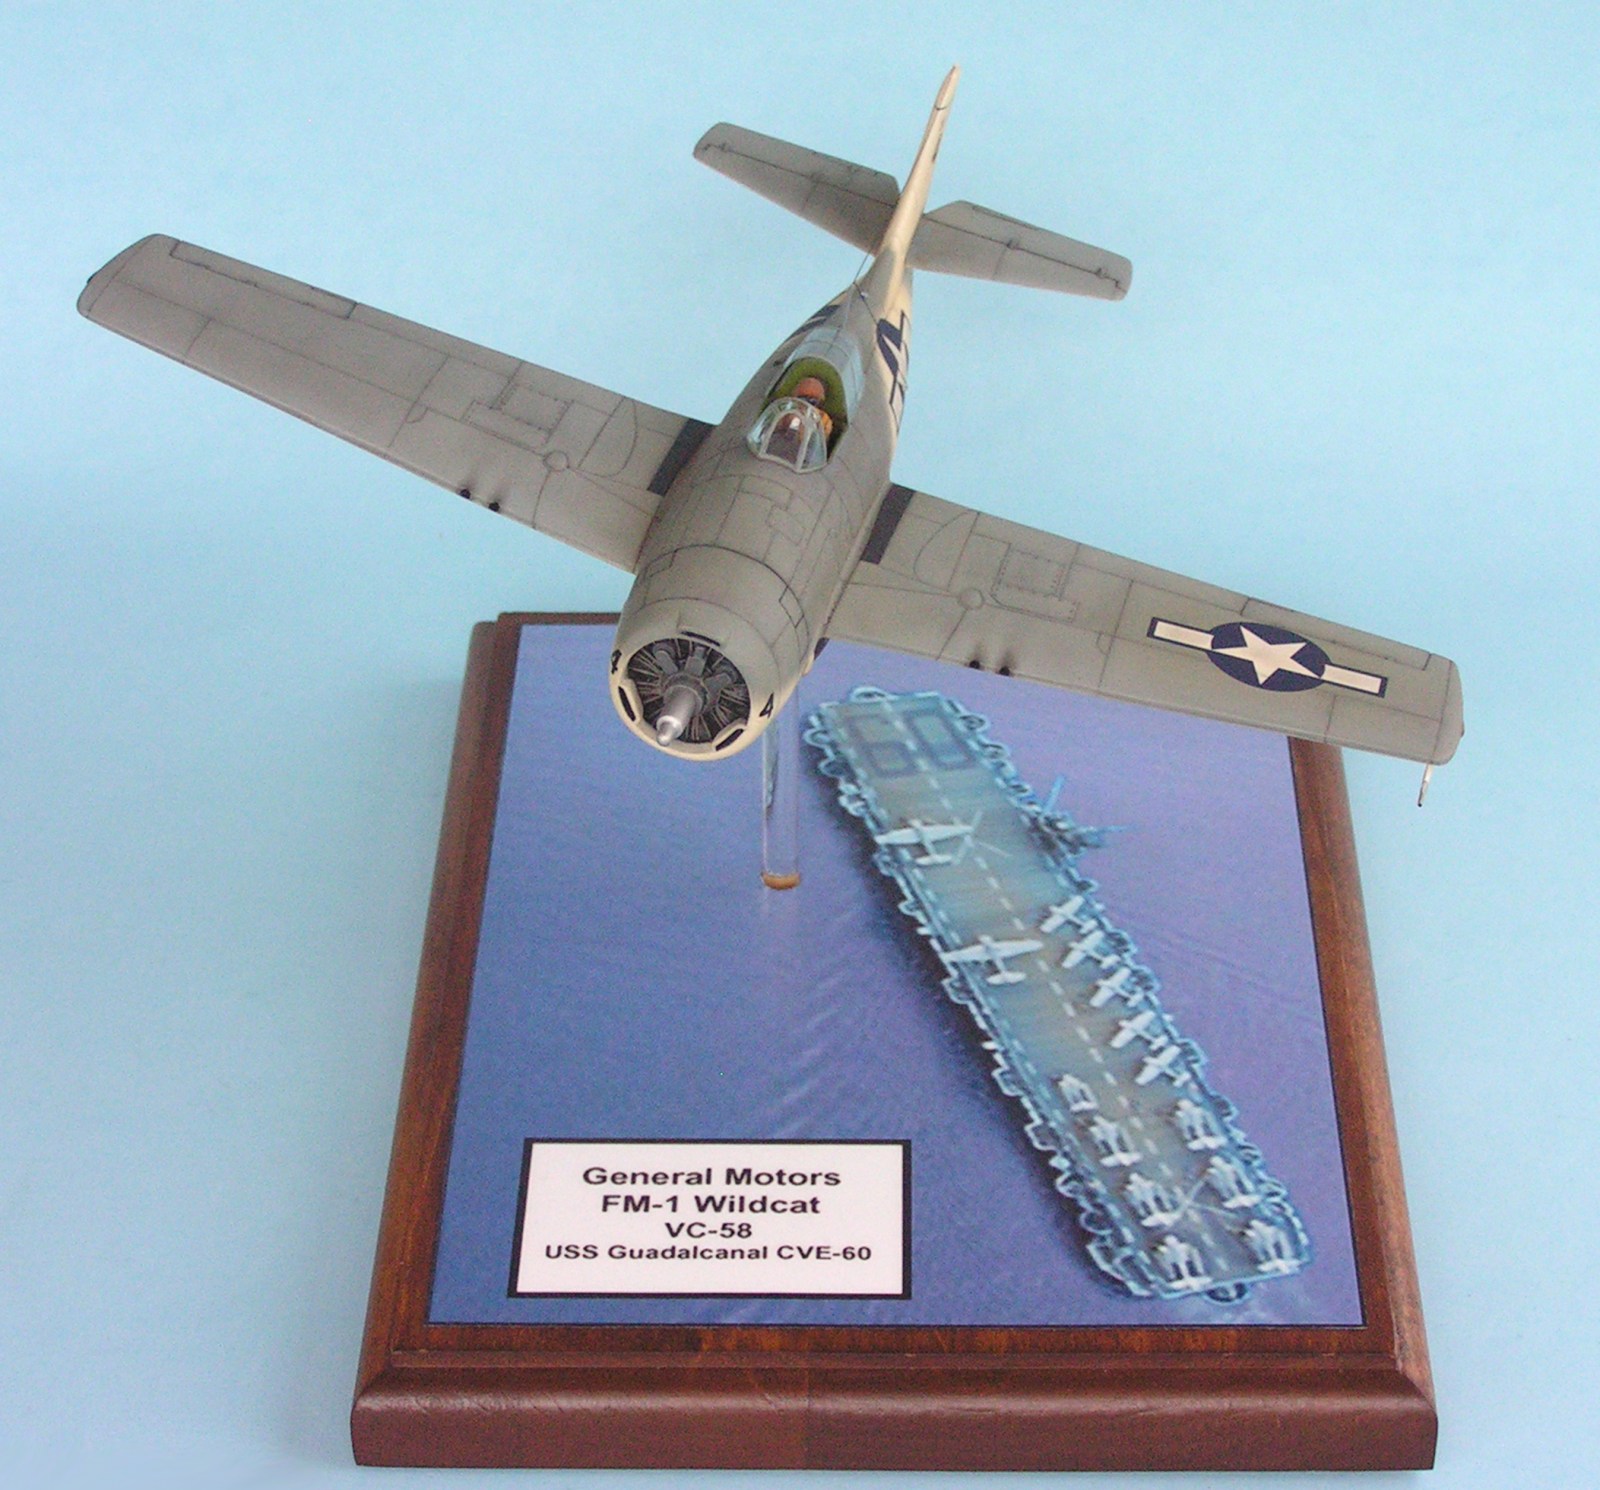
Here you can see a few shots of the finished Wildcat and its base.