
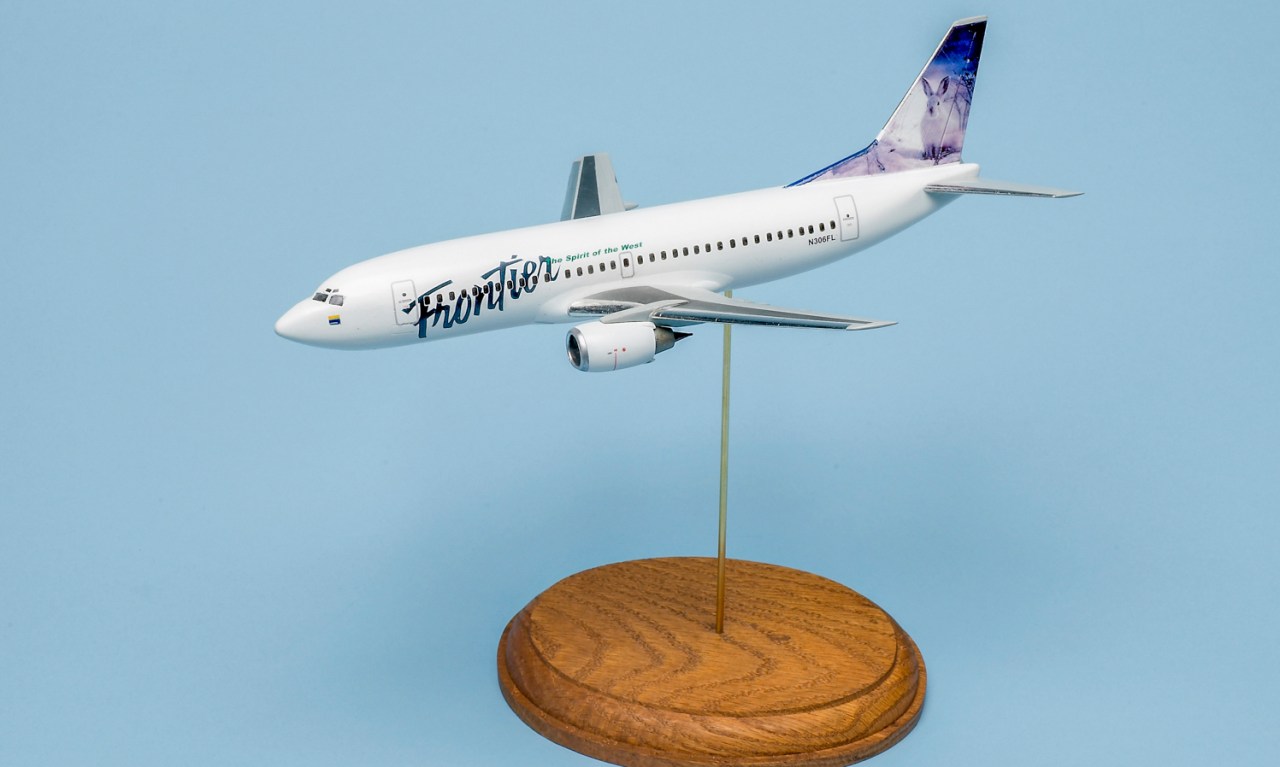
Worn out by a 200-part armored vehicle, you may be tempted to “take a break” with, say, a 1/144 scale airliner. What the heck? Minicraft’s 737-300 has fewer than 50 parts. But airliners require a pristine finish – especially in this scale where the only thing smaller than the parts is the margin for error.


I modeled a Frontier Airlines 737, ordering an MASP “Hare & Flamingo” (actually a pelican) decal sheet from Airline Hobby Supplies (No. MASP44-042). Following references, the Frontier 737 features the rabbit on the port side of the tail and a pelican on the other side. You can do the same (and double-check details) at Airliners.


To avoid damaging parts before you can install them: clip, don’t twist, parts from the sprue. Use a sanding stick (such as an emery board) to remove any remaining roughness.


I hid the absence of a cockpit by painting the area flat black. A styrene sheet bulkhead further blocks the interior view. If you use window decals instead, you can skip this step.


A light sanding readies mating surfaces for glue and improves adhesion as well as the fit of the parts. Easy does it – you don’t want to alter the shape of the pieces.


Pipe cleaners are an effective way to clamp fuselage halves without distorting their shape. A clothespin further persuades the tail surfaces. But not too tight – you don’t want warpage.


I filled seams on the fuselage and engines with Squadron Green Putty. Don’t dawdle – this stuff dries quickly. Sanding should render the seams invisible under a coat of paint.


Hatches are represented on the decal sheet. The trouble is, they don’t match the locations of the kit’s engraved hatches. So, I filled the engravings and sanded them smooth.


Because I wanted to model the plane in flight, I built it with the landing gear retracted. However, the kit doesn’t account for the wheels being up – so, I backed the bays with a thin sheet of styrene to provide an attachment point for the wheels. Additionally, having the wheels up means cutting up more kit parts to model a closed bay. A razor saw makes quick work of it.


Bare-Metal Foil masks cockpit windows. Decal windows are easier, but I wanted some sparkle upfront. However, the eyebrow window masks were quickly lost under the paint.


Just a little superglue on the end of a piece of sprue holds engine cowls for painting. Sanding a seam partially erased an engraved line at the front, but scribing easily restored it.


Flowing just a little superglue into a gap and then sanding it as soon as possible smooths a rough join of the flight-deck roof to the fuselage. The patch disappears under paint.

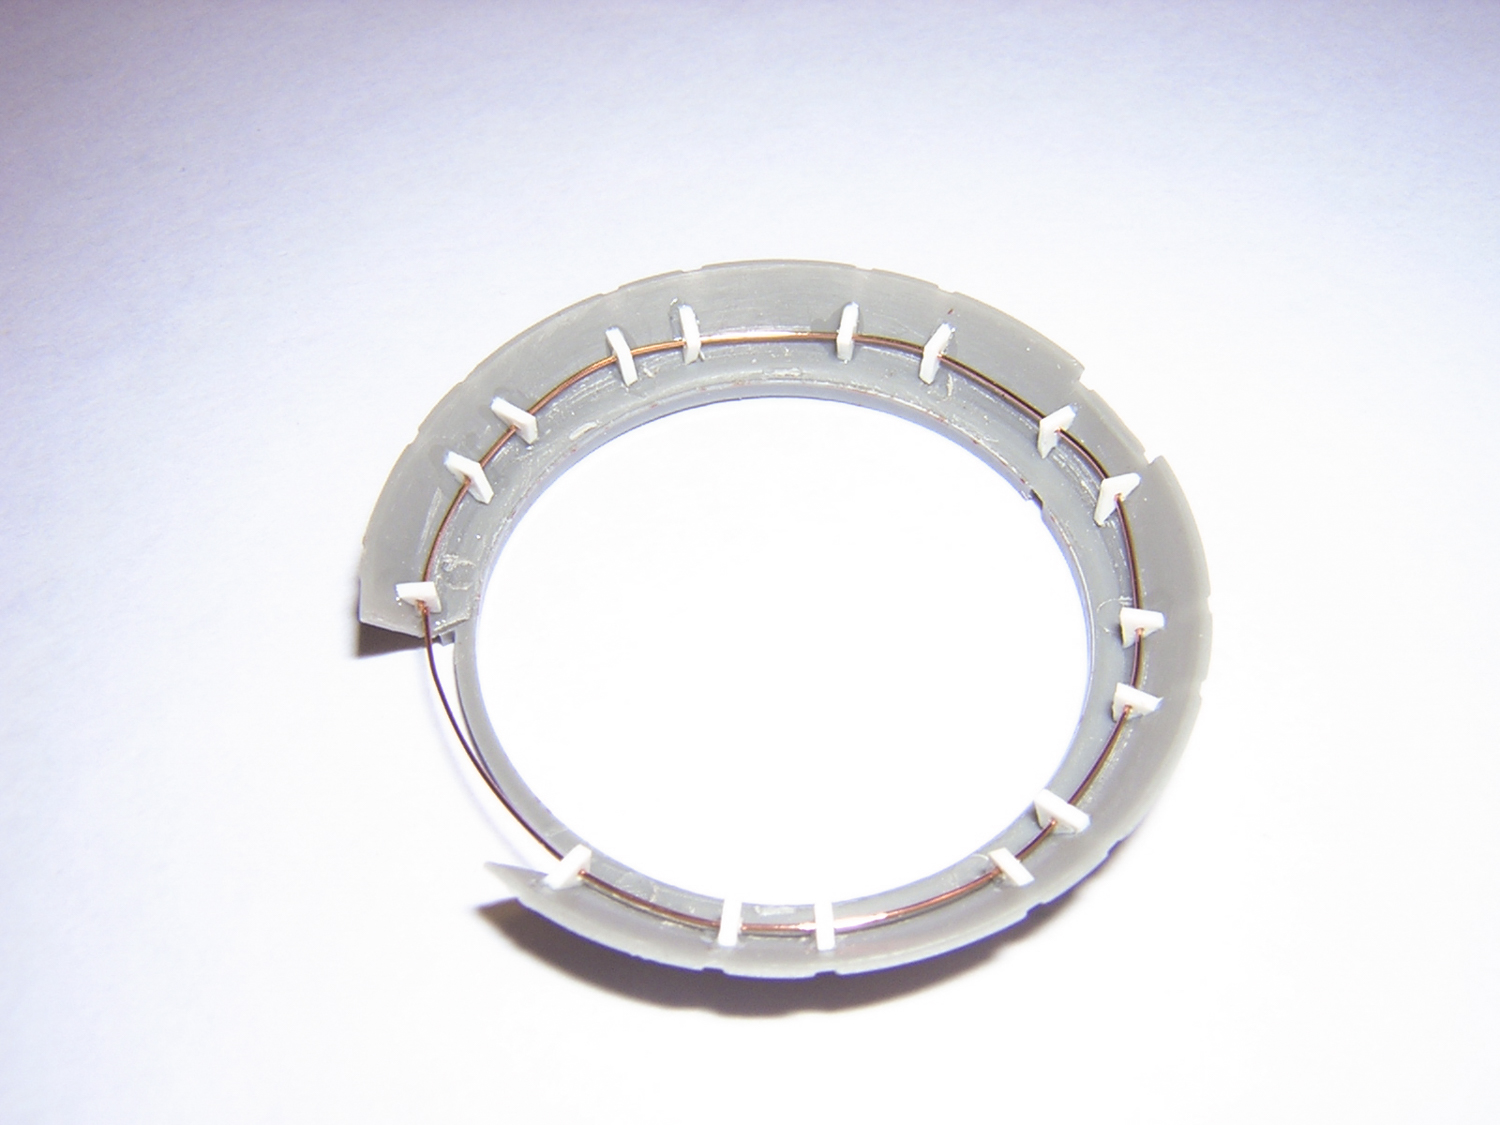
Parafilm M, used to seal laboratory jars, stretches over odd-shaped surfaces like the engine pylon for a form-fitting, easy-to-trim mask that’s easy on paint finishes, too.
Post-it notes can be a quick, low-tack way to mask straight lines without marring the paint underneath. Burnish carefully, though, or …
Drat! Seepage under the mask requires repainting of the gray metallic used for the corrosion protectant on the upper wing surface.
A good material for the metal on the leading edges is Bare-Metal Foil. Use a brand-new hobby knife to trim it, though, or you’ll likely tear it!
With base painting complete, it’s time to disinter the windows. Draw lines in the paint first before you try to cut all the way through.
Close enough for repairs! I will have to use decals for the eyebrows, though – you’d need a metal detector to find those masks.
My photo references revealed subtleties on the tail: gray at the top, metal on most of the leading edge, and a stripe of blue on the spine.
Paint details: an aluminum rim at the front of the cowls, gray metallic and Testors Jet Exhaust on engine parts, and a bit of Floquil rust aft.
You could pay good money for an aircraft rig, but a sprue and a box work fine for holding the plane after the engines are glued on.
Earlier, I installed brass tubing in the fuselage to accept another, smaller segment of brass tubing now anchored in an oak display base. I used a drill press to ensure the anchor (and tube) would be plumb.
Blasted bunny! Most decals float, but not these. I took a picture of the damaged tail, printed it on clear decal sheet, and pieced in a repair to the tear.
My airliner looks fine on a desktop – and with simple techniques, so can yours!
Sources
Bare-Metal Foil, Bare-Metal Foil Co., 800-628,7296, www.bare-metal.com
MASP decals, br.geocities.com/maspdecals; also available from Airline Hobby Supplies 480-792-9589, www.airline-hobby.com
This story first appeared in the FineScale Modeler January 2008 issue.