
Famous as Snoopy’s nemesis, the Fokker triplane gets much more press than its importance should warrant. Designed in response to Sopwith’s three-winged fighter, the Dr.1 was not produced in large numbers. But it’s notorious as the mount of the Red Baron, Manfred von Richthofen.
Merit joins the fray of World War I models with a new, big-scale Dr.1.
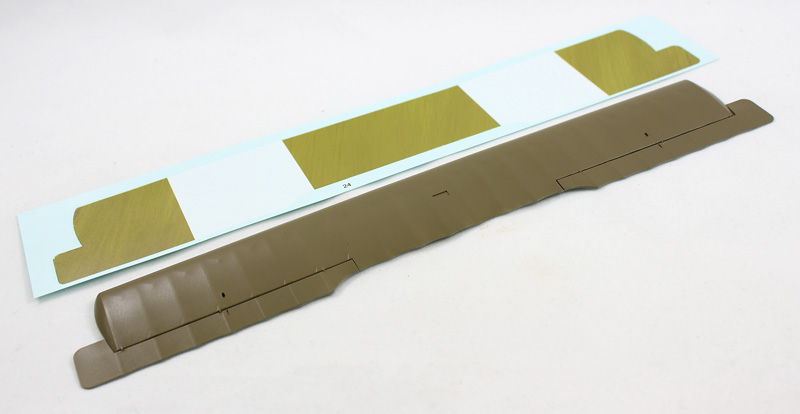
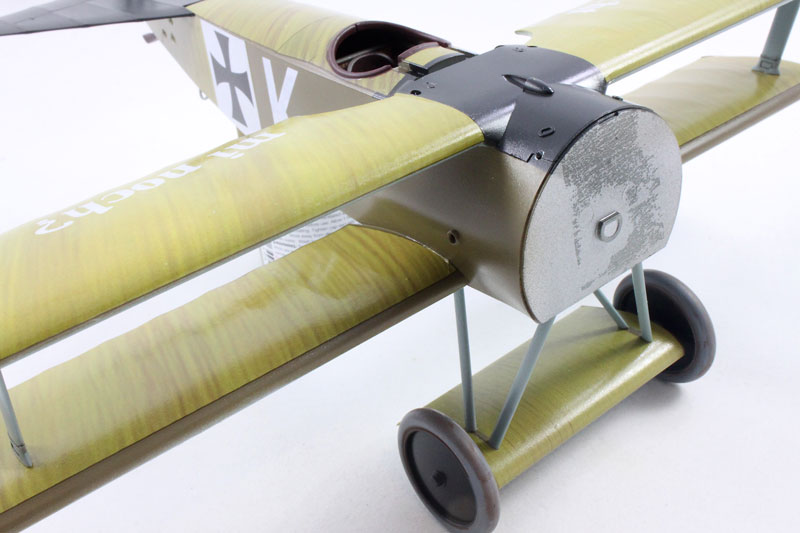
The two marking options include one of Richthofen’s, albeit not the most famous overall red airplane. Most, if not all, Dr.1s were delivered with a distinctive streaked fabric camouflage; Merit provides decals of the scheme that cover most of the airframe.
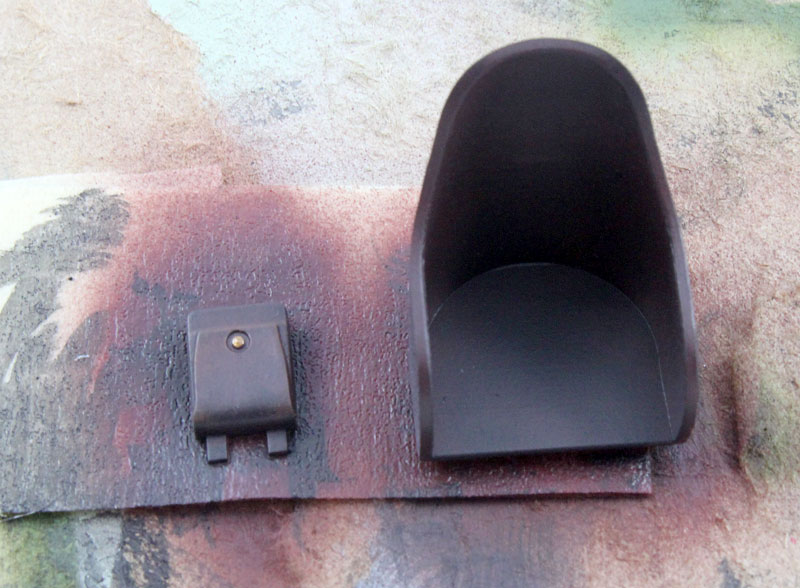
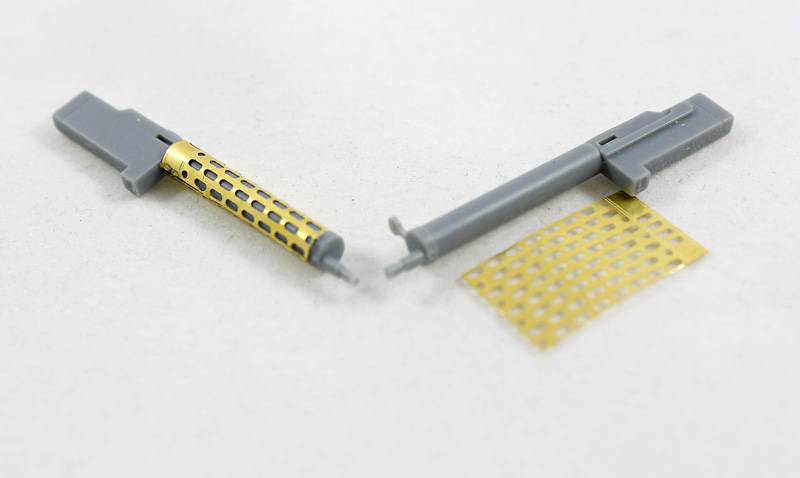
A small photo-etched fret supplies control horns for the plane and cooling jackets for the machine guns but, oddly, no seat belts, a noticeable omission in this scale.
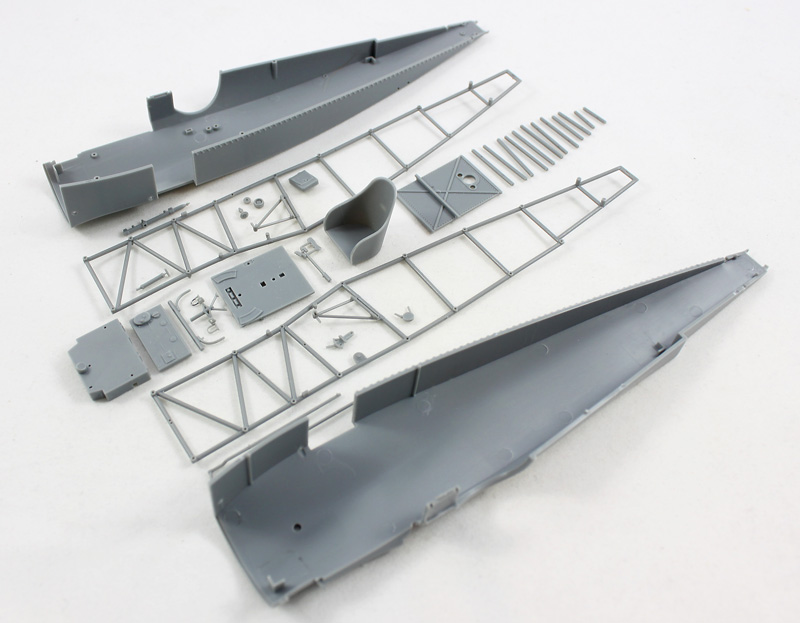
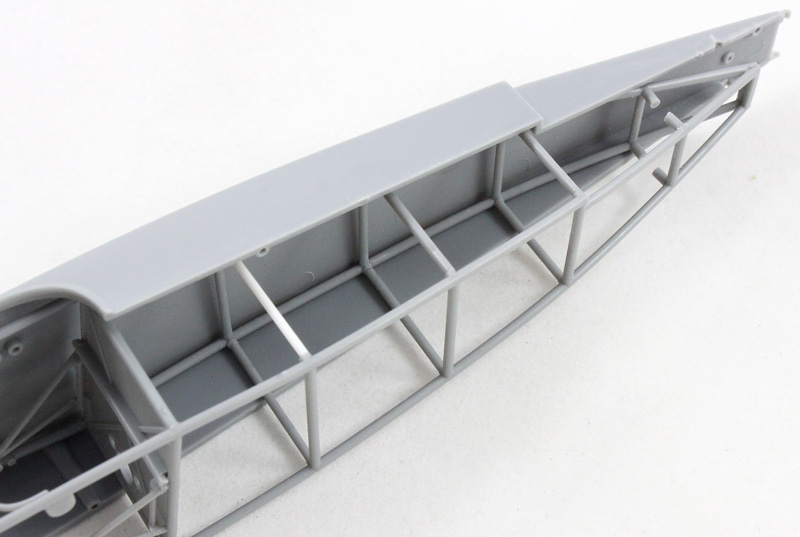
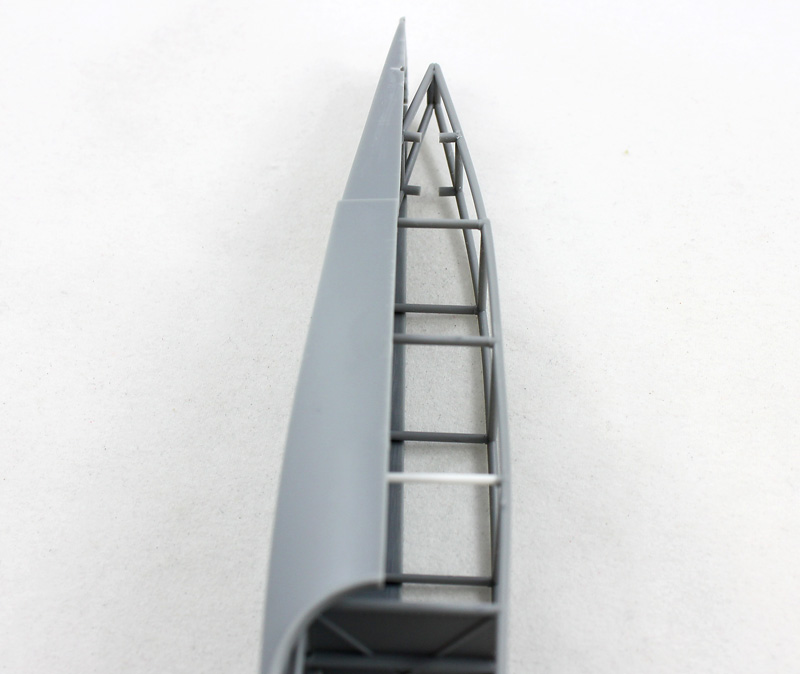
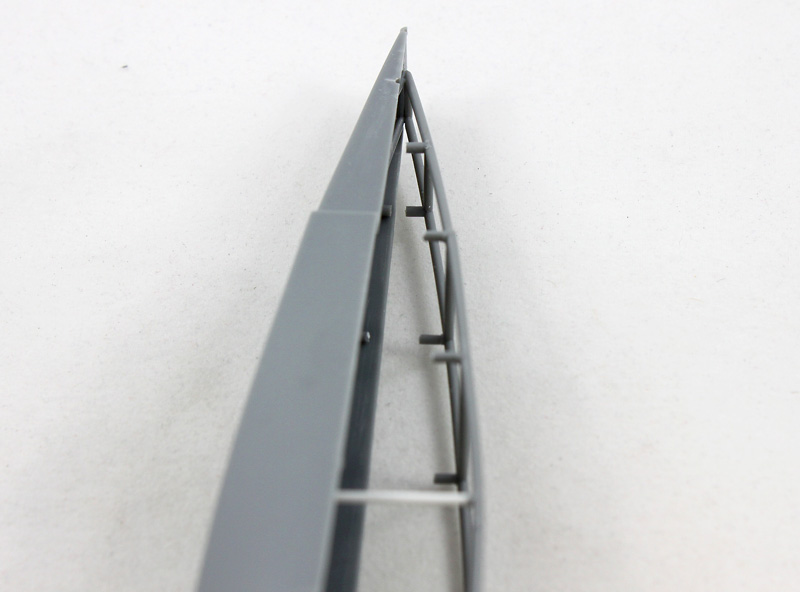
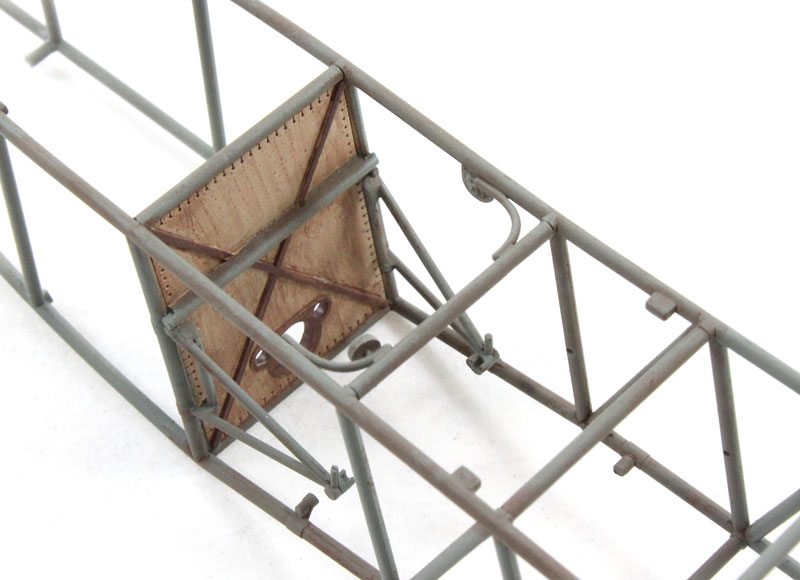
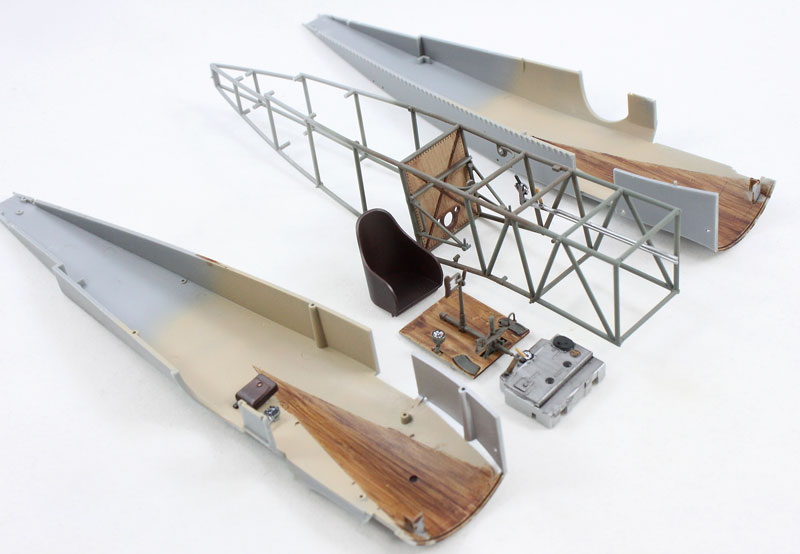
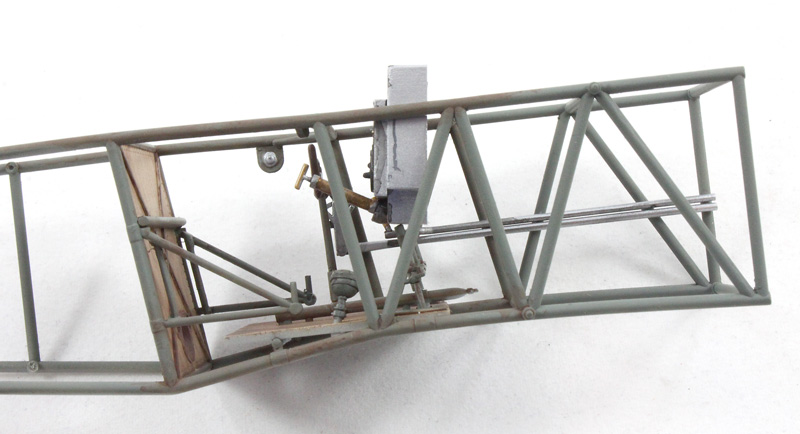
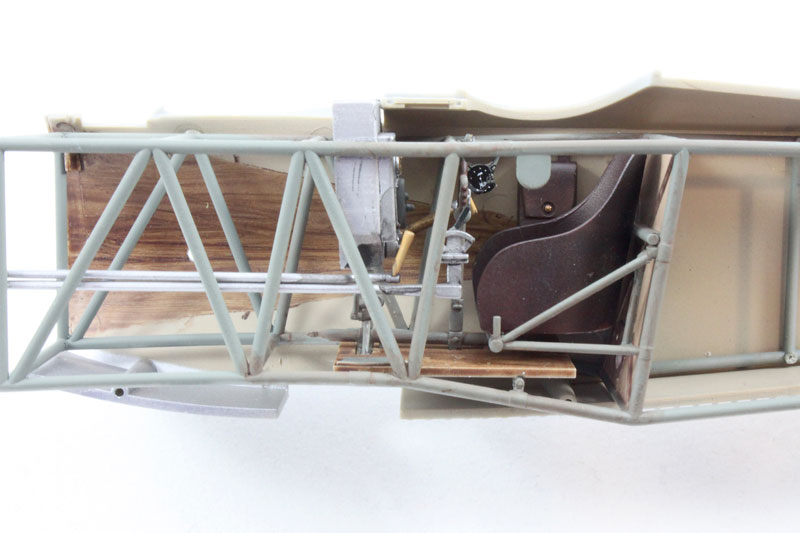
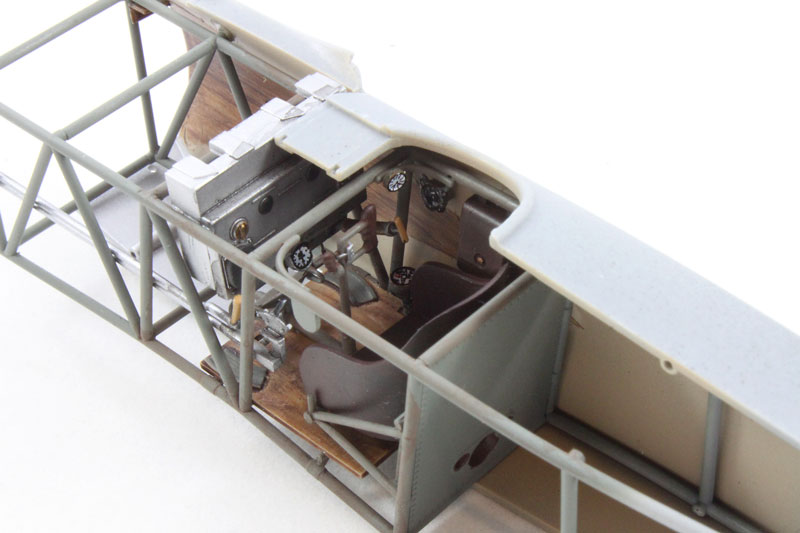
Construction of the interior tube frame quickly ran afoul of some oversize cross members. Fortunately, the problems were near the tail and can’t be seen on the finished model, so I just removed them.
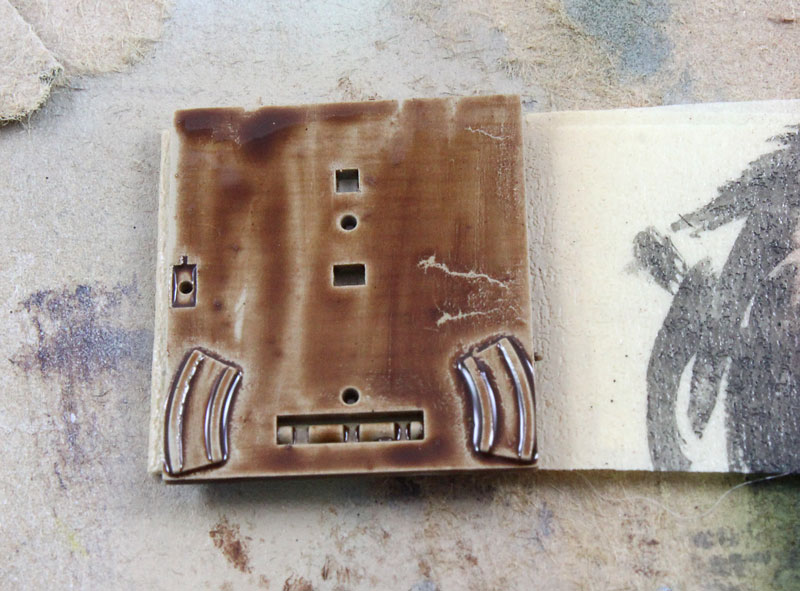
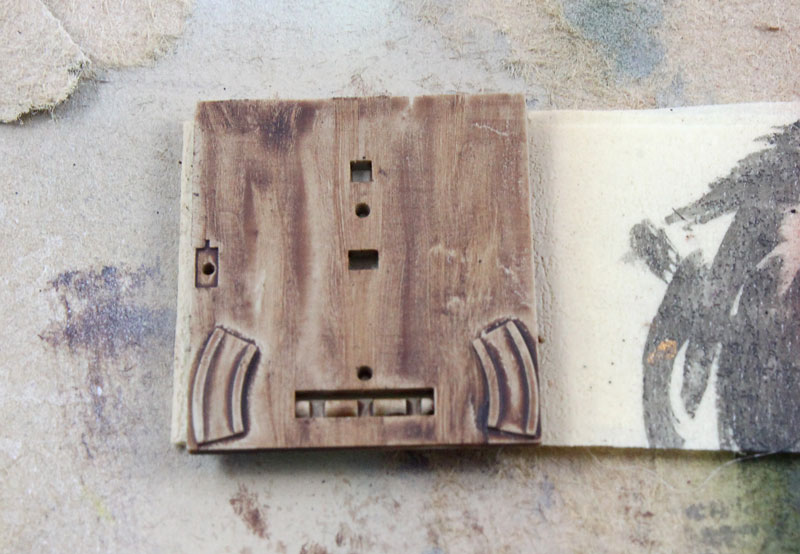
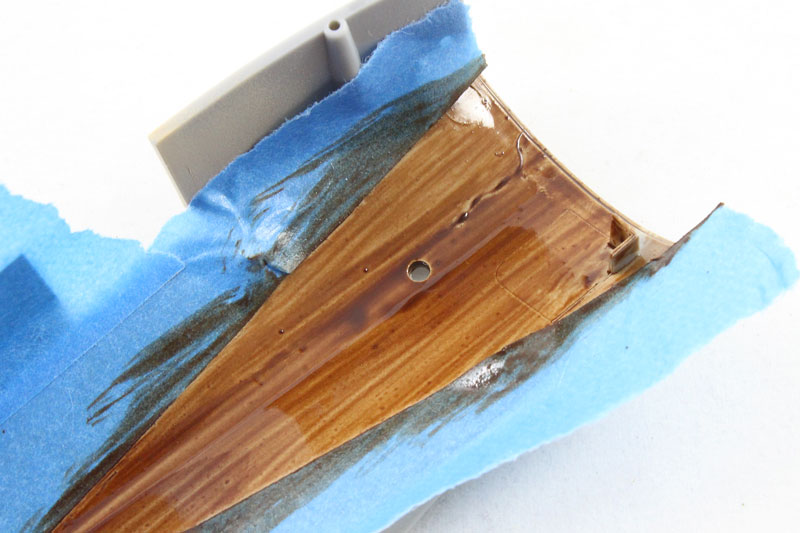
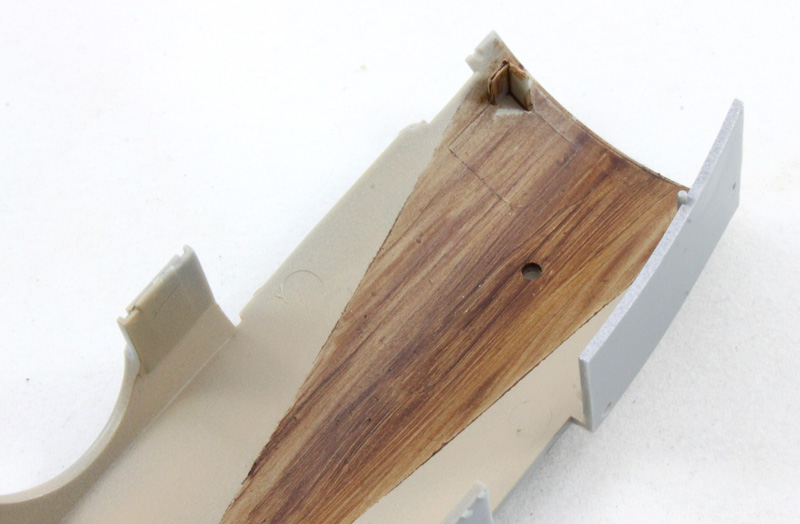
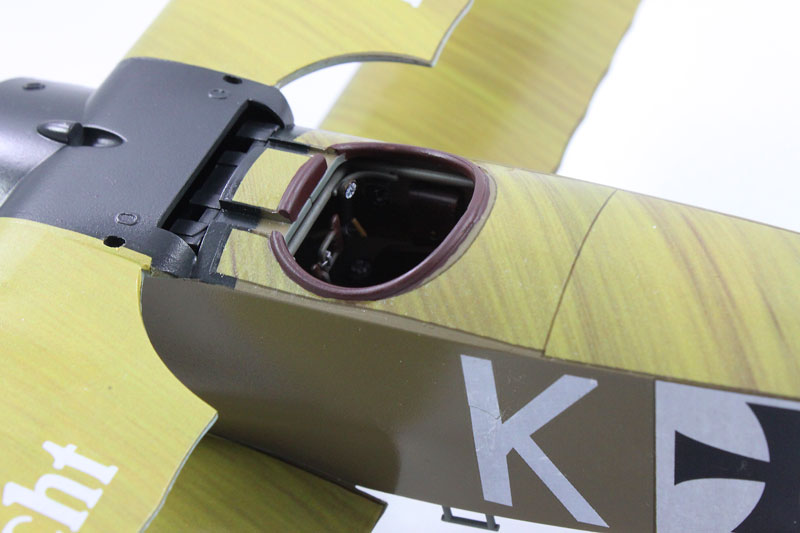
The cockpit includes controls and other items, but there’s no representation of the plywood triangular frame stretching down the sides from the engine mount.
The engine mount is supplied, but none of the associated accessories are included. It’s not a big deal, because they won’t be seen anyway, so I left mine out.
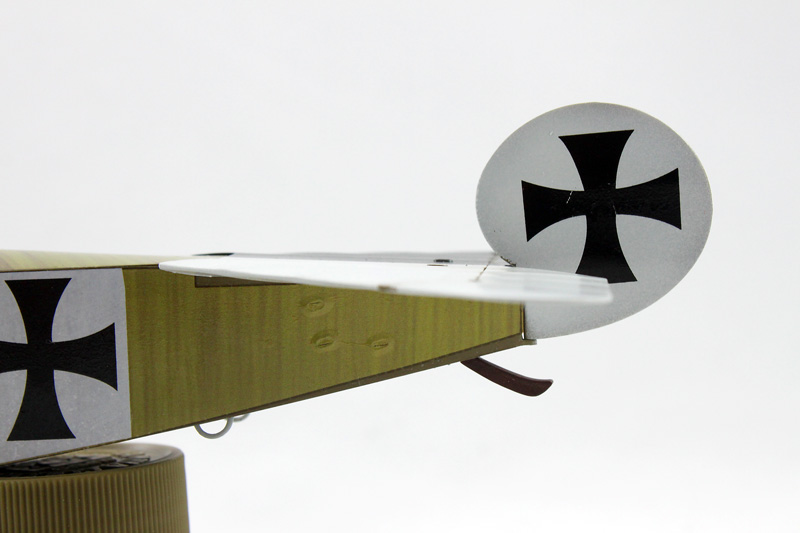
The fuselage closed up easily and only needed a touch of filler near the tail to even out small sink marks. The rudder is designed to be sandwiched between the fuselage halves, allowing it to move — a nice touch — but the control horns are not included.
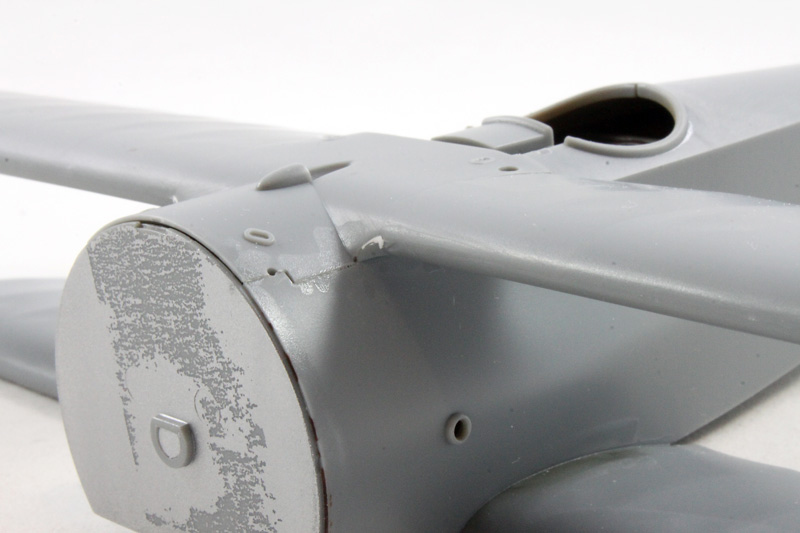
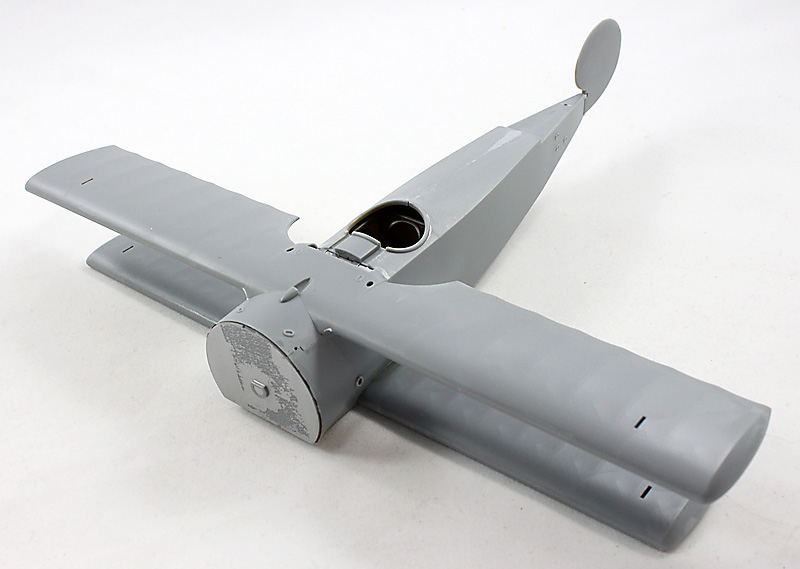
I attached both the bottom and middle wings and cleaned up the roots. The lower wing had a bit of anhedral. I flattened it and supported it across the fuselage with tape until the glue dried to fix that.
I sprayed the underside, including all three wings and the struts, with Tamiya light blue. I left the struts off to avoid masking them.
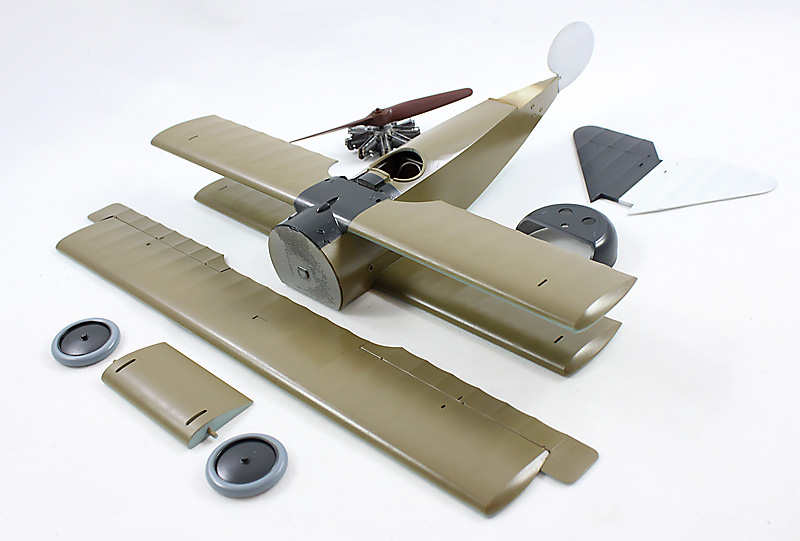
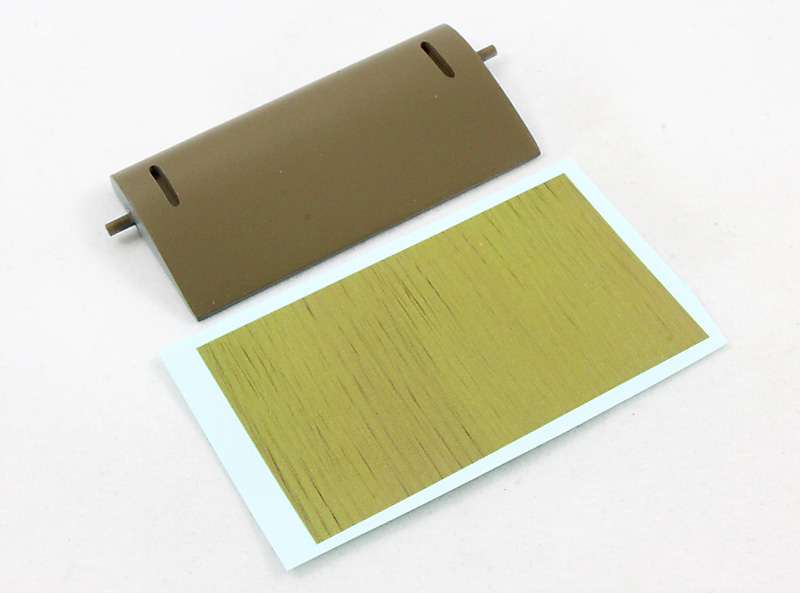
Then, the upper surfaces were sprayed with Tamiya khaki to cover any problems with the decals. The streaking looked too tan. But more importantly, many sections were seriously undersized, as though they were designed in 2-D and didn’t allow for wrapping around things.
The lower wing decal is especially small and really shouldn’t be used, leaving painting your own streaking the only option. The upper wing decal did not have separate ailerons and was quite long — I cut it into sections by color and it fit OK. The forward fuselage decal would be extremely difficult to fit around the wing root, so I just left it off. The rear section is too short, but it’s tucked under the tail.
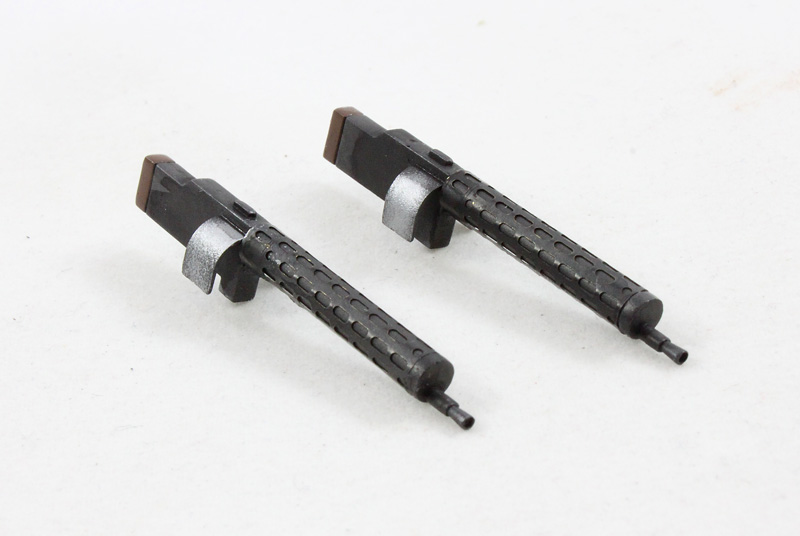
The machine guns are simple, with almost no molded detail. The PE jackets go over molded jackets, somewhat defeating the purpose.
The upper wing and struts all fit well — actually the struts on my model aren’t even glued in place.
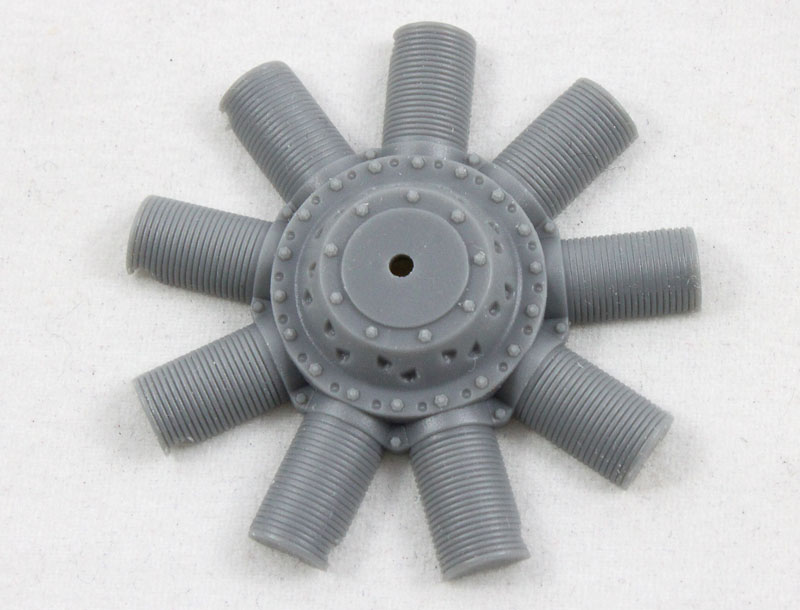
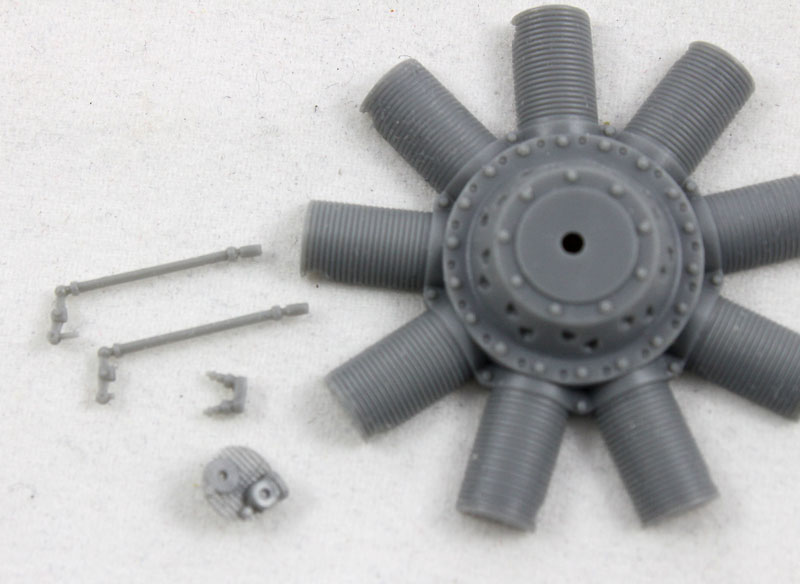
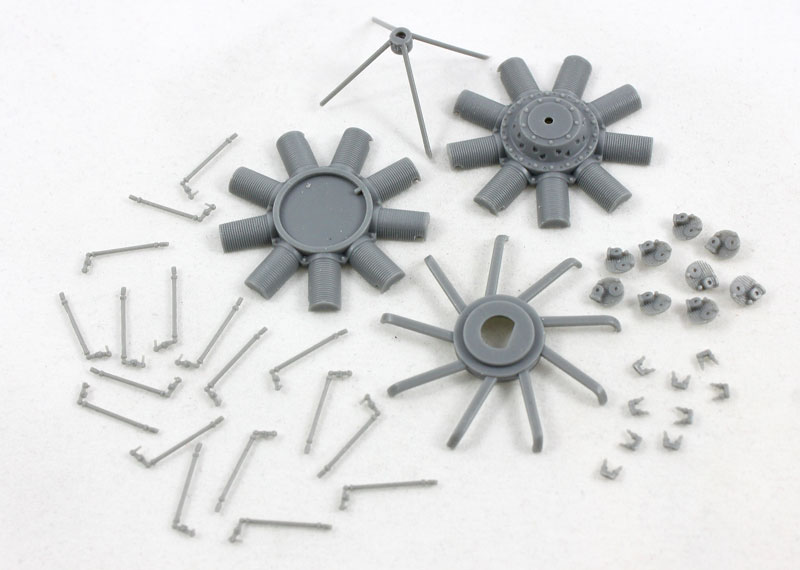
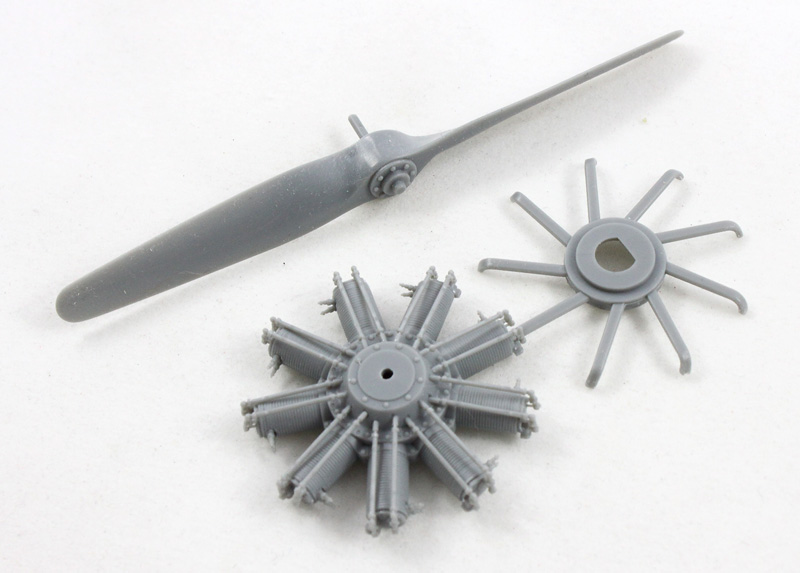
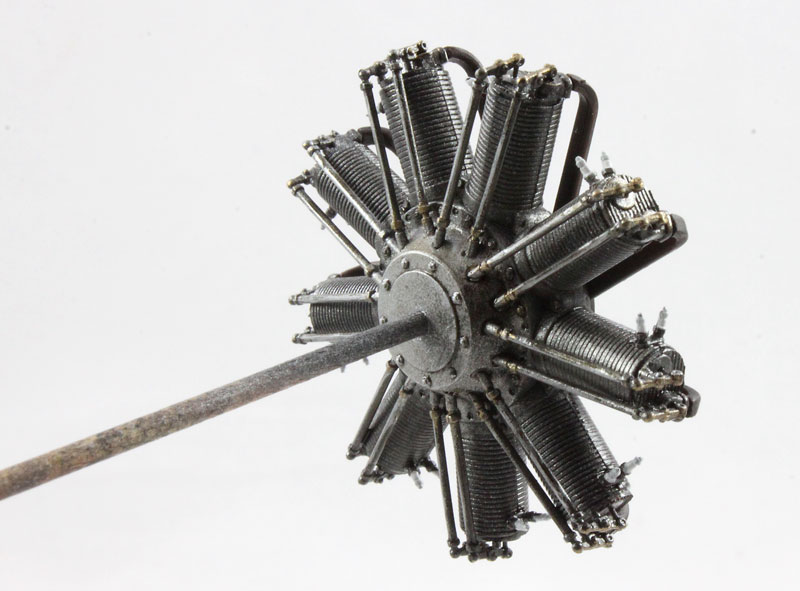
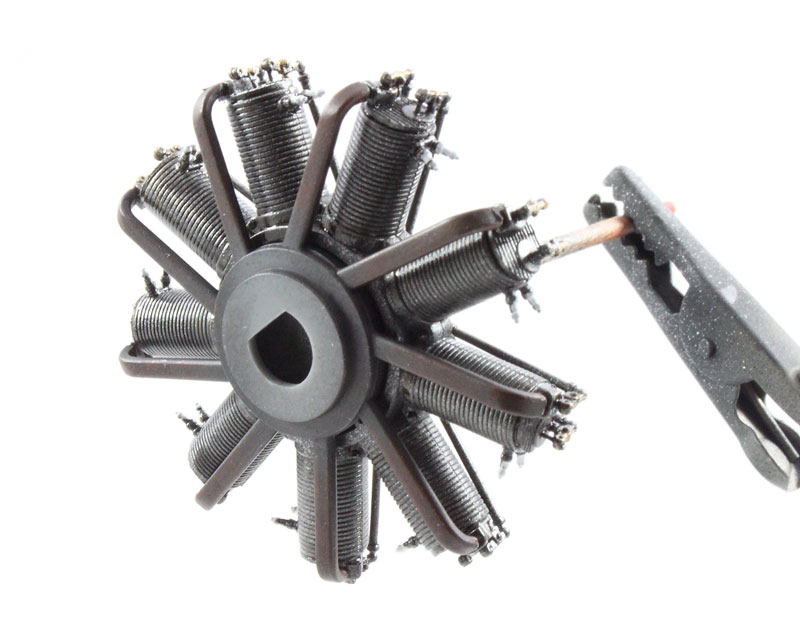
The engine is a highlight of the kit, fits well, and even includes separate pairs of molded spark plugs. I left it and the cowl off until final assembly.
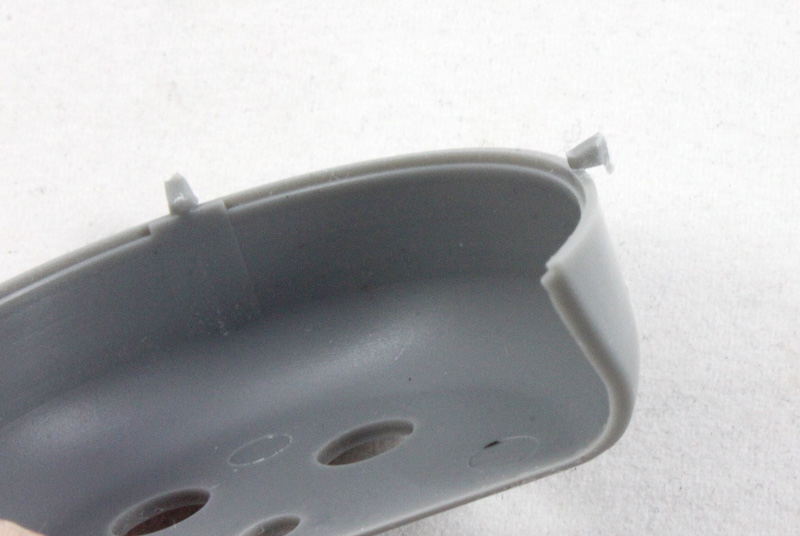
The Dr.1 is light on rigging, so I added a few wires using stretchy nylon EZ Line. Be aware that the cutouts for the horizontal stabilizer control lines are incorrect — they should be at an angle, not perpendicular to the stabilizer.
I spent roughly 25 hours on my kit and was disappointed. The decals are flawed and the detail on the guns simplistic, and neither can be easily corrected via the aftermarket. Builders will want to consider painting their own “streaking” and maybe adding their own detail.
Note: A version of this review appeared in the March 2016 issue.