
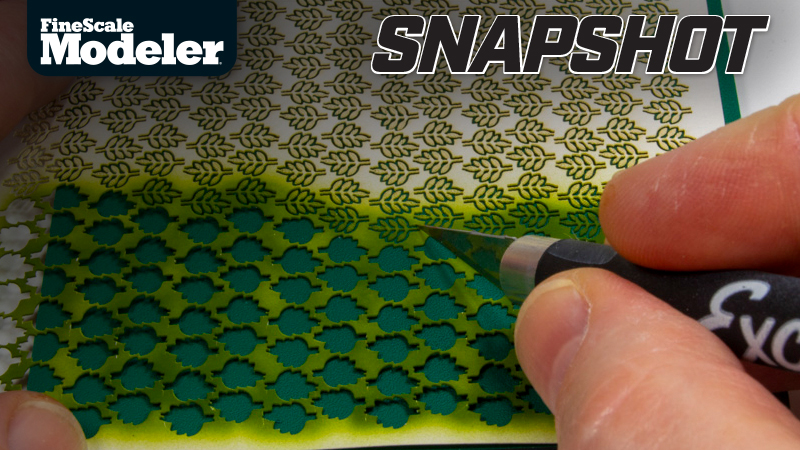
Part 3 in a four-part series, get creative with what you have. Several companies make paper or photo-etched metal ferns, but what if, like me, you don’t have any on hand? Make your own from what may be in your stash. For me, it was a Kamizukuri Camouflage kit (No. A-21).
The product consists of pressed paper cut in the shape of small stems or branches with attached leaves. There are many similar kits on the market, so if you aren’t able to find ferns, look for something that supplies elements of a similar shape to what you’re after.

Start by airbrushing the sheet of leaves a suitable green color and then cut out individual parts.

Don’t be afraid to modify the parts. For me, these were too short to individually model the ferns I envisioned. I cut the top leaf off two or three pieces, making sure to save them for use later.

Taking three modified leaf sections, I glued them together with gel superglue. Depending upon what materials you are using, you may need to use more or fewer parts. Let your references be your guide.

Here is the fully assembled frond. Now, go back and make as many as you need.

Drill small holes in your figure or diorama base where you want to plant your ferns and glue a few fronds into each. Fan the fronds outward to create the whole plant. Done!
