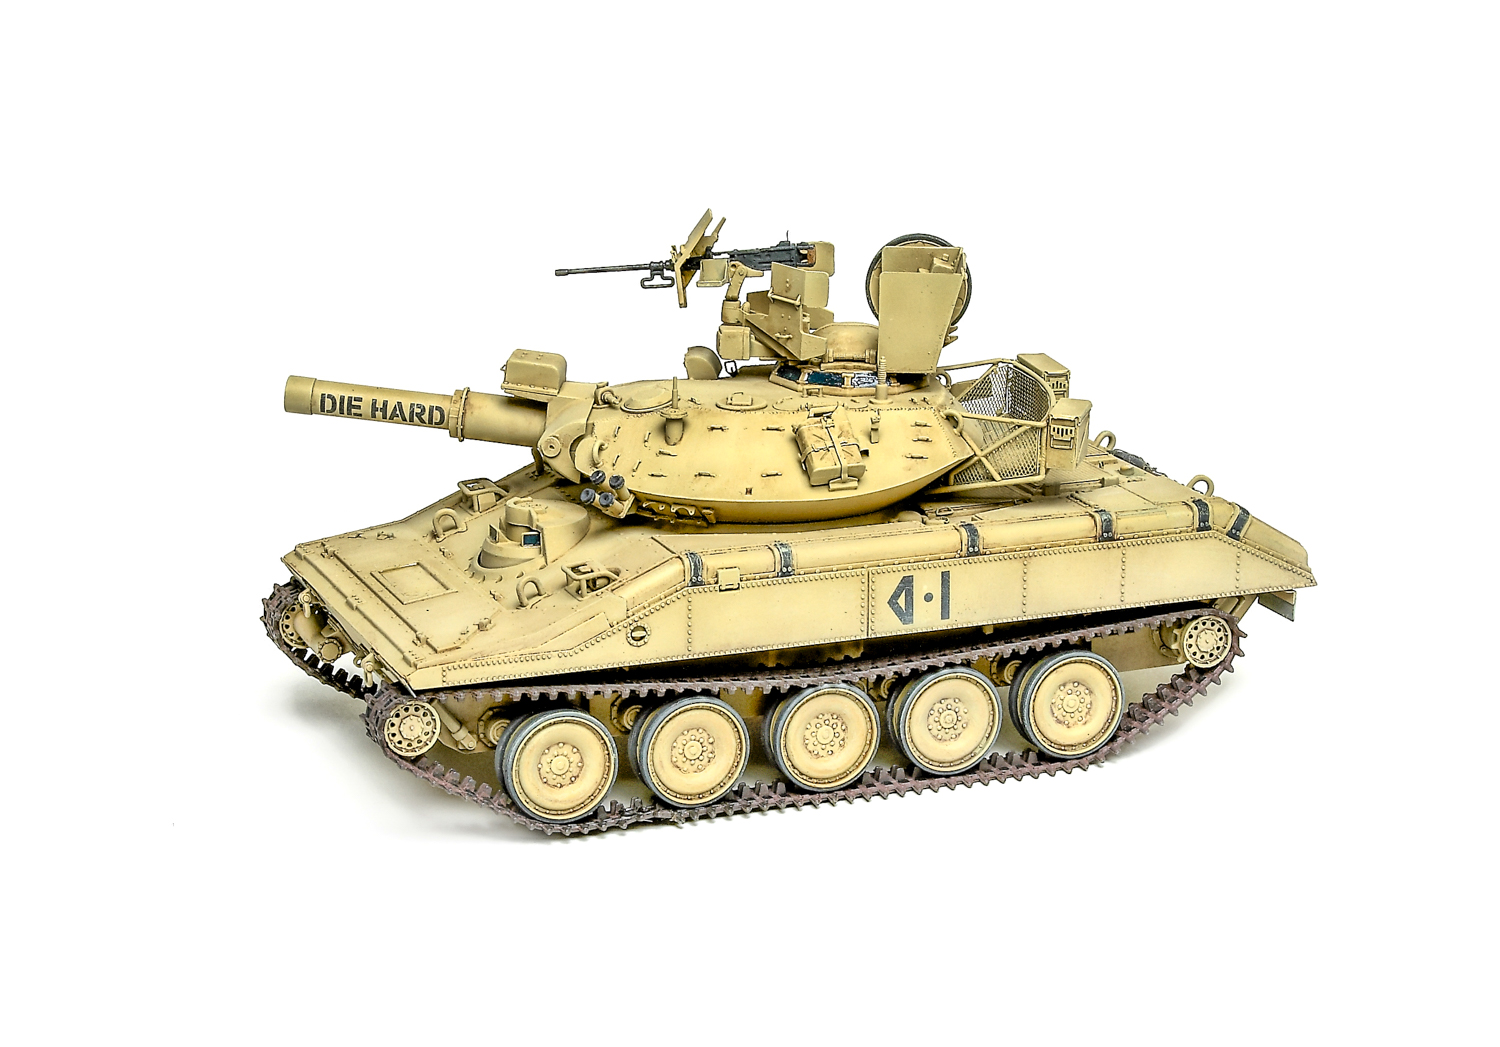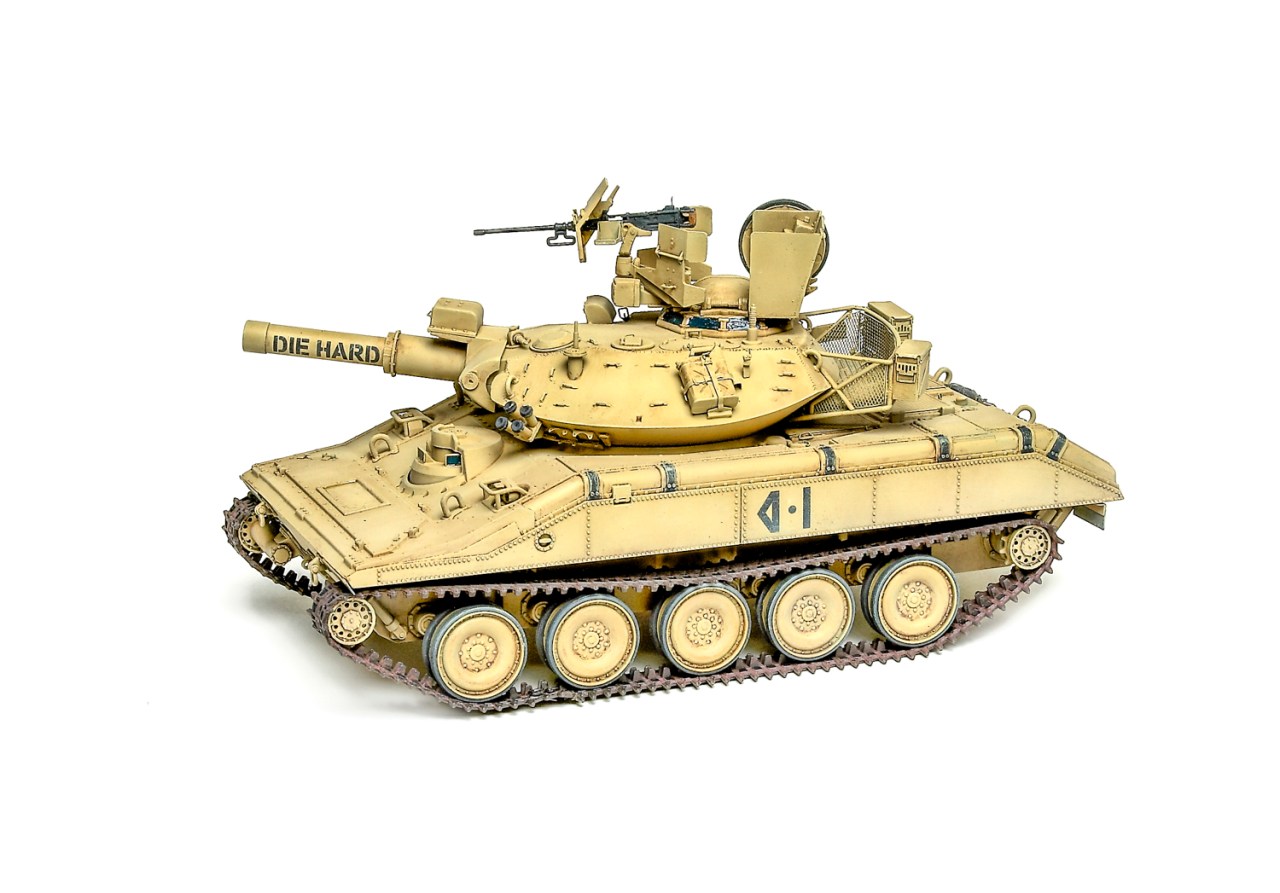
It’s always seemed a little funny to me that when modelers wash a model, they’re making it look used and lived-in — the opposite of clean. This irony aside, washes are one of the easiest ways to give your models life and add realism. Here are a few things to keep in mind when applying washes, and some tricks that will make them even better.
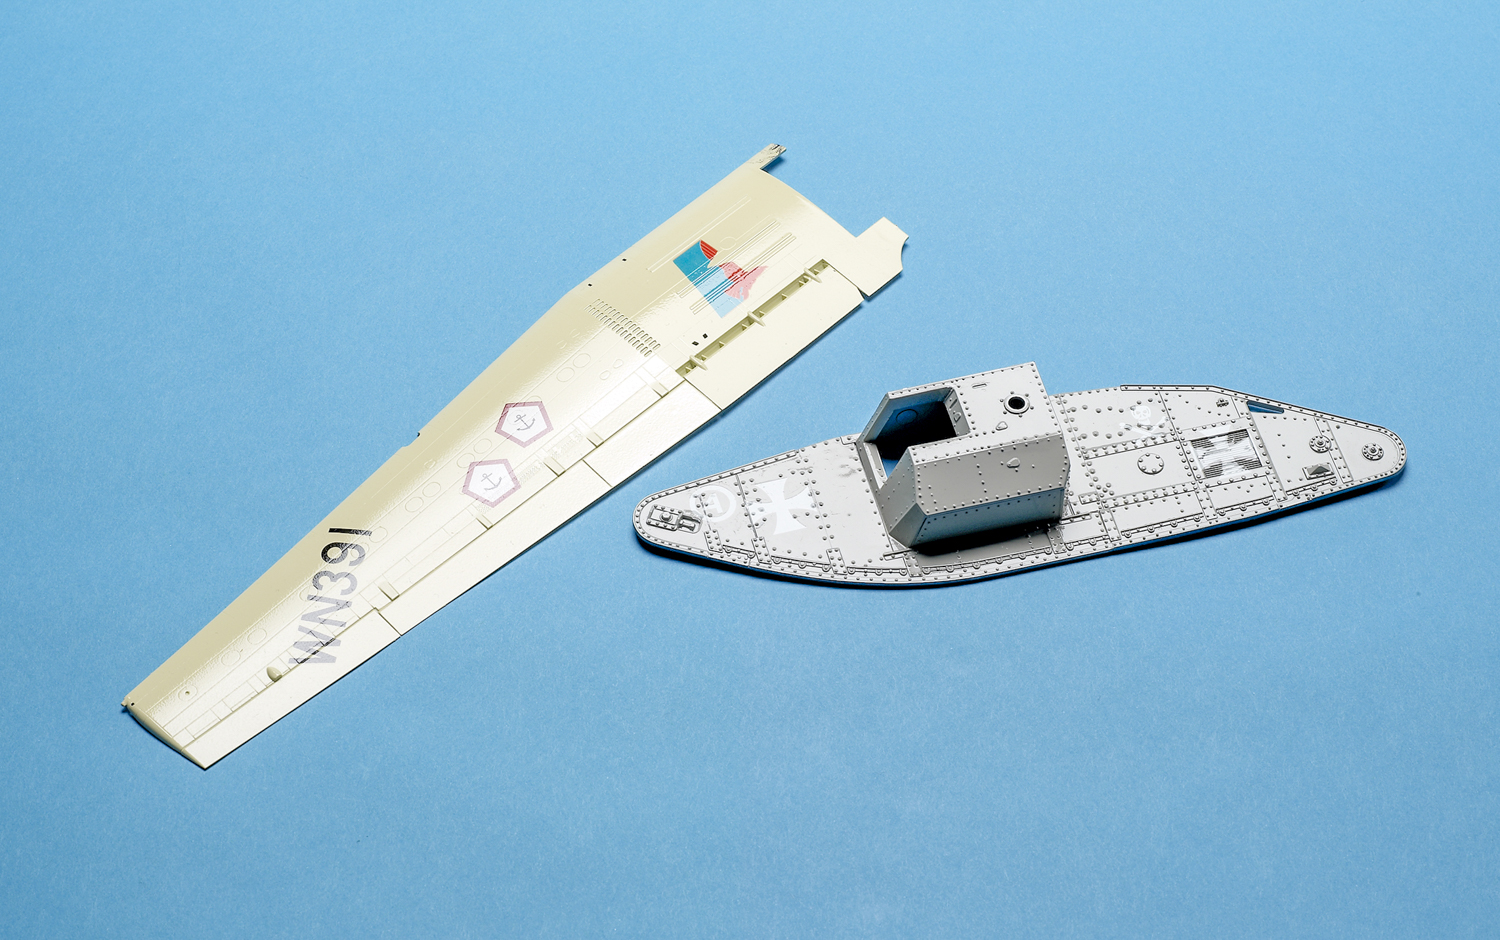
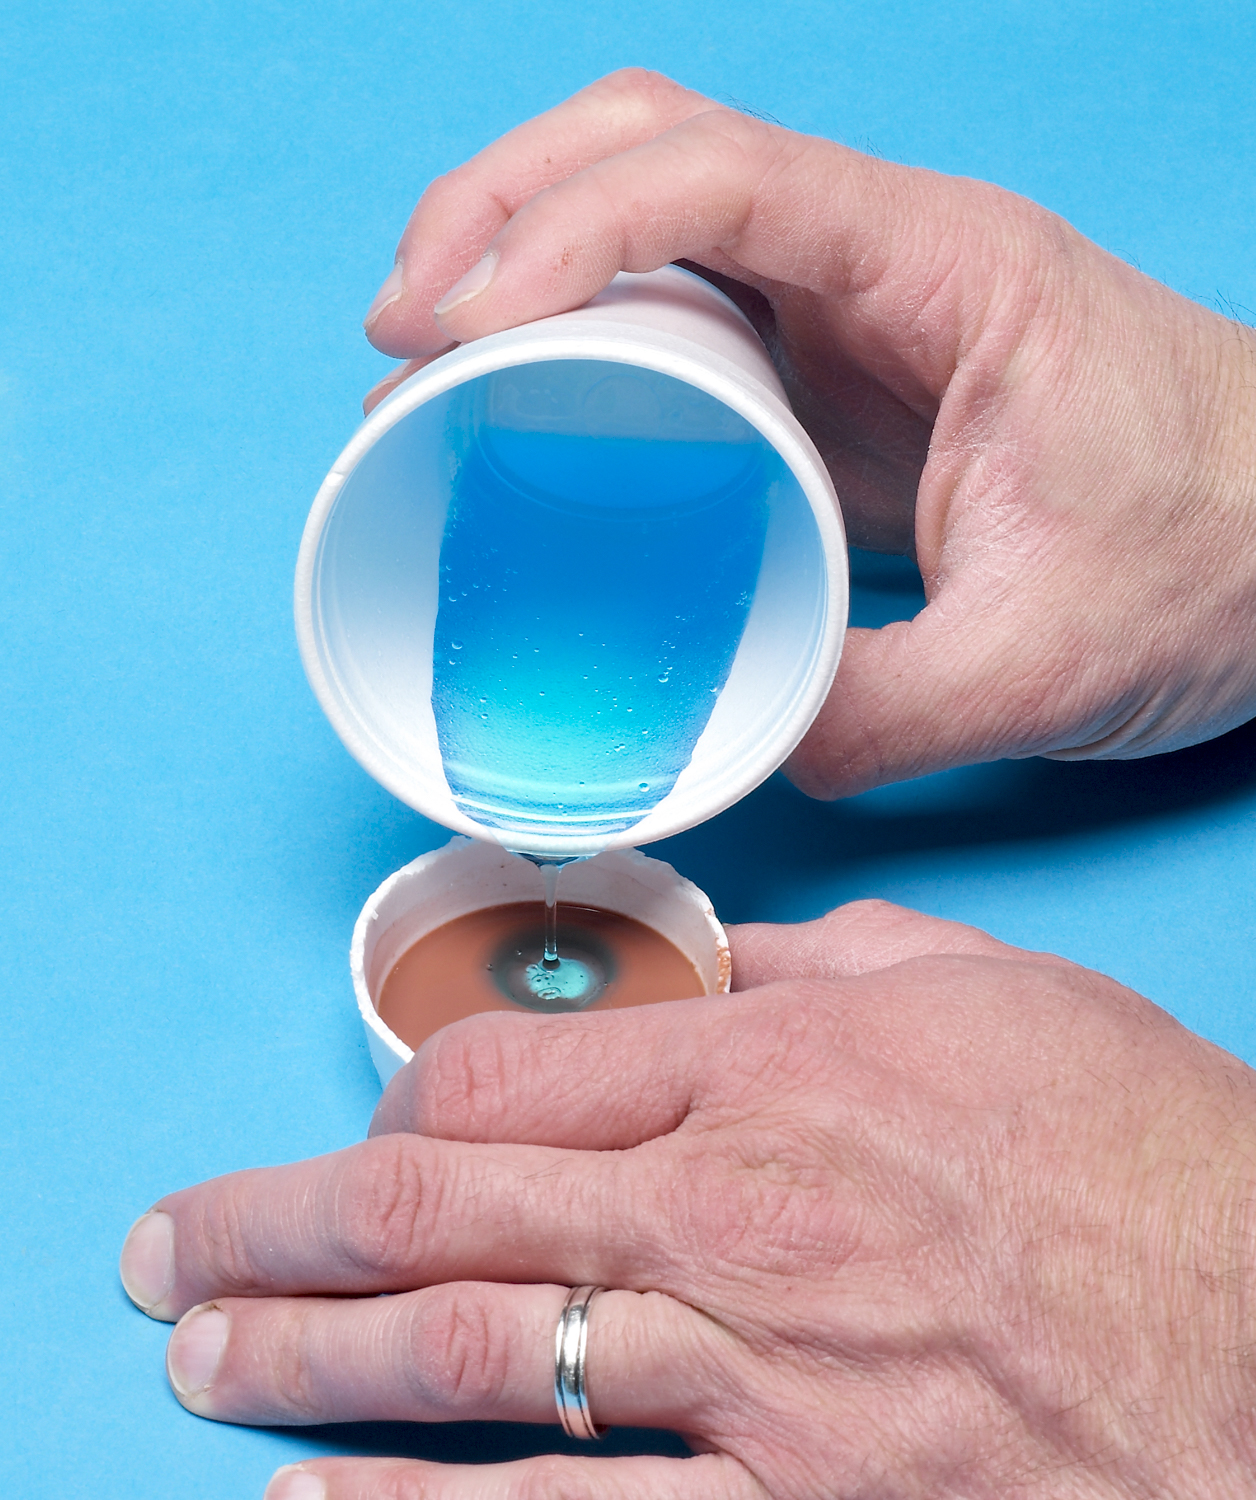
Consider the kind of paint used for the model, because thinner attacks paint. Say you finished a Spitfire using Model Master enamels. Applying a wash diluted with enamel thinner could start lifting the camouflage. To prevent this, use a different kind of paint (and thinner) for your washes. Generally, if you use enamels for painting, wash with acrylics. If you paint with acrylics, artist oils are great for washes.
Before a wash, first apply a clear gloss coat over the model. In addition to sealing the decals and protecting the paint, the smooth surface allows thinner to flow more easily. Capillary action draws paint around the details, concentrating the color there.
What color you use for the wash will depend a lot on the base color. For most armor, I use a warm, dark brown, such as burnt umber. It seems to give the right tone to the shadows; black washes seem too stark by comparison.
Controllability is the best aspect of washes. You can build them up a little at a time, producing just the effect you want. And most of the time, they can be easily removed if you make a mistake or you’re unhappy with the results.
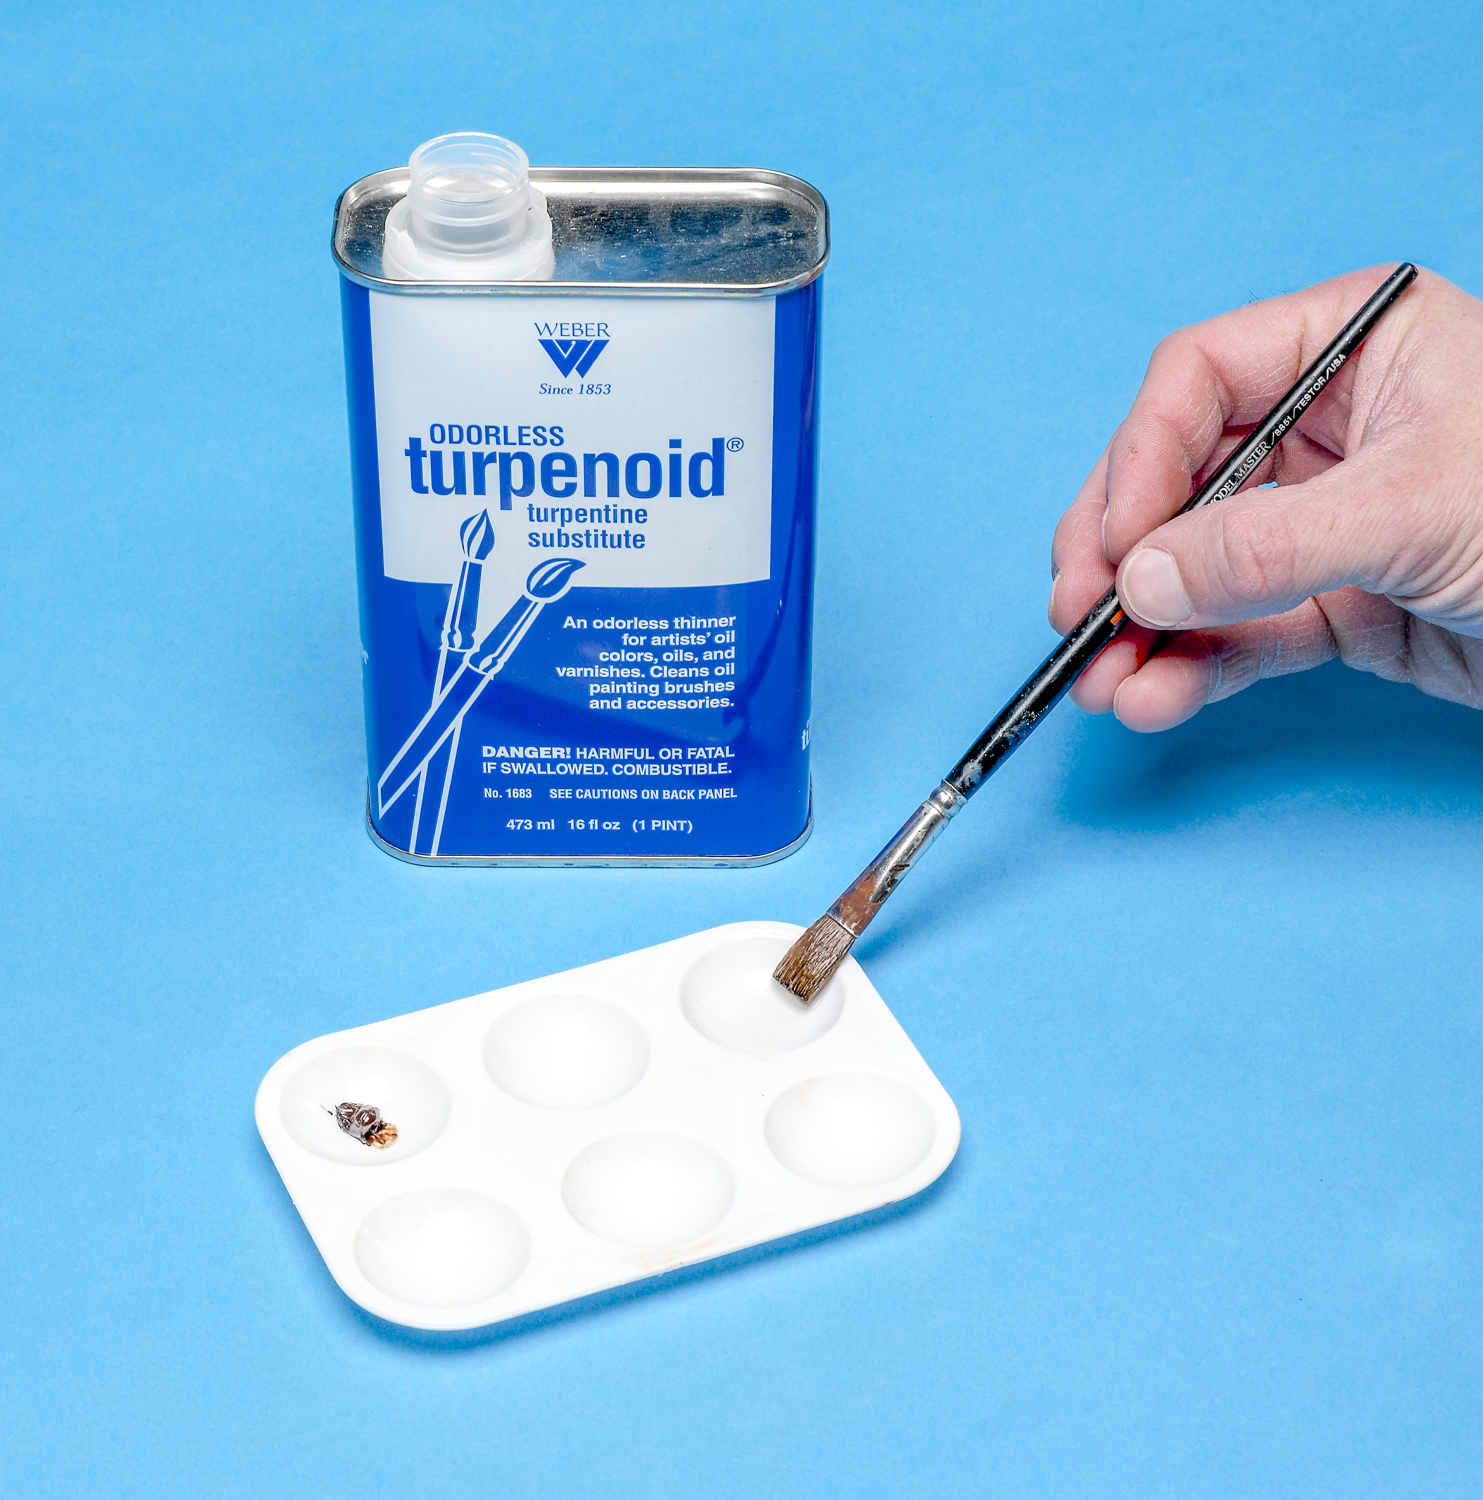
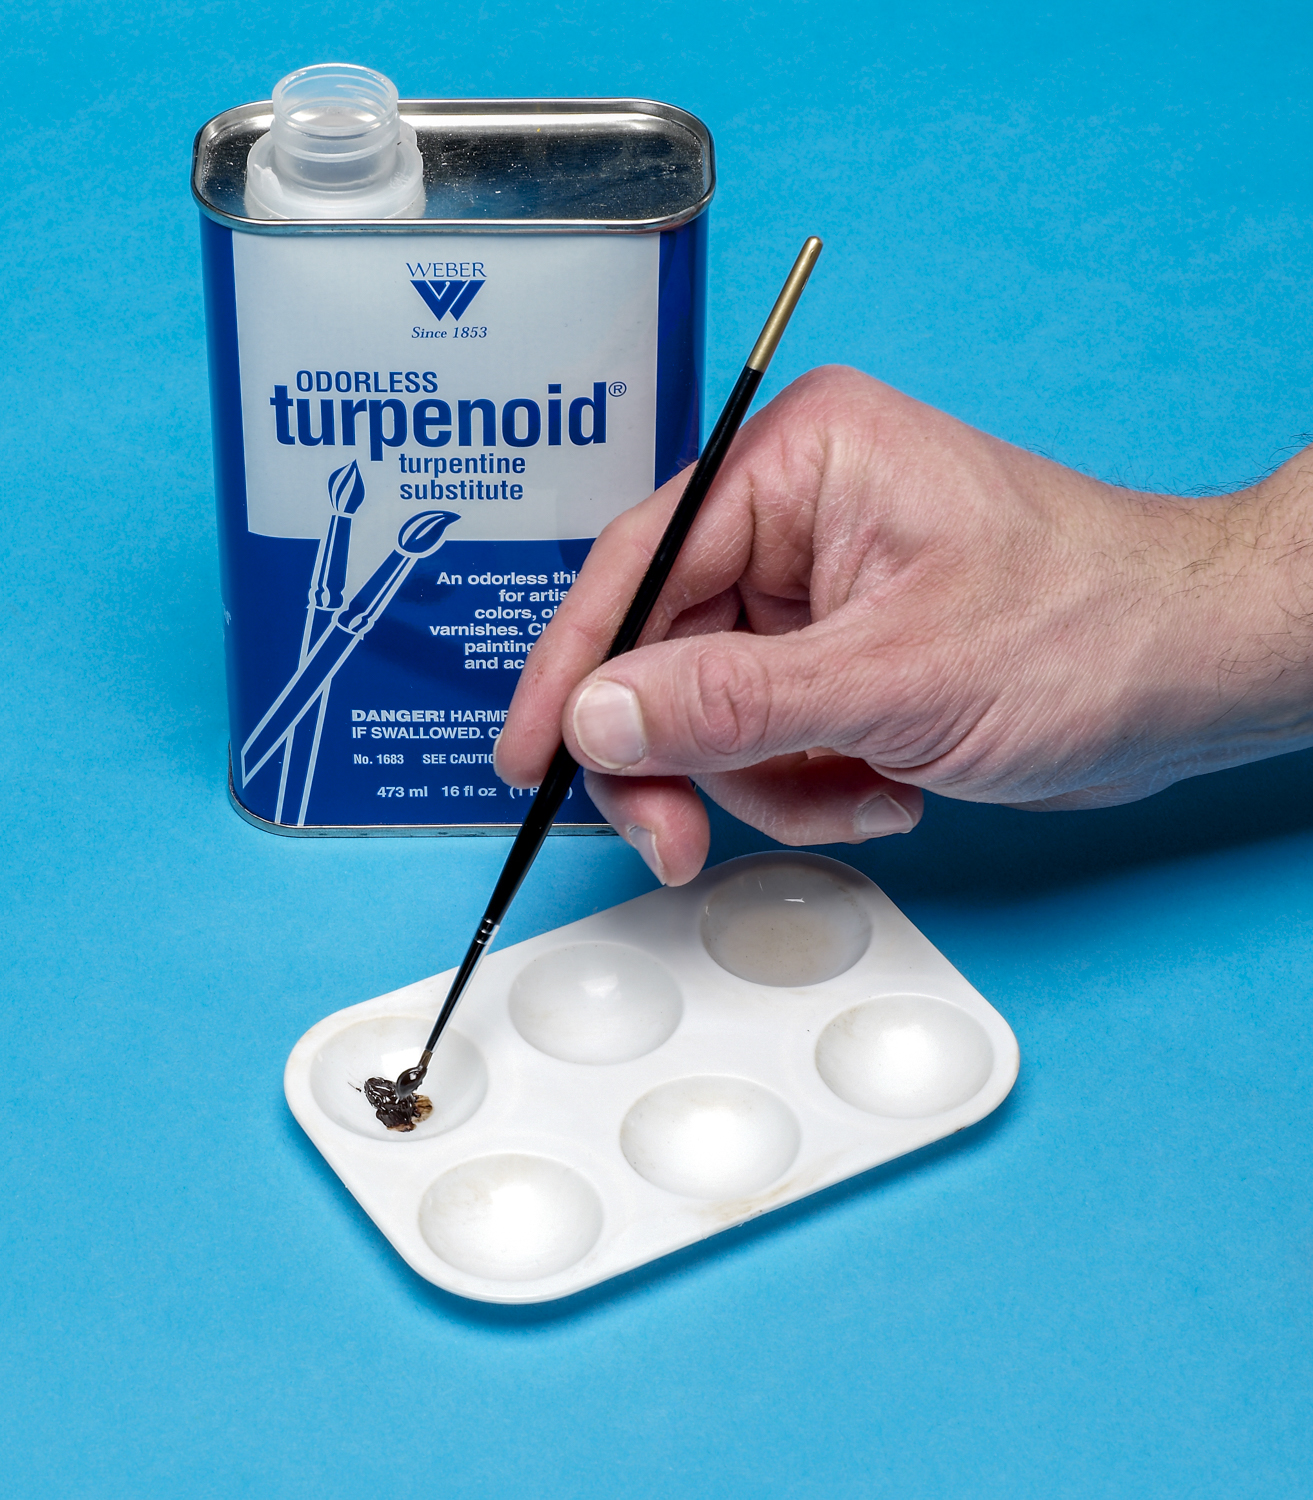
Oil’s well
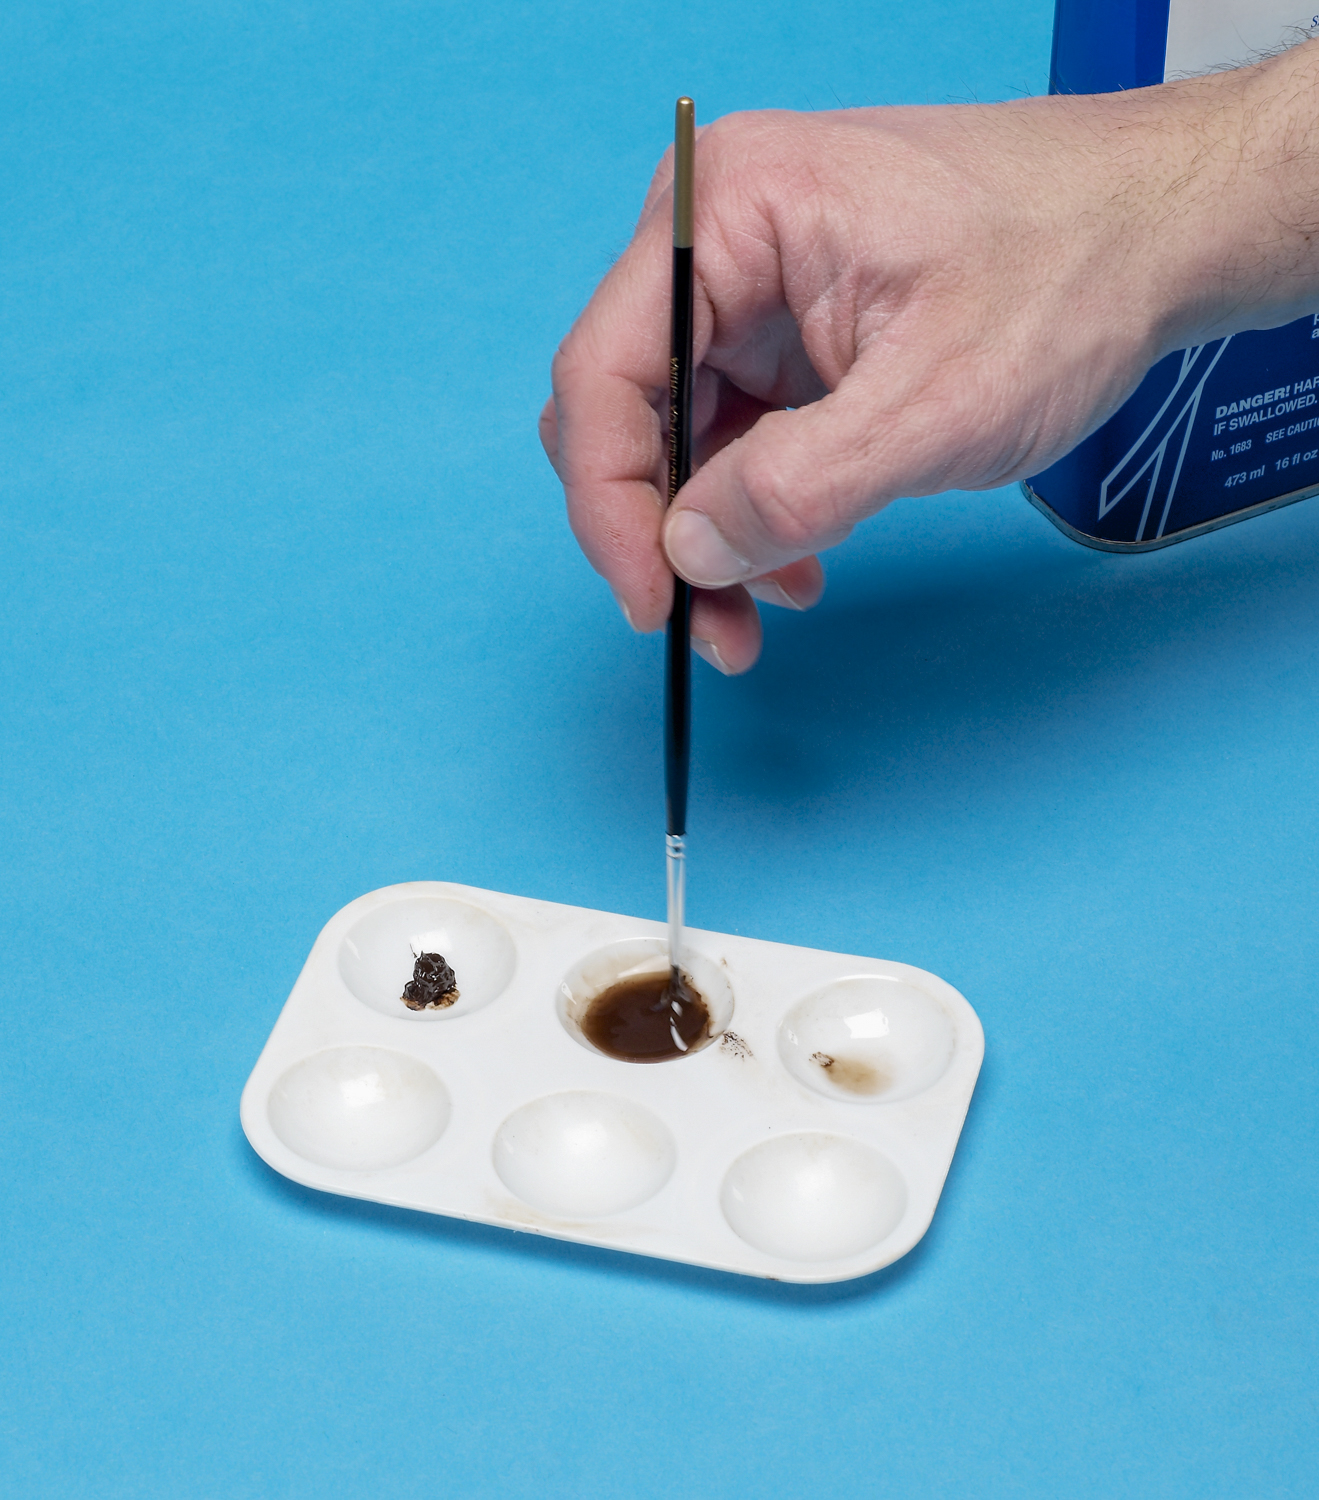
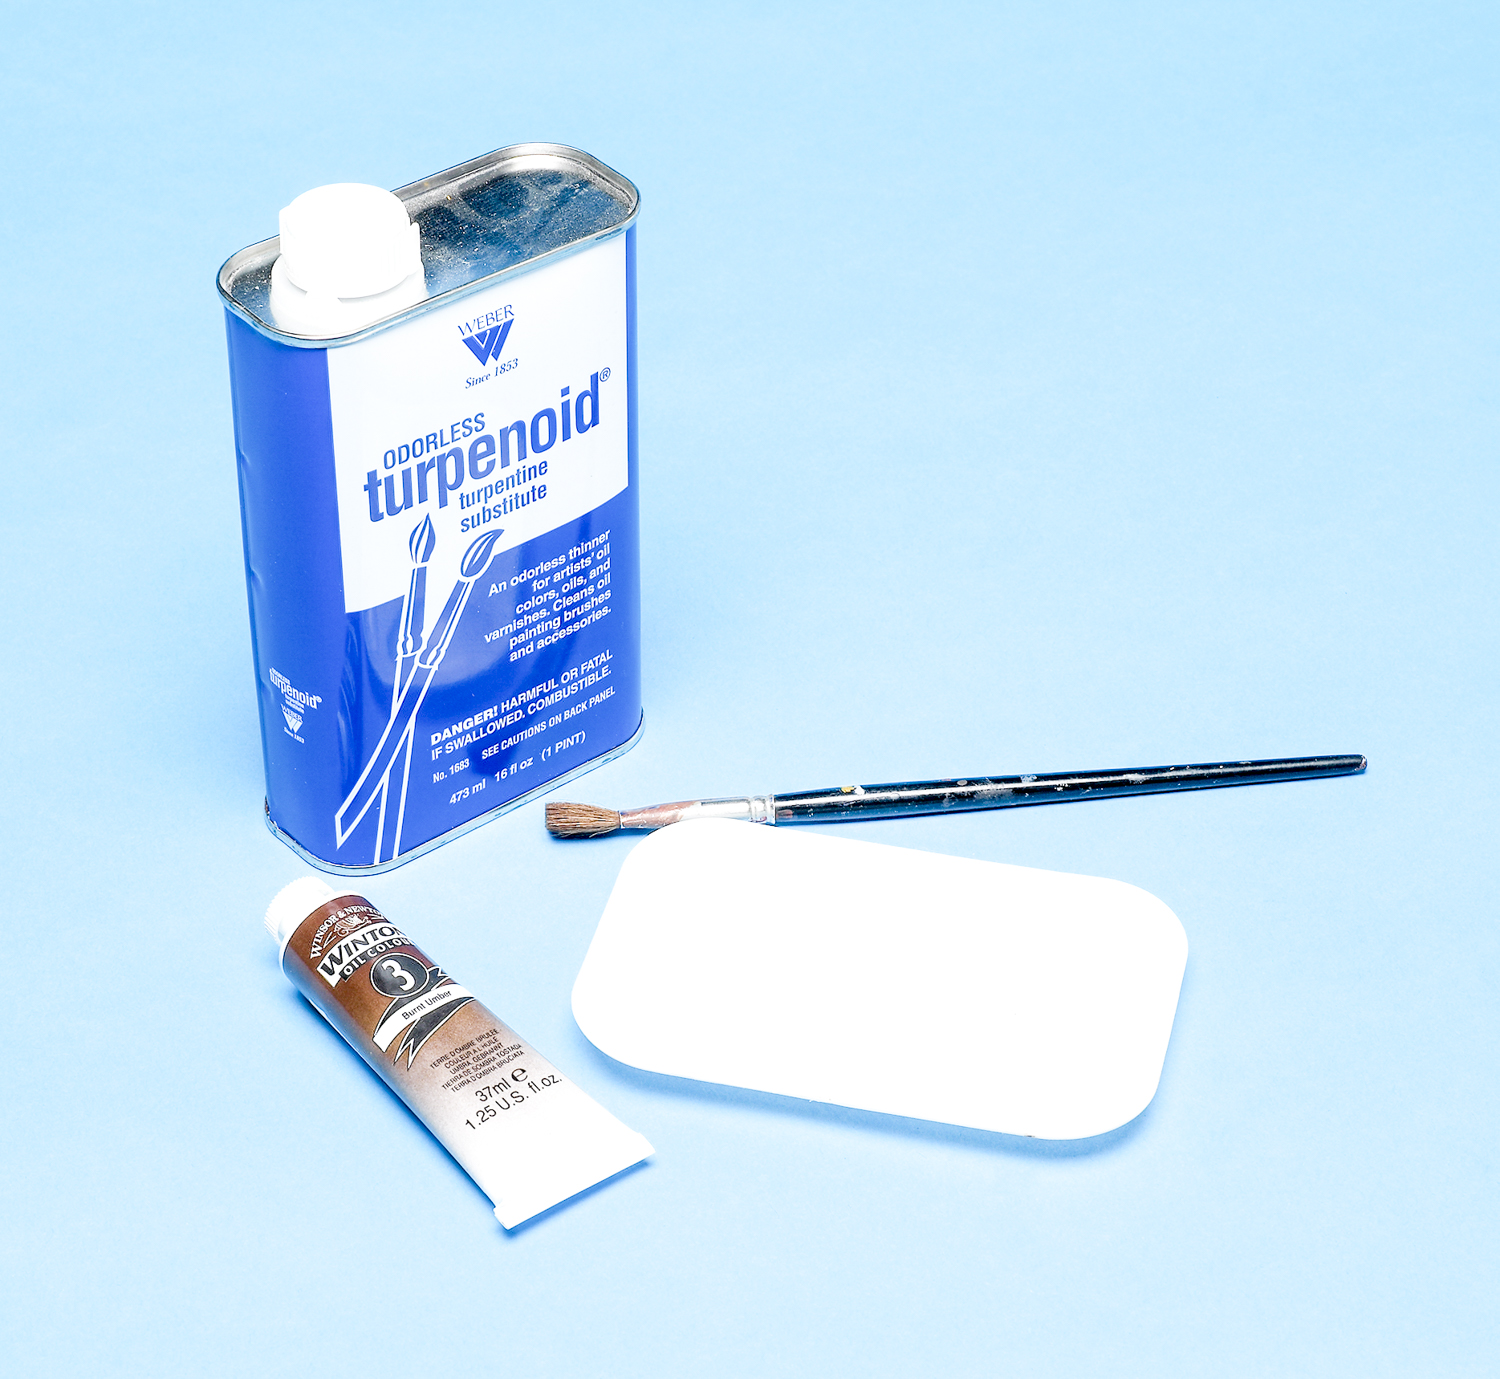
The ingredients of an artist’s oil wash: a tube of paint (in this case, Winsor & Newton burnt umber); Turpenoid (or other thinner); a brush; and a palette.
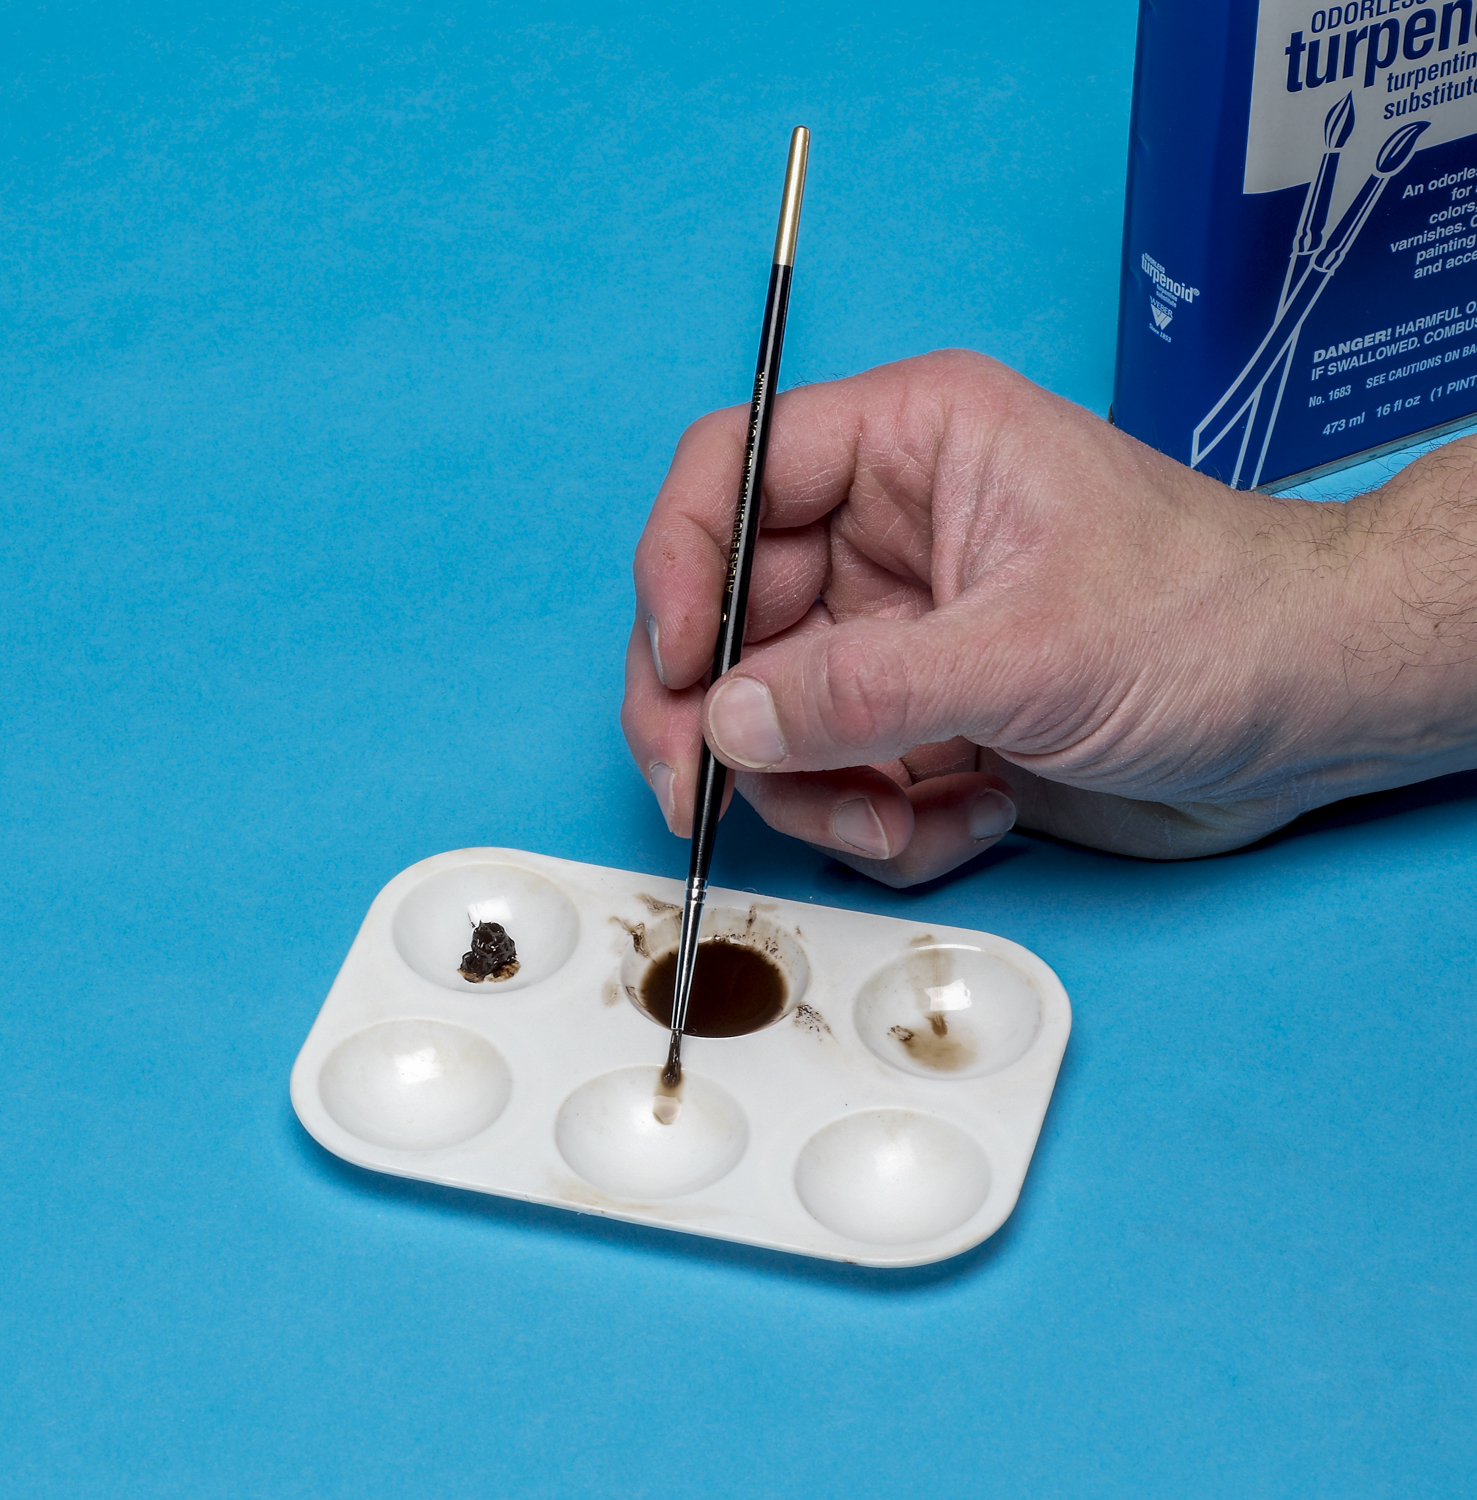
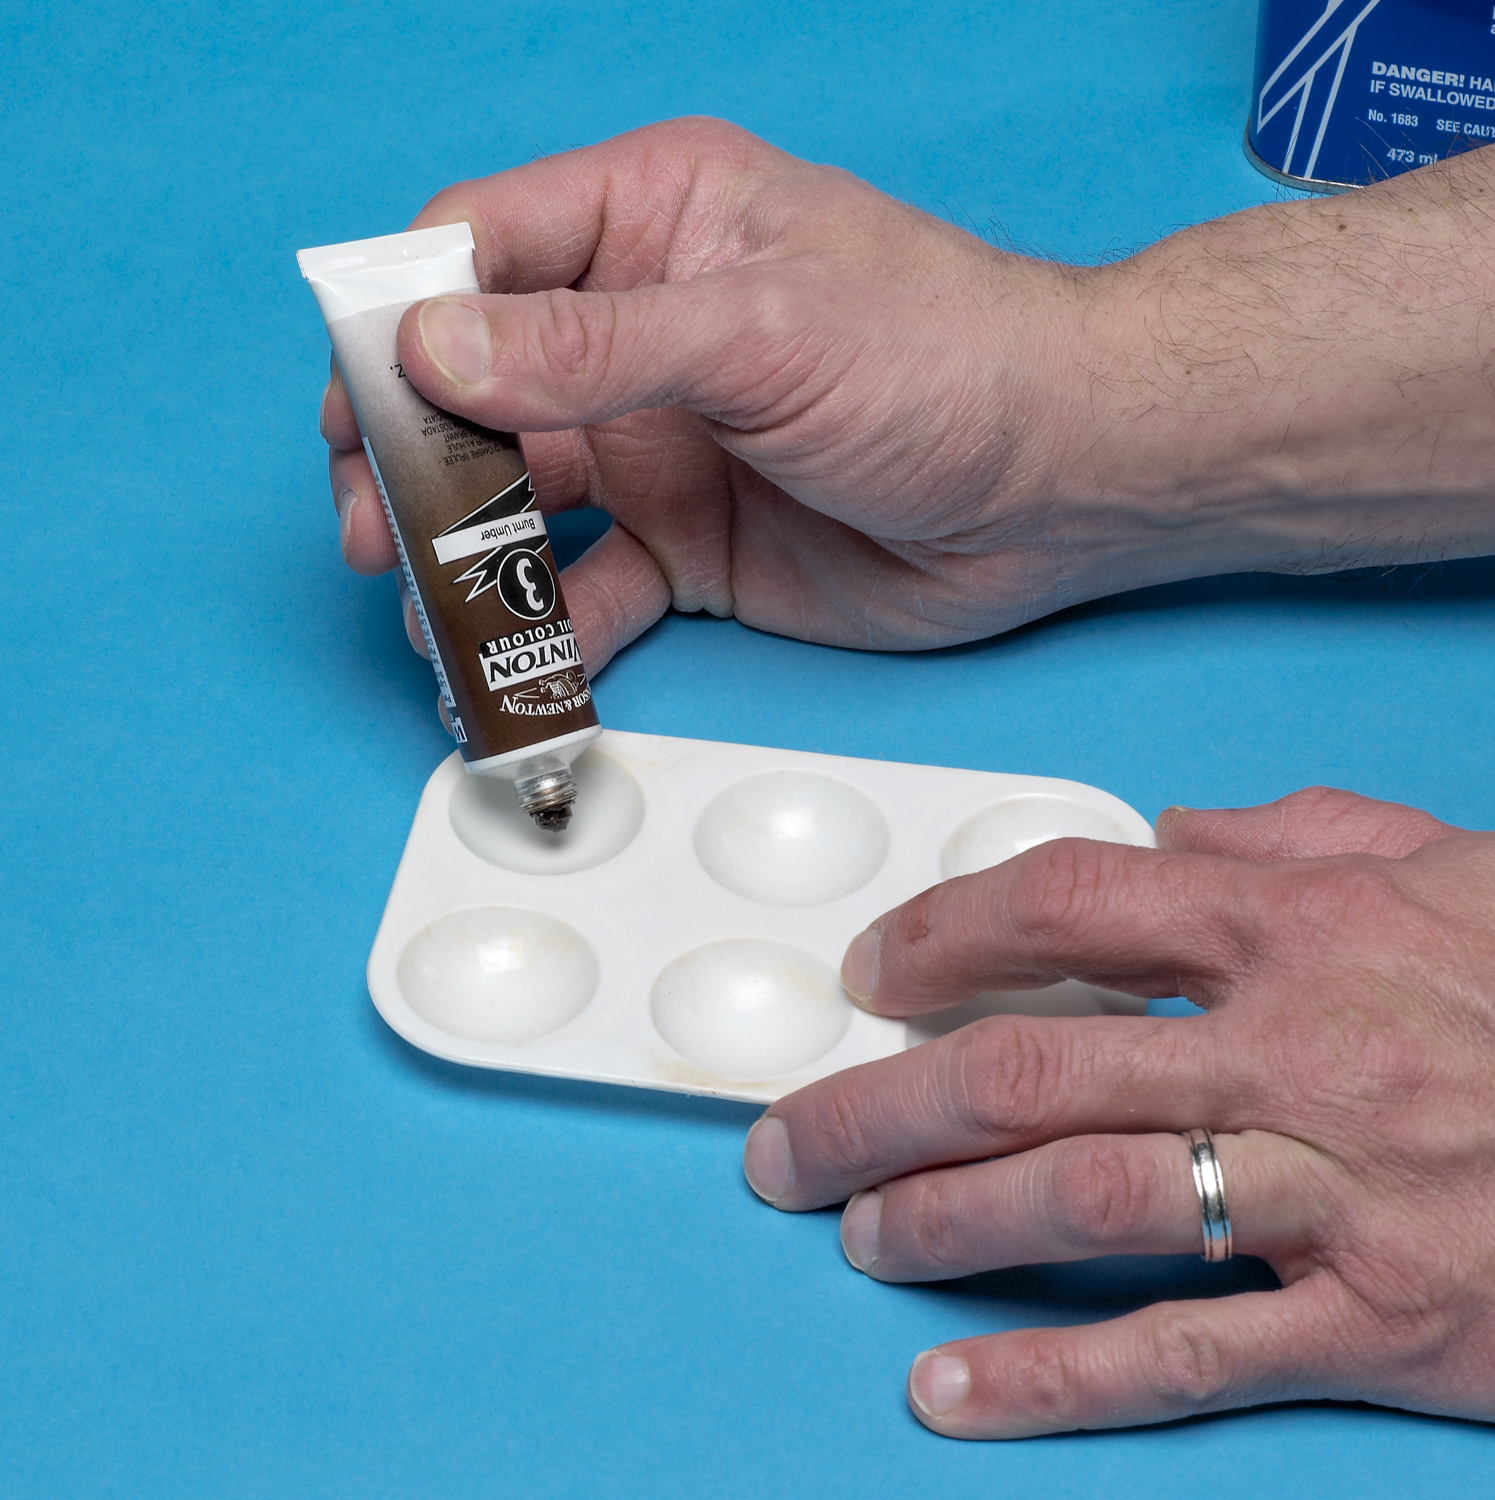
First, squeeze out a small dollop of paint. You don’t need much; a little goes a long way. This is an inexpensive plastic palette, but almost any hard plastic container will do; test it first to ensure the thinner doesn’t melt it.
Transfer some thinner into a separate container or area of the palette. To avoid spills, I use a large brush, dipping it into the Turpenoid can, then squeezing it into the container.
Use a small brush to transfer a little paint into the final mixing container. This lets you add paint and thinner to refine the mix.
Add thinner to the paint and mix well to avoid any unevenness in the mixture that can cause changes in the density of the wash.
For a general-purpose wash, I aim for a mixture that looks slightly tinted when the loaded brush is touched to the side of the container.
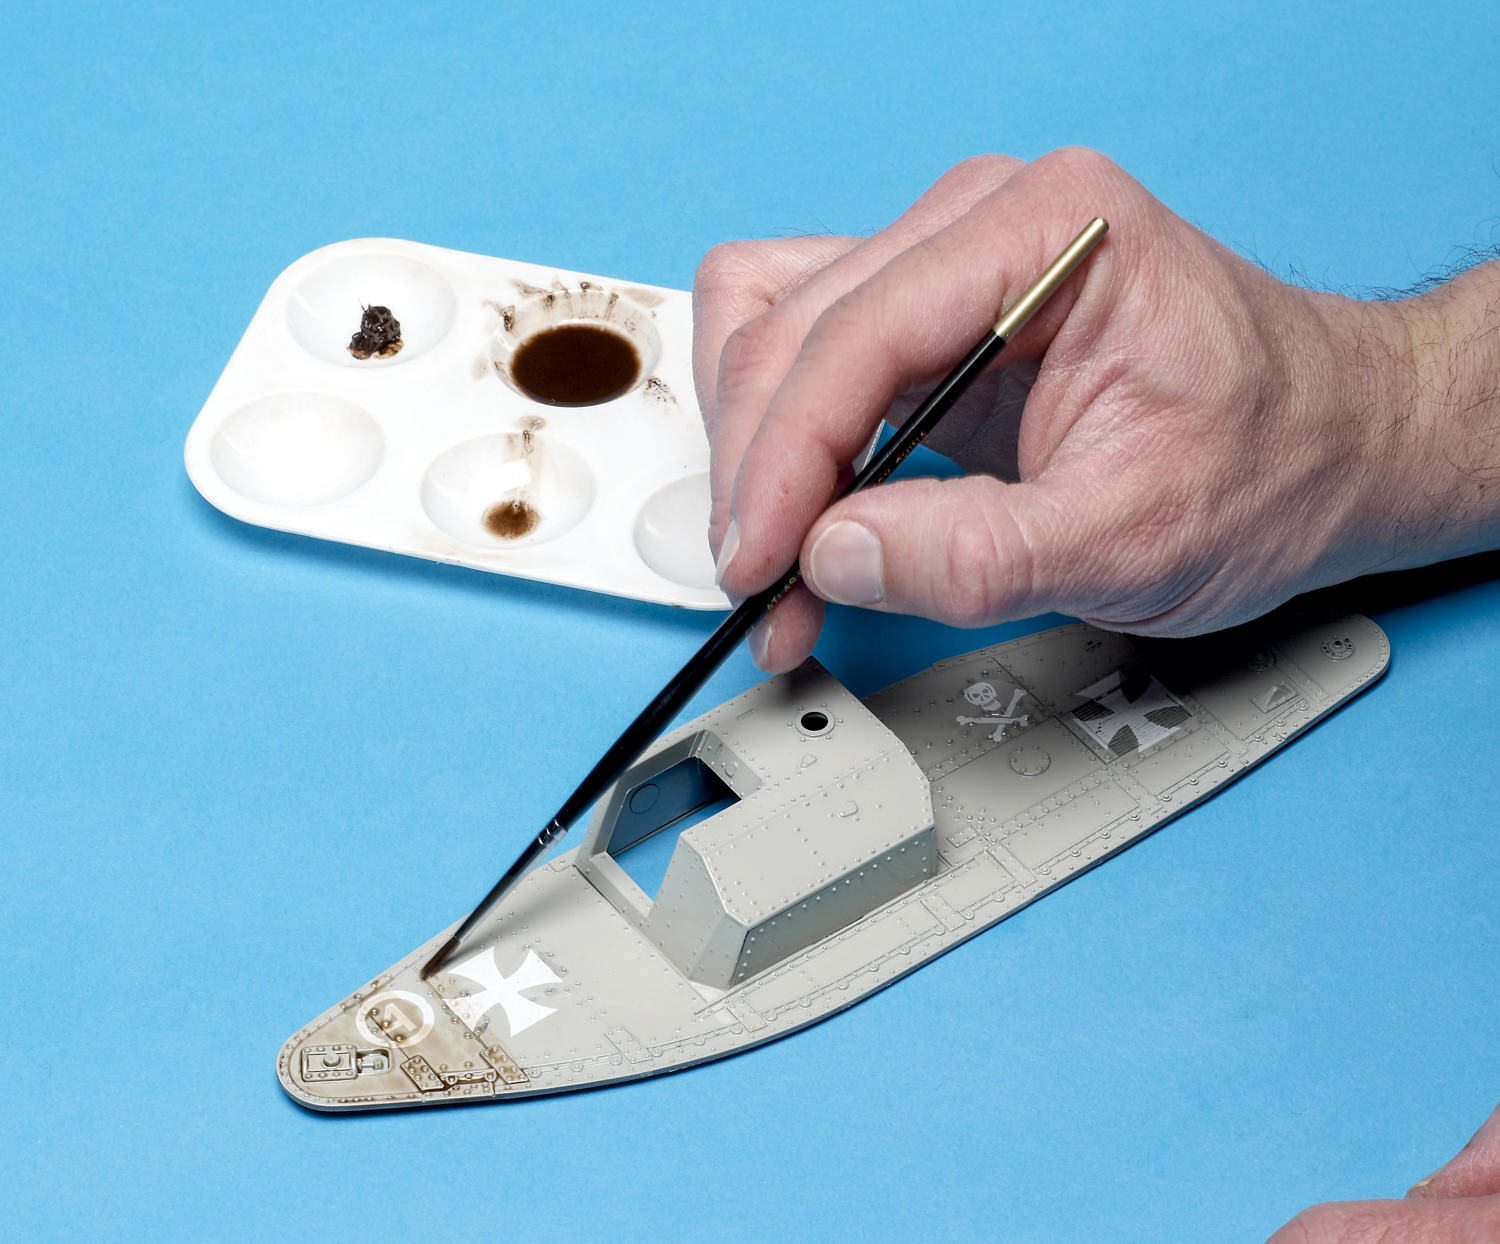
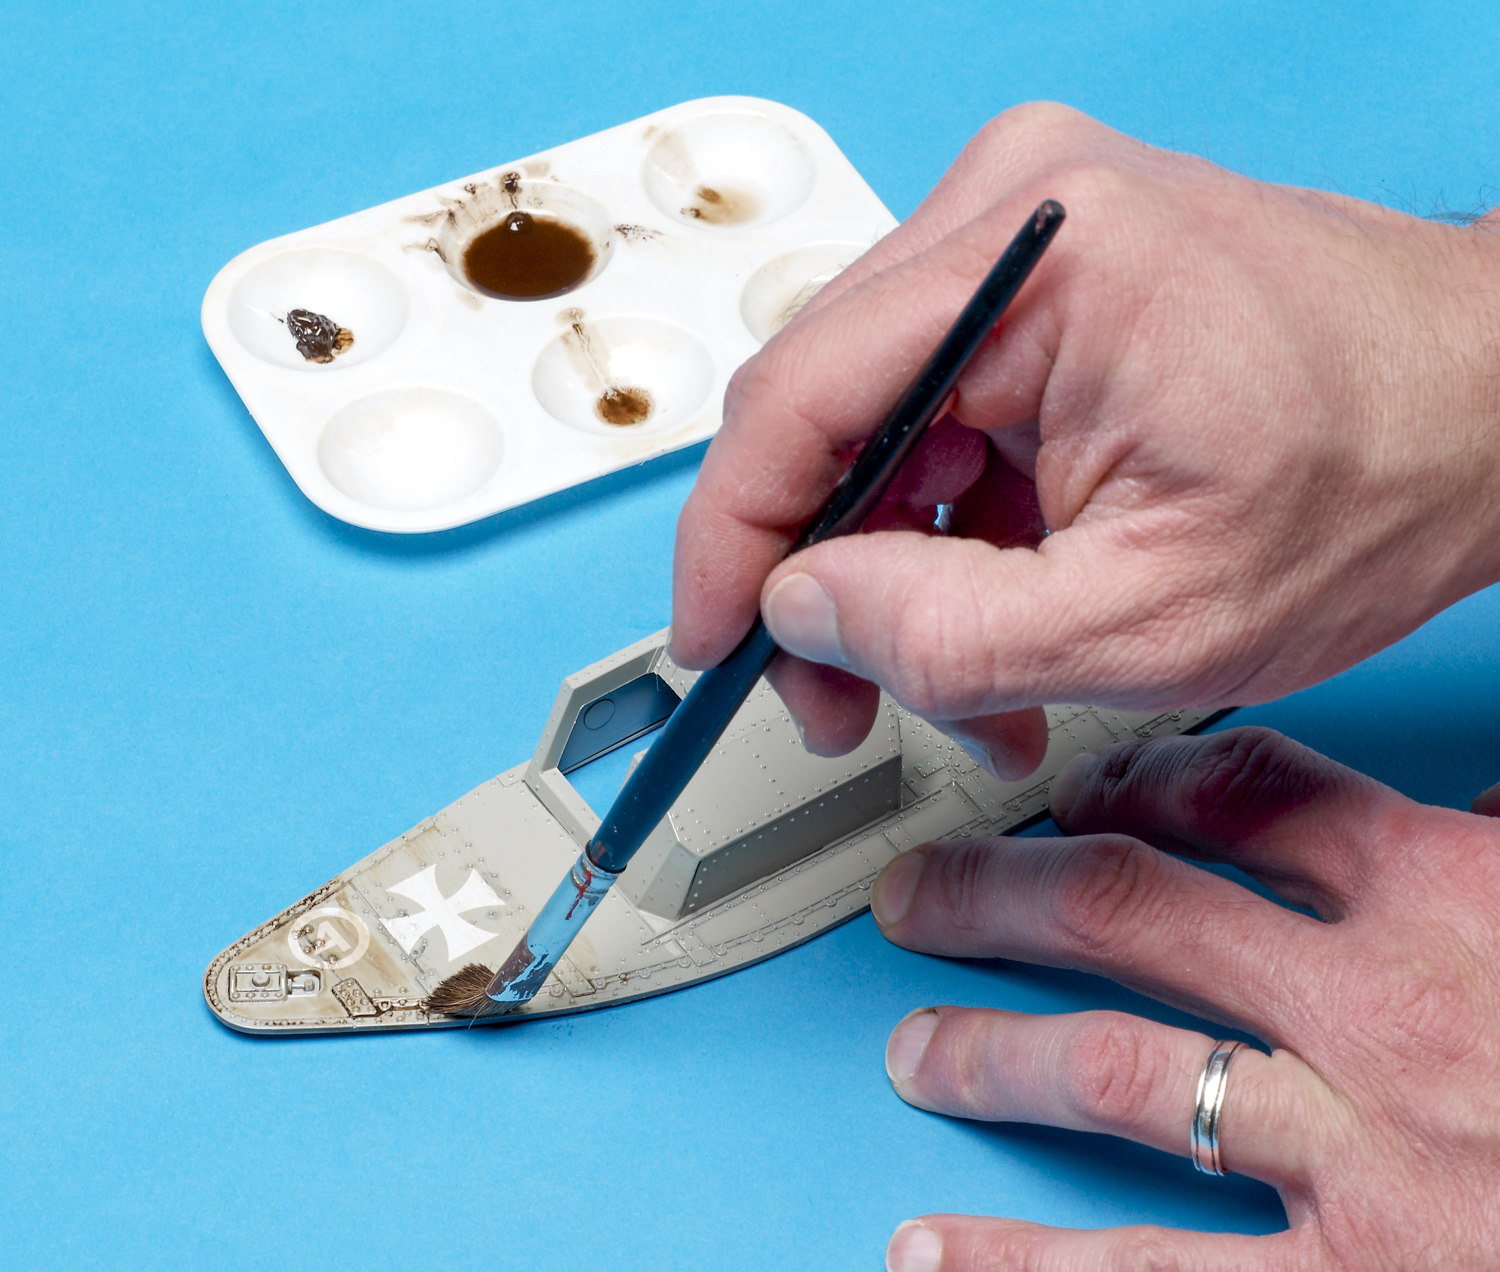
For a broad approach, use a large brush and apply very thin paint (I’m using a darker mixture than normal to make the effect more visible) over the entire surface. Note how the paint collects around details like bolts.
To refine the effect, I dampen a brush with clean thinner and stroke it across the surface, pausing frequently to wipe the brush on a paper towel. Stroke in the direction that water or air would move across the vehicle’s surface.
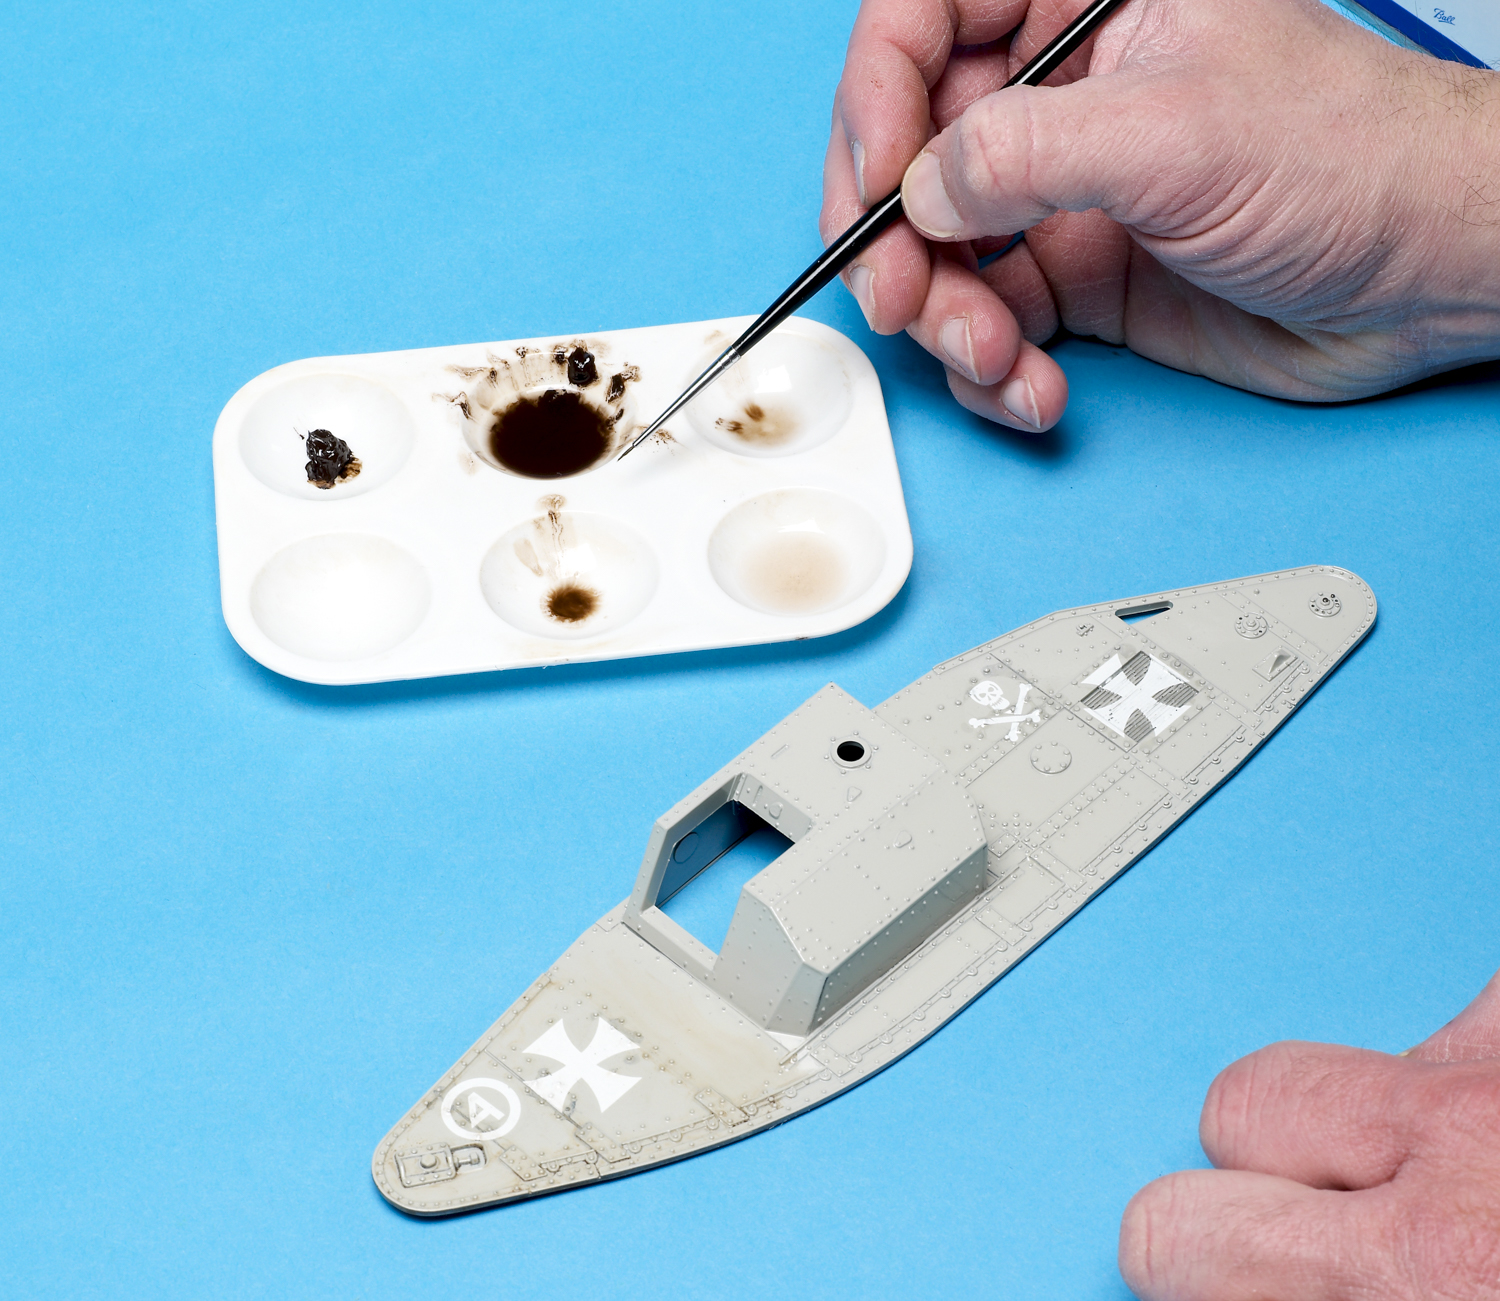
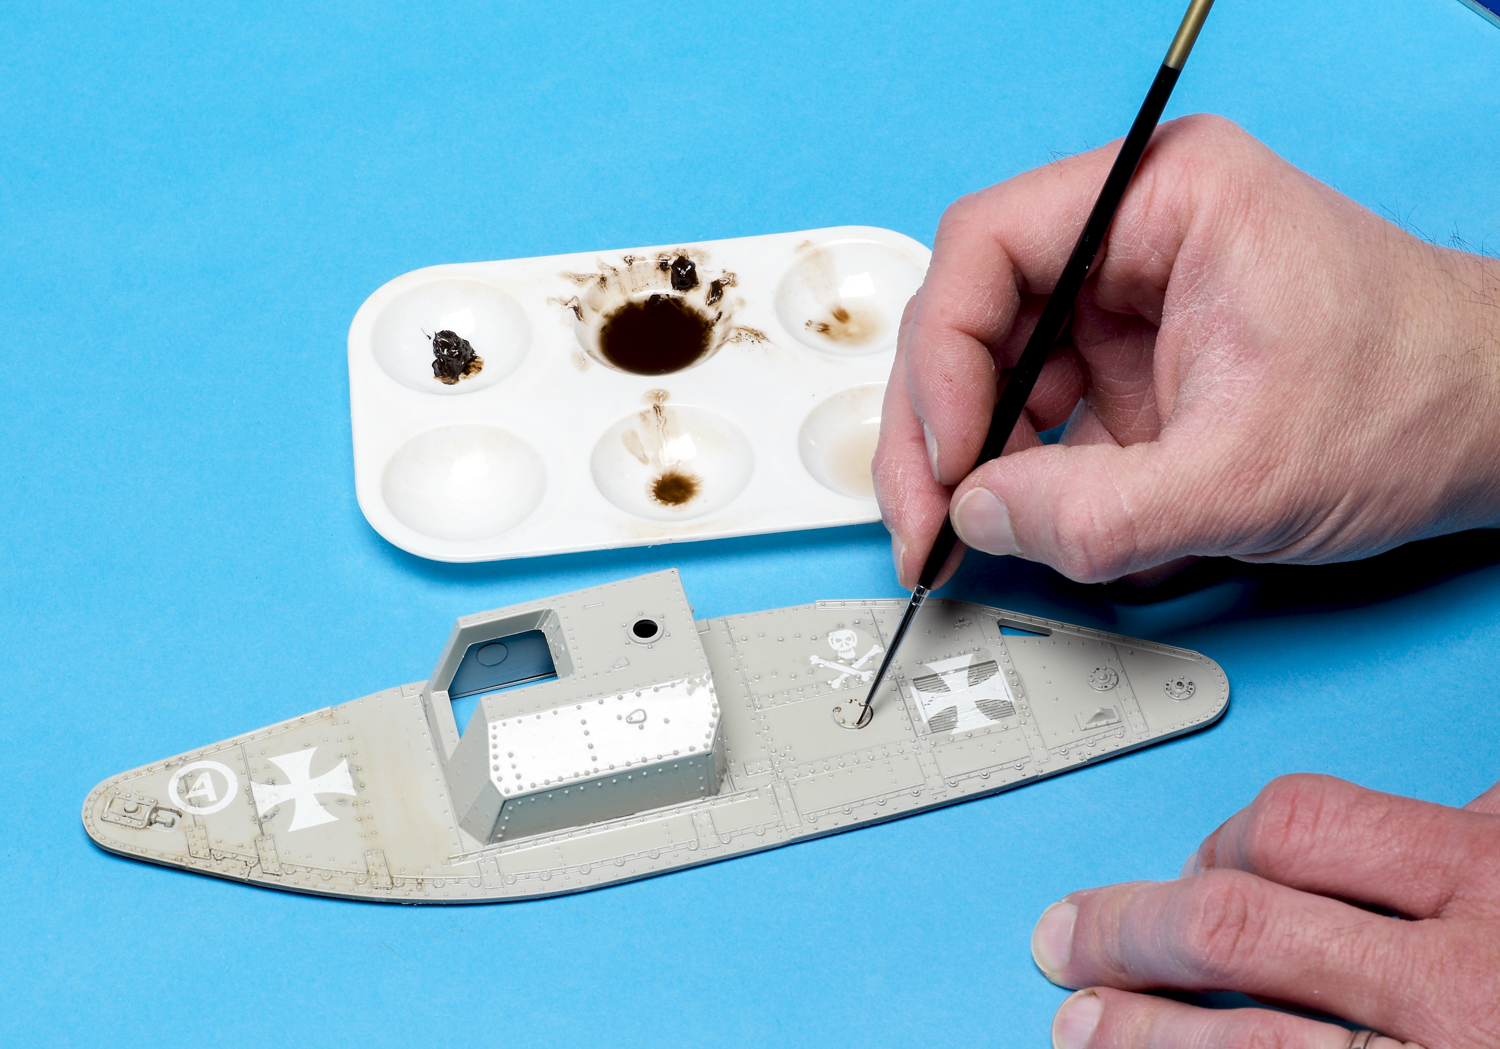
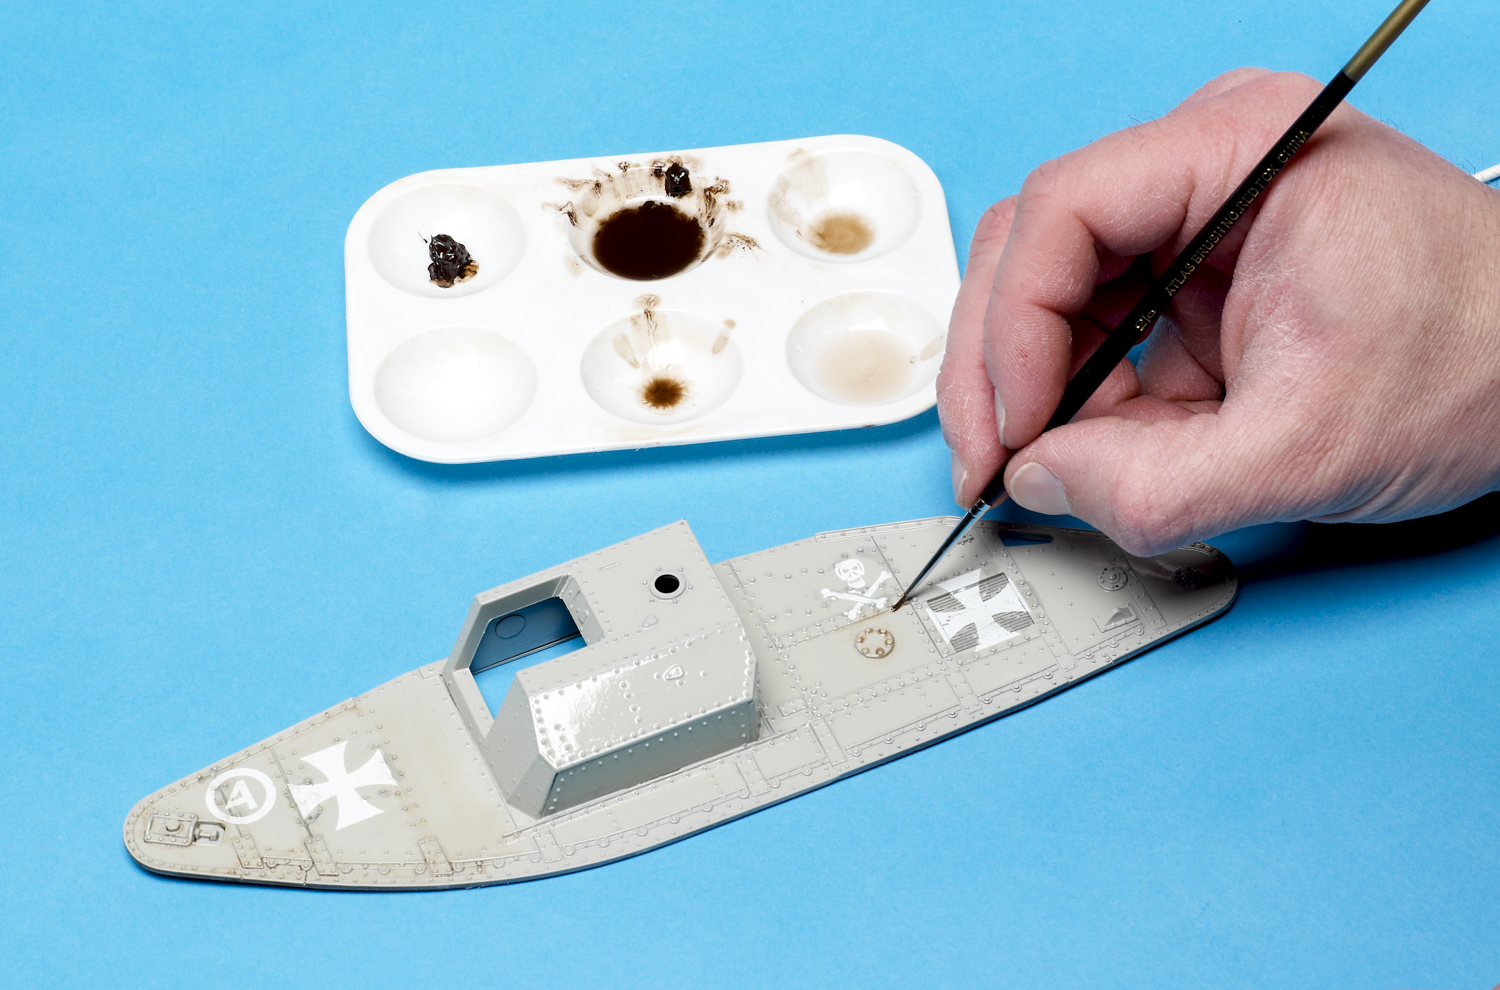
Pinwashes are precisely applied washes. Instead of using a large brush loaded with paint to cover the entire surface, you’ll use a fine-point brush on specific areas or details.
Touch the tip of the brush to the edge of a feature you want to accent — capillary action will pull the wash around the detail without affecting the surrounding surface.
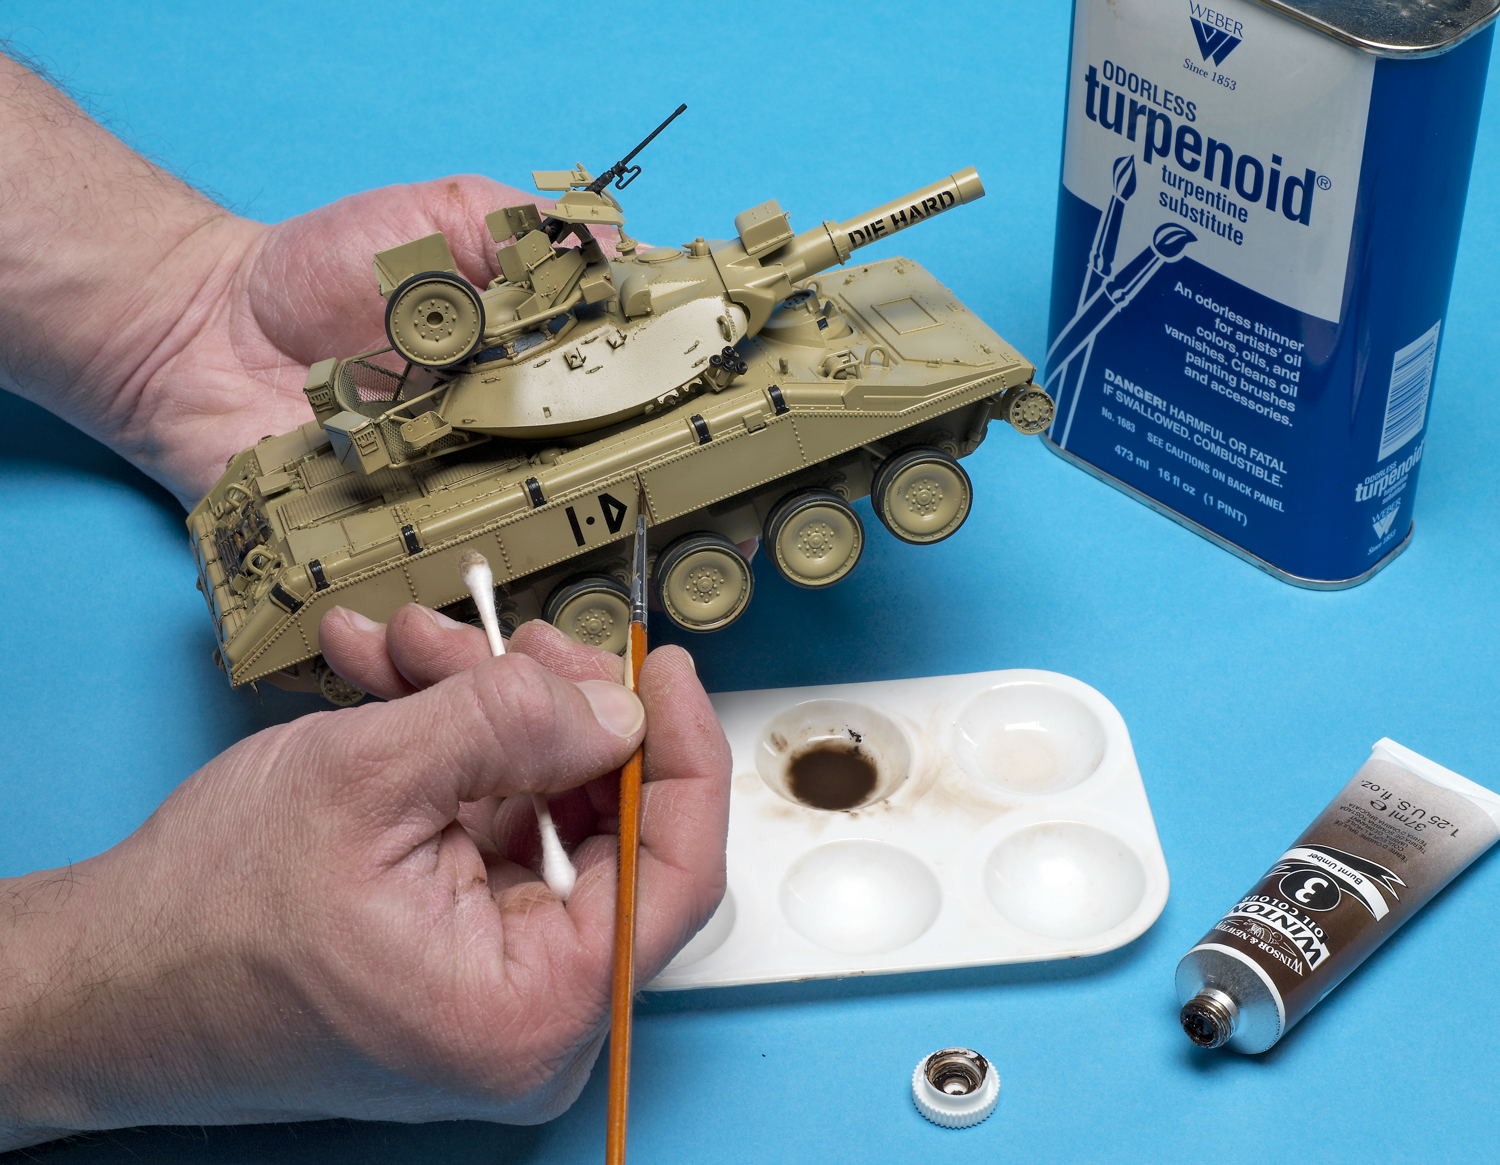
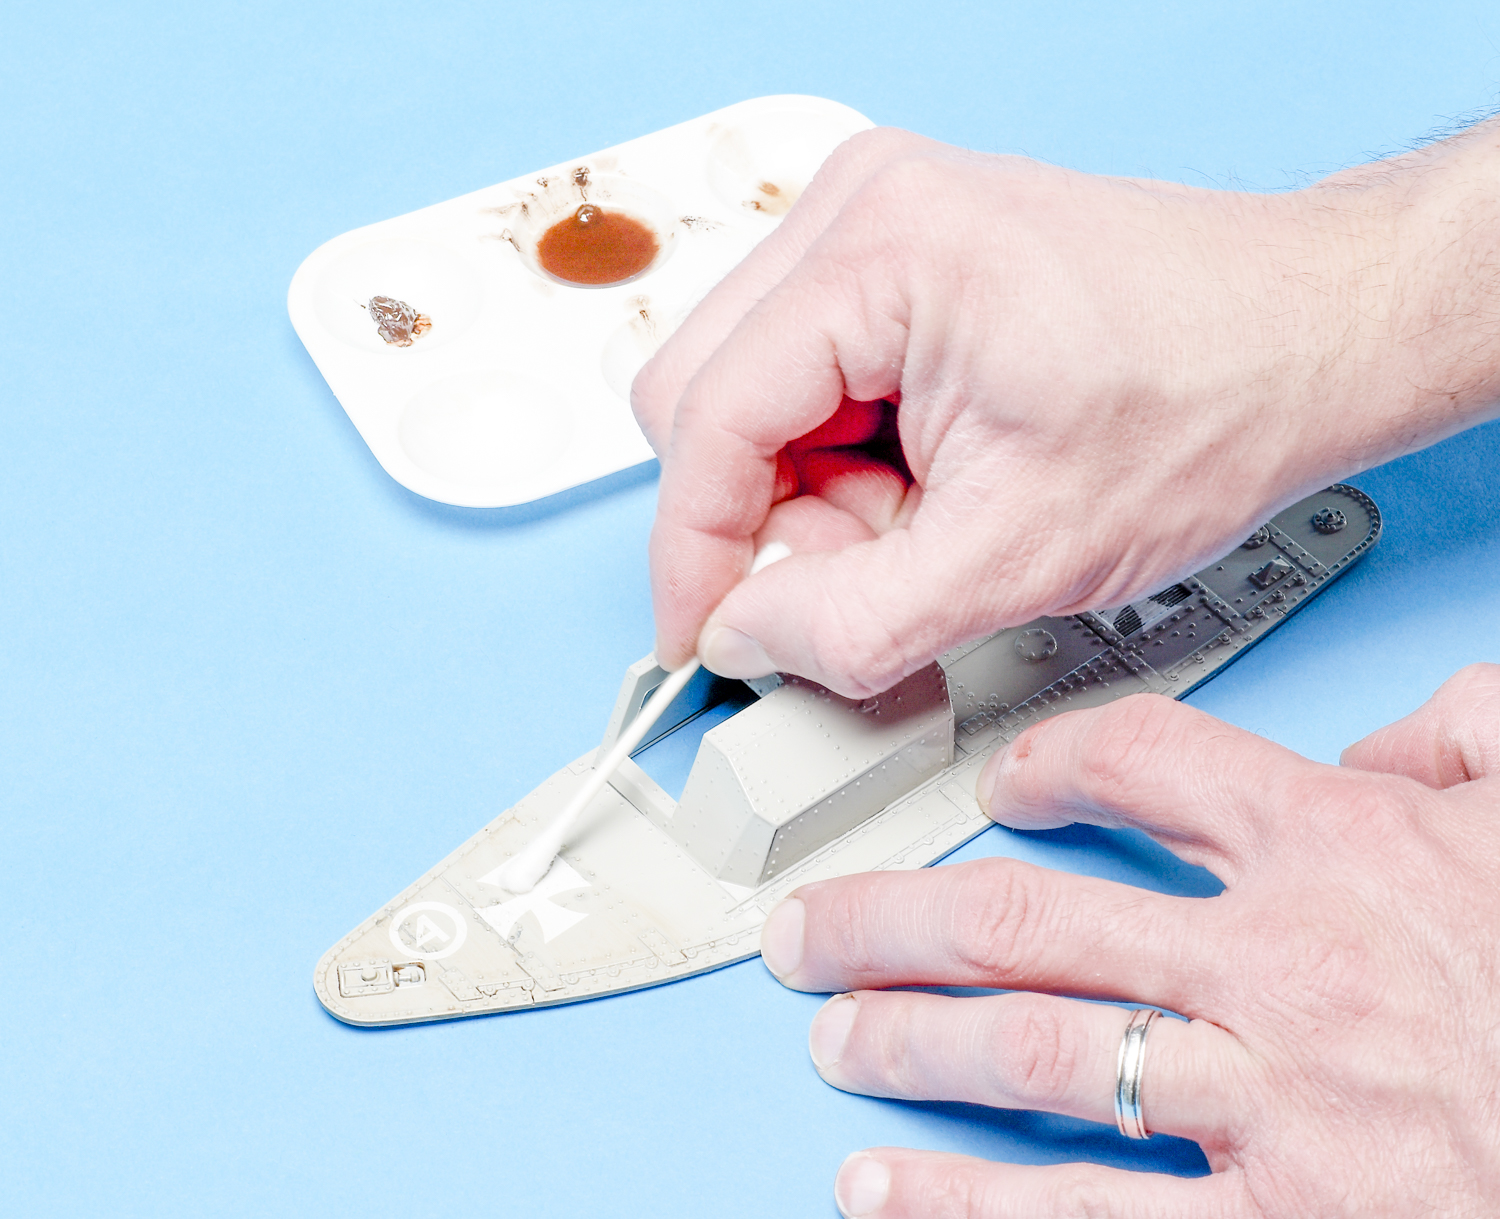
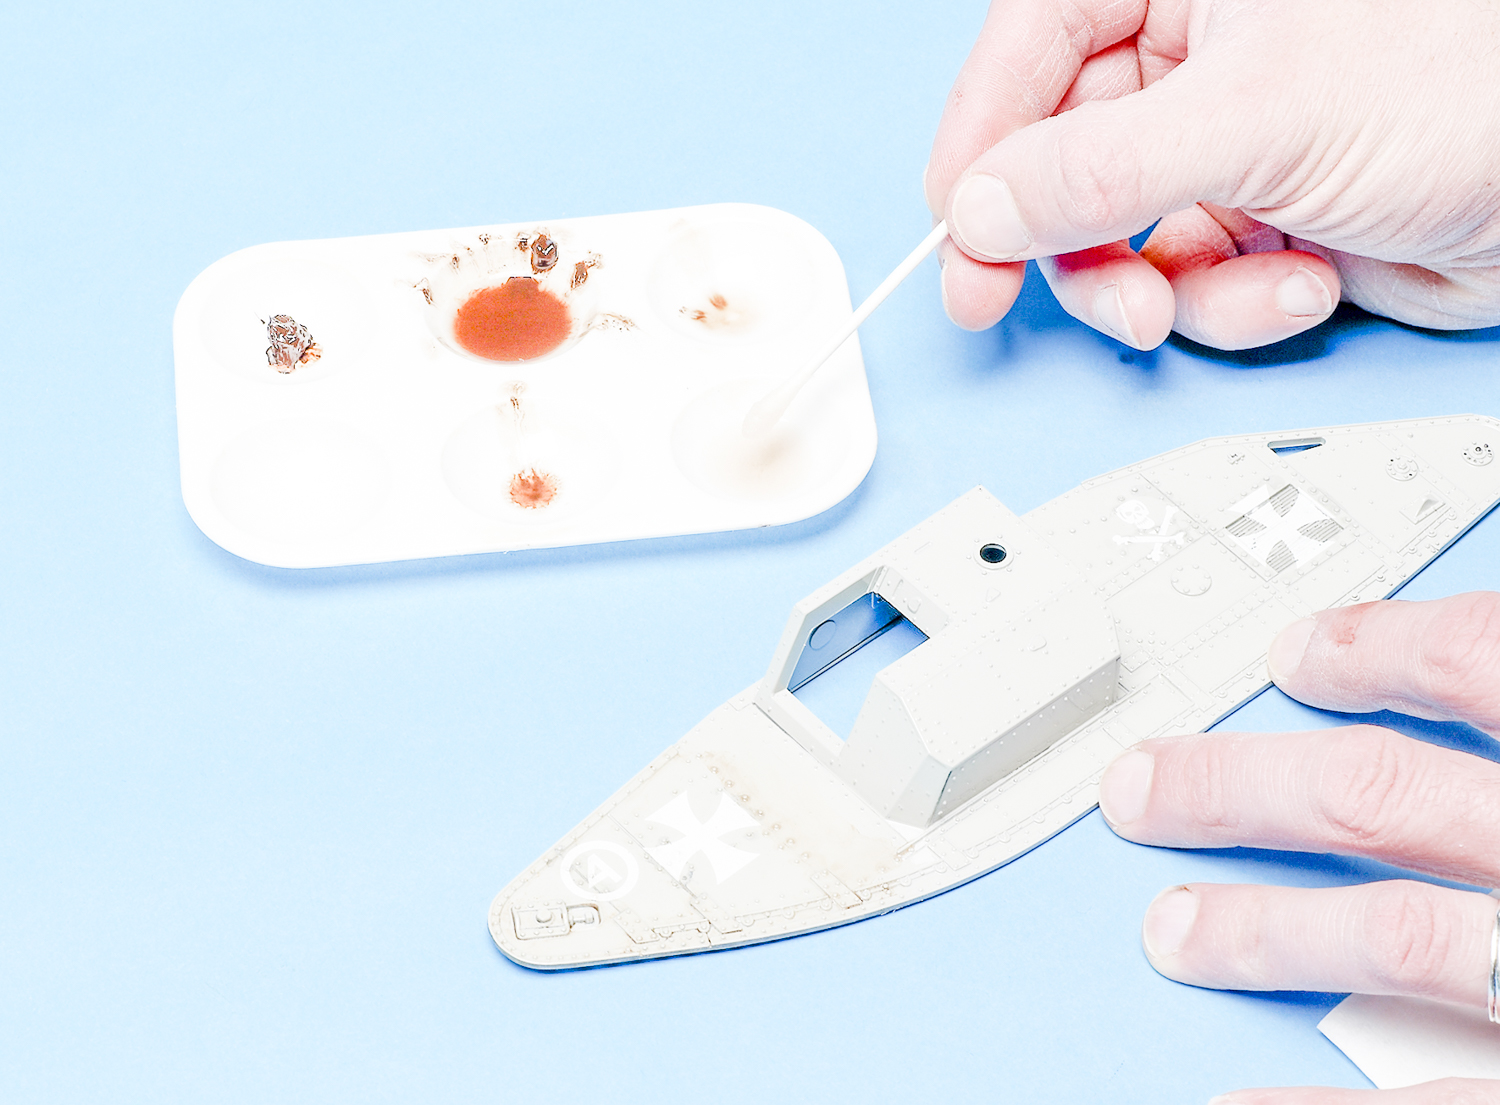
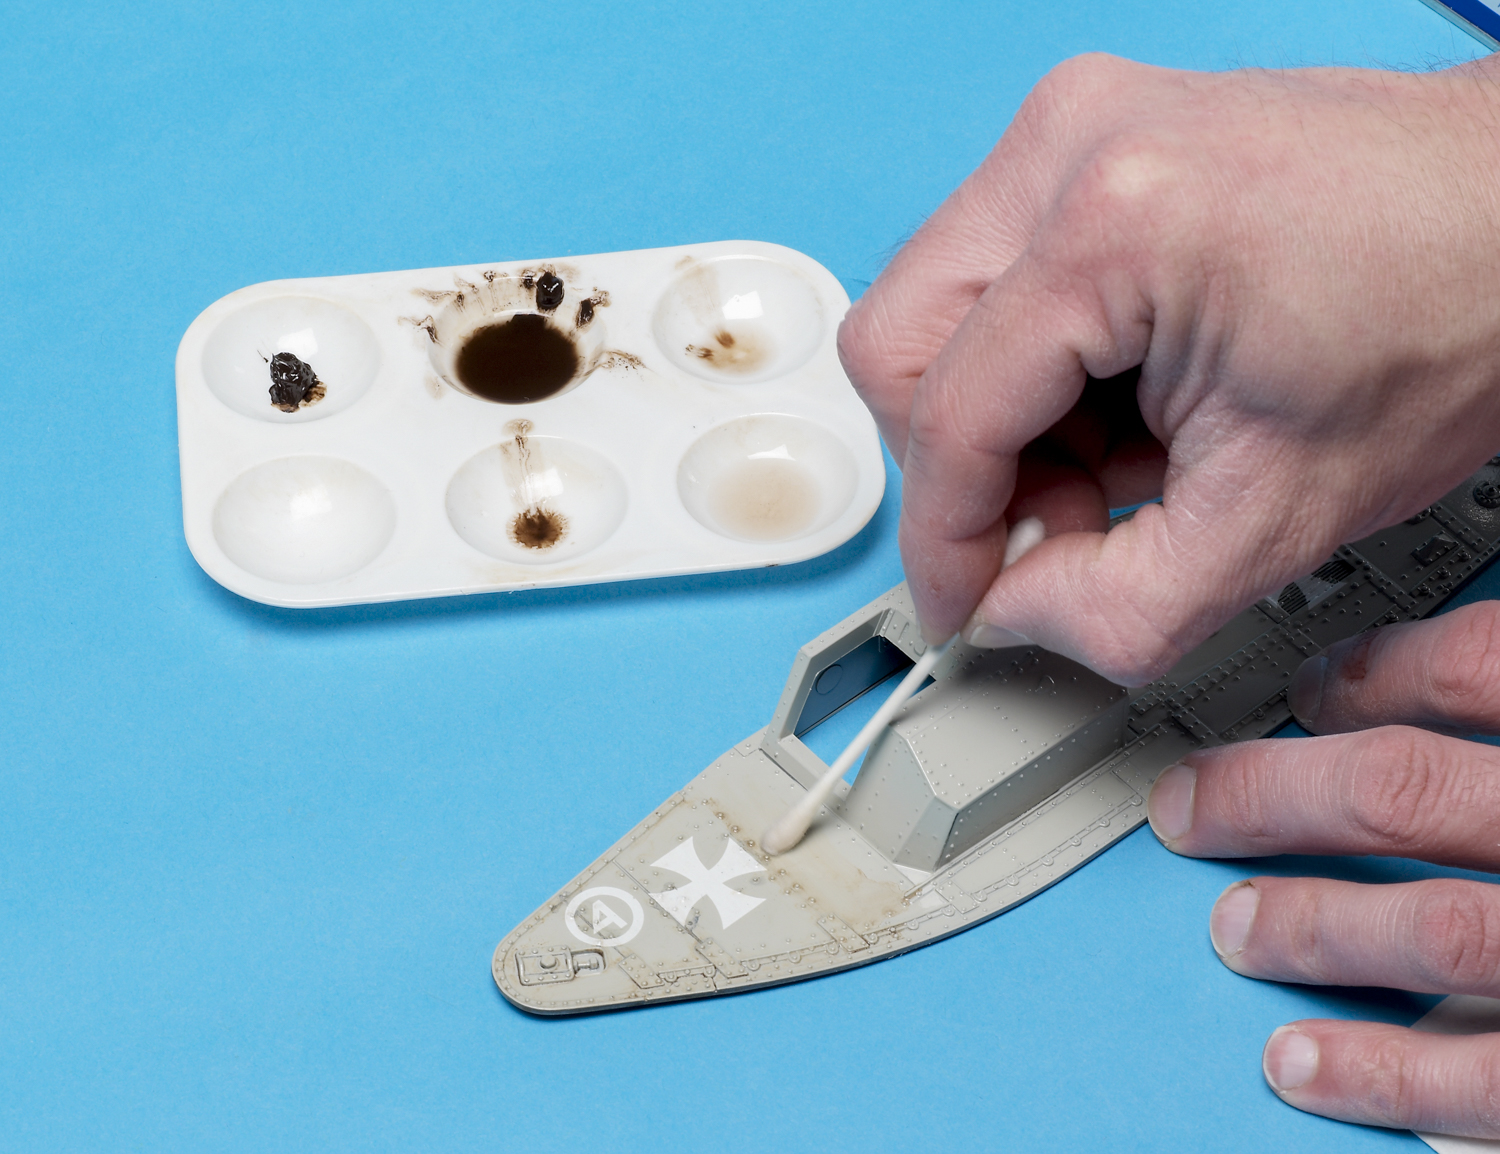
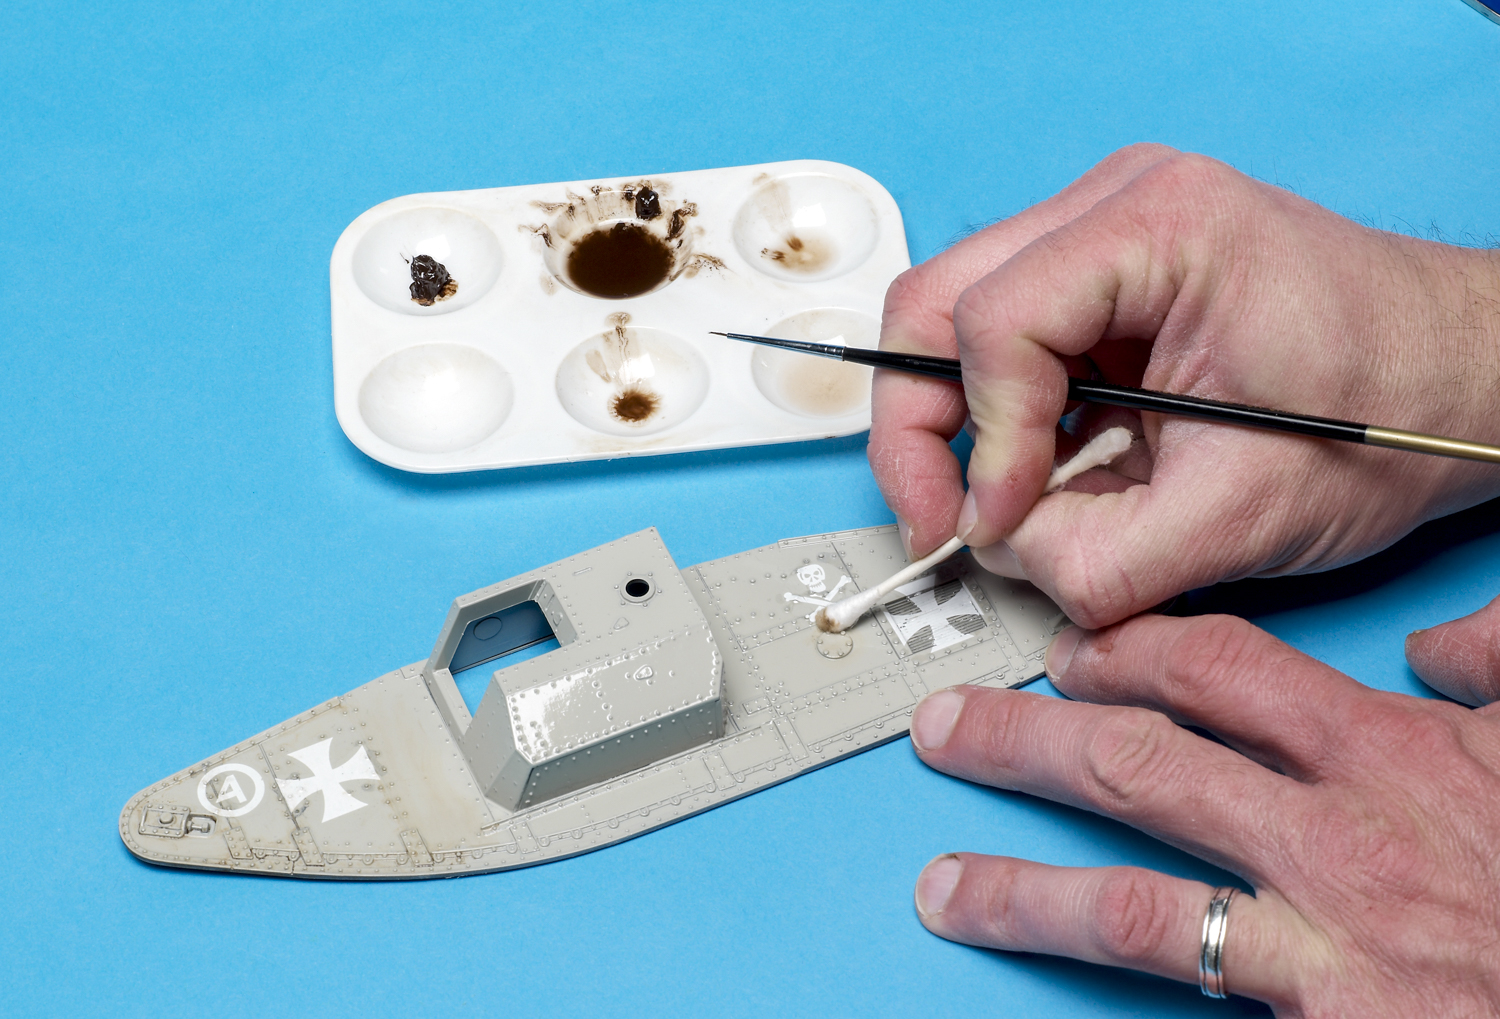
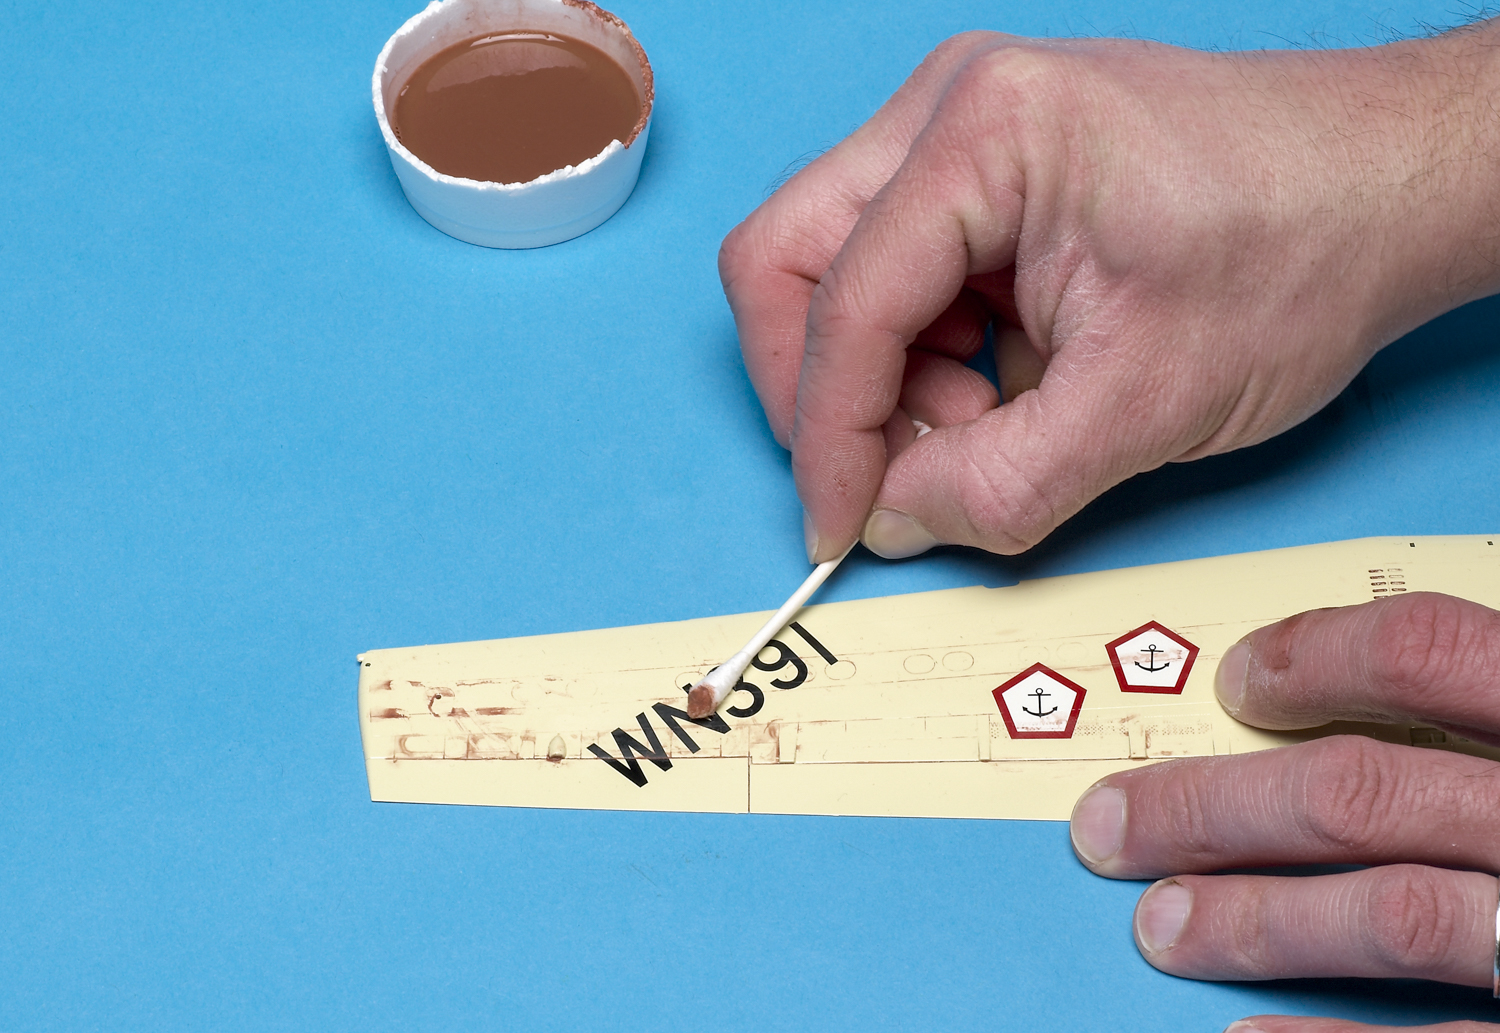
Artist oils’ long drying time makes it easy to fix mistakes (such as paint in the middle of a panel). First, dip a cotton swab in clean thinner. Use swabs with cardboard stems; thinner will melt the plastic-tube variety.
Rub the surfaces where you don’t want the wash. You can use this technique to feather edges and further refine the wash.
Sludge match
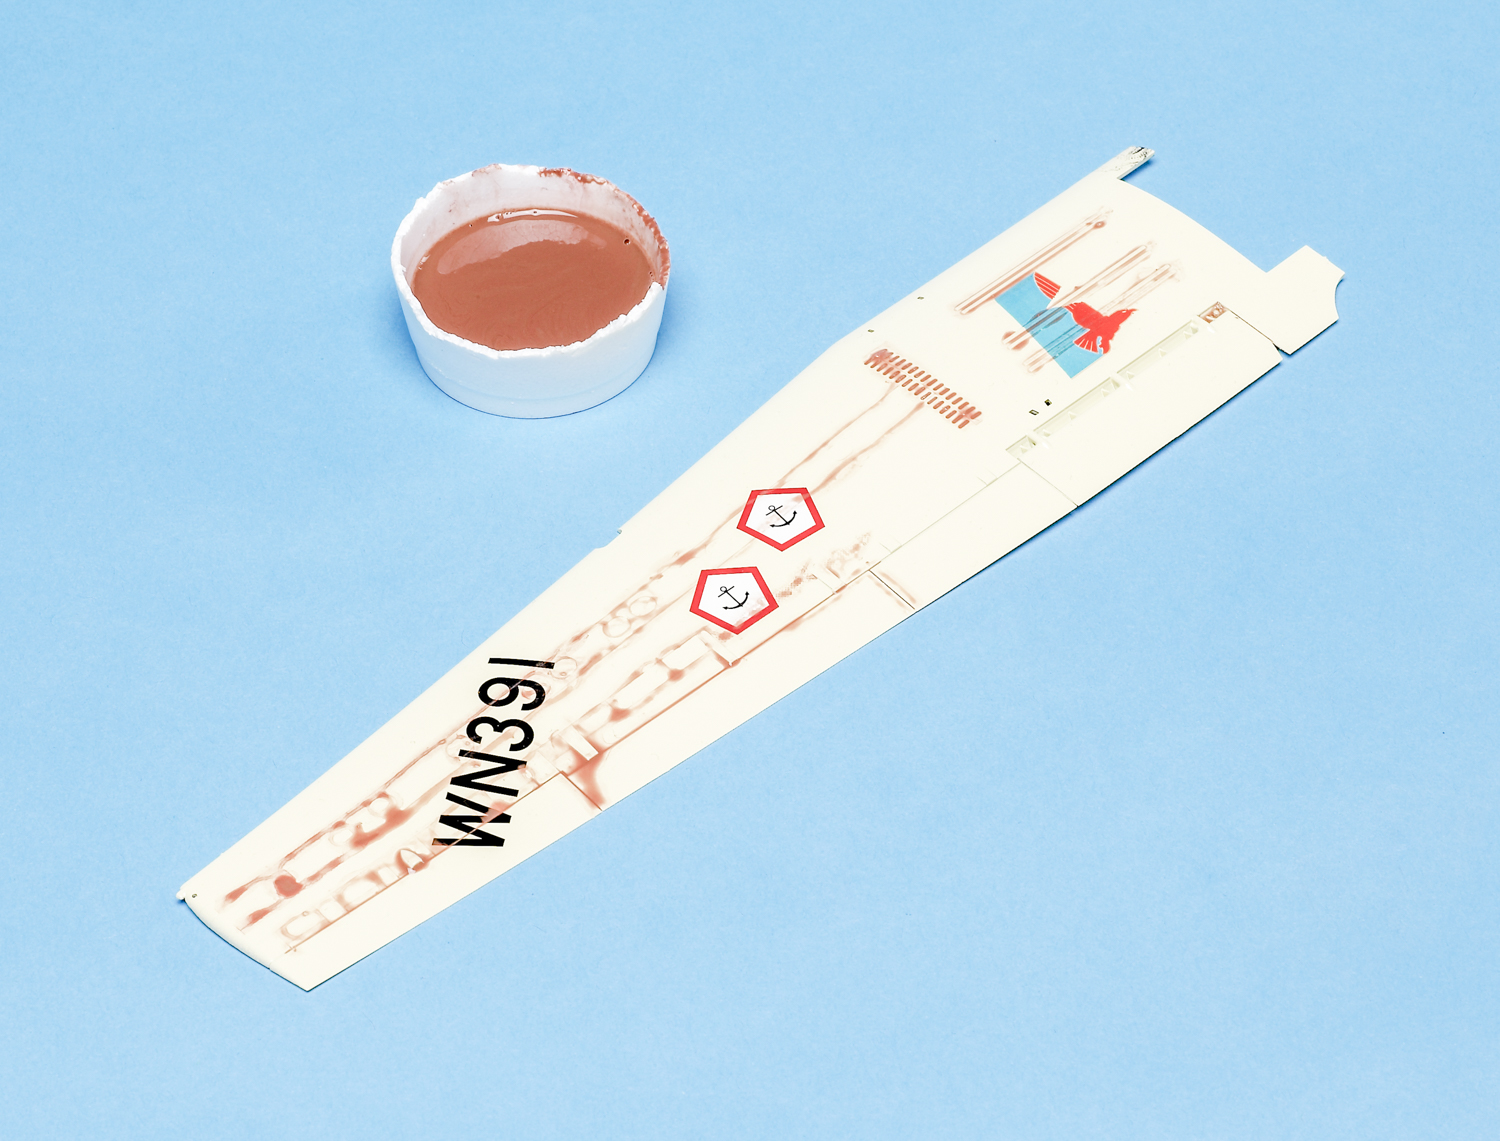
Sludge washes are perfect over enamel finishes. Mix five parts water with two parts Polly Scale water-based paint. Then add three parts liquid dishwashing soap. (Finally, a wash with soap!)
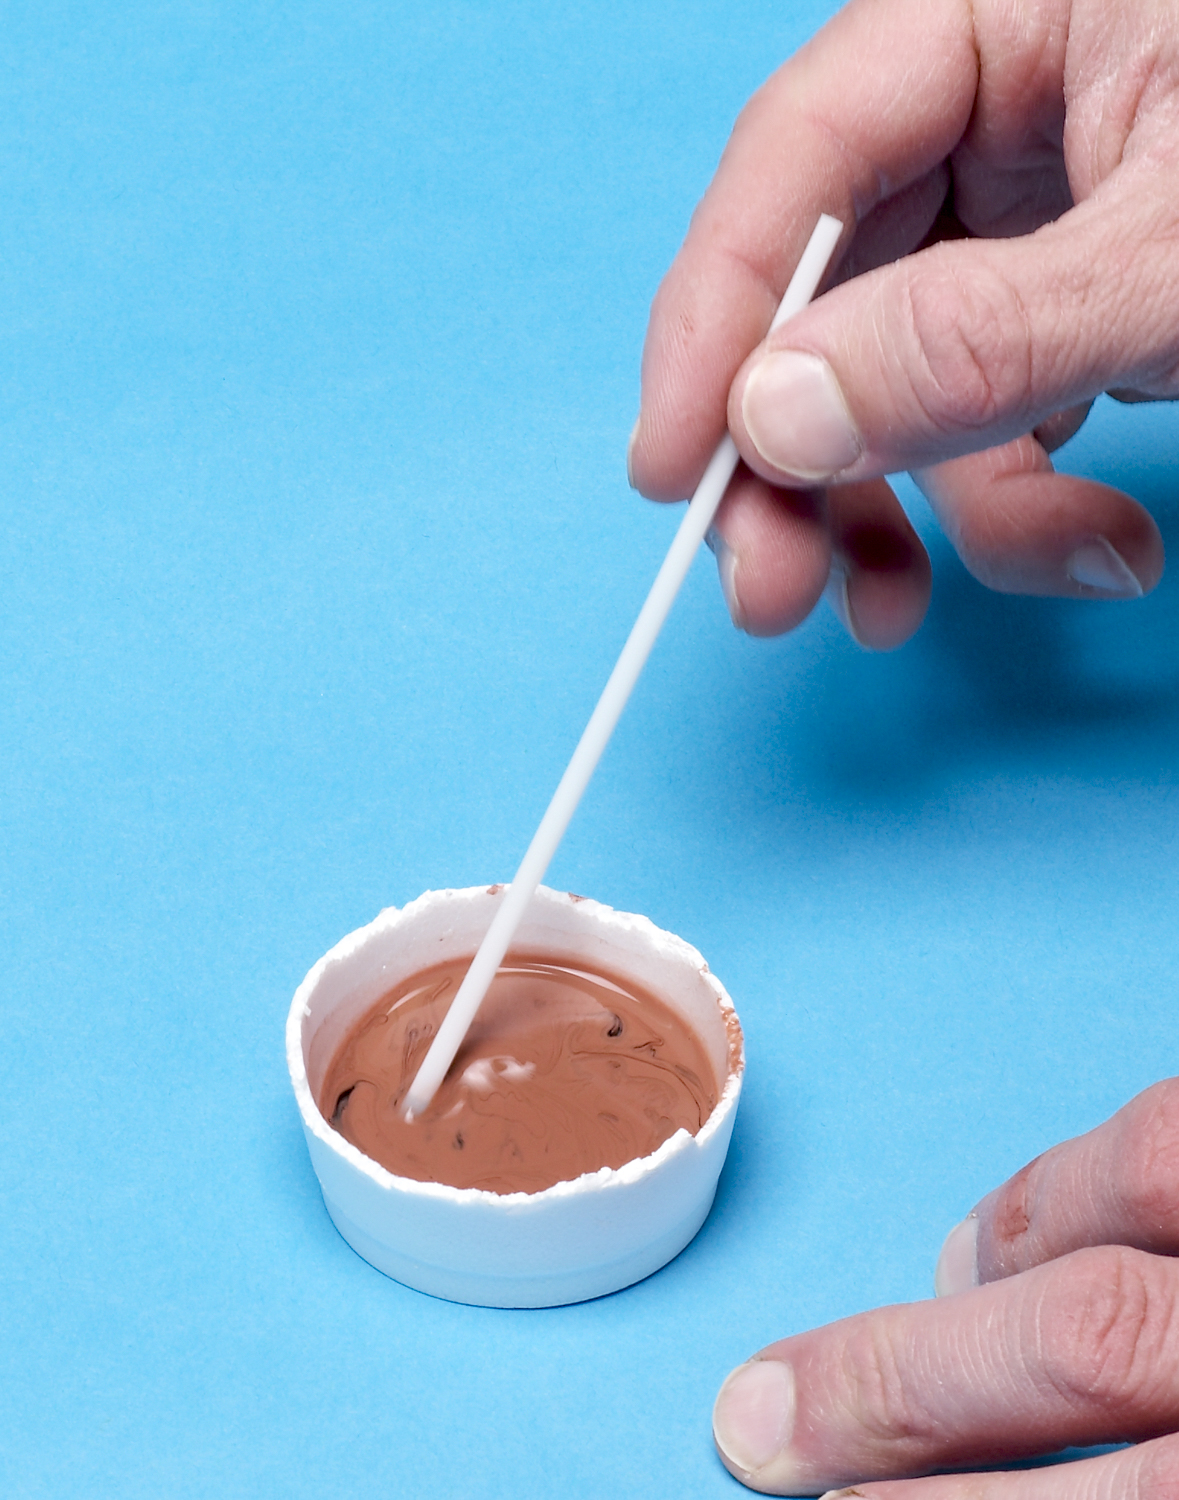
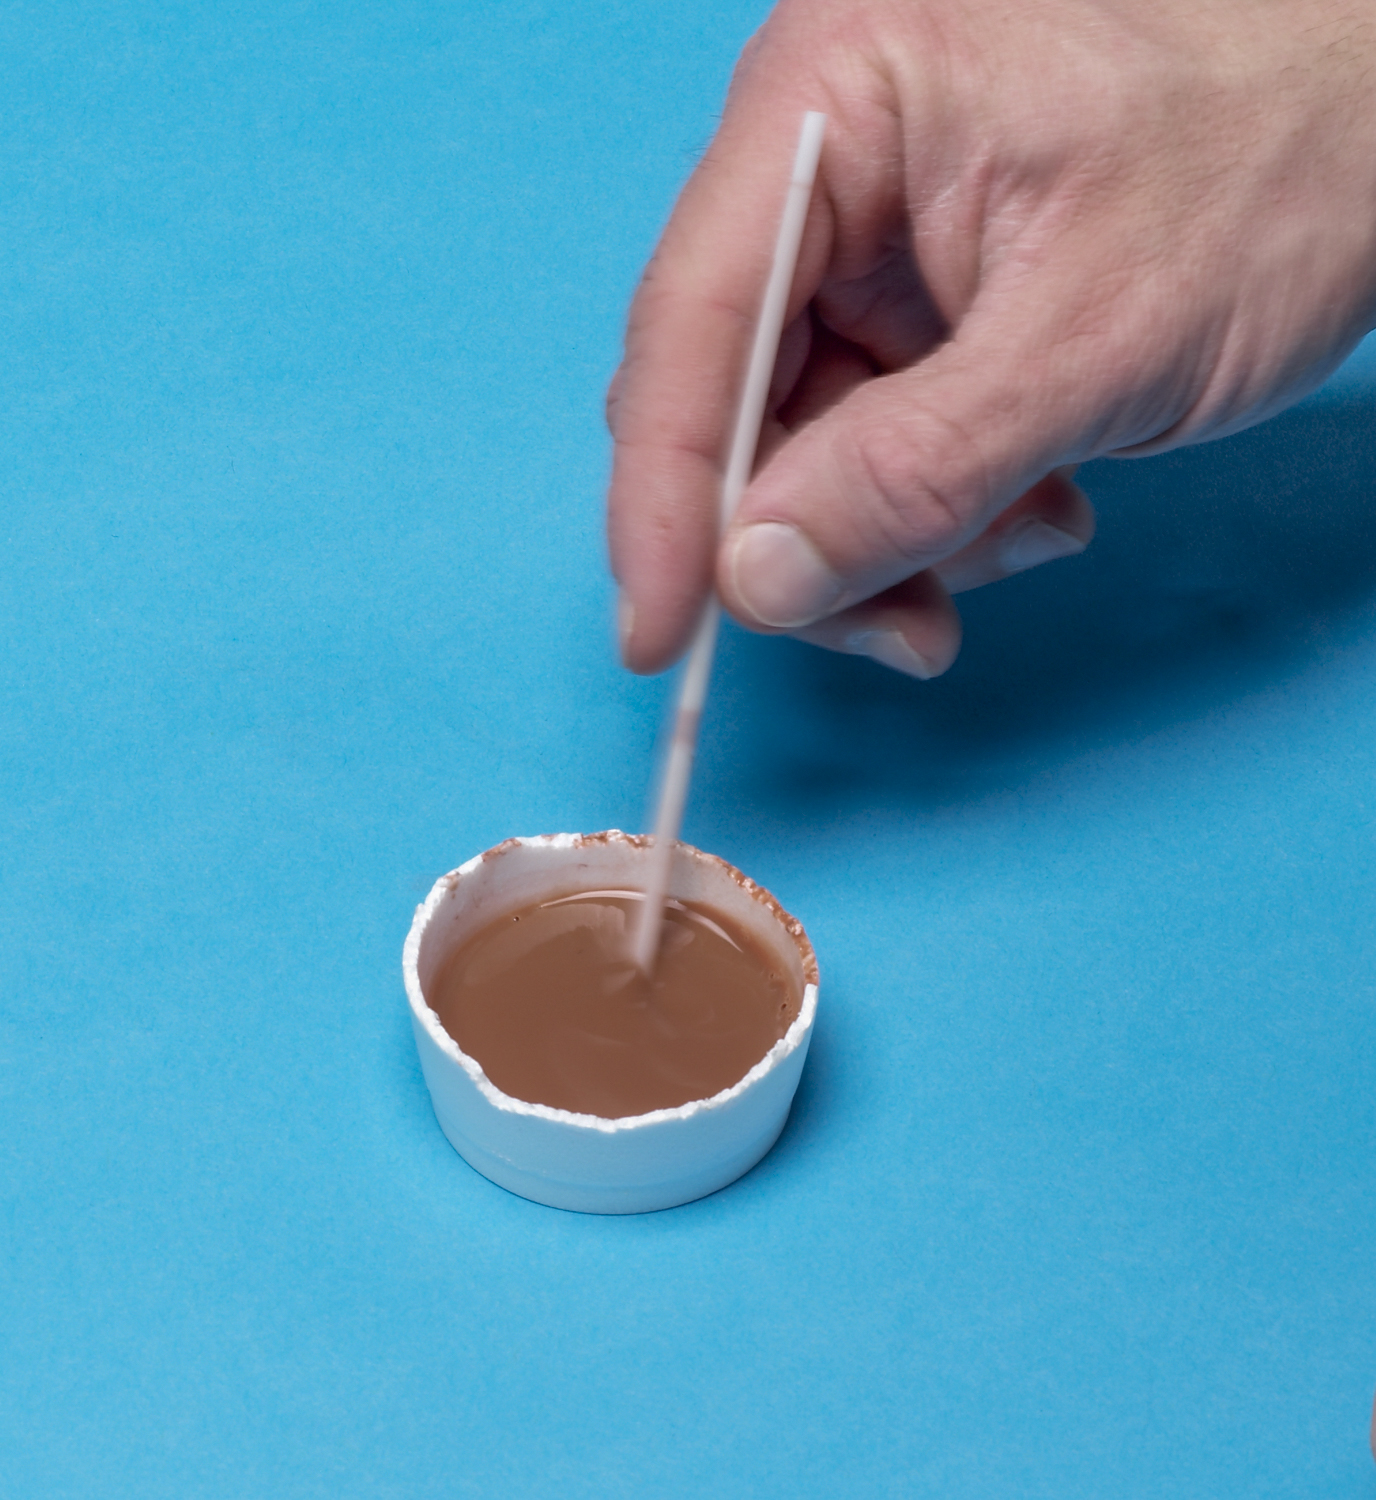
Stir the soap into the paint and water mixture. Don’t shake it or you’ll get a bunch of suds. The secret is that soap reduces the paint’s adhesion and lessens the water’s tensile strength. You should end up with a sludgy liquid.
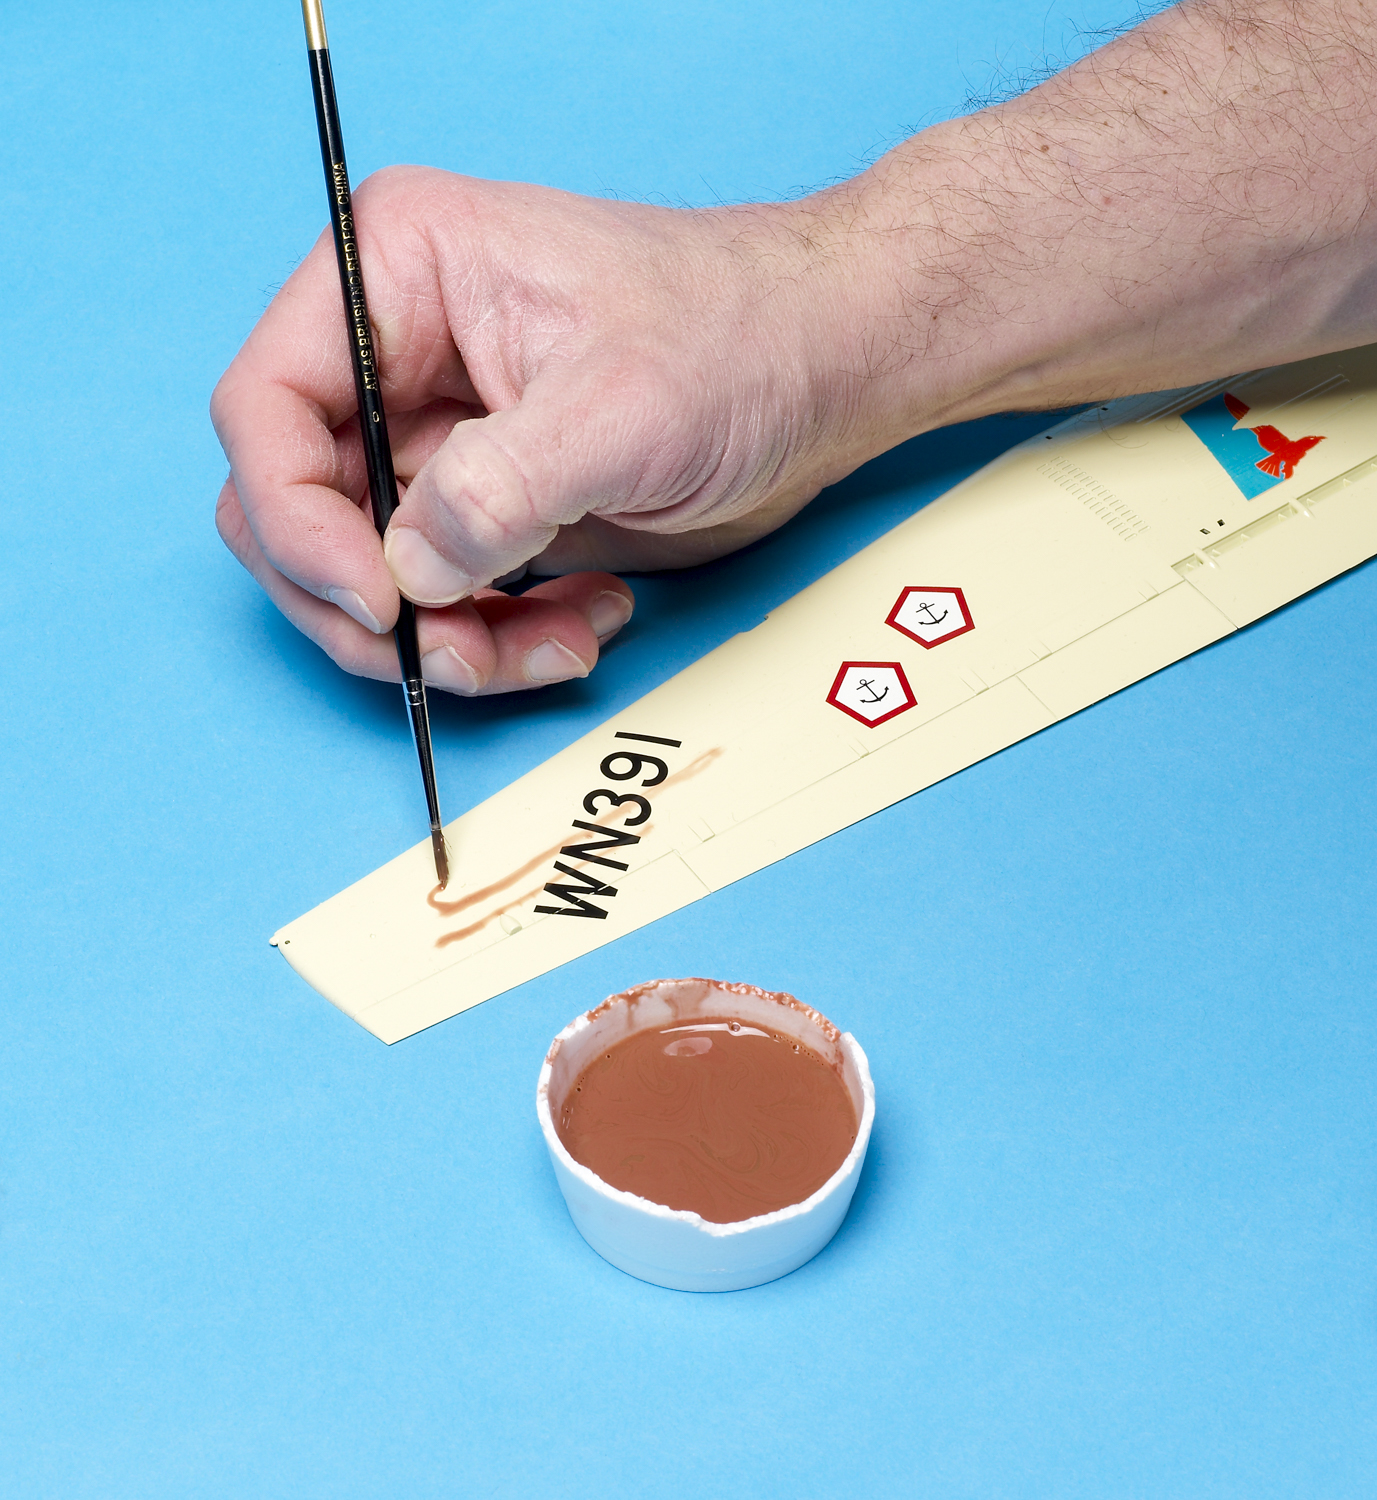
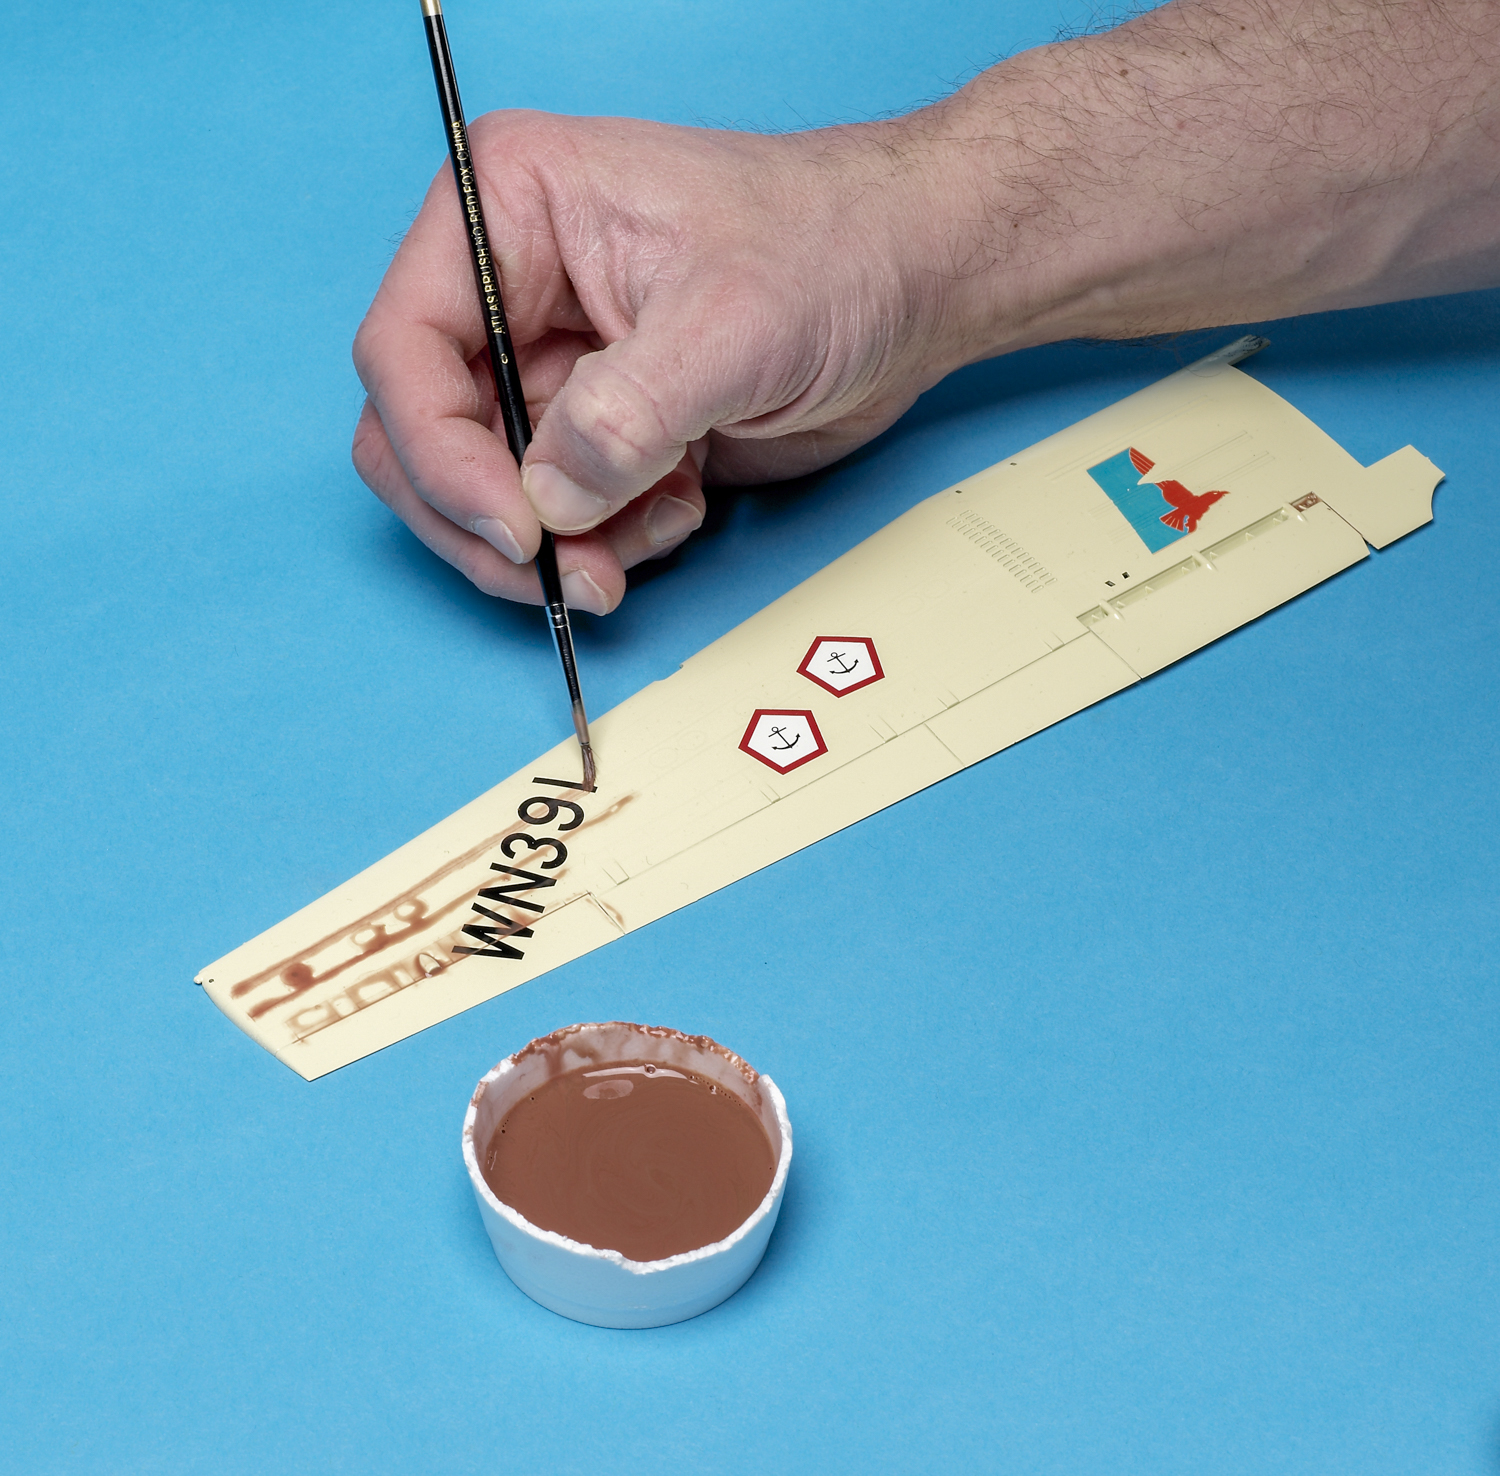
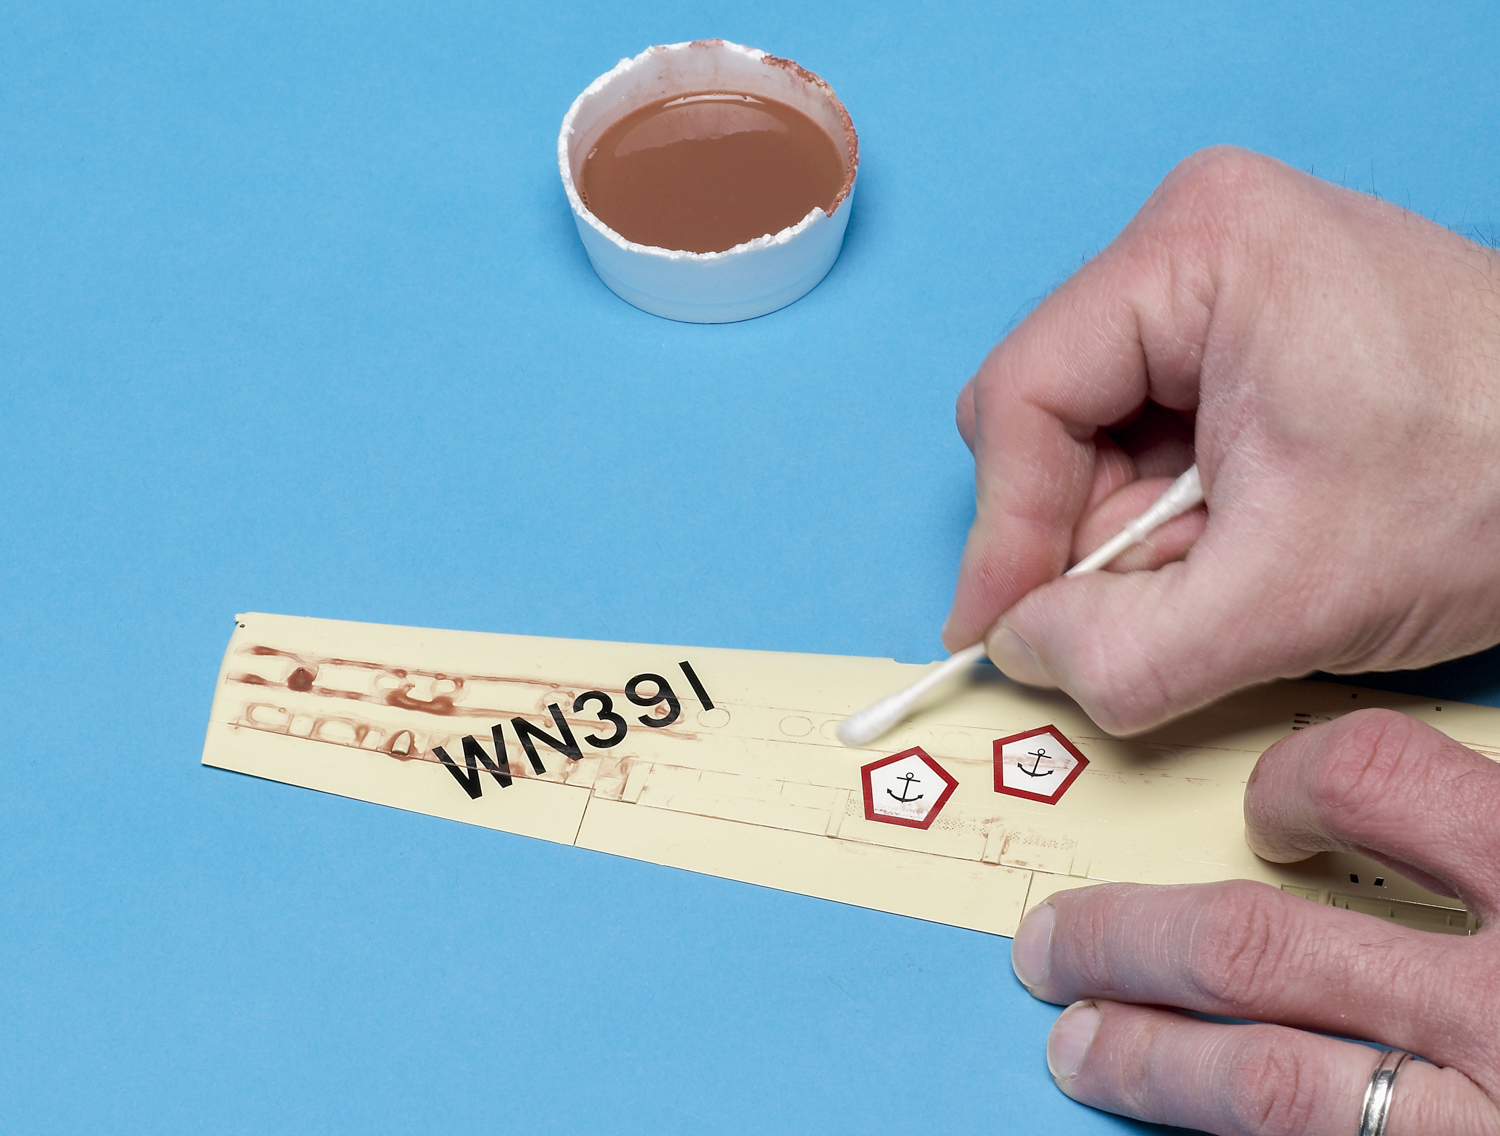
Use a brush to paint the sludge along panel lines and around details. Don’t worry about neatness; you’ll be removing anything you don’t want.
I’m using oxide red for effect, but sludge washes can be mixed with almost any color; white is particularly useful on dark schemes.
With the sludge in place, it’s time to wait. The paint should dry for 15-30 minutes. A hairdryer can speed the process for the impatient.
Now, rub with a rag or cotton swab to remove paint everywhere but in the lines and recesses. Use just a little pressure, and be careful around decals.
Other wash ideas
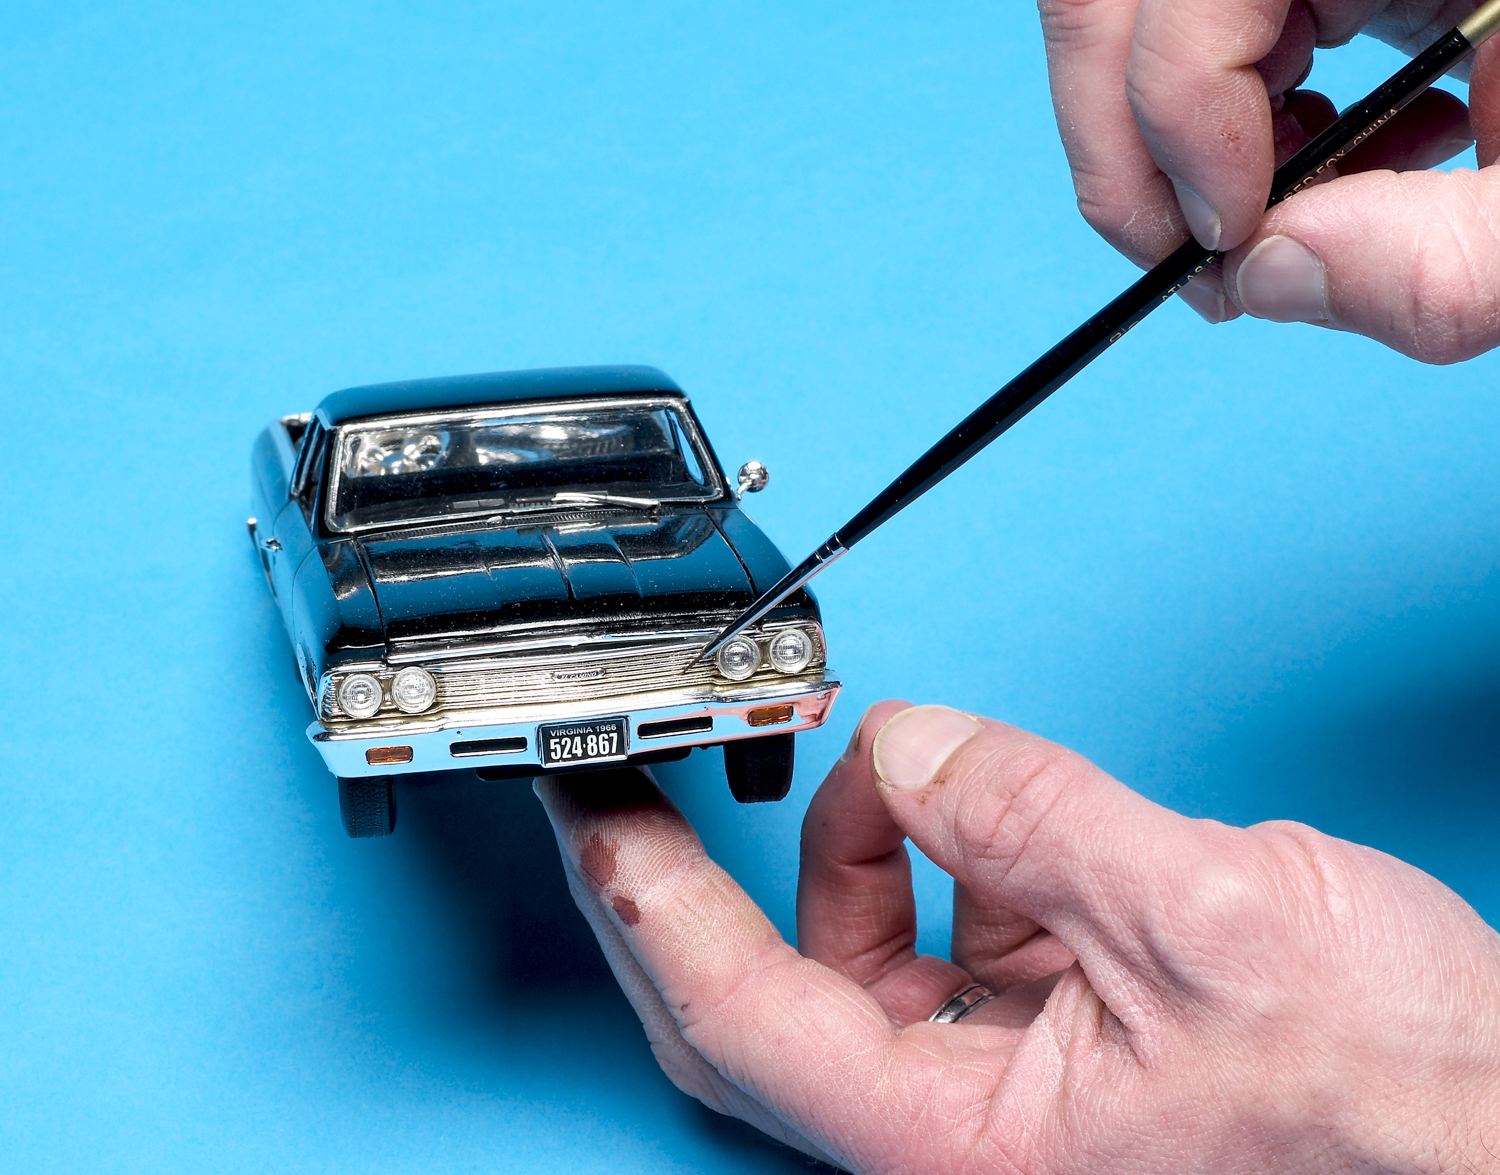
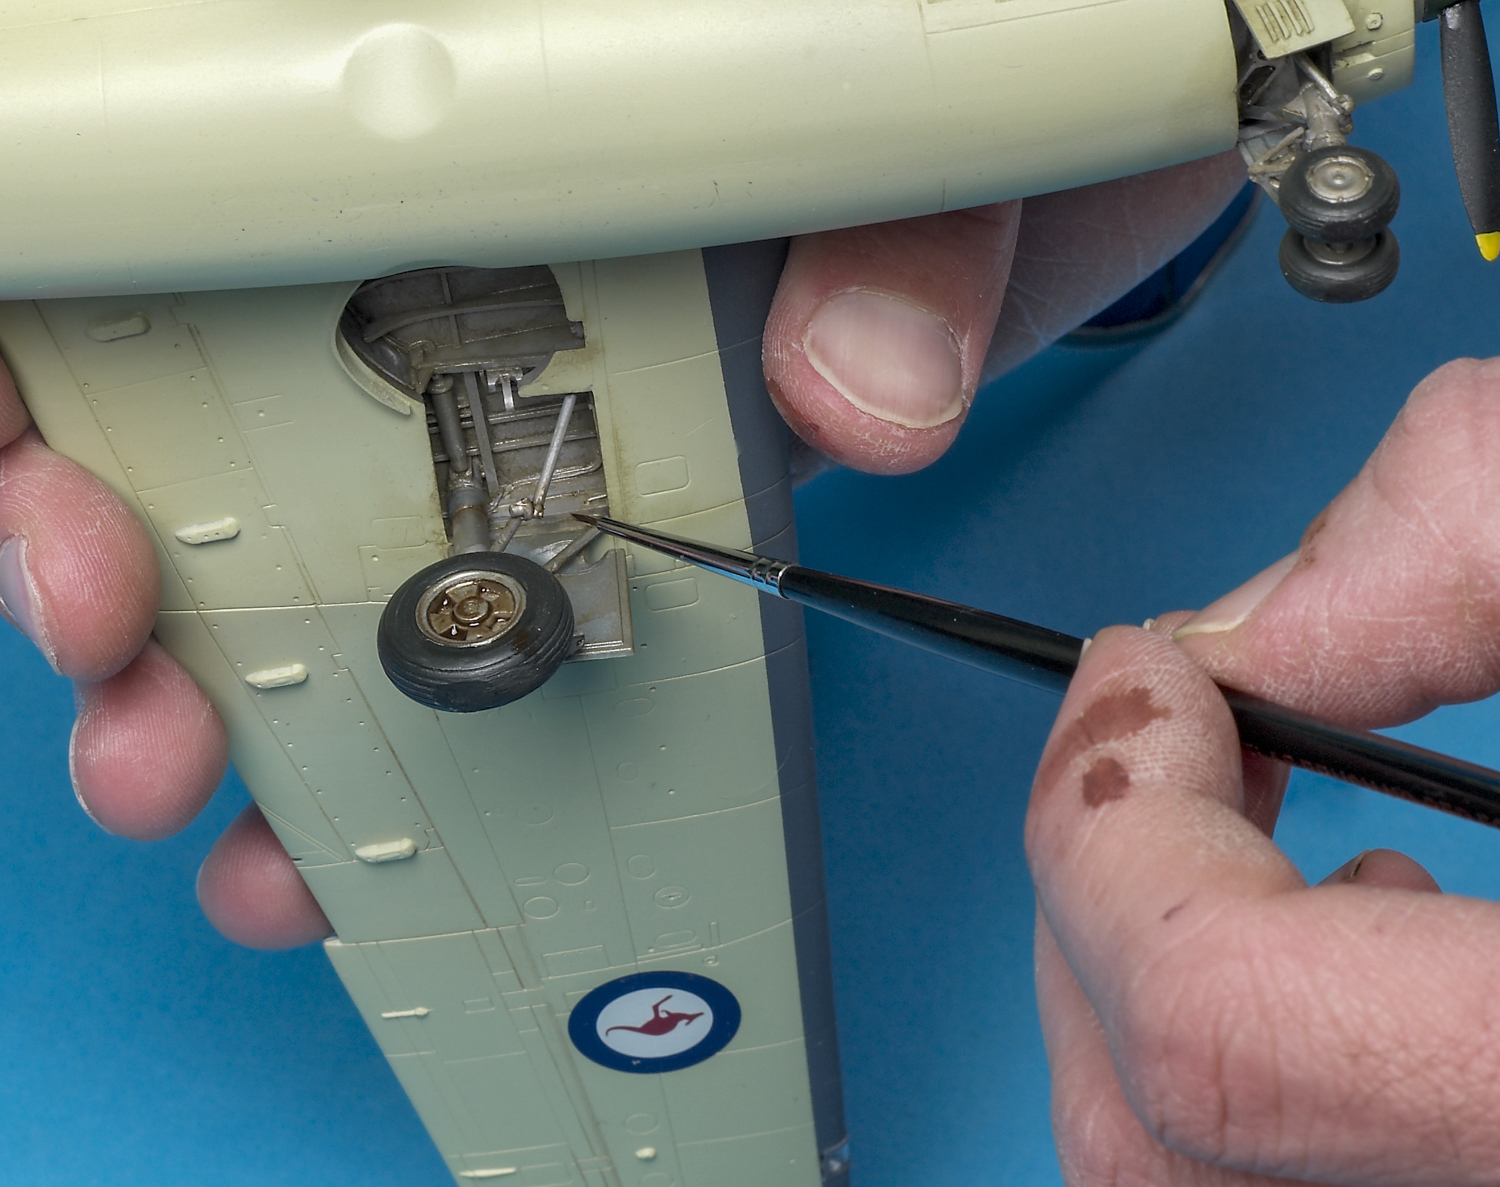
Washes are great for accenting surface detail. But this versatile technique has many other applications. Use it on aircraft engines, landing-gear legs, and wells. 1. Inside cockpits, a dark wash makes it a lot easier to see details on instrument panels, floors, and walls. For armor, wash variations can represent dirt and dust that builds up on running gear and horizontal surfaces. Targeted applications can depict fuel stains around filler caps or dark rust on tracks. Even car modelers, who aim for clean finishes, use washes. Dark paint fills the recesses on solid-molded, chrome grilles, giving the illusion of openness and adding contrast. 2. Washing chromed hubcaps and wheels makes them look more realistic, too.
As part of a balanced weathering process, washes definitely make models look more like their full-size counterparts. Combining washes with dry-brushing and pastels makes Academy’s Sheridan pop.