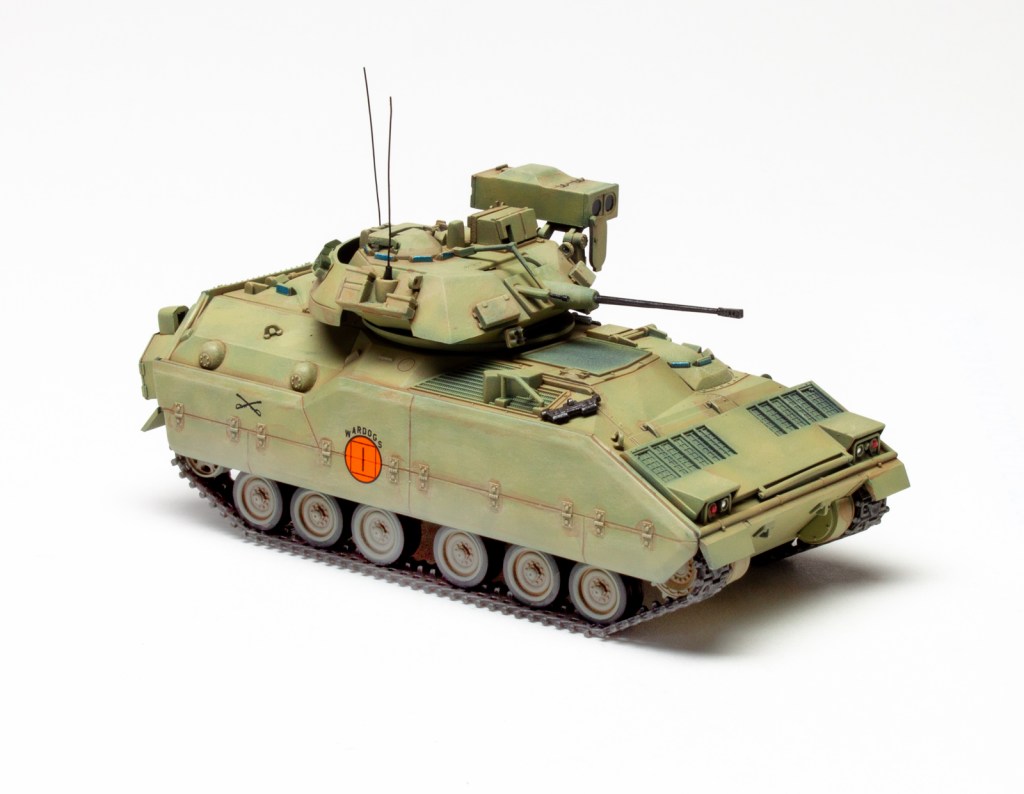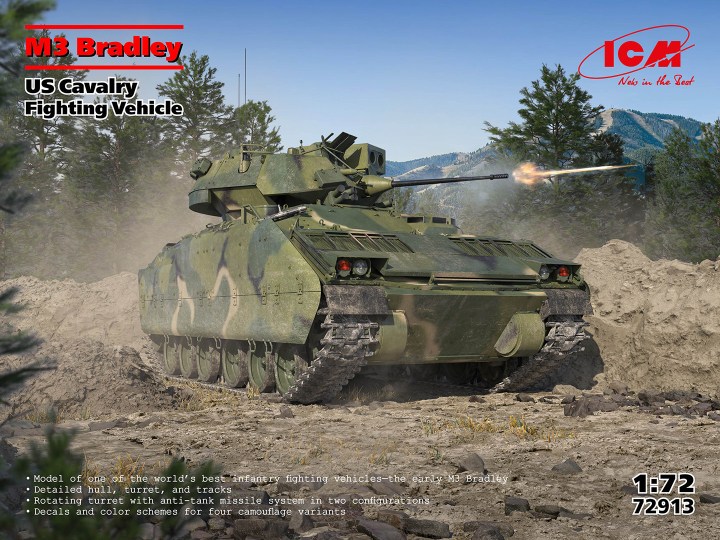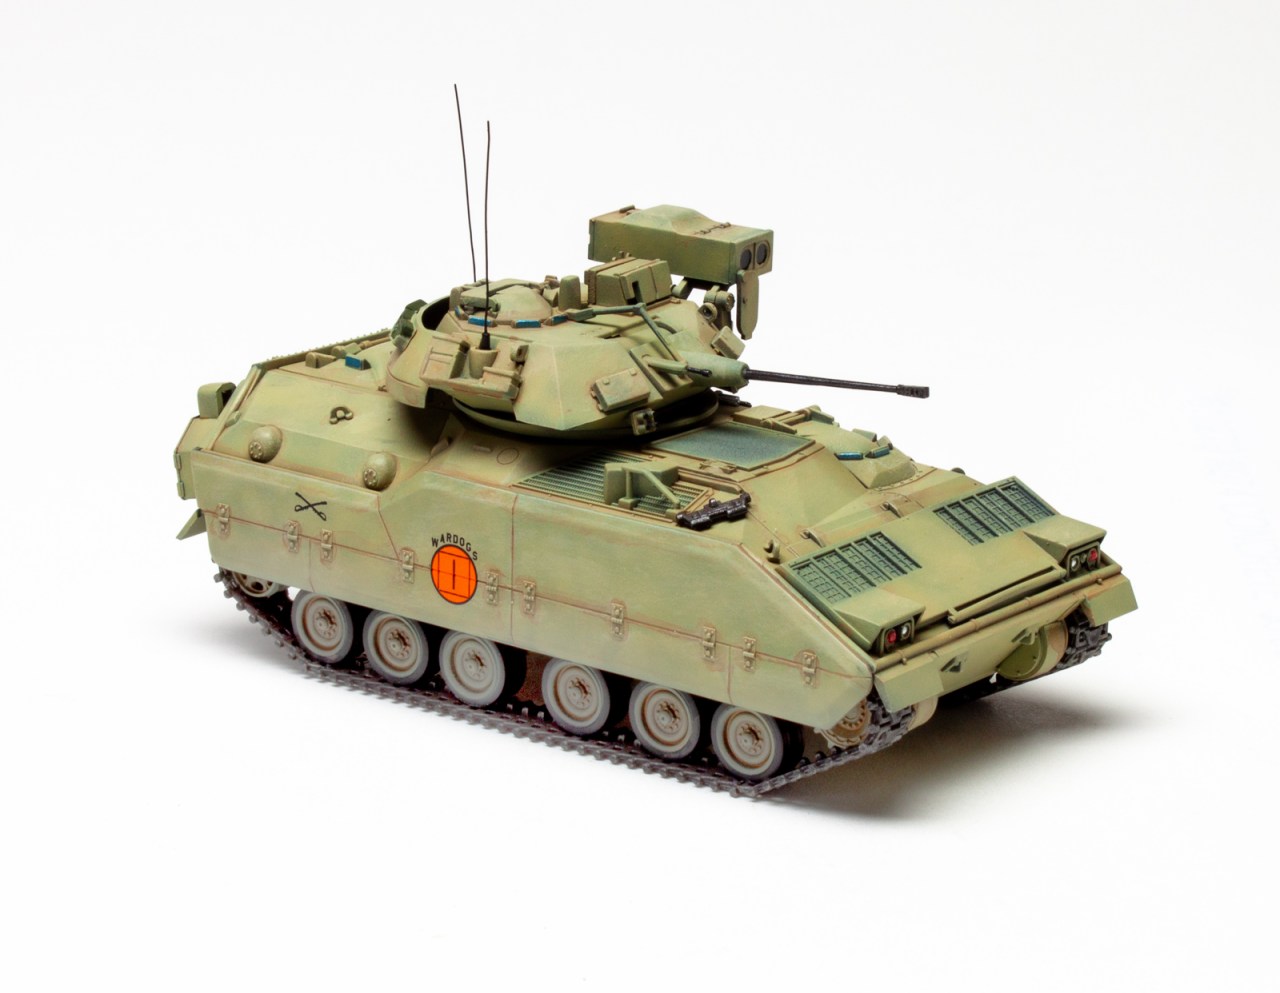
The M3 Bradley U.S. Cavalry Fighting Vehicle is a fully tracked armored reconnaissance vehicle designed to support the M113 armored personnel carrier but instead ended up replacing it. It retains the same 25mm Bushmaster automatic cannon as the M2 but carries more ammunition for it and more TOW missiles.
Originally released by Revell in 2001, it appears the only real change to the ICM 1/72 scale M3 Bradley plastic model kit is a different set of decals and new instruction manual. The kit itself holds up very well, with crisp, excellently detailed moldings and no flash, sink marks or ejector-pin marks. The assembly instructions look to be basically a reprint of the Revell version, but now reference ICM paint colors. There is an ICM paint chart included as well as a QR code to scan for a cross reference to 11 other paint brands plus FS numbers.
This was my first armor build in decades, and I started off by shooting myself in the foot by not following the instructed sequence. I glued the side pieces to the lower hull figuring I could deal with any seams then paint and add the road wheels later. Unfortunately, it made adding the upper tracks much more difficult, and I had to leave a couple of the individual links off. The gaps were covered by the side skirts, so it’s not really noticeable and not a catastrophic mistake. Still, you have been warned. Other than that, the rest of the assembly went as smoothly as one could hope. There was a slight warp in the upper part of Part 20 (Step 9). I fixed it by simply gluing the rear crew door shut. It’s meant to hinge open but there’s nothing to see inside anyway.
In Step 18, there are two pieces for the upper crew compartment, but the instructions don’t tell you which part is for the M3 or the M2 (you can build either version with this kit). I believe Part 108 is for the M3 and Part 45 for the M2. I glued the microscopic lifting eyes in place and left the rest of the stowage items off until after painting.
Speaking of painting, I didn’t use ICM’s paints, but opted for equivalent colors. I started with a base coat of Mr. Surfacer 1500 black and used Tamiya Dark Yellow (No. LP-55) for the main color, building it slowly for the mottled camo look. I then added a light wash of ATOM Earth (No. 20051). For painting the road wheels, a ¼-inch hole from an old drawing template worked spectacularly.
The turret is a mass of boxes and gadgets hanging off the main hull in every imaginable direction. It all fits incredibly well, so no real issues. Just take your time and pay attention to the orientation of each part. The only real assembly options you have are to build the TOW missile launcher in the stowed or up positions. I confess to drilling the antenna bases and adding a length of fine wire to each; no, those do not come with the kit, but do add something to the overall appearance. I painted the periscope lenses metallic blue and then picked out a few other small details and added the tools. There are only a couple of decals, and they went on perfectly.
Overall, I’m really quite pleased with how the ICM 1/72 scale M3 Bradley plastic model kit turned out. I certainly can’t blame the kit in any way. The fit and level of detail is excellent, and any problems I encountered were self-inflicted. I really don’t know what I would change or add. Will I build another? Certainly! Maybe not right away, but hopefully, I can take what I learned from here before I start one I have waiting in the stash. Looking to try an armor kit? This would be a good place to start. Already build armor? It’s got enough to satisfy even a seasoned builder.