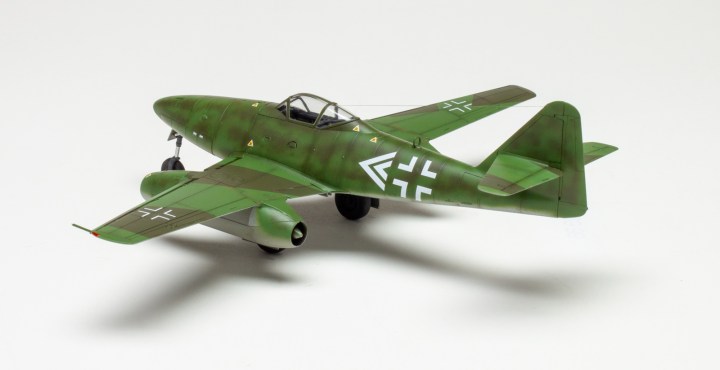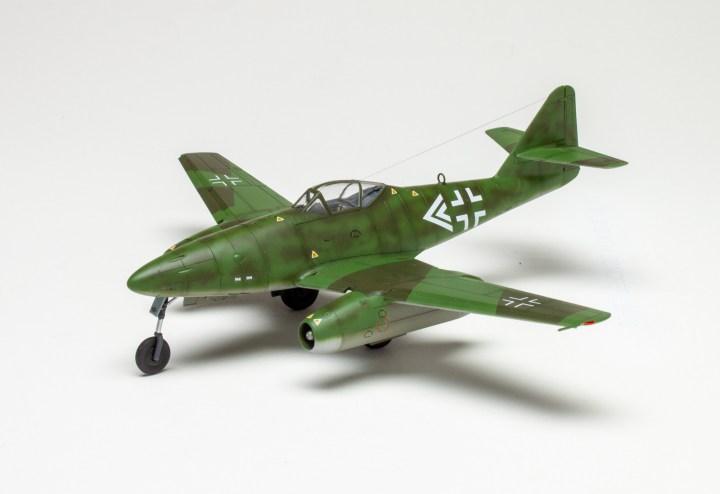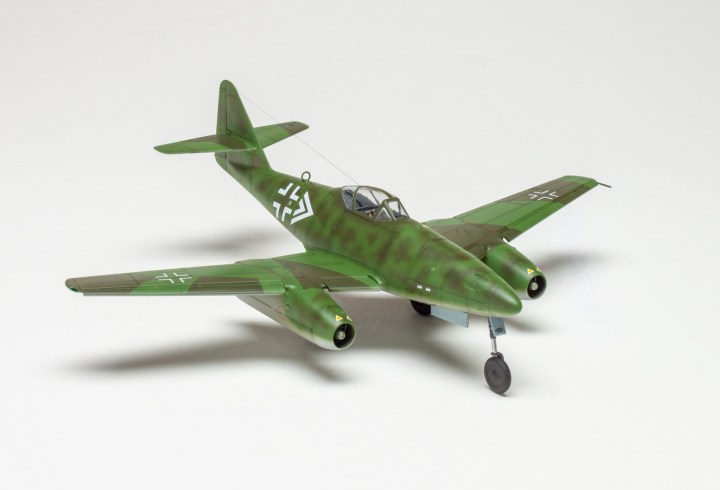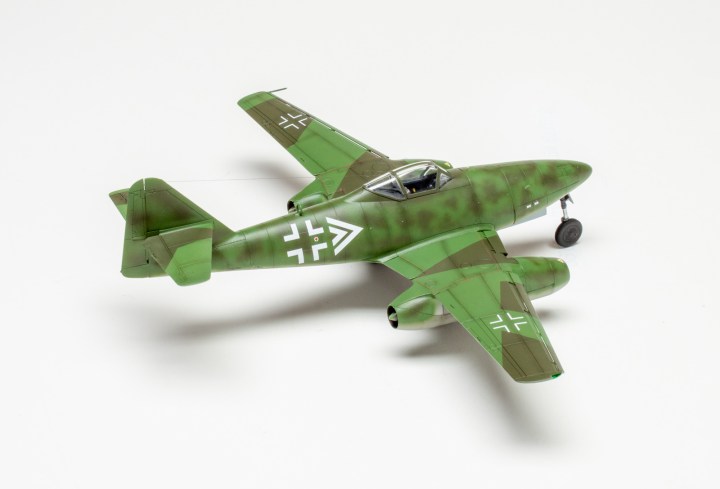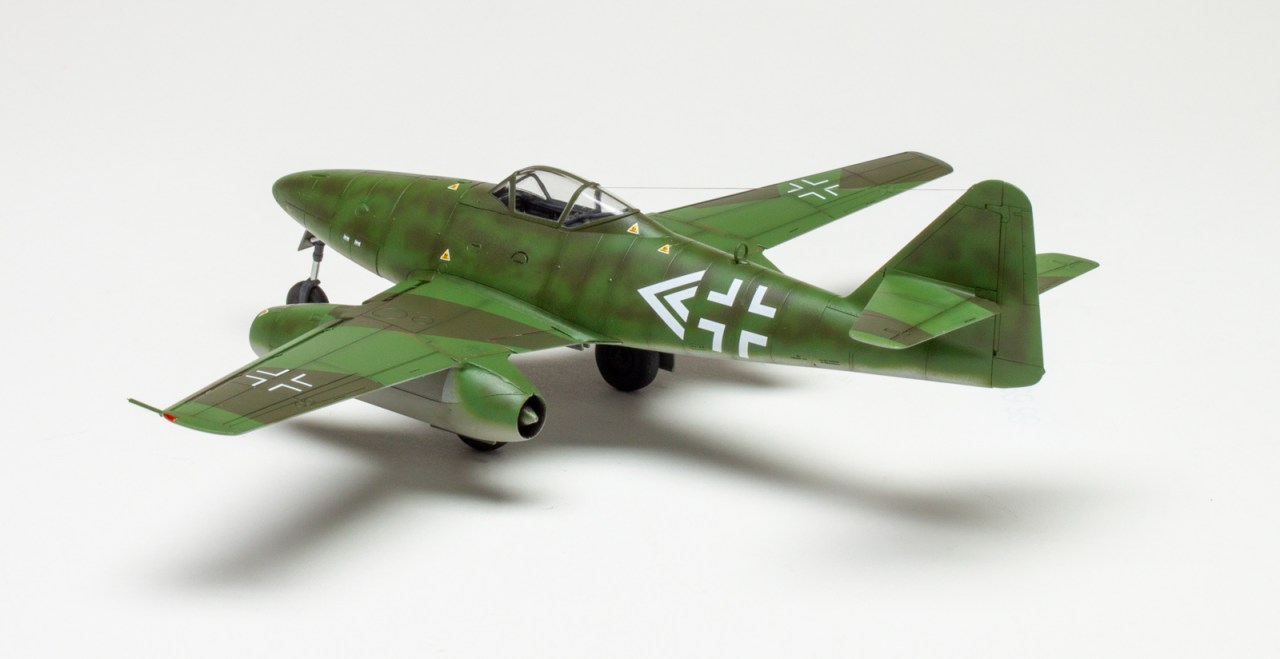
The Messerschmitt Me 262 was the first mass-produced jet fighter to enter combat duty. It had a significant performance advantage that allowed it to strike quickly at bomber formations and evade escorting fighters. Armed with four 30mm cannons, it packed a devastating punch. Luckily for the Allied air forces, it arrived too late in too few numbers to really have an effect on the outcome. Reliability problems and supply shortages hampered it even further. Even so, the Me 262 holds a place in history as a revolutionary design that changed aviation.
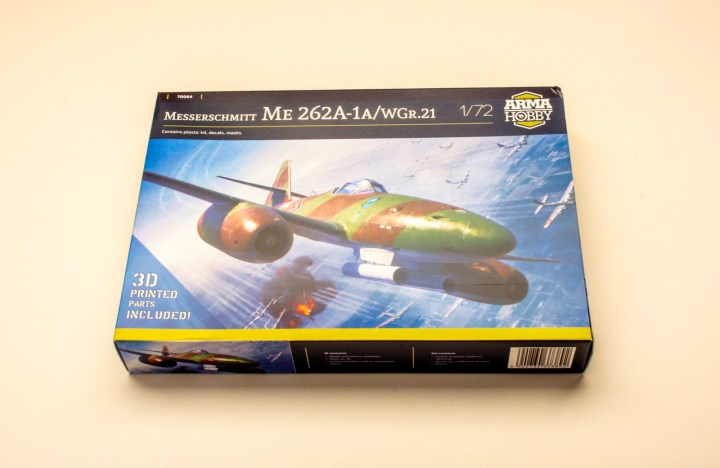
The completely new Arma Hobby 1/72 scale Me 262A-1a plastic model kit is a gem! Inside the end-opening box you’ll find two sprues of gray parts with exceptionally crisp detail and finely recessed panel lines, a sprue of clear parts, three steel balls for nose weight, die-cut masks, and a decal sheet with three marking options. Arma even provides a QR code you can scan to download files to 3D-print an even more detailed cockpit than the one provided in the kit.
Instructions are printed on glossy paper and break the assembly into 39 easy-to-follow steps. I found one omission: parts A15 (small oval covers that fit just in front of the canopy) were never called out but should be added in Step 28. Assembly drawings are somewhat small but clear, and the marking option illustrations are presented in full color.
Getting down to business, you’ll begin constructing the nose section of the fuselage. The nose gear bay consists of three parts that also form a framework of sorts to attach the outer panels and hold the three counterweights. Thankfully, unlike Arma’s P-39 kit, these proved to be sufficient to keep the 262 from tail sitting. The three sections of the nose join at panel lines, so no worries about seams.
The cockpit is a bit of a model all by itself. Seventeen pieces go into its assembly, which looks like a cylindrical tub where all the instruments, controls, and seat reside. Decals are provided for the instrument panel, side consoles, and seat belts. All parts fit together perfectly, though some were a wee bit tight. In Step 13, I left Part B36 (rear bulkhead) off and attached it to the fuselage sides instead because it seemed a more positive fit.
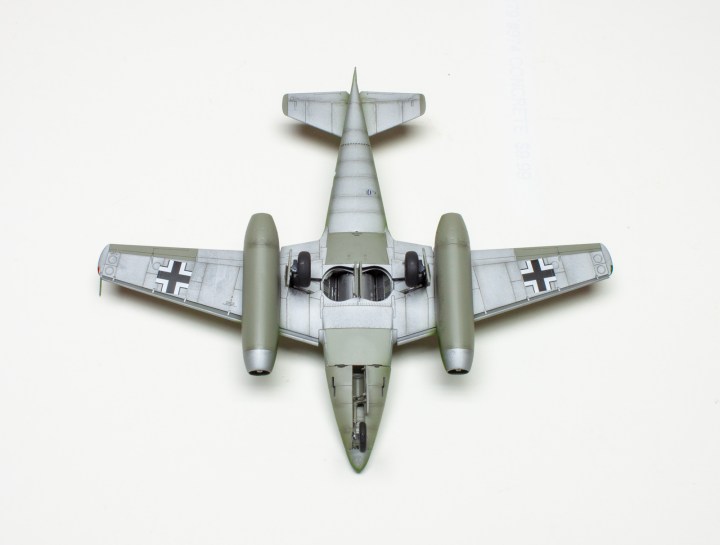
The main gear wells are equally well detailed. You’ll assemble the wells themselves from seven parts that form the main structure. There are also some actuating arms and rods — a few are quite honestly really difficult to see once the wing and fuselage are mated. When adding the outer gear doors to the main legs, make sure to keep the notch at the top tight against the “T” at the top of the gear leg. This keeps the leg from sticking out too far at the bottom.
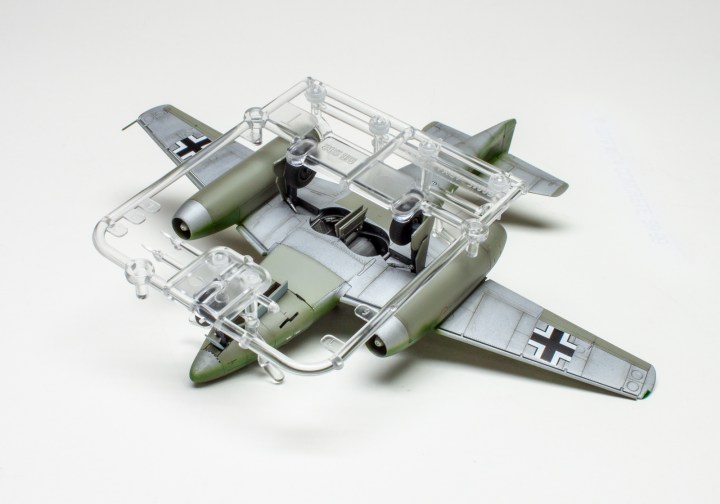
The wheels are slightly flattened but not keyed, so make sure to position them properly. A bit of clever engineering, the clear sprue builds into a jig to align the landing gear legs at the proper angles. It’s not noted that you can build the 262 wheels up, but I don’t see why it would be difficult to do so if you prefer an in-flight display (though no pilot is included in the kit).
The engine nacelles build up from four parts each and fit together quite well. I only had to perform slight cleanup of the seam at the bottom. Each engine nacelle fit nicely to the wings and required just a little sanding. Mating the fuselage, wing, and nose was painless with a near perfect fit. The leading-edge slats for the wings are designed to be posed lowered, but you could close them by simply cutting off the mounting tabs. I didn’t use the underwing rockets because I preferred a clean look. There are also a couple of bombs included if you wish to load yours for a ground attack mission.
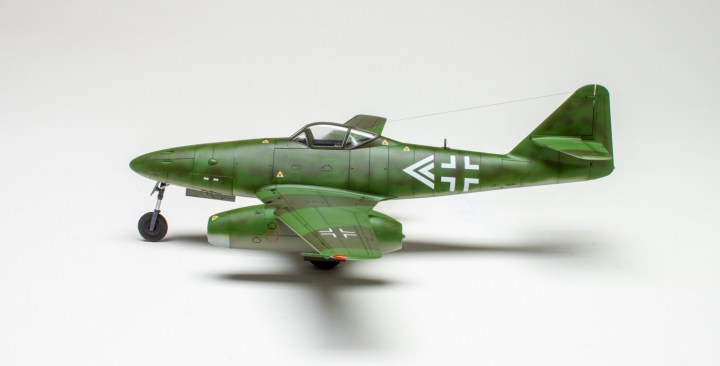
For markings, I chose option B for the plane of commander Adolf Galland. I used Mr. Color Brown Violet (No. C121), Light Green (No. C122), Tamiya Flat Aluminum (No. LP-38 ), and Model Master Gray (No. RLM02). Tamiya Smoke added some light post-shading. Arma’s decals worked flawlessly. The Nazi swastika for the tail is included on the sheet, broken into pieces.
Arma Hobby continues to build on its reputation for top quality kits. I reviewed the new Airfix Me 262 when it came out in 2018. A beautiful kit, Arma’s new 1/72 scale Me 262A-a1 plastic model kit surpasses it in just about every respect. It may be a little more difficult to build, but not significantly so. If you’re new to the game, maybe go for the Airfix kit. But if you’ve got a couple planes under your belt, you can’t go wrong with this one!