
You won’t get lost with these easy-to-follow painting tips. Few paint schemes are as striking as urban camouflage, and painting this standout camo isn’t as hard as you might think.
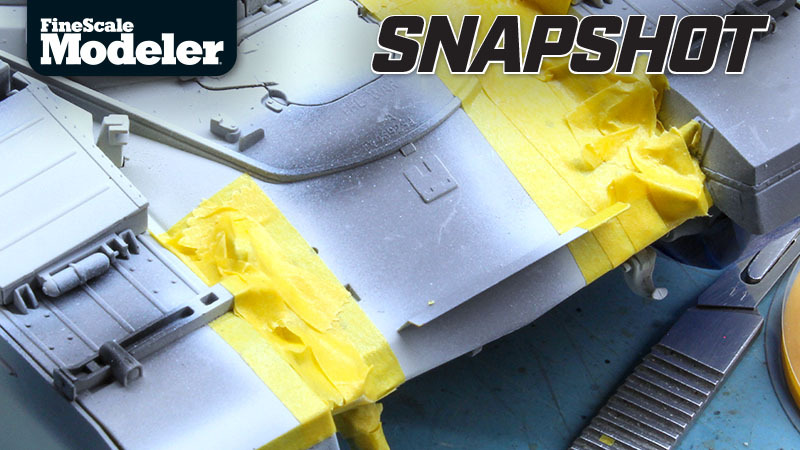
I sprayed the model with gray primer and painted the wheels green. I airbrushed SMS Aggressor White Grey (No. PL104) for the scheme’s white areas, leaving plenty of extra paint at the edges. After it had dried, I masked the white areas with Tamiya tape.

When masking multiple colors like this, you want to avoid steps caused by layers of paint on top of one another. Keeping my air pressure low and my applications thin over multiple coats, I airbrushed SMS Dark Sea Grey (No. PL56) over the tank.

Now, it was time for the third color, SMS British Brown (No. PL149). Before masking the gray blocks, I sprayed it on the engine deck and, after checking my references, changed the driver’s hatch from white to brown.

Then, I masked the gray portion of the camo scheme. Always use a sharp hobby knife when cutting masks for the cleanest lines possible. Also, make sure to burnish the edges of all the masking to ensure crisp lines and prevent paint bleeds.

Then I finished up with British brown, going over the engine deck and driver’s hatch again. The partially gray RHS light was done with a paintbrush — too hard to mask.

Carefully remove the masks when the final coat is dry to the touch. I airbrushed the turret baskets off the model, lining up the colors and masking as necessary before attaching them.
