
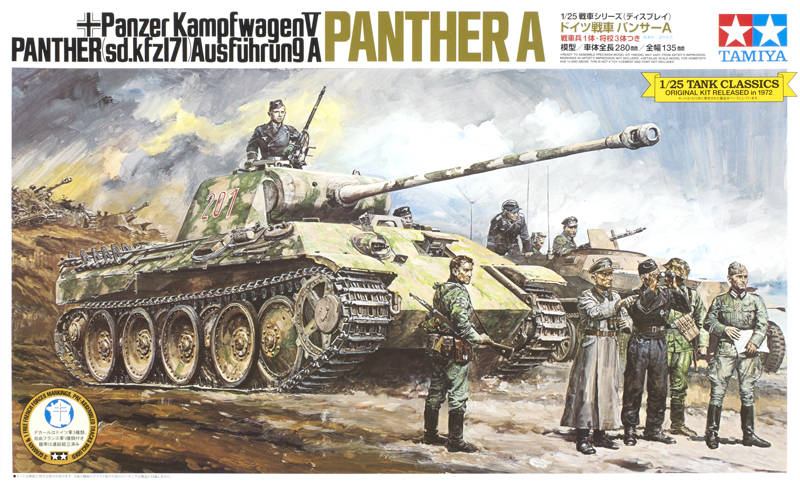
Kit: No. 6160
Scale: 1/35
Manufacturer: Dragon, distributed by Marco Polo Import, 532 S. Coralridge Place, City of Industry, CA 91746, 626-333-2328, www.marcopoloimport.com
Price: $31.98
Comments: Injection-molded, 447 parts (12 die-cut sheet styrene), decals
Pros: Good detail, excellent shapes, die-cut side skirts are a nice touch, good overall fit
Cons: Fit of top hull to bottom is tricky, no Zimmerit, decals are fragile

Dragon’s all-new Panther Ausf A is an up-to-date kit of this popular World War II tank. The Panther A was the middle production model, and though not the most numerous version, it fought in Italy, in Northwest Europe, and on the Russian front.
The kit is molded precisely in neutral gray plastic, with sharp, flash-free detail. All hatches are separate for variable positioning, though no interior detail is provided except for periscopes. Dragon has provided die-cut sheet-plastic panels for the protective side skirts – an interesting innovation. Also new from Dragon is a full-color instruction booklet that uses photos instead of drawings.
The kit is labeled as an “Early A” which had several unique features: turret pistol ports, binocular gun-sight aperture, “letter box” hull machine gun port, and single-pipe exhausts. No figures are included. The breakdown of the kit suggests future versions, and Dragon has already announced that the initial production model, Panther Ausf D will be next.
I followed the instructions and started with the wheels and lower hull assembly. The kit has a simplified suspension with the suspension arms molded to the lower hull. This provides adequate detail and speeds construction. Comparing the wheels and tracks with Dragon’s earlier Panther G reveals that they are completely new moldings. Take care when setting the final position of the inner wheels, as they have a bit of wiggle room and will affect the fit of the outer wheels and tracks.
Dragon’s track is molded in individual links that require time and patience to assemble. The links are attached to the sprue at both ends, so remove them carefully, as they are thin and easily bent. I build each of my tracks by making four subassemblies: top, bottom, front, and back.
To make painting easier, I usually build the entire hull first, but in this case I followed the instructions and painted the lower hull, tracks, and wheels, then assembled all the components after they dried. This makes it easier to mount the tracks to the wheels.
The hull top went together without any fit problems. Dragon provides sponson floors, and they were installed at this step.
When mating the hull top to the bottom, the instructions aren’t clear about whether or not the lip on the top edge of the lower hull should fit into the recess on the inside of the sponson floor. It should, otherwise the hull top will ride too high. The fit here was a struggle. If I were to build another, I would attach the sponson floors to the hull bottom.
The turret has good detail and went together perfectly. The ventilator cover depicts the unique welded construction of this version. The small V-shaped commander’s vane sight is provided, along with three pistol ports and their separate plugs.
The length of the gun barrel in previous Panther kits has been suspect, but this kit’s barrel looks right compared to photos and drawings. The commander’s antiaircraft gun mount is included, but since no machine gun is provided, I left it off.
Since most Panther As were covered with Zimmerit anti-mine paste, I decided my Panther wouldn’t look right without it. I settled on a “tile” pattern because I could reproduce it without special parts or tools. First, I drew the pattern on the parts, noting areas I wanted to leave bare to simulate chipping. Working on one small area at a time, I brushed on liquid plastic cement. The cement softens the plastic, which I roughed up with a wire brush. Using a sewing needle in a pin vise, I carefully scored the surface following the pattern.
After everything was built and painted with Polly Scale water-based acrylics, I added the die-cut side skirts. The thin plastic looks closer to scale than most kit representations, and after a little cleanup, the skirts attach neatly to the plastic supporting arms. Nice touch, Dragon!
Decals are provided for two vehicles. They went down well with a bit of decal solvent, but watch out – they break easily.
My primary reference was the five-part Tank Power series on the Panther by W. Trojca (AJ Press). I also found Panther Tank – The Quest for Combat Supremacy by T. Jentz (Schiffer) useful. The finished model looks convincing and matches the references.
I completed my Panther in 22 hours (not including the three hours for the Zimmerit). Dragon’s kit is an excellent combination of detail and ease of construction.