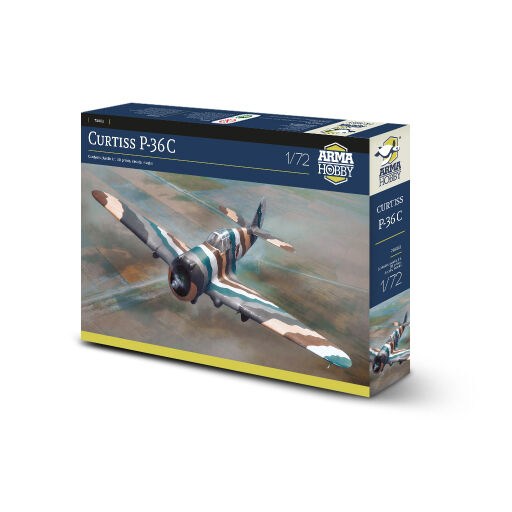
The Curtiss P-36 Hawk was the first modern American fighter to enter frontline service with the U.S. Army Air Corp. Featuring retractable landing gear, all-metal construction, and an enclosed cockpit, it was the forerunner to subsequent fighter designs. The P-36C was the final variant and carried two additional machine guns and a new 1,200 horsepower Pratt and Whitney engine.
The Arma Hobby 1/72 scale P-36C Hawk plastic model kit follows its previously released Hawk 75 and P-36A versions. This kit appears largely unchanged from those except for a new decal sheet and the addition of 3D-printed spent cartridge canisters for under the wings. Two sprues of gray plastic and one of clear combine for a total of 83 parts. Moldings are crisp with recessed details and excellent fit. The kit includes markings for three aircraft; a multi-colored wavy striped version from the National Air Races in Cleveland in 1939, an all-natural metal version from Selfridge Field, Michigan, and an olive drab over neutral gray from Elgin Field in Florida. Also included is a sheet of die-cut masks for the canopy and wheels. Assembly instructions are broken down into 27 steps with clear illustrations, although some of the drawings are a little small. You’ll find paint callouts for seven different brands. Arma offers a QR code for you to download STL files to 3D-print additional parts.
Construction starts with the full-length upper and lower main wing. The wheel well sides come as single parts that fold into a square, and the unusual design actually worked quite well. There is a wheel bay cover, but the instructions do not indicate if one is more correct for a particular version. There are molded details that need to be sanded off the underside of the wing for the C variant. The center of the upper wing part doubles as the cockpit floor.
Cockpit sidewall details come molded into the fuselage halves, and provided decals further enhance their appearance. Decals for the seat belts and main instrument panel are also included. I painted the cockpit with Model Master Interior Green (FS34151) (yes, a rare vintage these days) and picked out the details as instructed. I found the part fit to be excellent, but some of the locating pins are tiny, making them difficult to secure. I glued the fuselage halves together before installing the rear bulkhead and instrument panel figuring it would ensure a tight join and had no problem slipping those parts in afterwards.
When mating the main wing to the fuselage, you need to sand the bottom of the fillet down to a paper-thin edge to get a smooth transition. The four-piece engine cowl fit together surprisingly well. Just build it from the bottom as instructed and make sure the parts line up as you go. I left the landing gear off until final assembly to prevent breakage. I suggest leaving parts A11 and A12 off until after the main gear has been attached because they can affect alignment. The main wheels are slightly flattened, so be sure to orient them correctly. It might also be wise to drill and pin the tail wheel because the attachment is quite small.
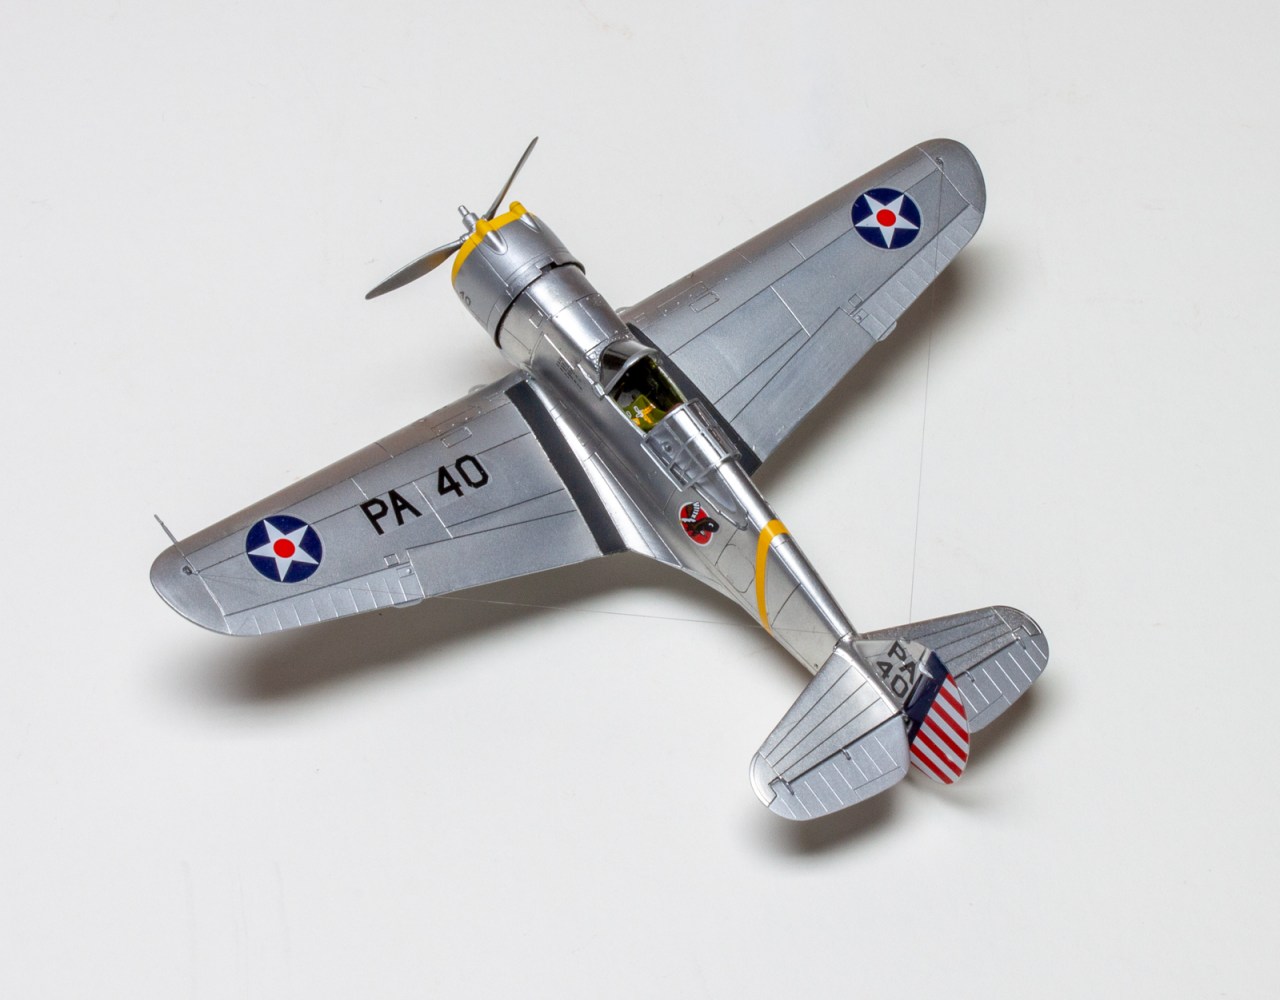
I opted for the natural-metal finish and suggest Tamiya Gloss Aluminum (No. LP-70) as a base coat. For a bit of variation, mask control surfaces and paint the rest of the airframe with Alclad II Polished Aluminum (No. ALC-105). The front of the cowl was painted Tamiya Flat Yellow (No. XF-3), but looking afterwards, I think a touch of gloss would have helped it match better with the decal stripe. The Cartograf decals worked perfectly. I admit to not using most of the stencil decals because many of them were just incredibly tiny.
If I had to make a complaint, it would be with the canopy’s fit. The front section seems too narrow, not fitting flush with the sides of the fuselage. The center sliding section needs to stretch down over the sides of the fuselage to line up at the top, but then the sides don’t line up at the front. As a result, I finished mine with the canopy open, as that seemed the most practical solution.
Even with that, I think the Arma Hobby 1/72 scale P-36C Hawk plastic model kit is another winner. It nicely balances detail and ease of build, covers a subject that hasn’t been well represented previously, and at a reasonable price. About the only thing I would do differently is maybe replace the seat belt decals with photo-etched metal parts. Anyone with a couple of kits under their belt should have no problem getting a good result with this kit.