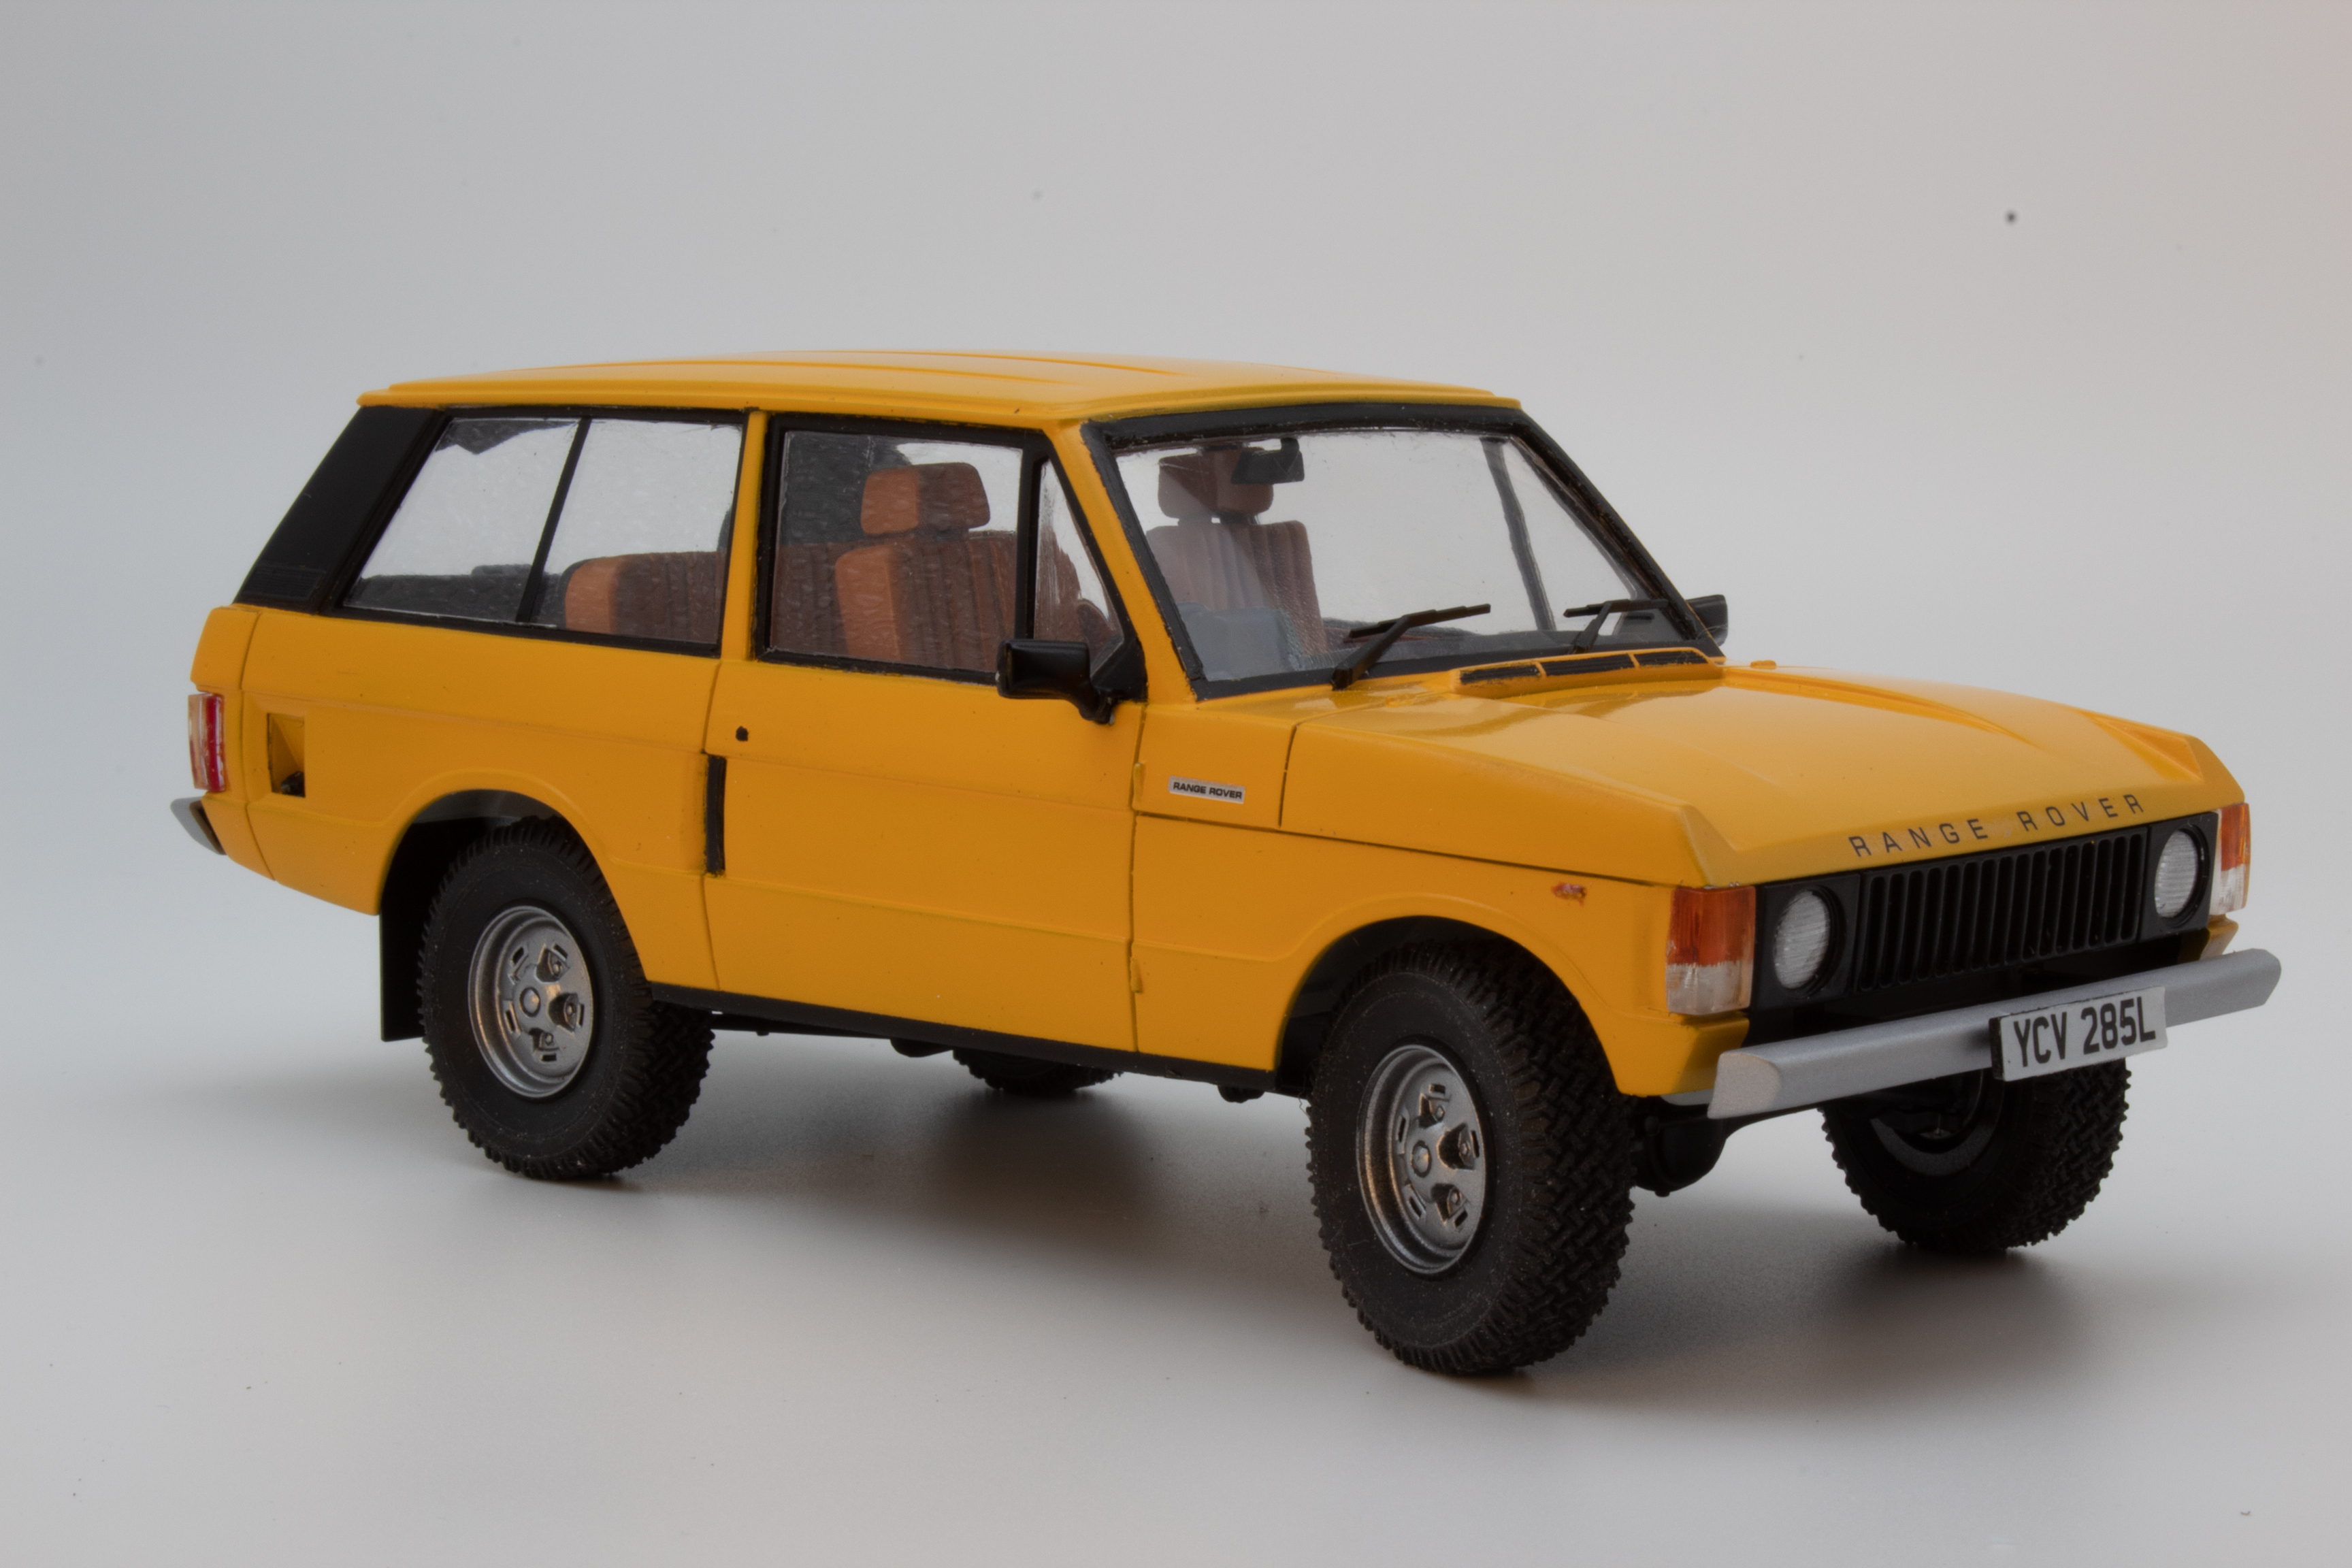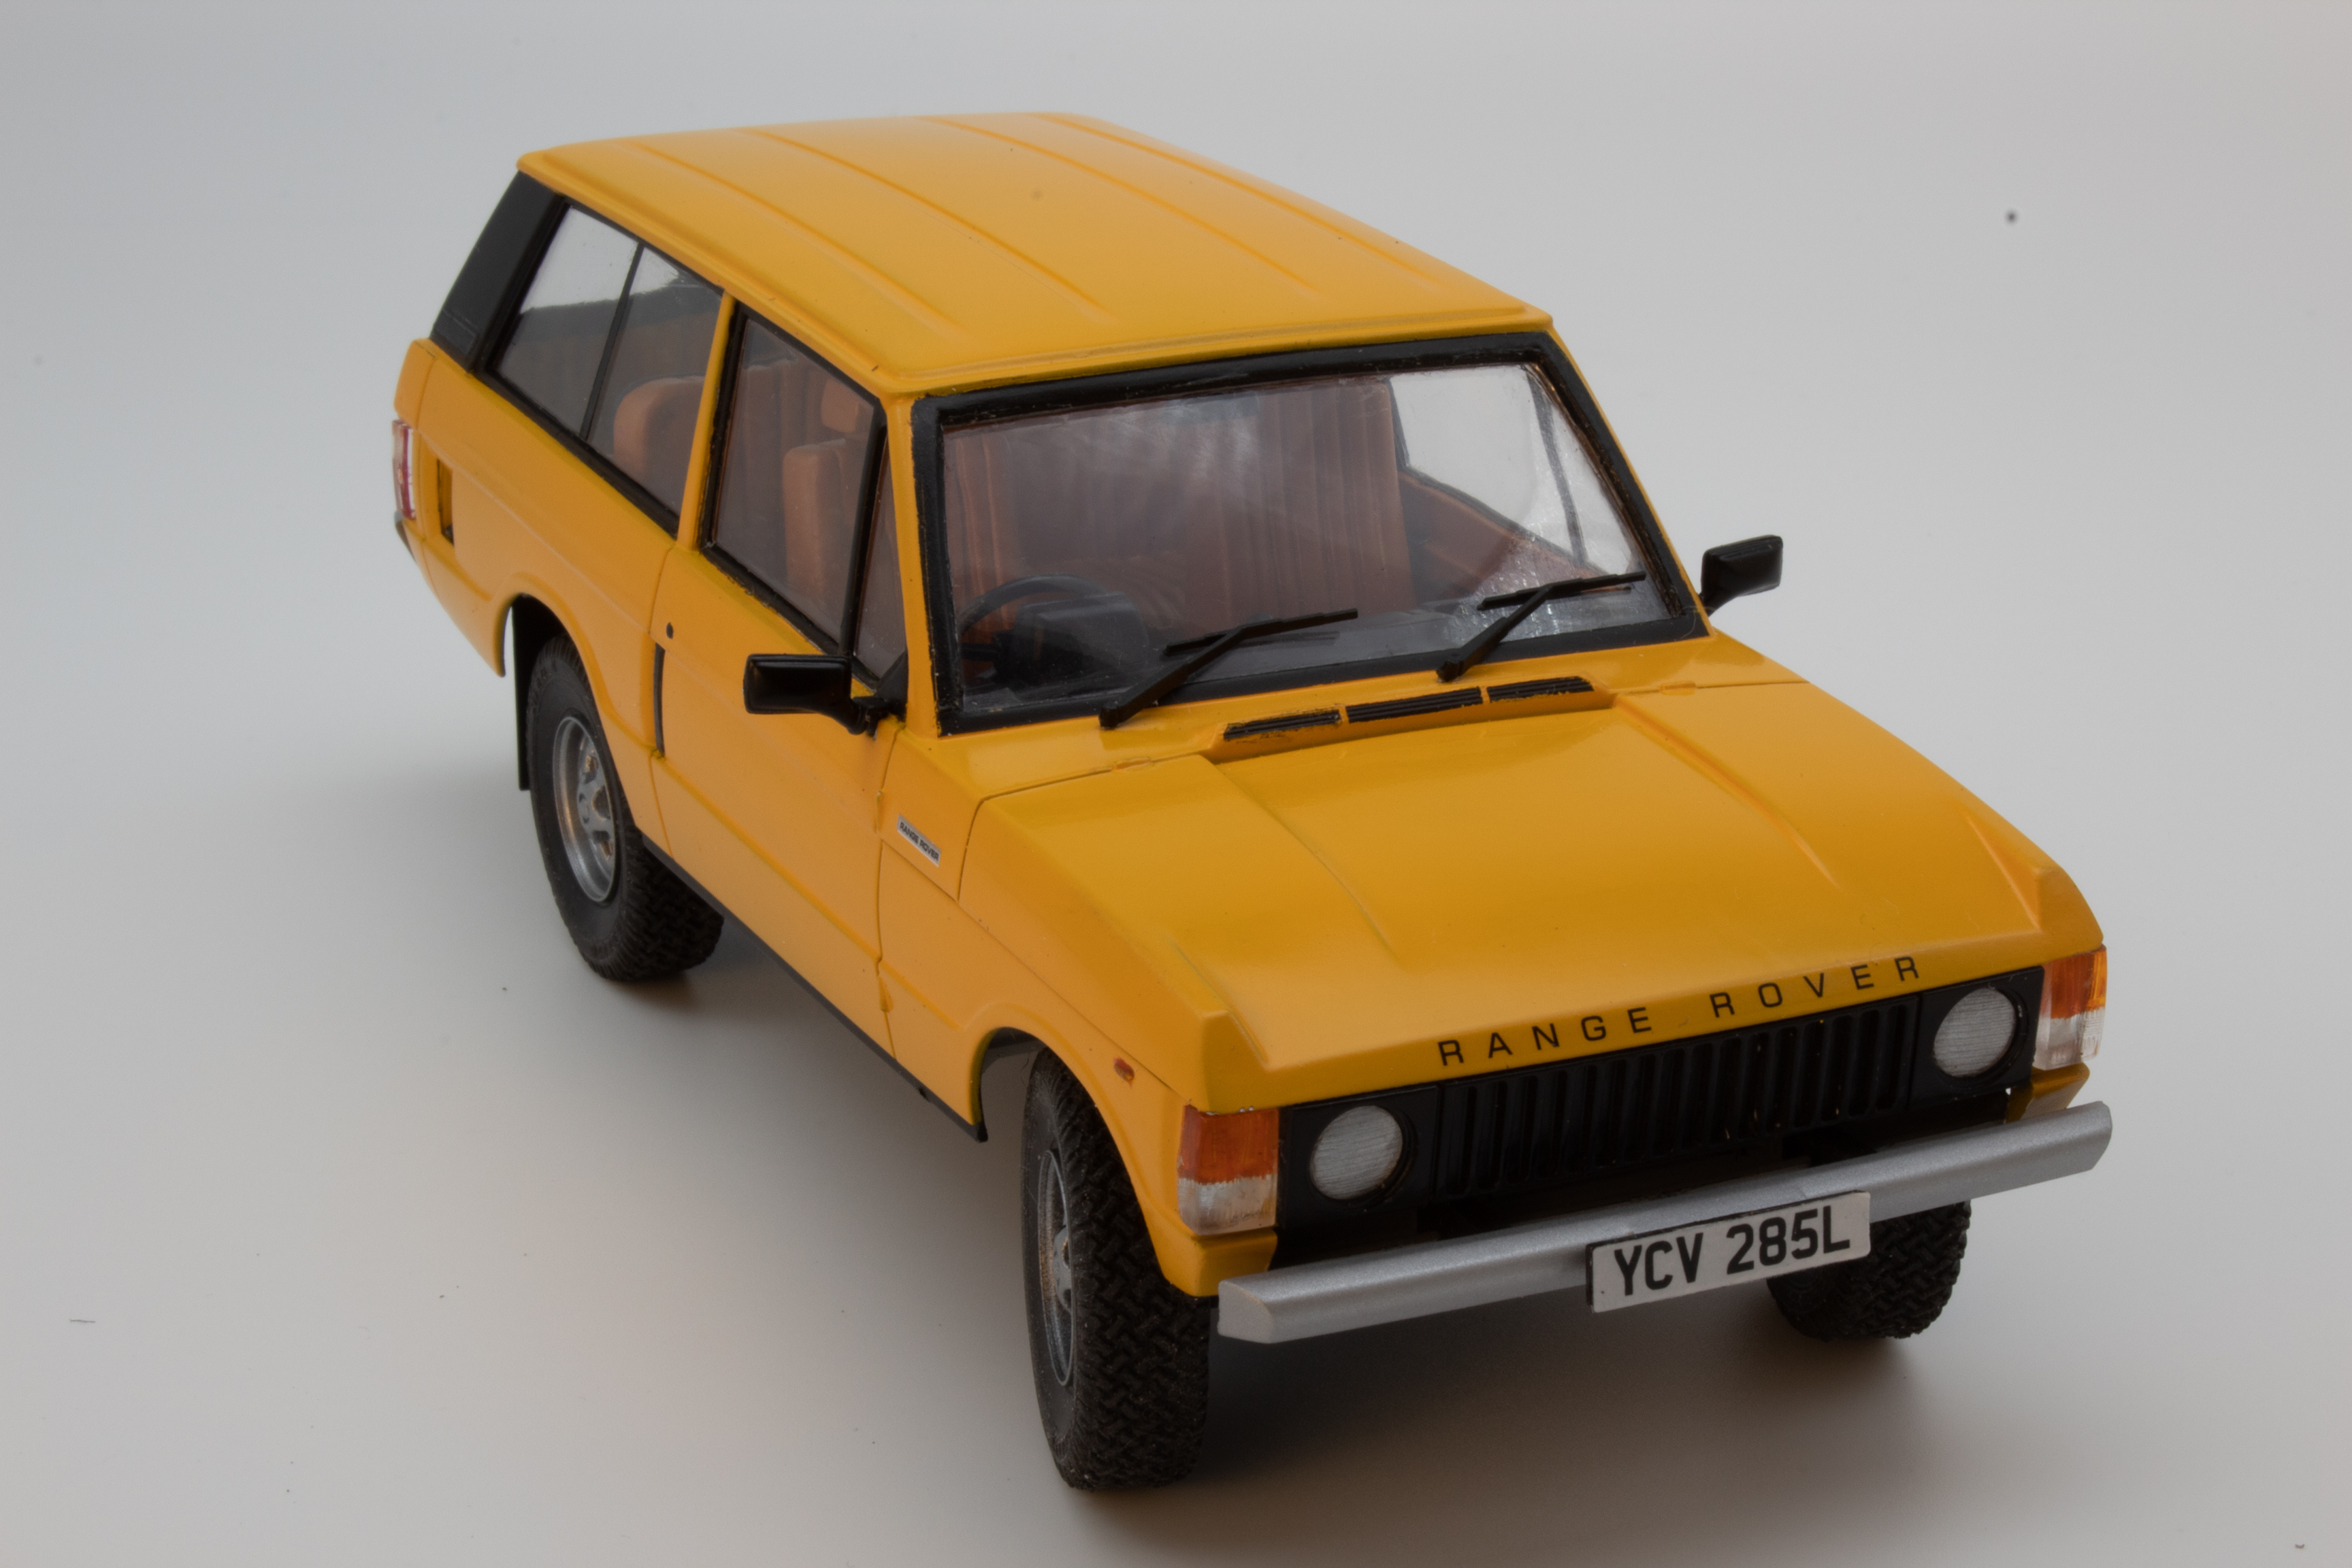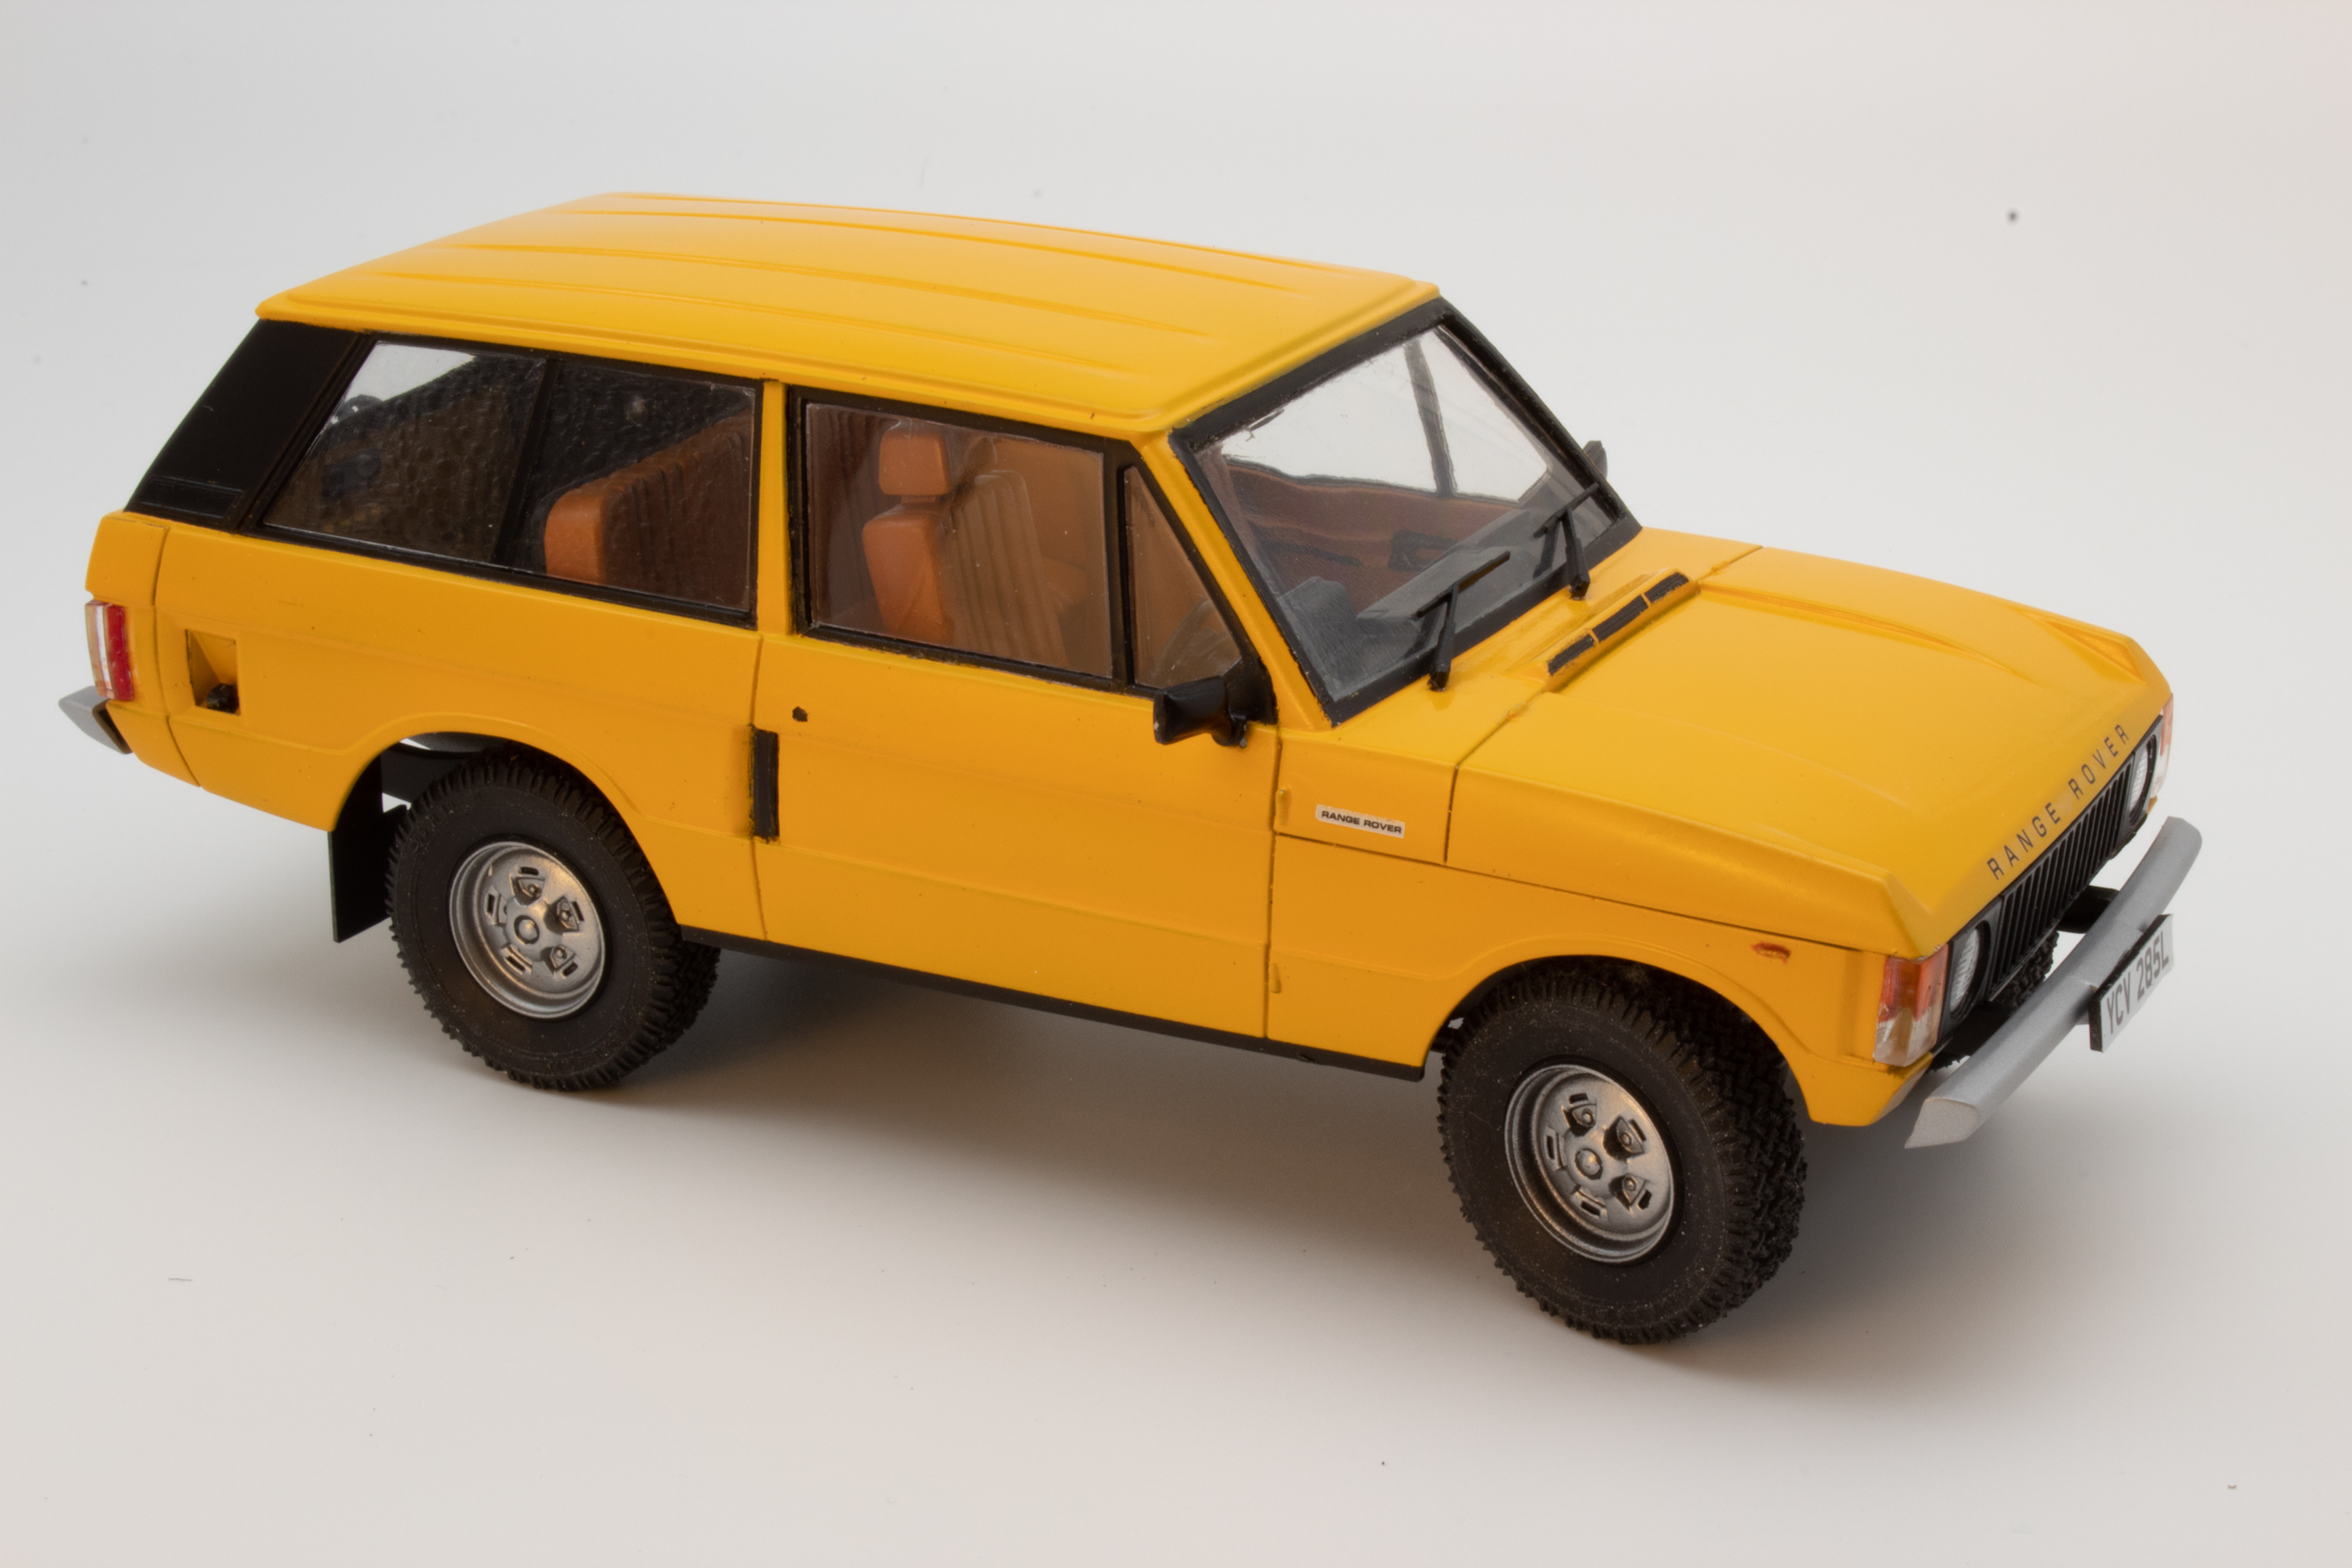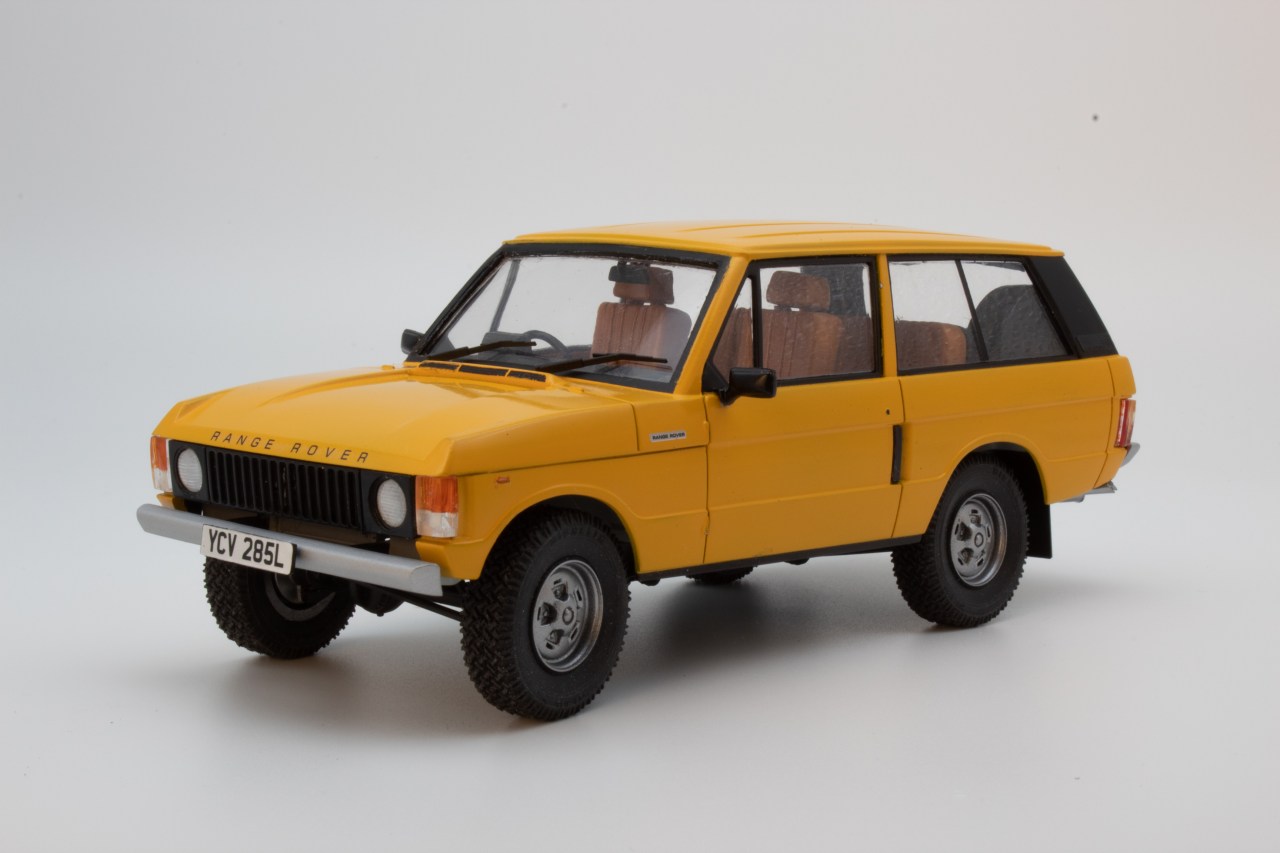
Not to be confused with the Land Rover, the Range Rover initially appeared in 1970. While both models were offered throughout the ‘70s, the Range Rover came with permanent four-wheel drive, coil springs, and disc brakes on all four corners. Italeri’s Range Rover Classic represents the earlier two-door version. This limited, curbside (no engine) release celebrates the Range Rover’s 50th anniversary.
The four-page foldout instructions provide a brief vehicle history, parts tree diagram, paint recommendations, and five numbered assembly steps. A choice must be made to build a British or European version (right or left-hand drive).The kit contains 112 total parts molded in white, black, and clear; 14 parts will not be used.
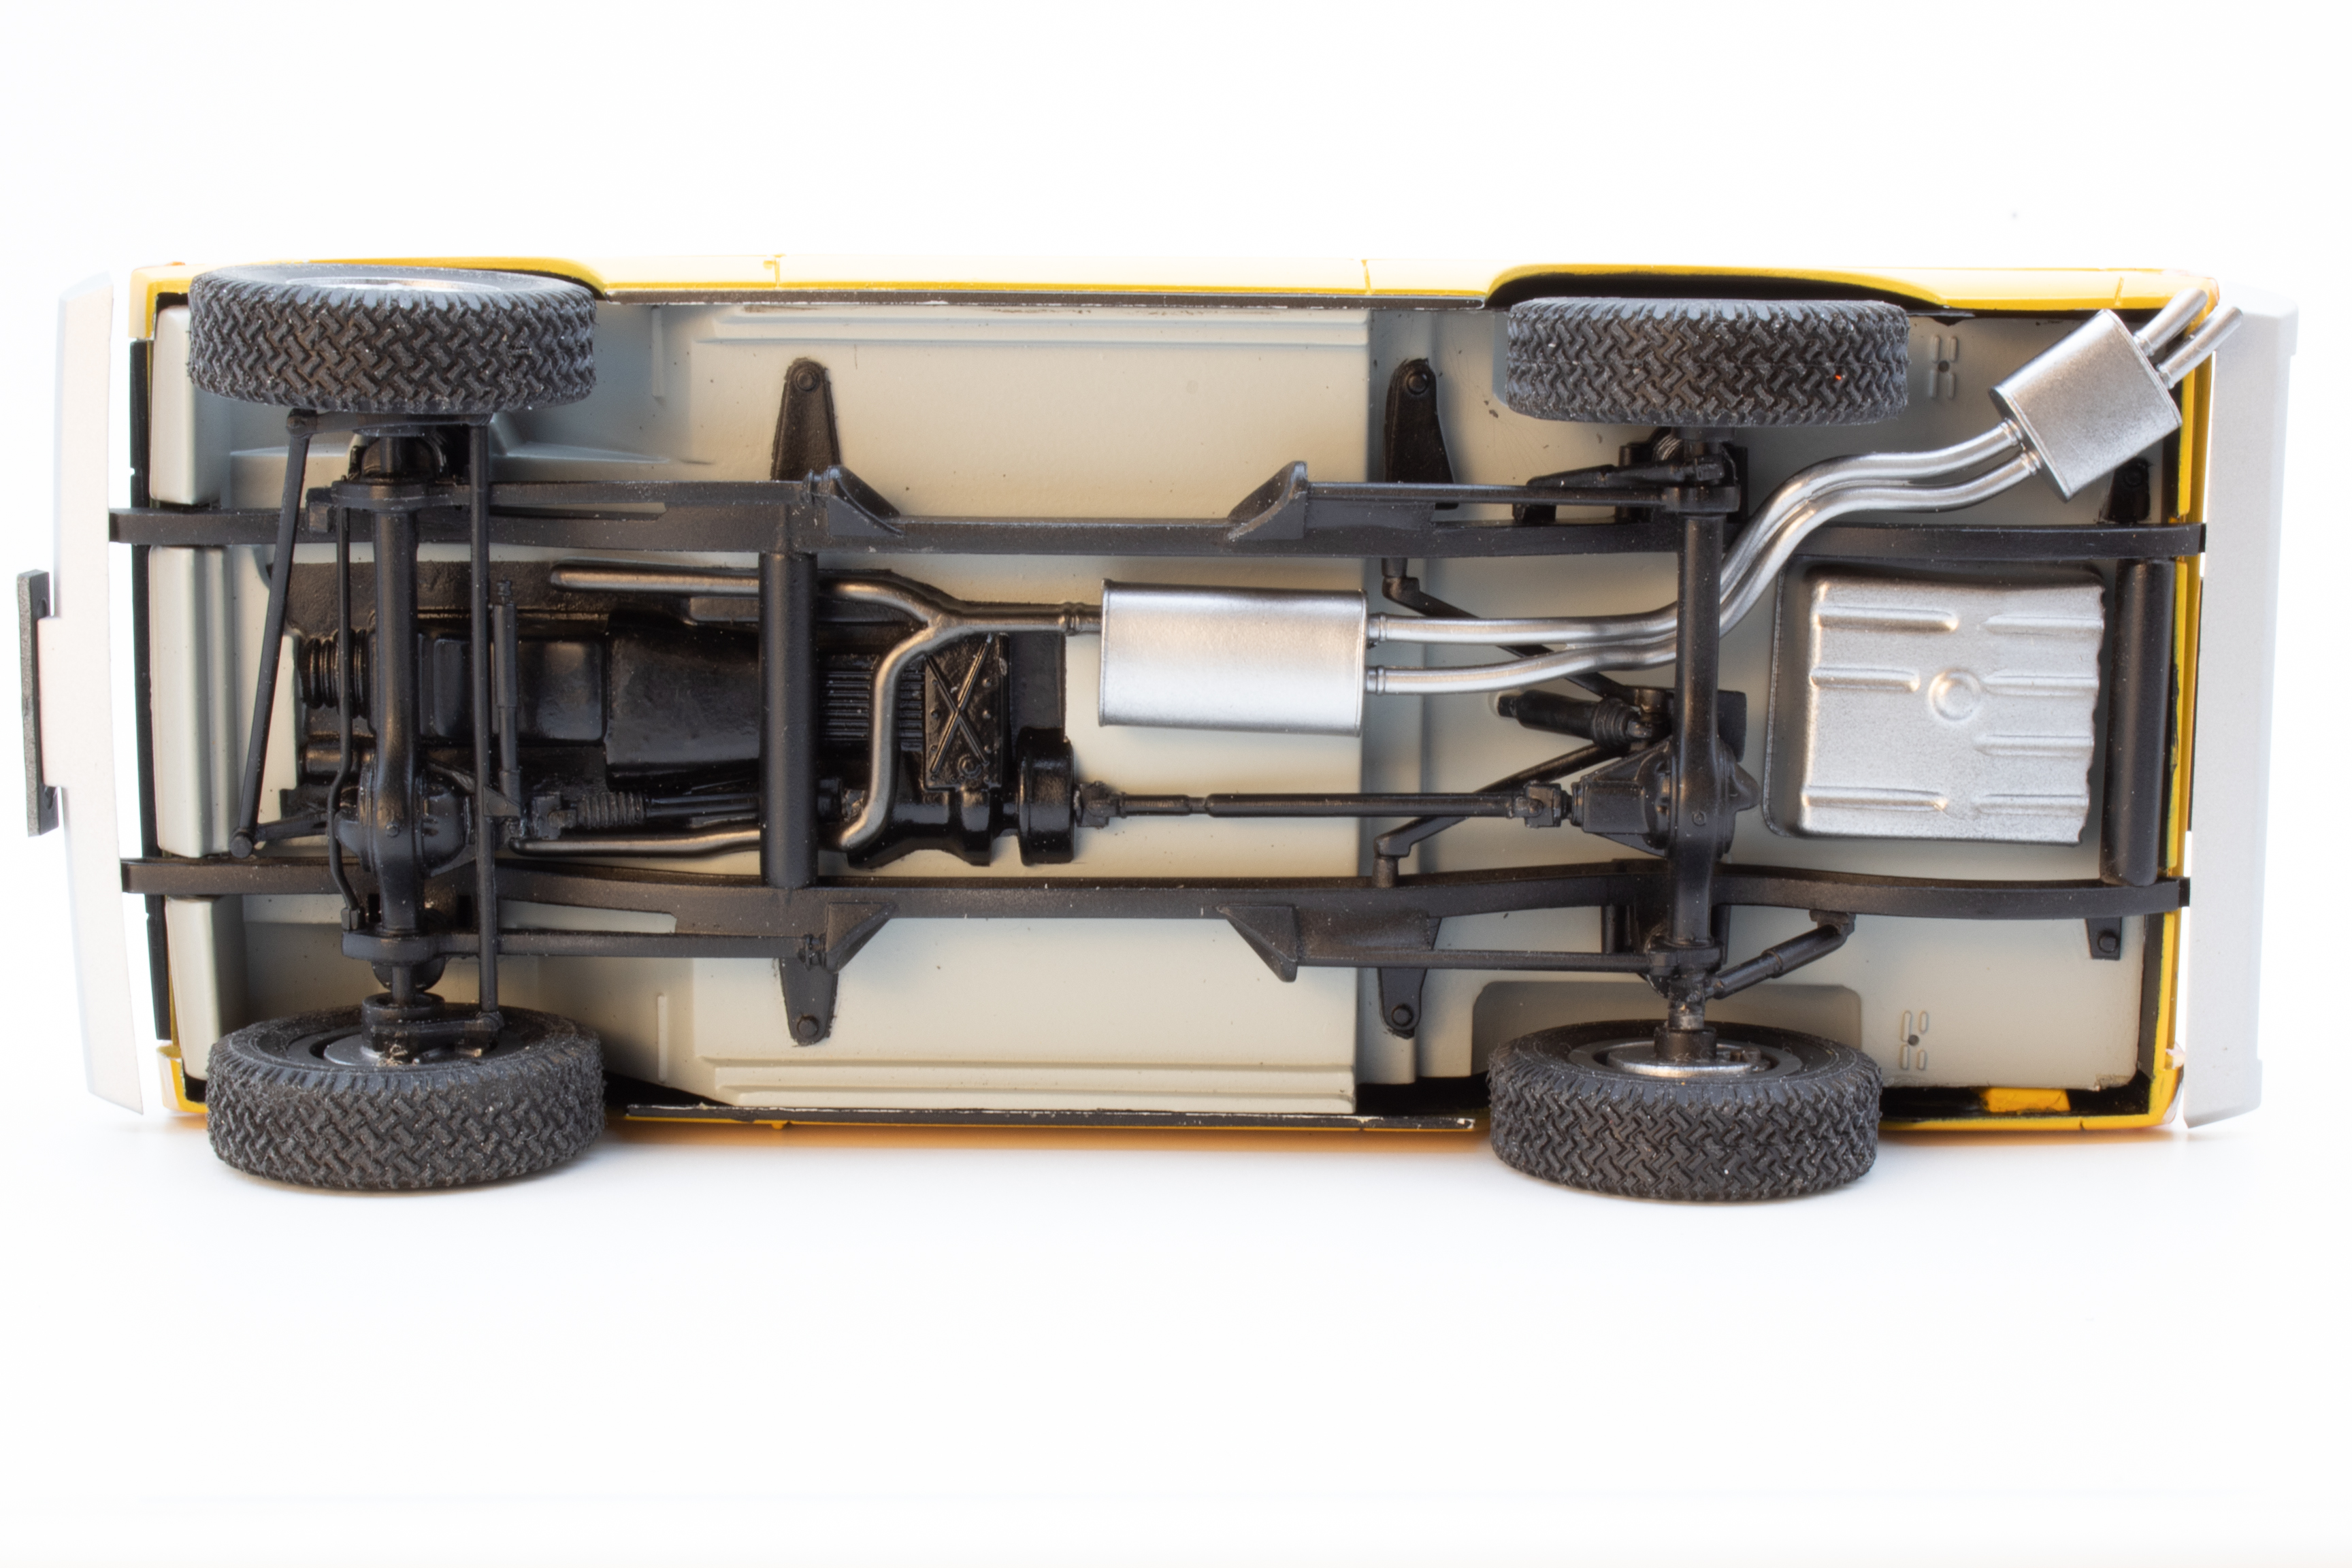
Per the instructions, assembly starts with the frame rails. Molded with the coil springs and trailing arms, the rails connect via two crossmembers joined in the middle. You might want to consider sleeving the crossmembers for strength, even though the axles are fairly sturdy and help reinforce the subassembly. Make sure you let the exhaust system (Part 5b), float between the rear axle and the self-leveling ride unit (Part 6b). Take my word for it: You won’t get it in if you wait till after the frame assembly is glued to the floor. The steering is designed to be posable with the correct components for right or left-hand drive. These correspond to the dash layout, so make sure to use the appropriate parts.
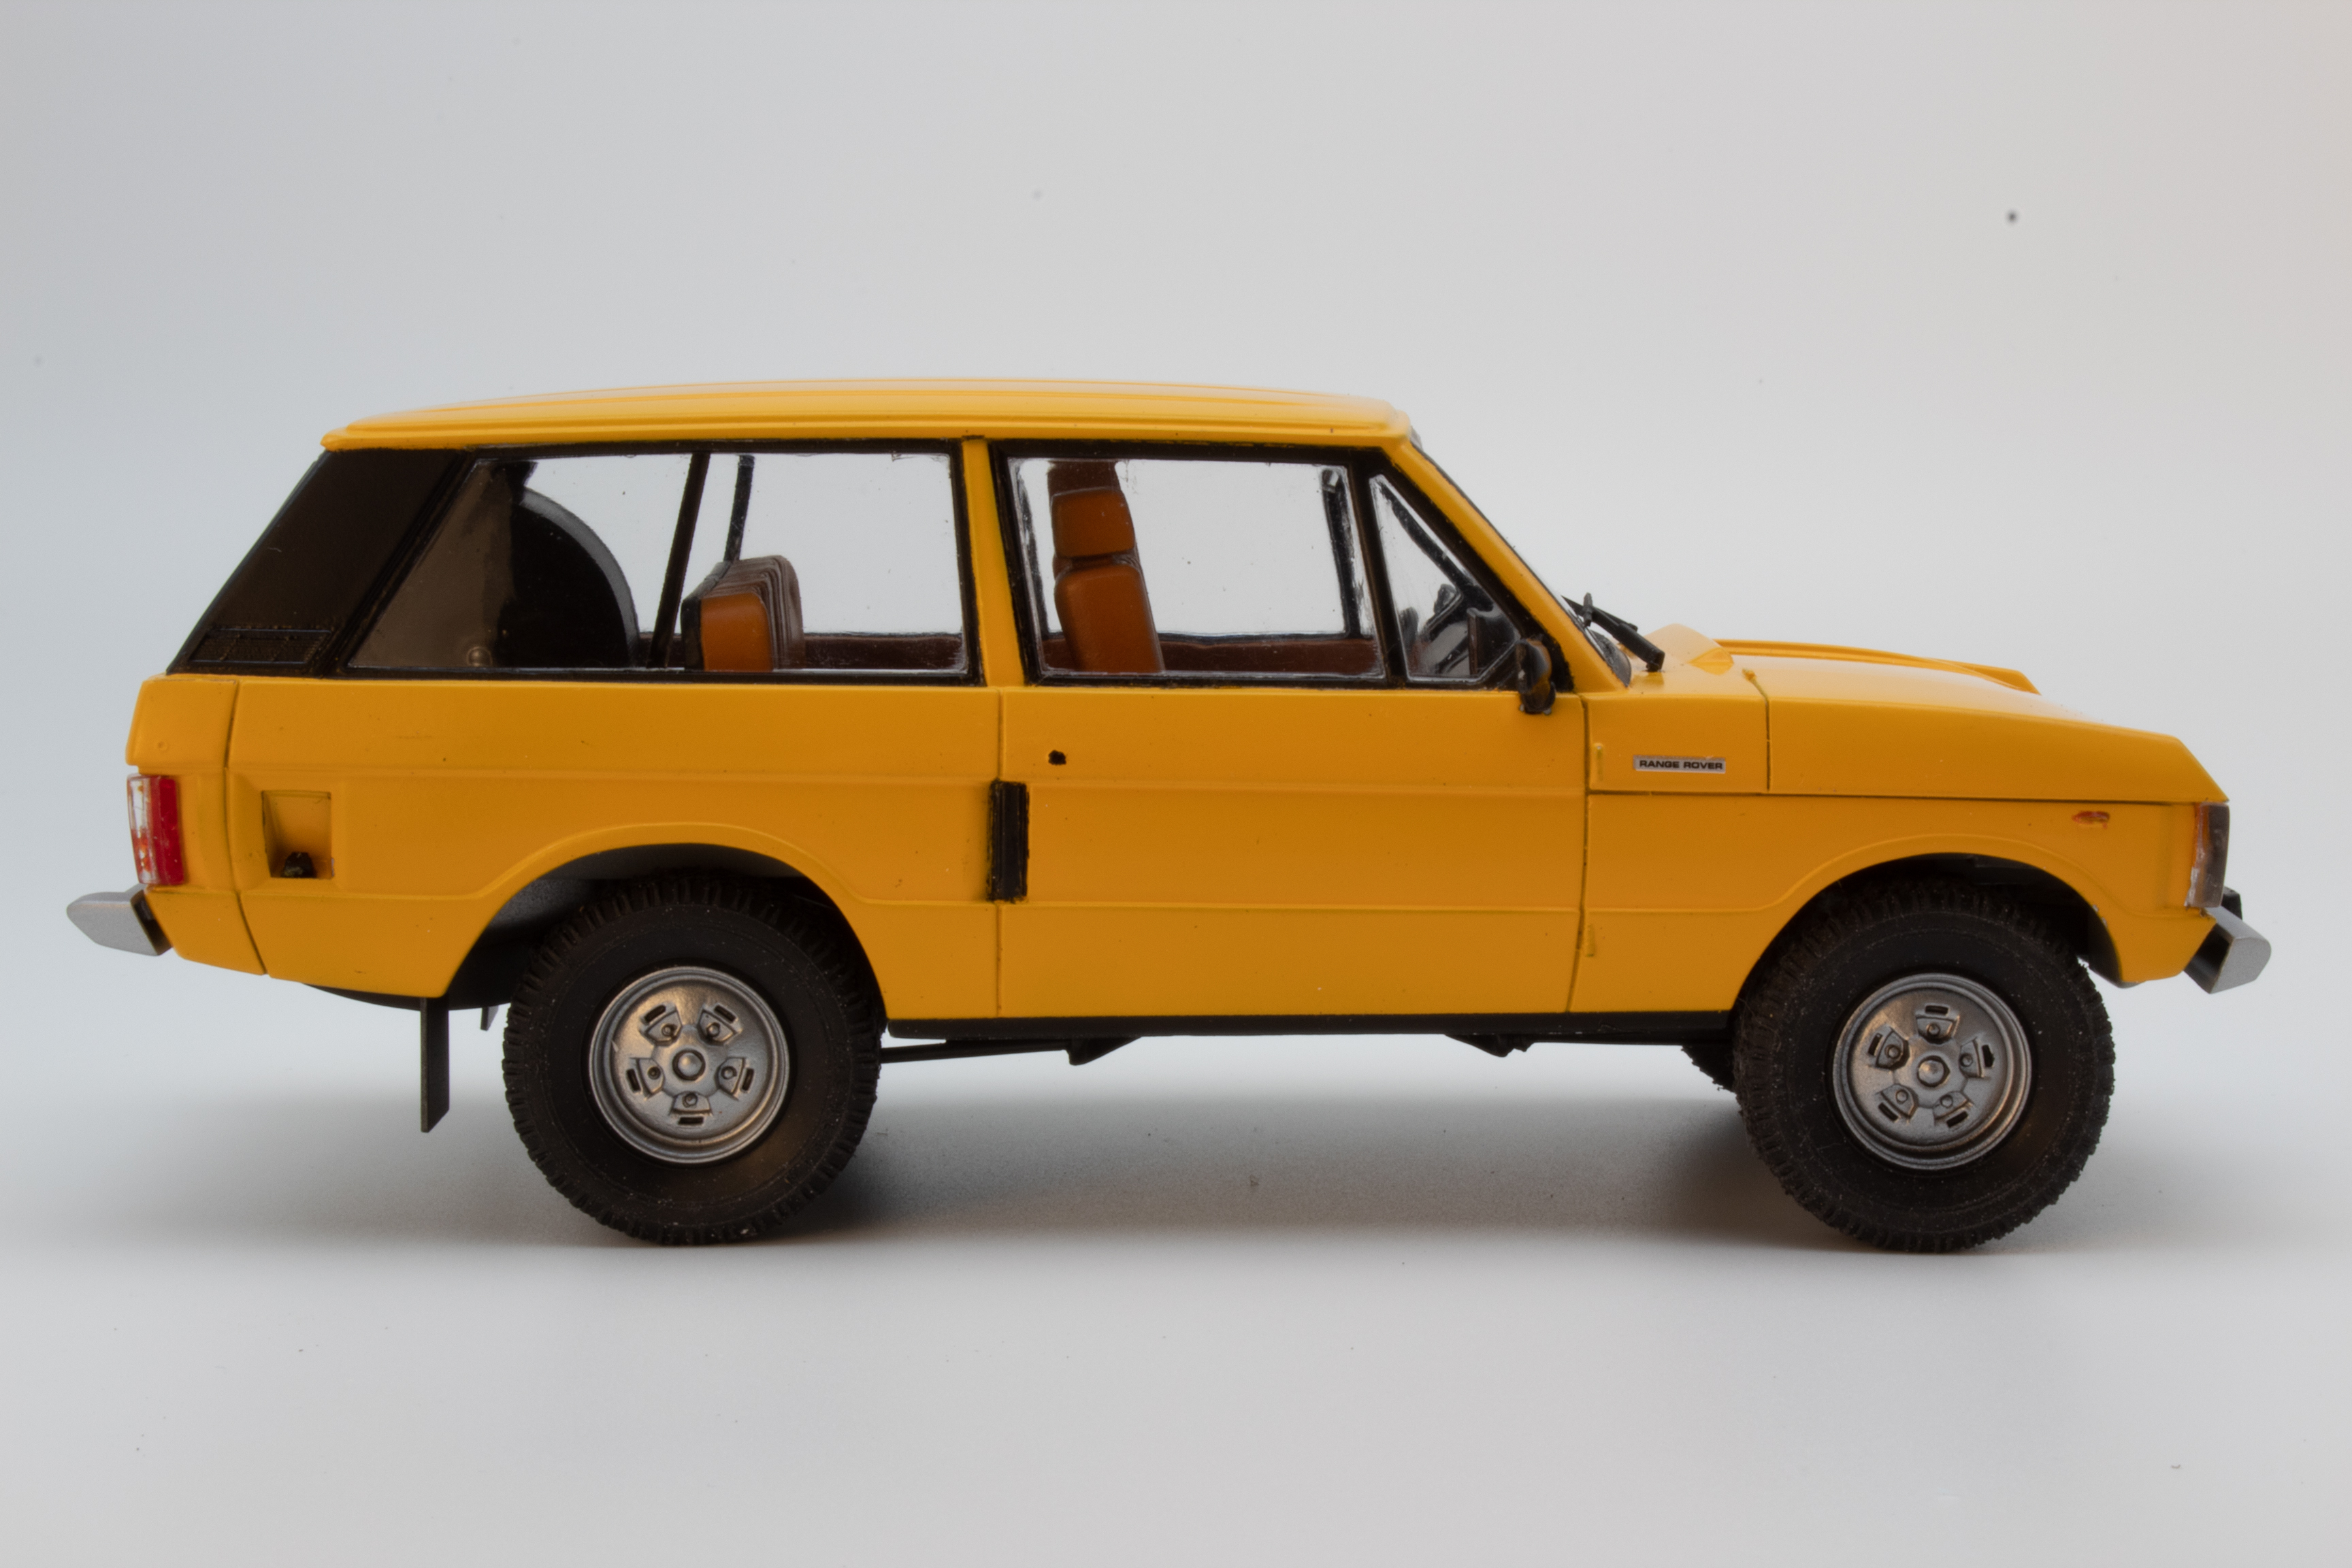
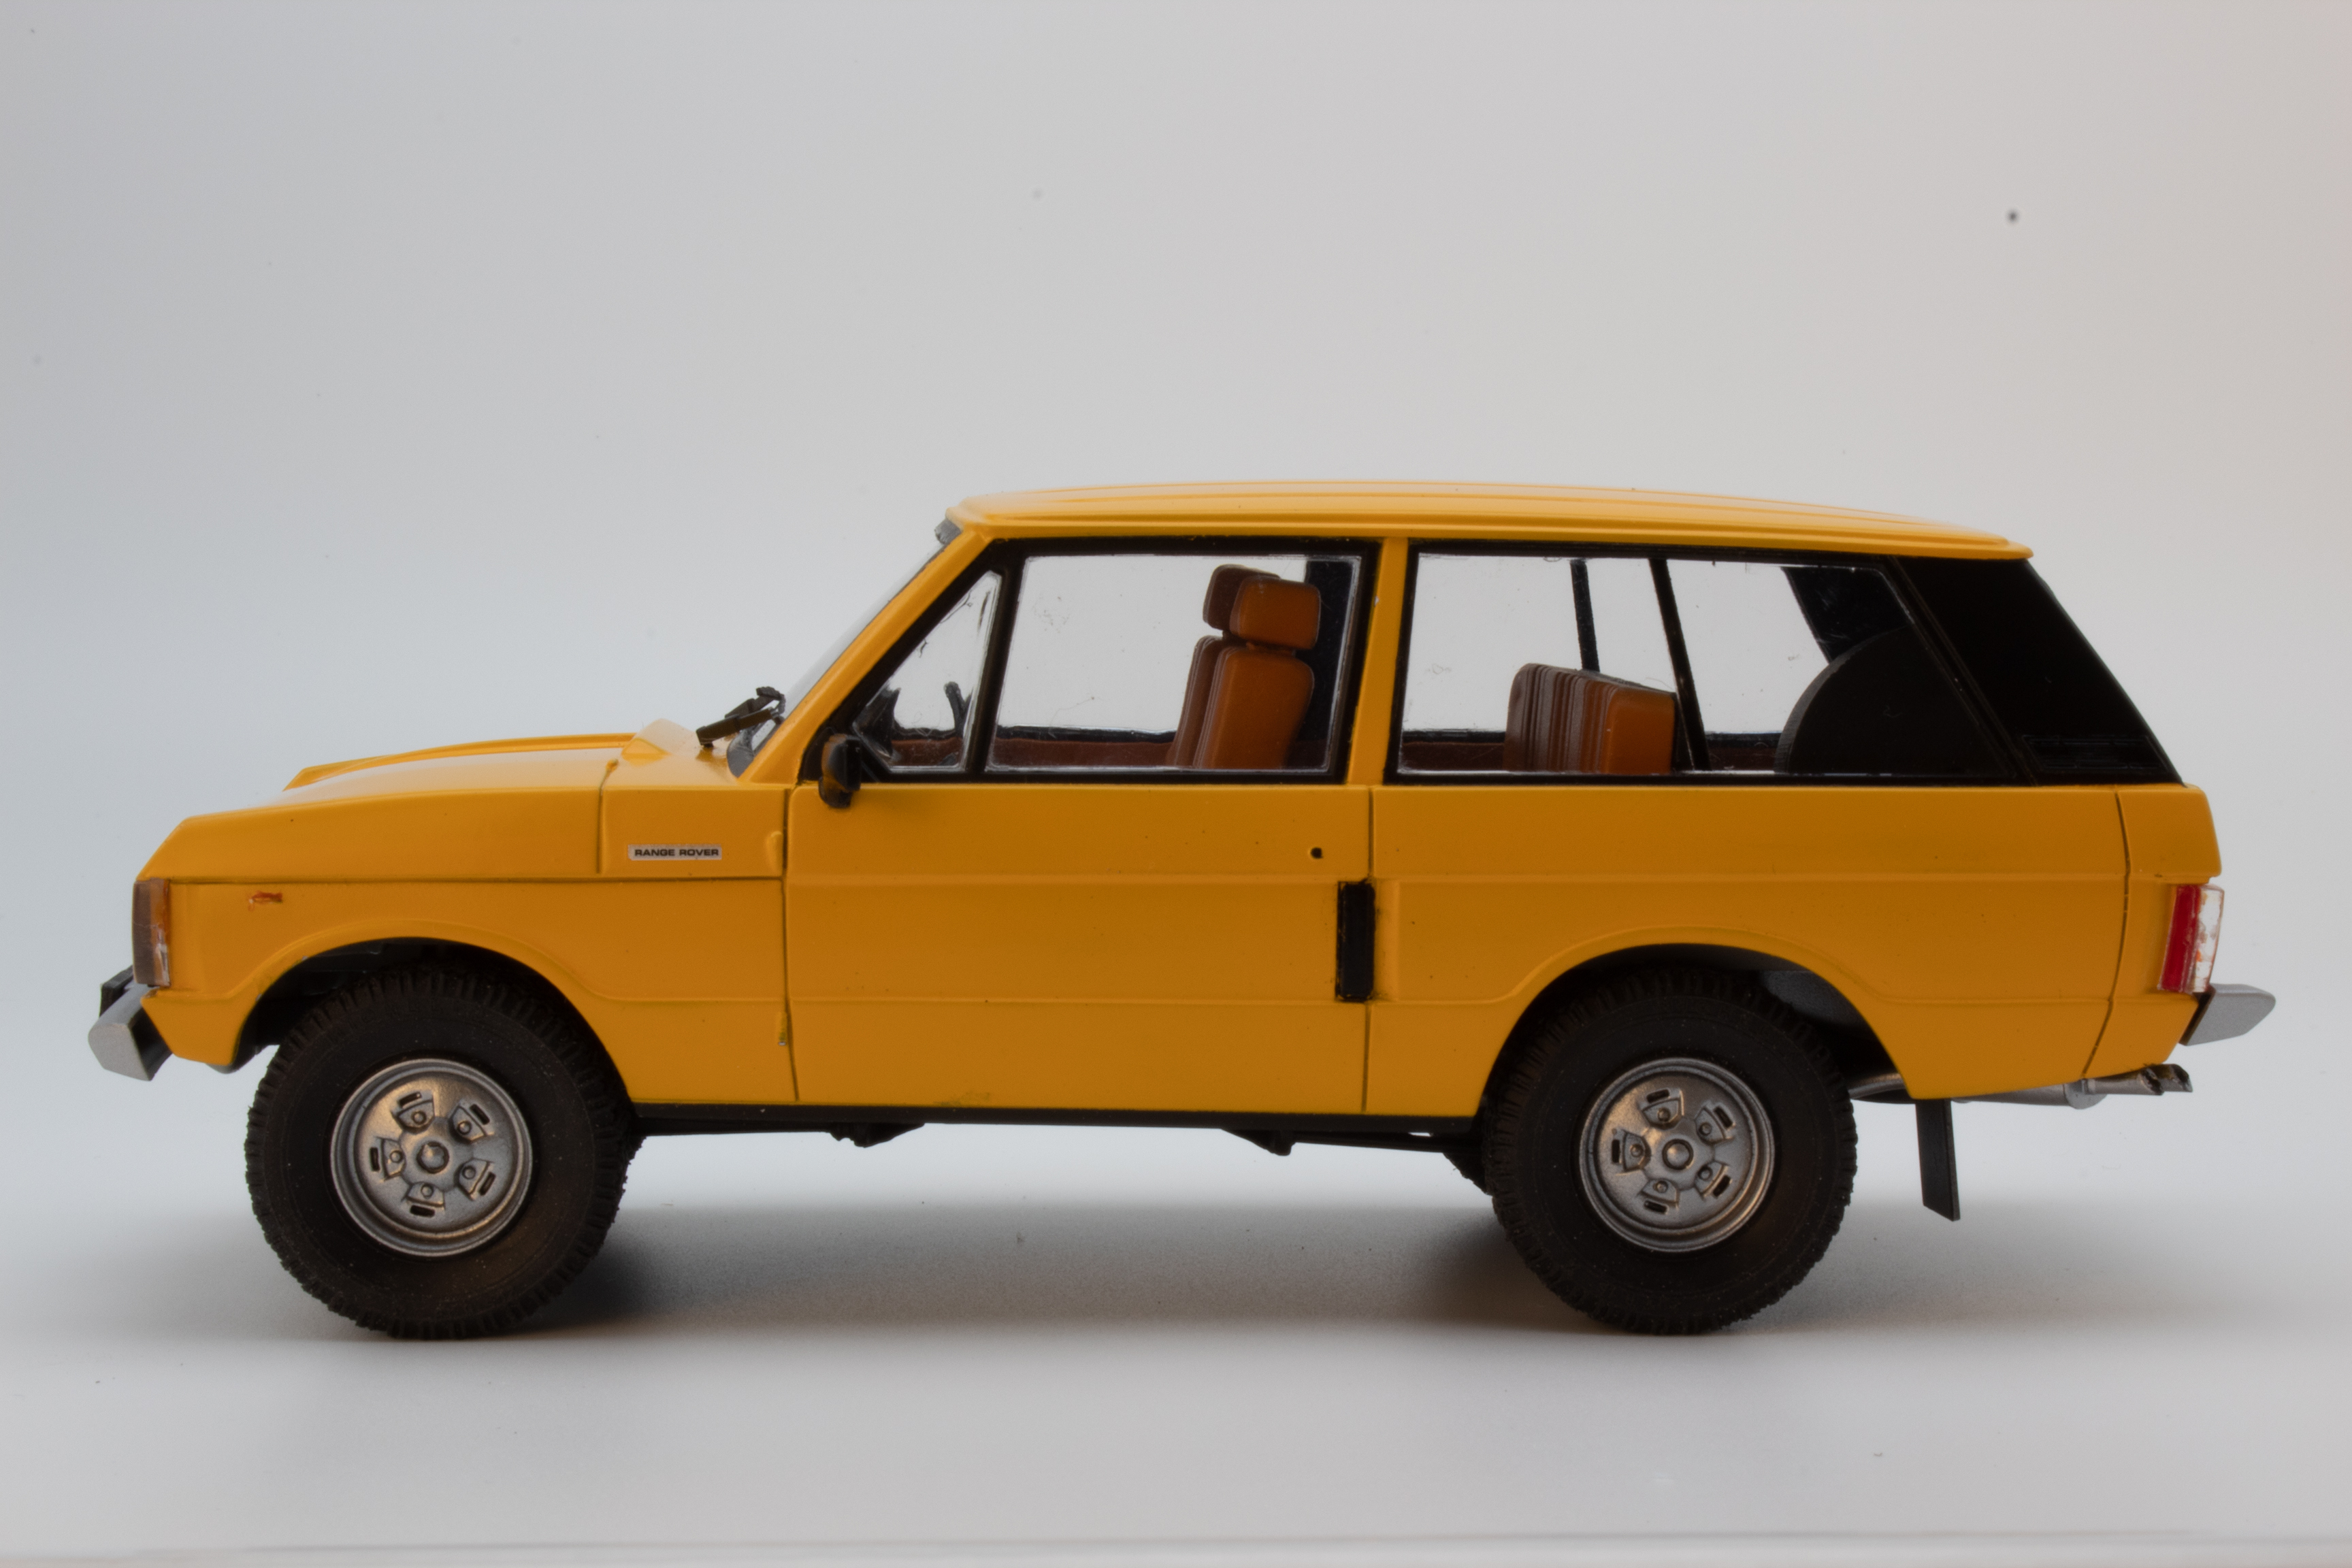
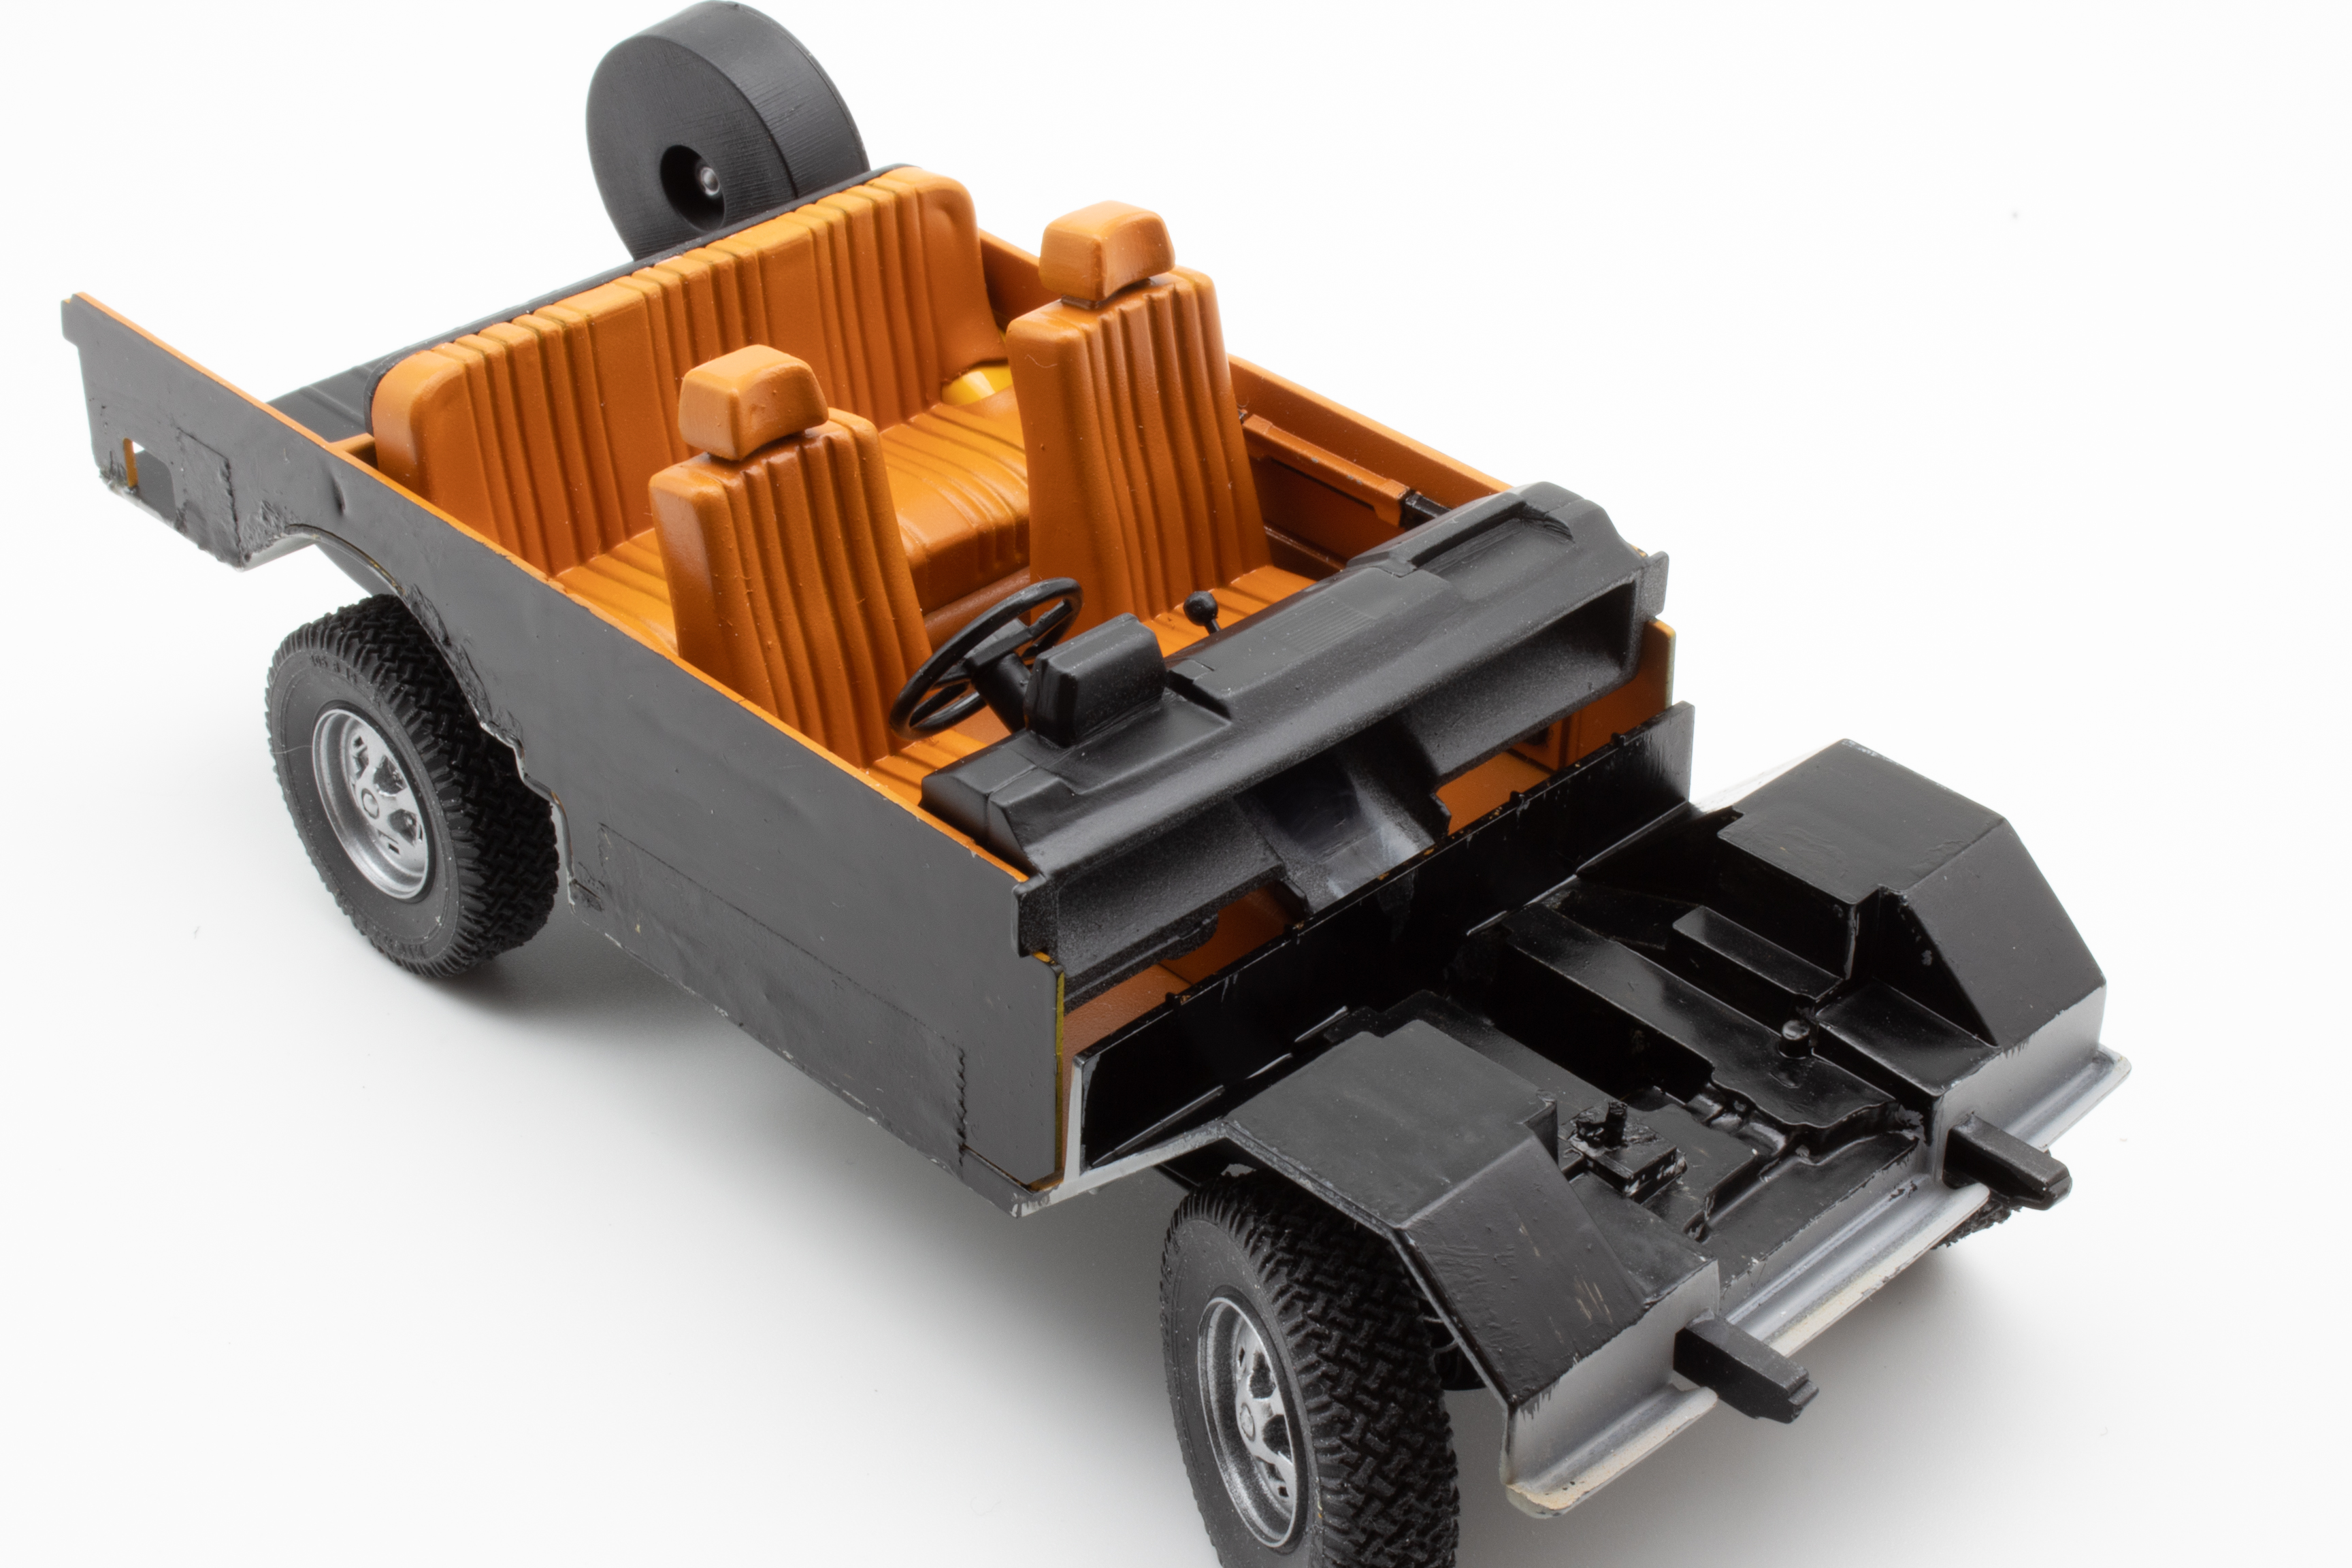
The next step calls for the frame, gas tank, and remaining drive train to be glued to the floor. Two issues arose here: First, the front spring towers would not touch their pockets in the floor. I inserted plastic spacers to fill the gap. Second, the rear floor was slightly warped. This would cause problems later in the build while attaching the interior side panels. The wheels mount to sharp-looking vinyl tires.
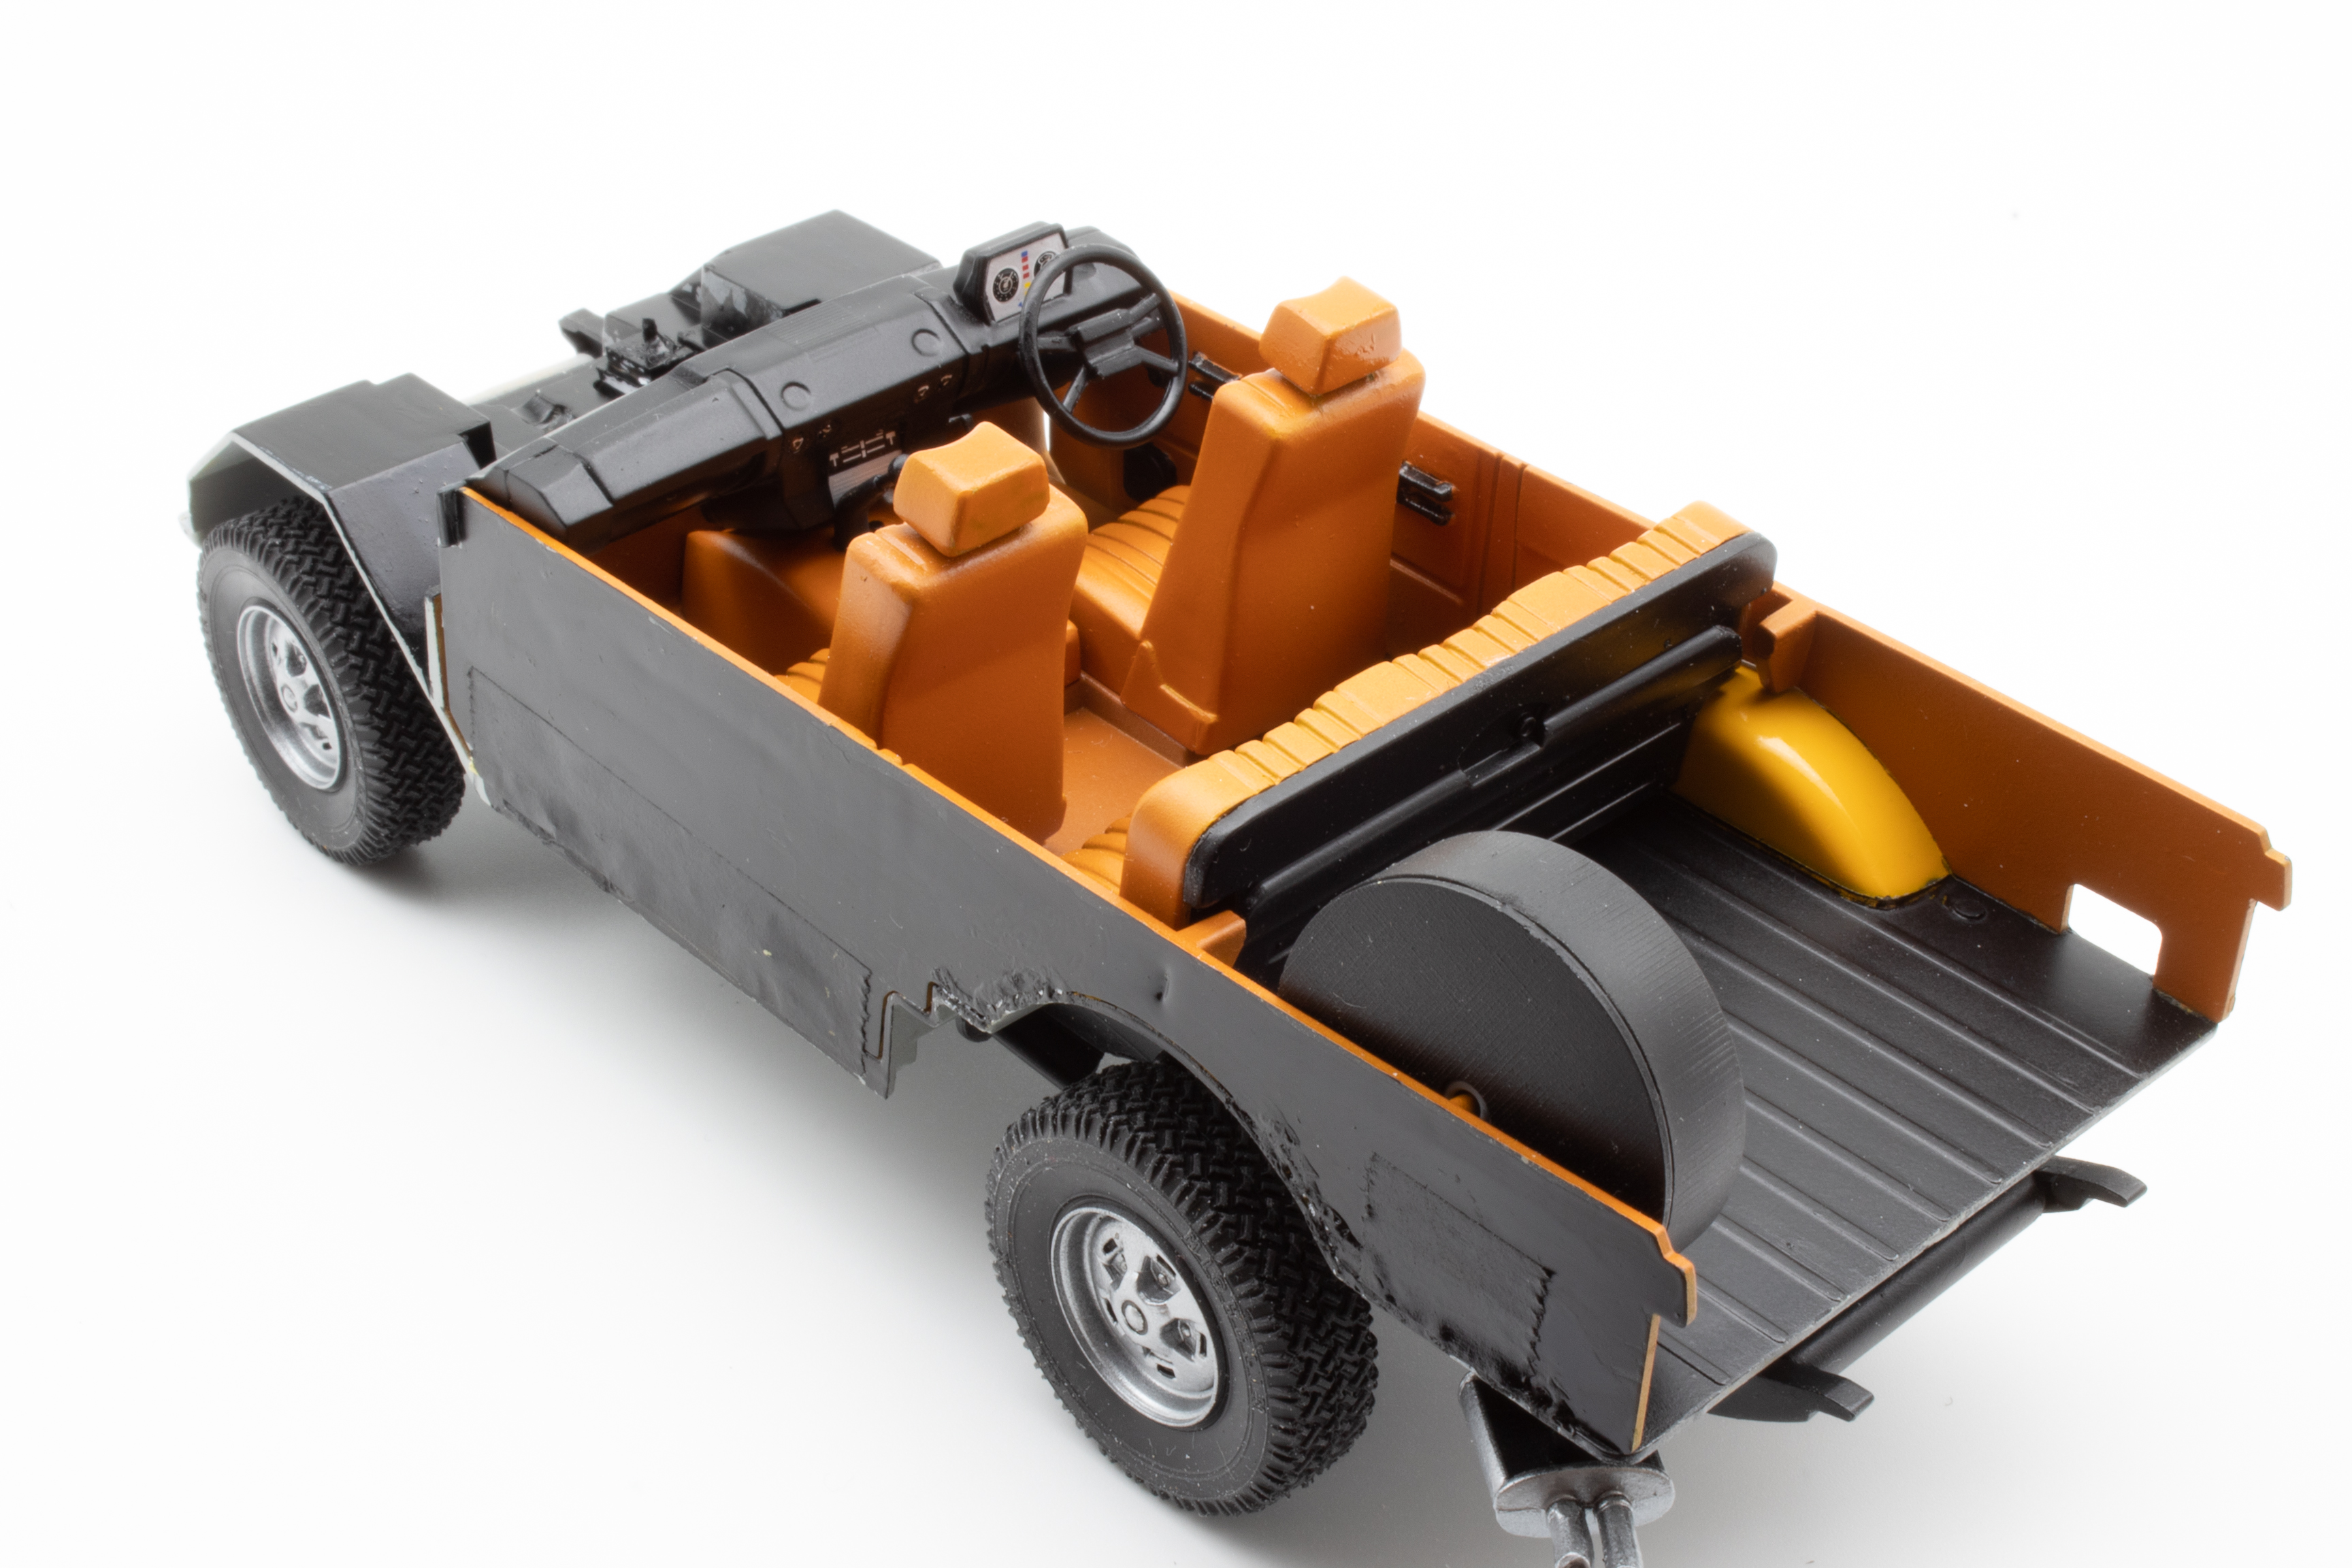
You build the platform-style interior directly on Range Rover’s floor. Choose the correct parts for the dash to match the steering and mount the left- or right-hand instrument pod and glove box on the basic dashboard—just like with the real vehicle. Decals detail the gauges. Separate door panels, seats, console, and spare tire finish out the interior.
The individual glass panels install from the inside with slight recesses along the window edges to align them. Test-fit the windows and remember that paint will be added to the body making the opening smaller. I felt that the tailgate glass did not have sufficient contact with the opening and made a pocket from styrene sheet for the glass to rest in. However, the larger issue was that the windshield was too small for the opening in the body. I extended the top edge of the opening with styrene shims until it touched the glass.
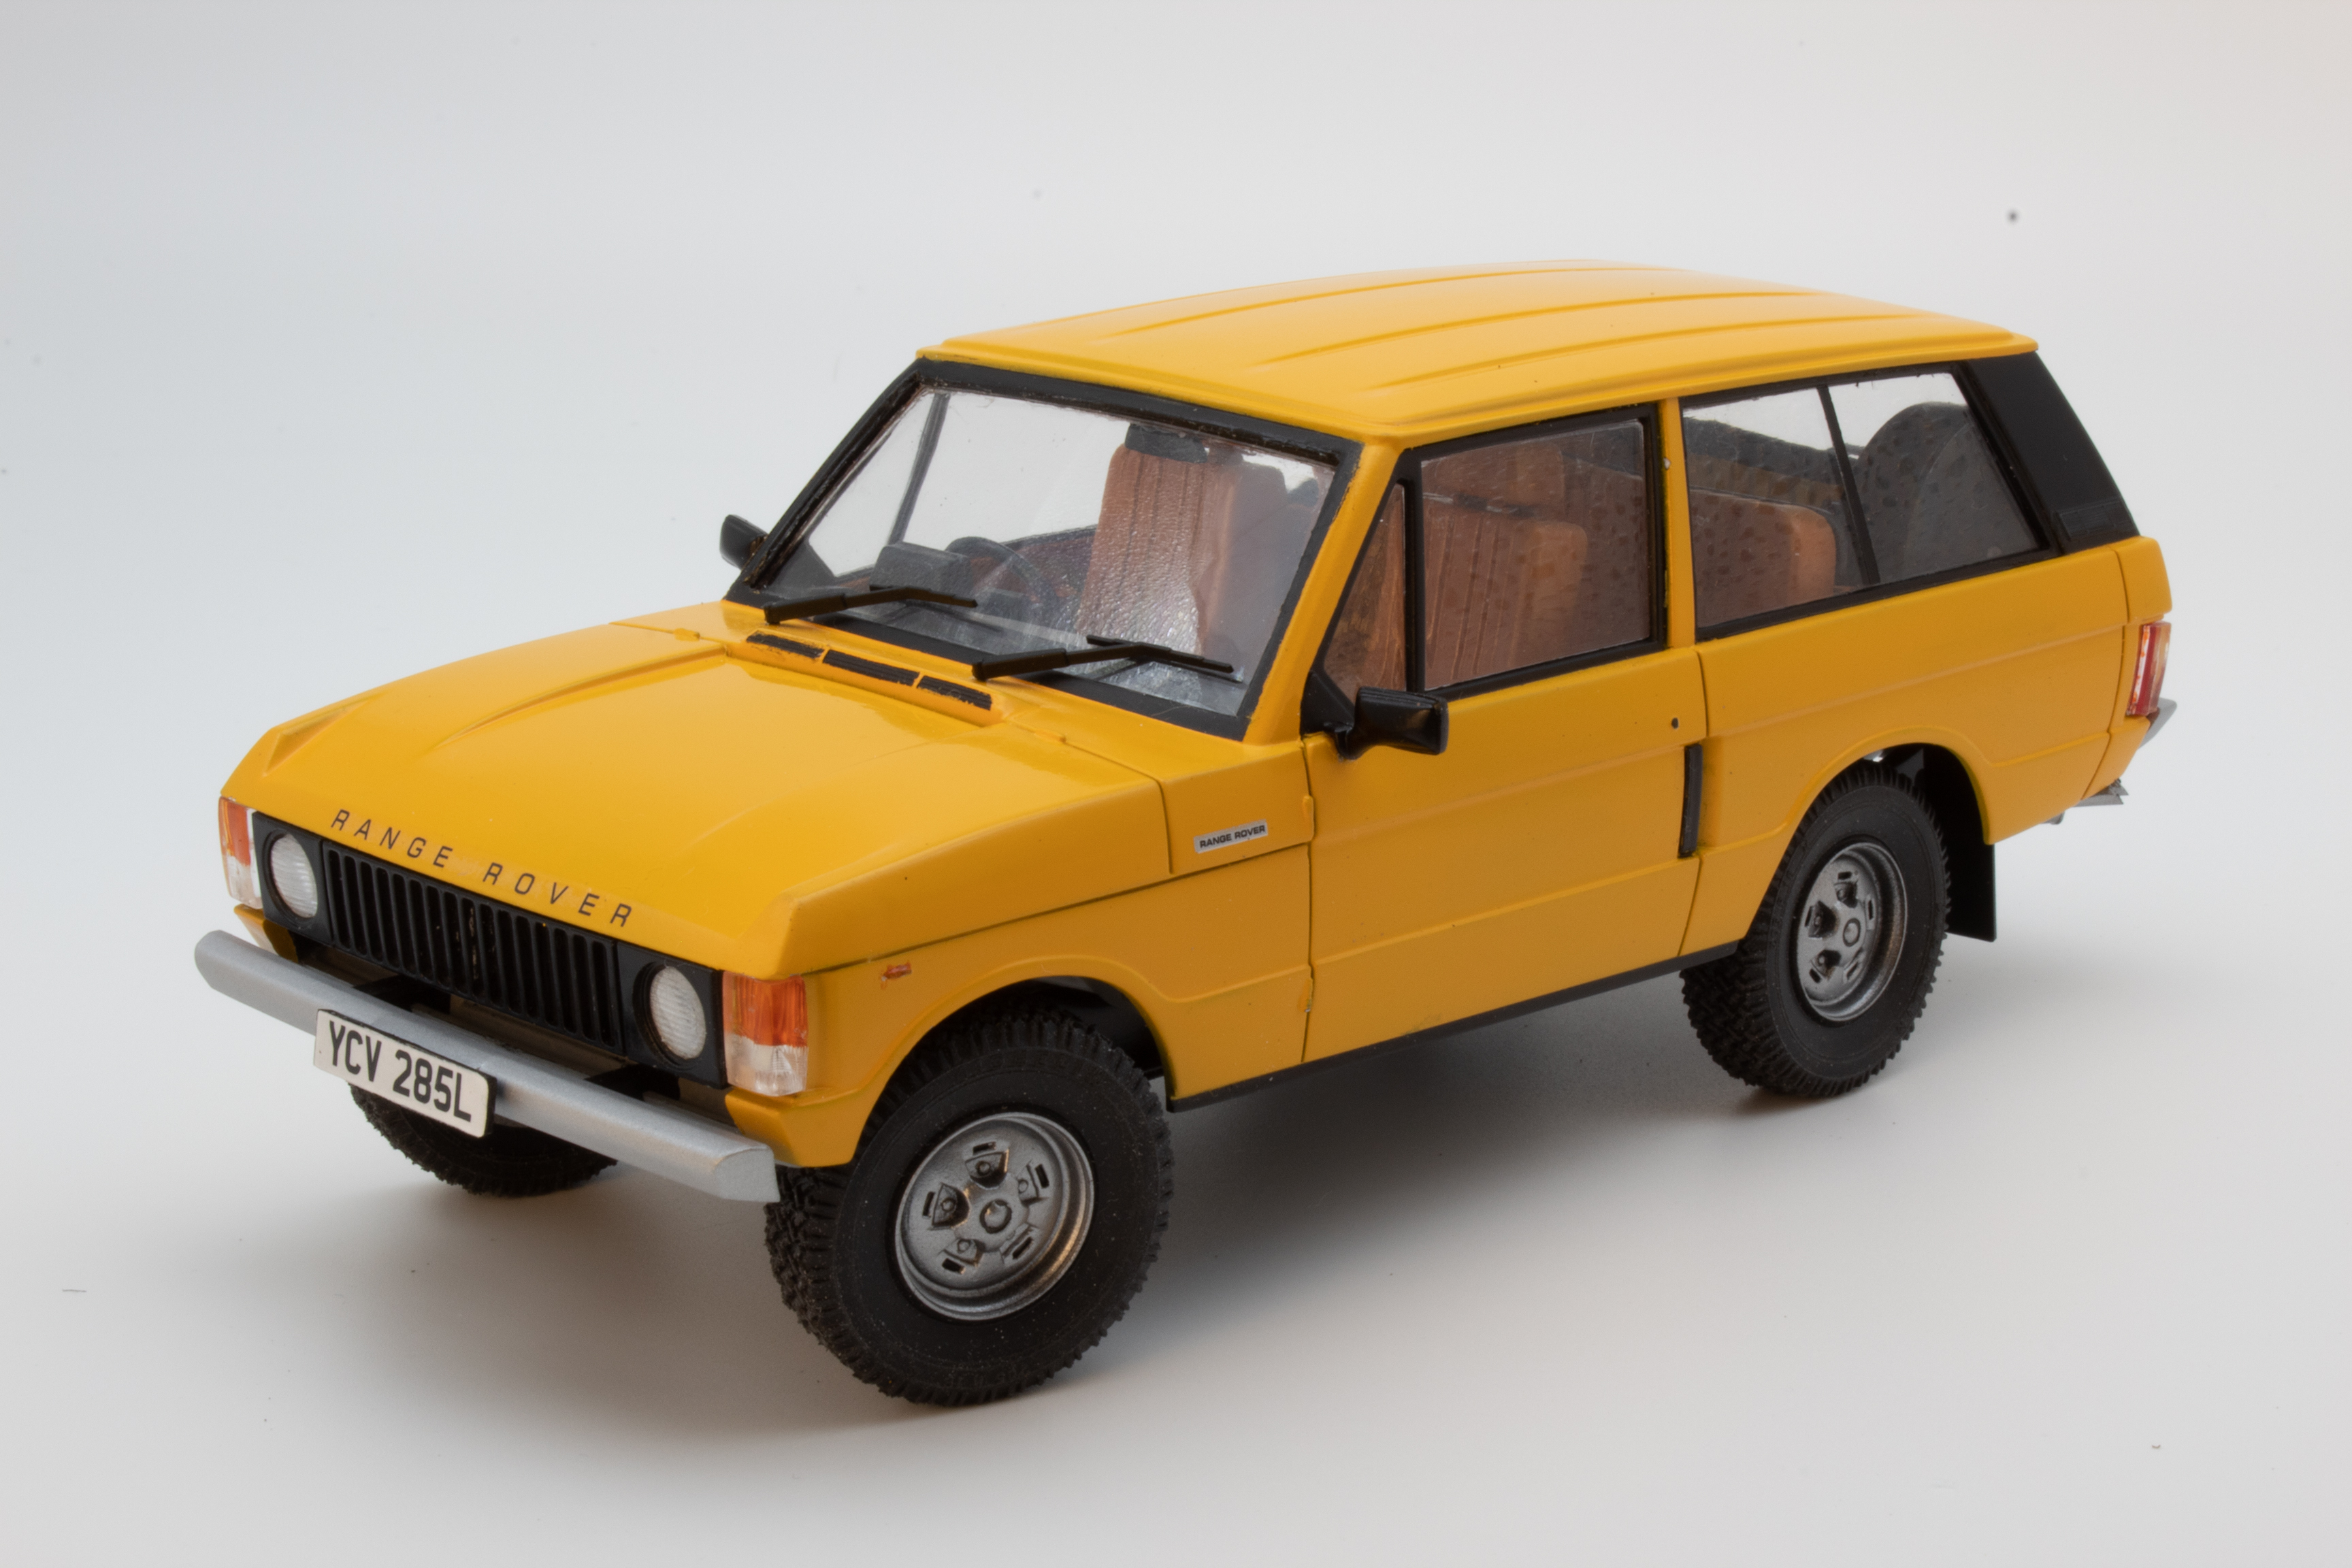
The single-piece body is crisply molded and needed minimal cleanup. The tailgate is integrated into the body but is designed to be posed open if desired. I wanted it closed, but instead of having recessed panel lines, the gate was attached to the body using intermittent contact points that left unsightly gaps. I cut the gate loose, cleaned up the edges, added strip styrene around its perimeter and reattached it. The separate headlights, taillights, and front turn signals are molded clear; the taillights and turn signals require paint.
The chassis and interior assembly goes into the body with a little persuasion, and it’s then time to mount exterior hardware: windshield wipers, tailgate handle and wiper, side mirrors, bumpers, and tags. The few decals in the kit were in register, went on easily, and include license plates for 10 European countries. Although there were a few issues to work through, the end result is an impressive replica. Thanks to Italeri for issuing this limited-edition kit!