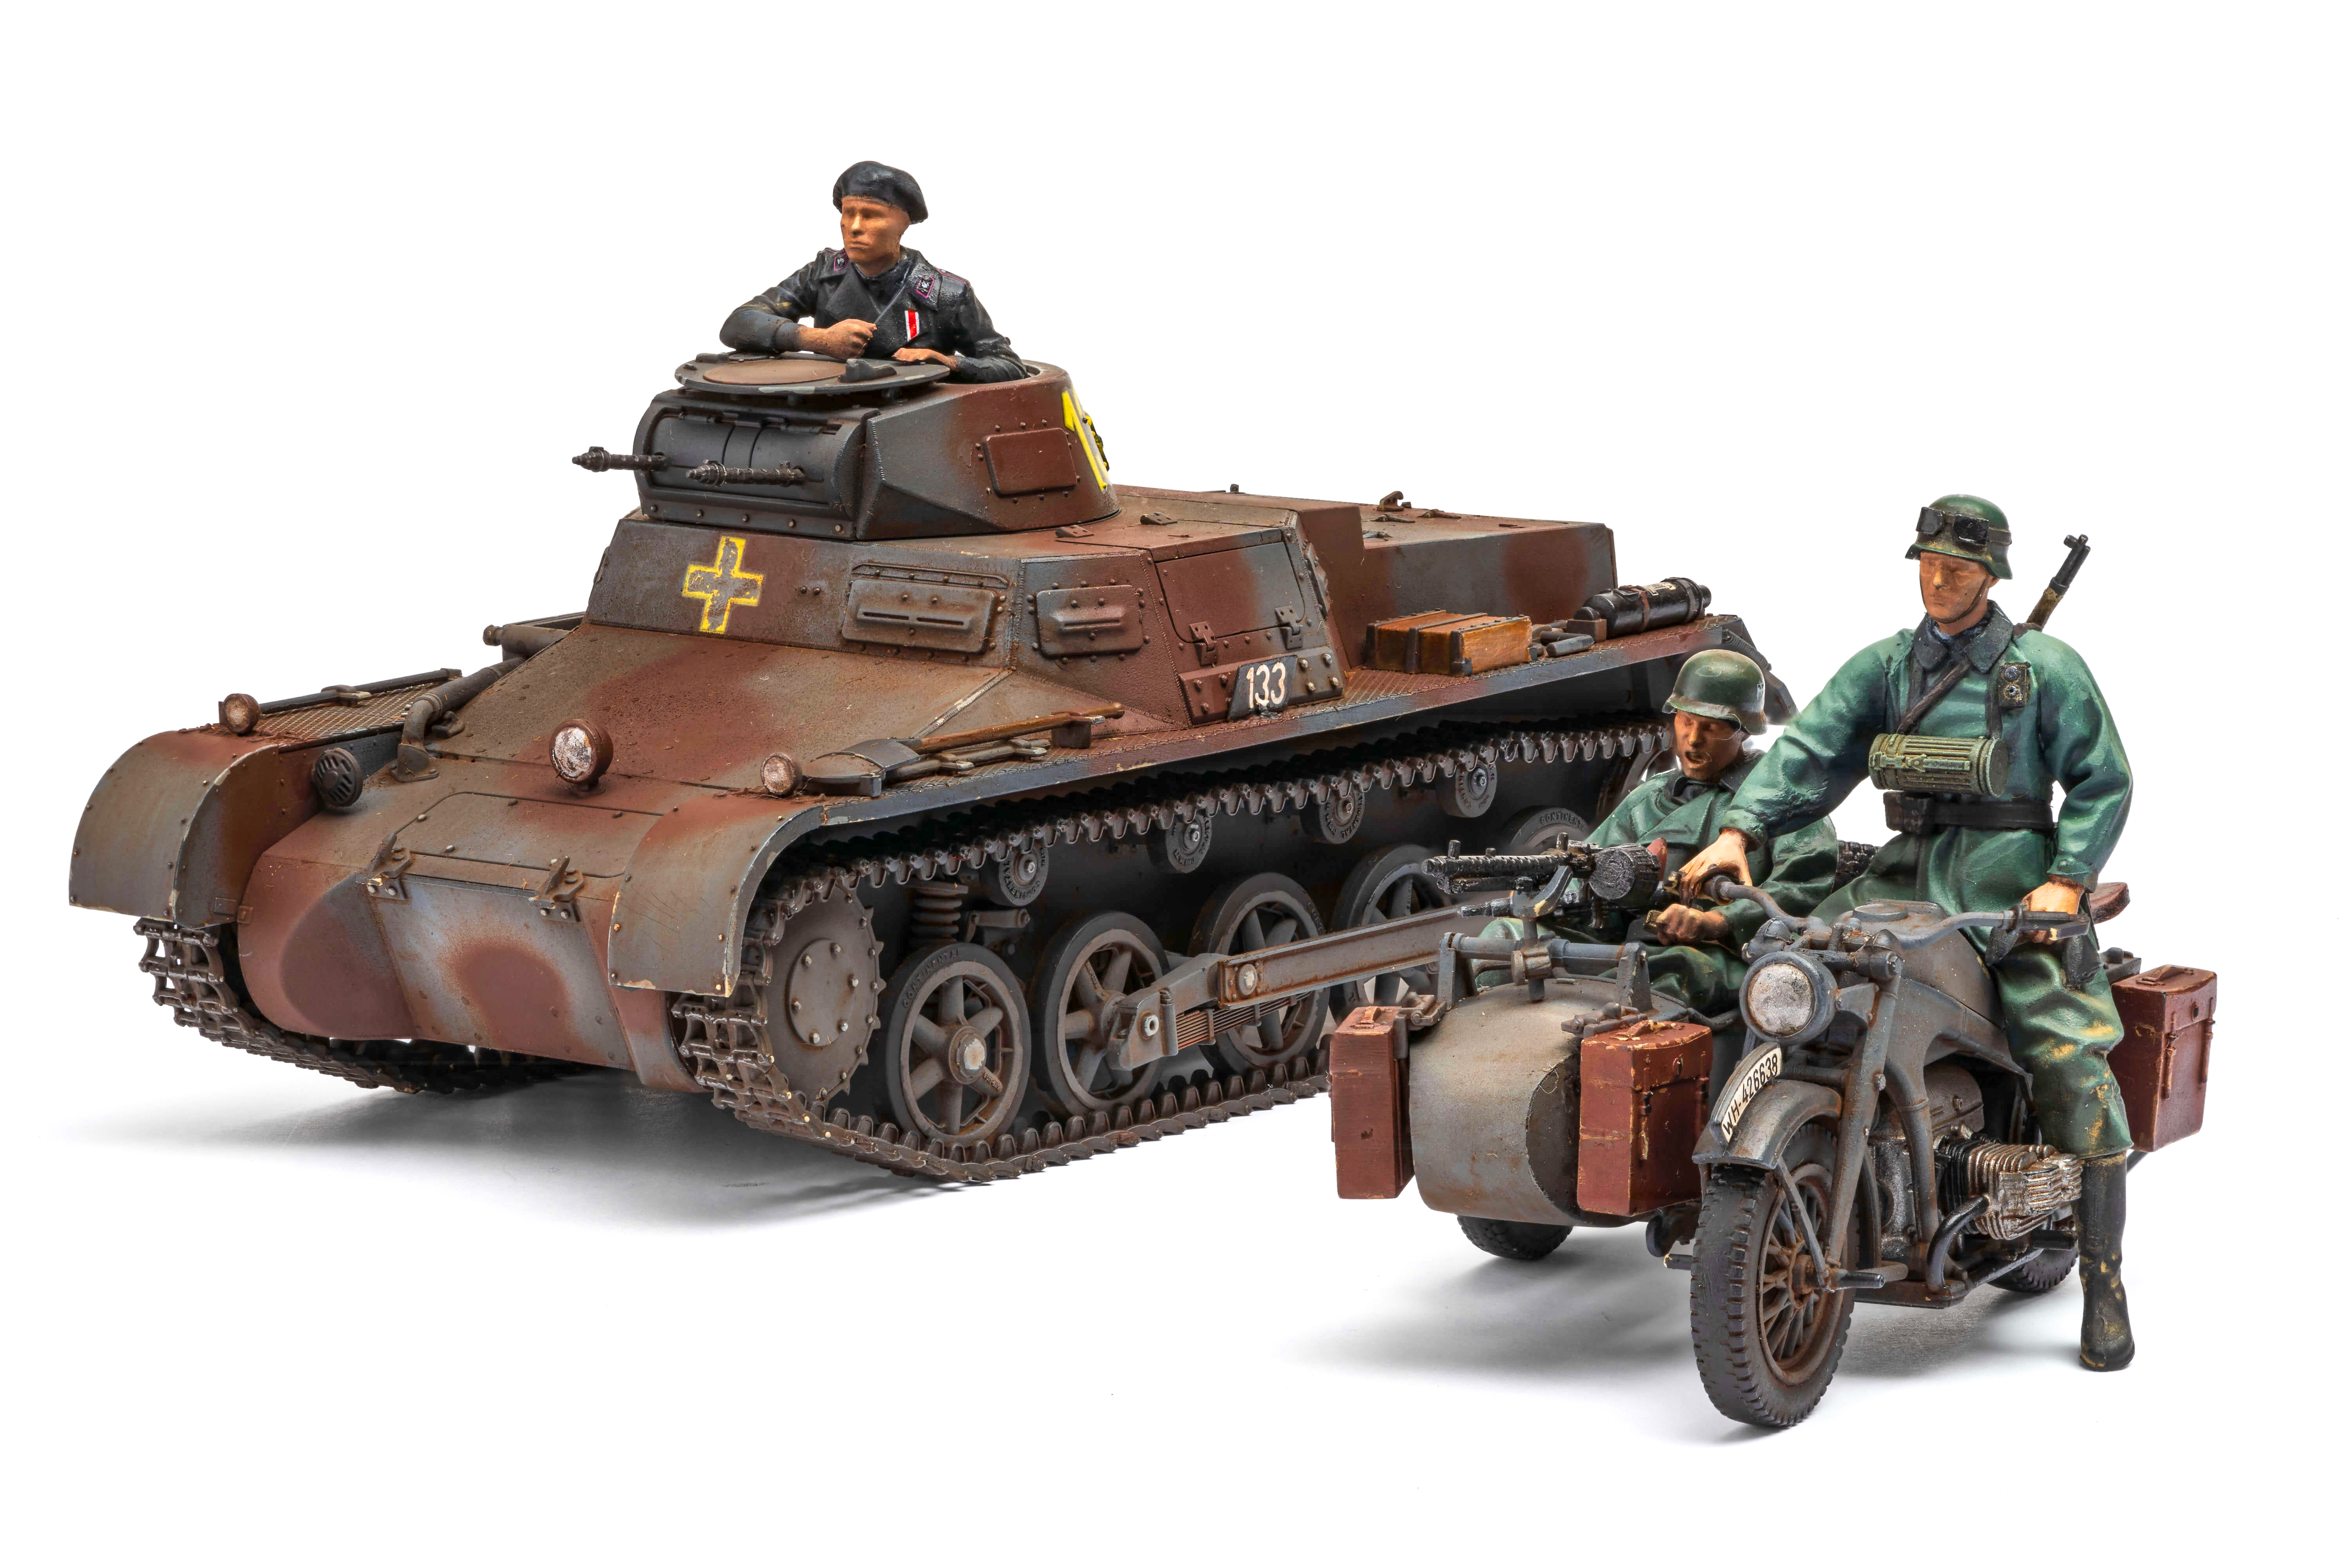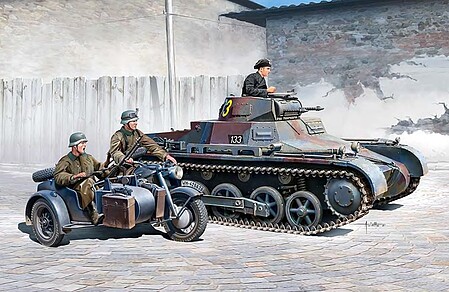
The new Academy Panzer I Ausf B and Motorcycle plastic model kit joins the company’s other two-kit releases, the Panzer II and Panzer III with a Zundapp motorcycle and sidecar. This pairing is a little strange because the Zundapp was not available during the early part of the war when the Panzer I was used, however, they are two fine kits if taken separately.
Assembly starts with the Zundapp motorcycle and sidecar. I found building the wheels and fors challenging. Make sure to pay attention to the callouts for locating the wheels in relation to the fenders. The front fender supports require delicate gluing as they just butt up to the bottom edge of the fender. The rest of the motorcycle goes together well, although I kept the sidecar and saddlebags separate to ease painting.
The motorcycle figures are the best I’ve seen from Academy. The driver’s pose fits the seat perfectly, and the rider snuggles easily into the sidecar. I left the latter’s left foot off to ease placing the figure in the sidecar; It can’t be seen, so it’s fine. Be sure to leave the MG34 off until you seat the rider or you’ll need to break it off to get him in. I did manage to break off both handlebars during the assembly, but it actually helped when I added the driver to ensure his hand was firmly on the grip.
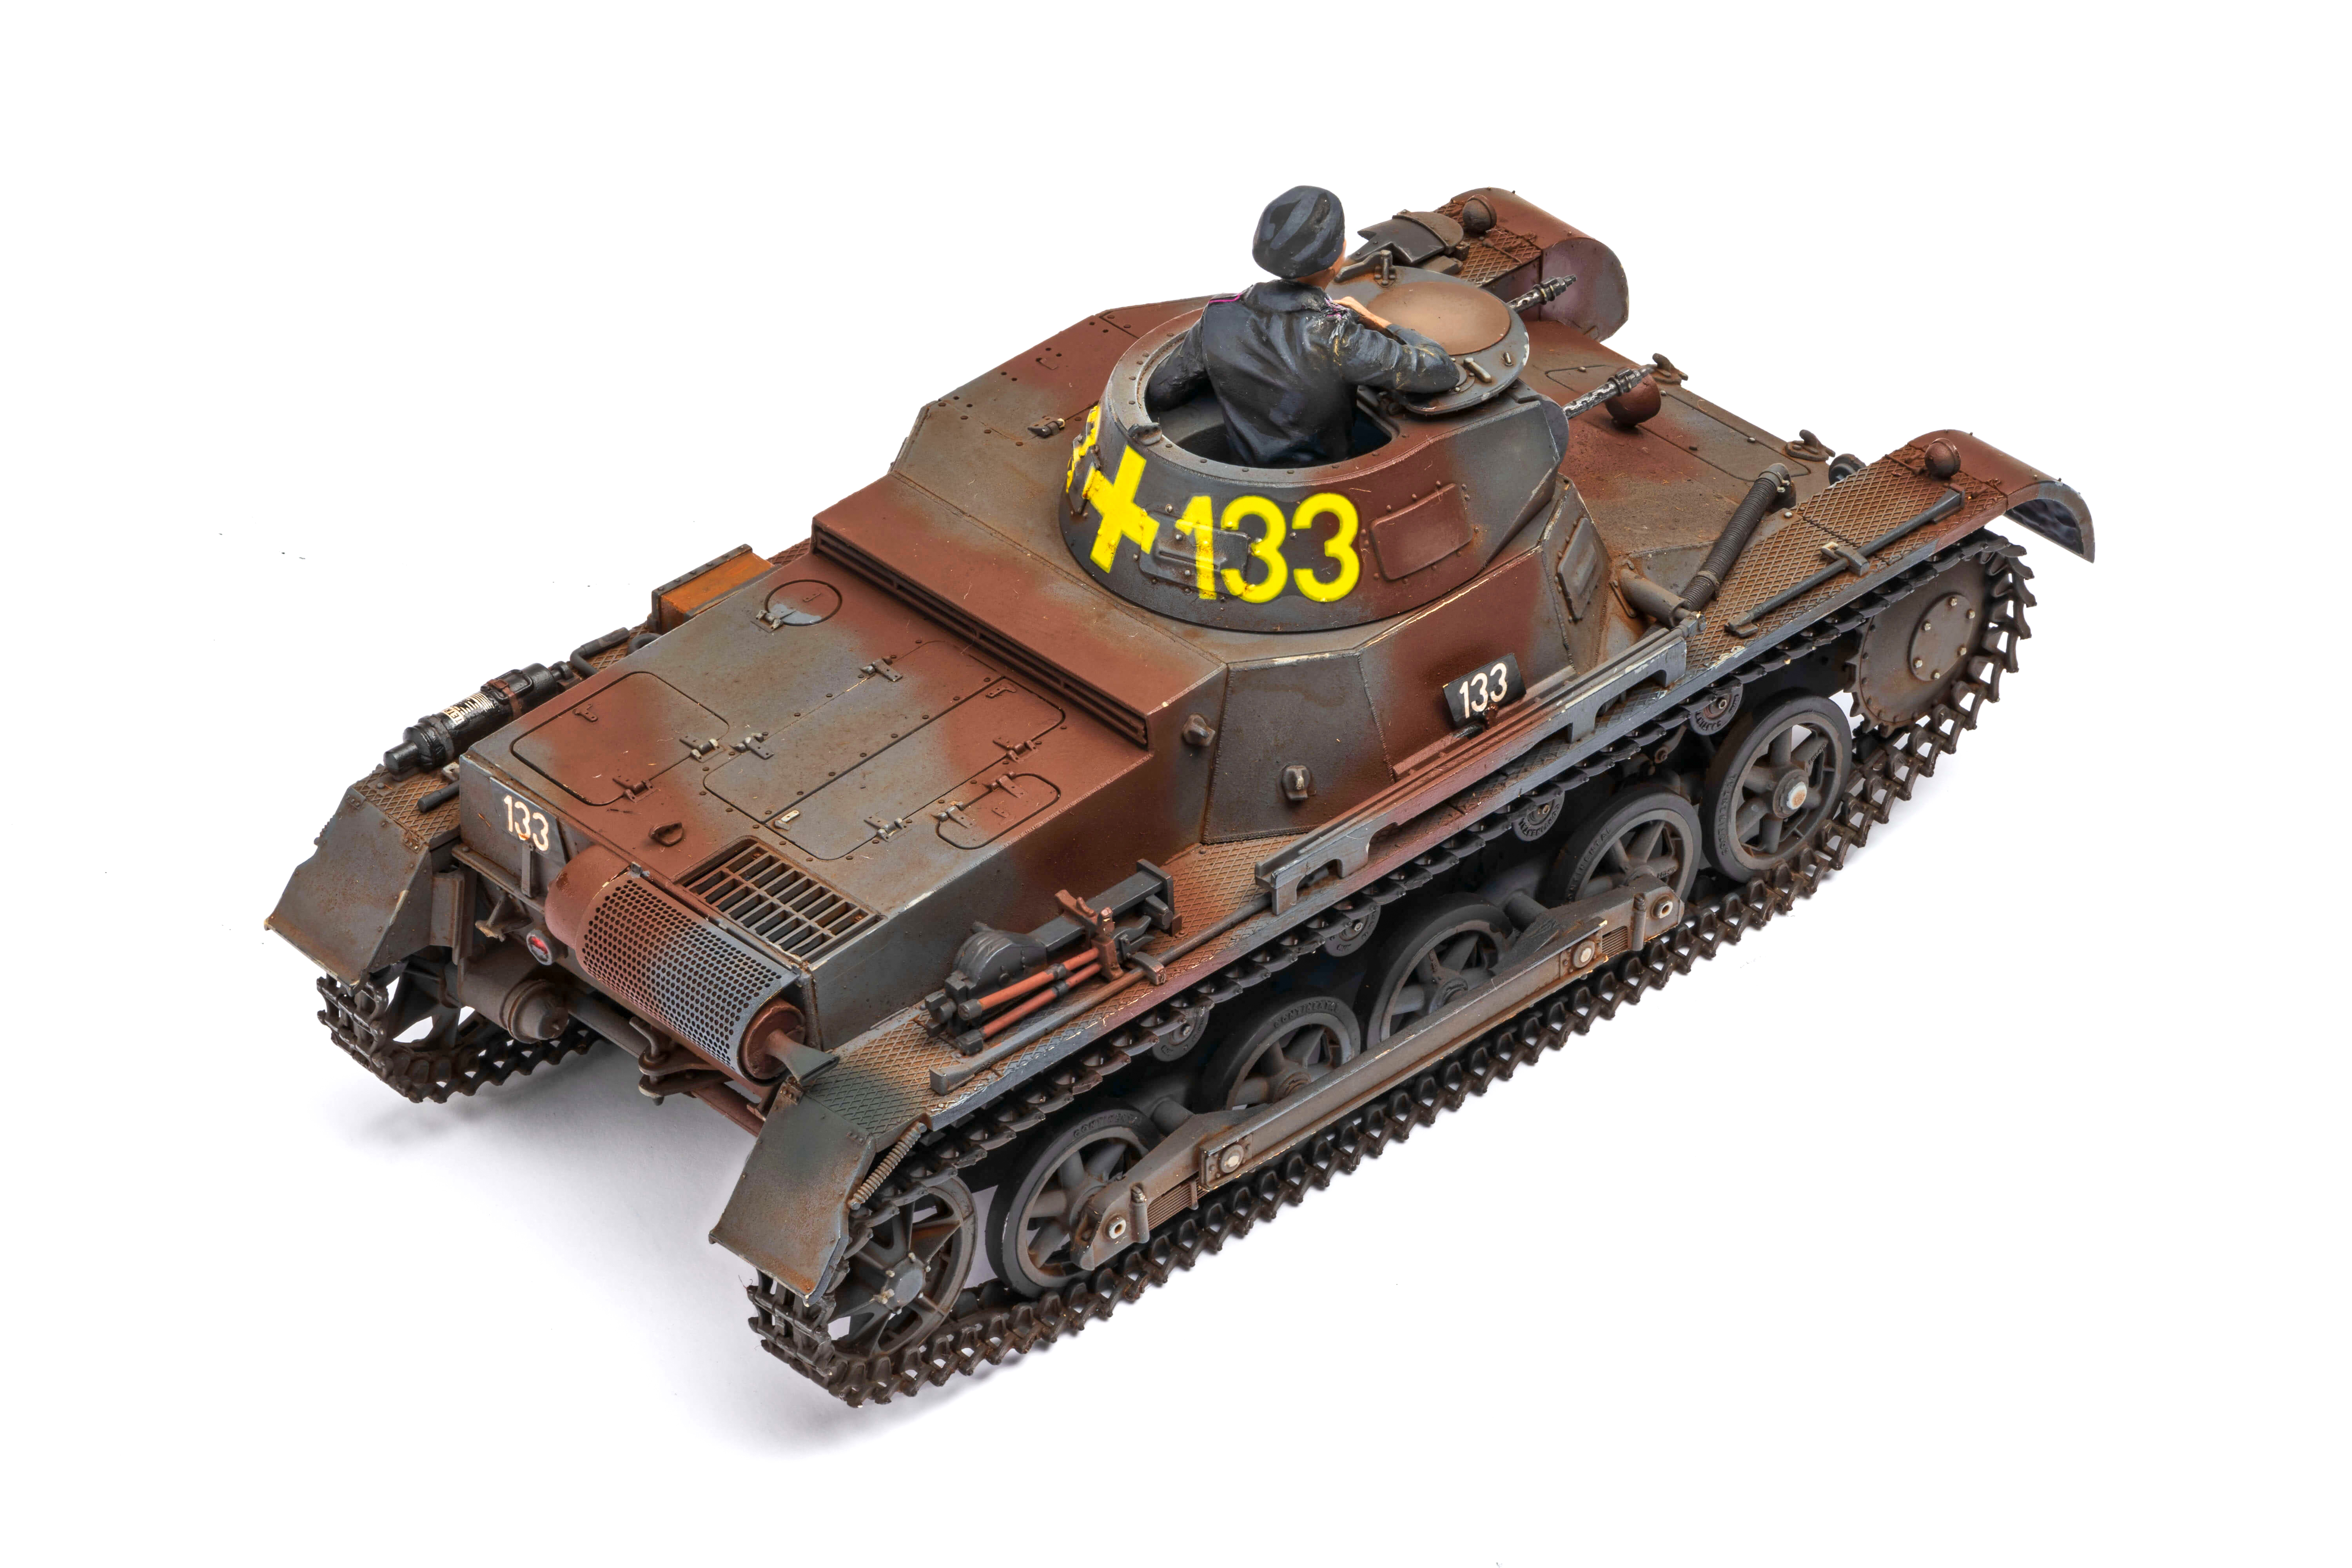
Turning to the Panzer I, note the addendum to correct the placement of the running gear in Step 14. The lower tub fits together well, and I added the running gear, per the addendum, before placing the nicely molded link-and-length tracks. I deviated from the instructions by adding one less link on the top rear set of links. Because the fenders were molded onto the top superstructure, I painted the lower hull assembly to ease painting the tracks.
For the upper hull, again, assembly was straightforward and the fits excellent. The guide for placing the photo-etched metal parts don’t appear until the end with the painting guide. Be careful! The PE parts are tiny and easily broken. However, placement is a snap.
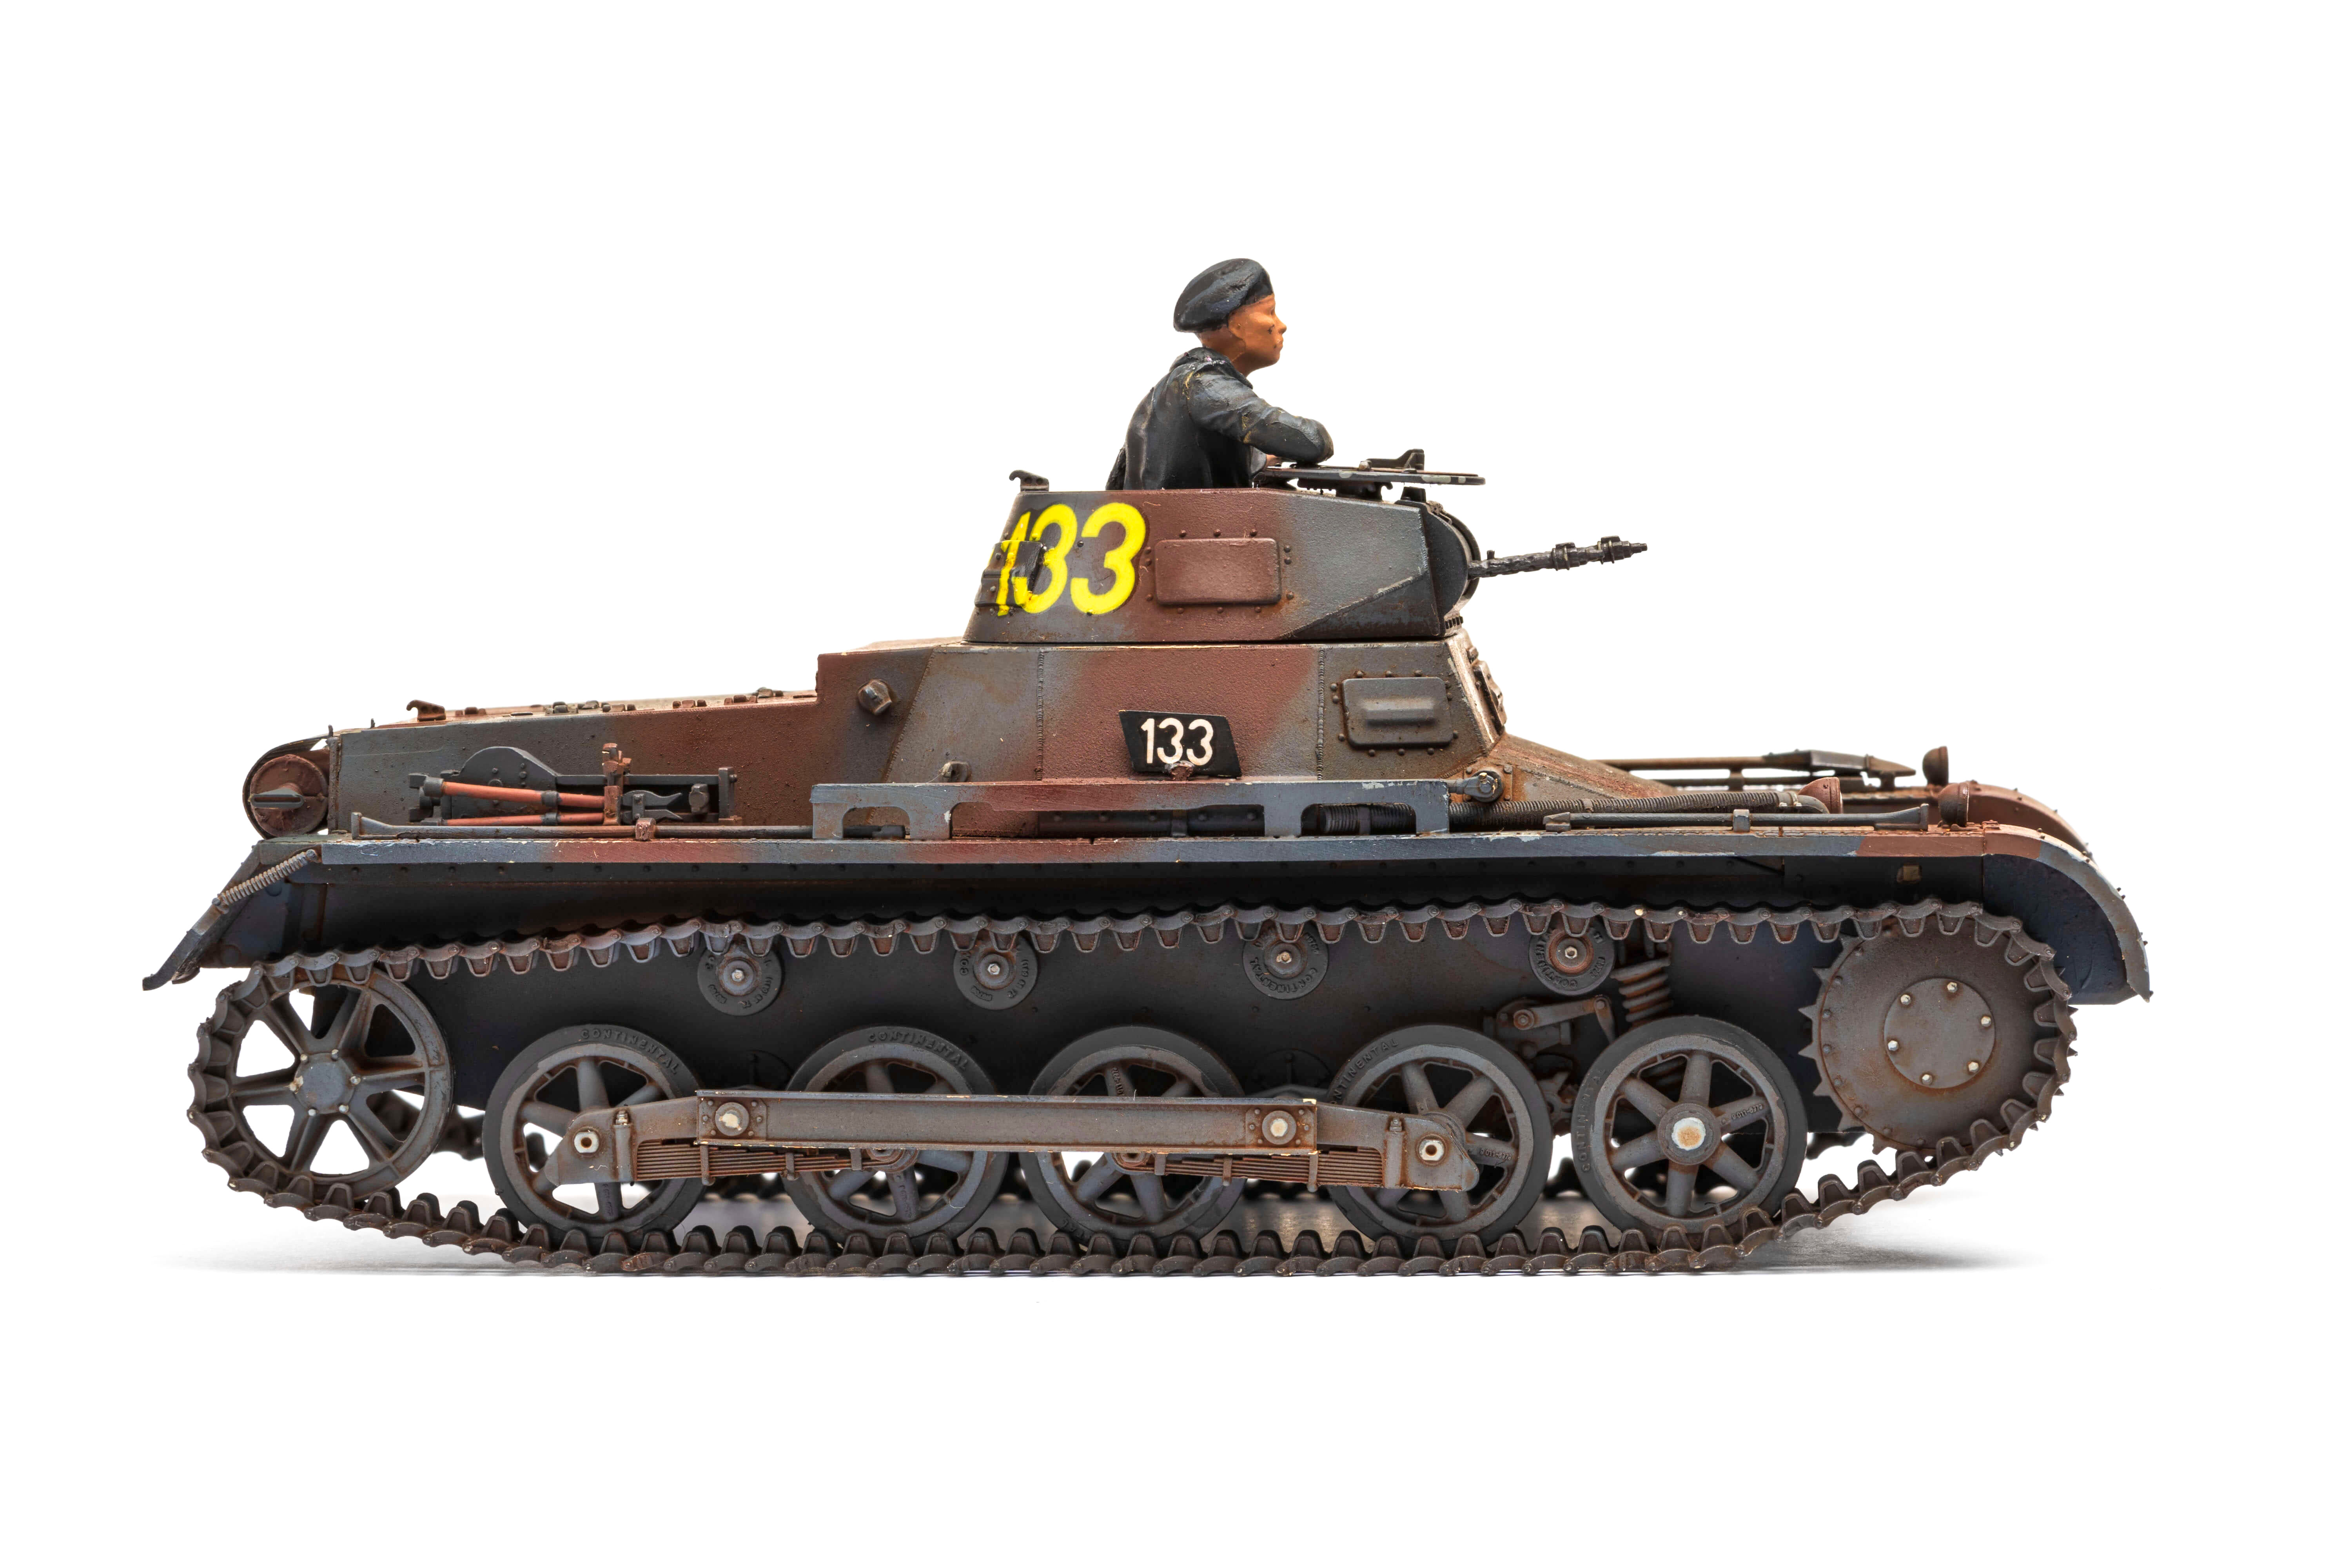
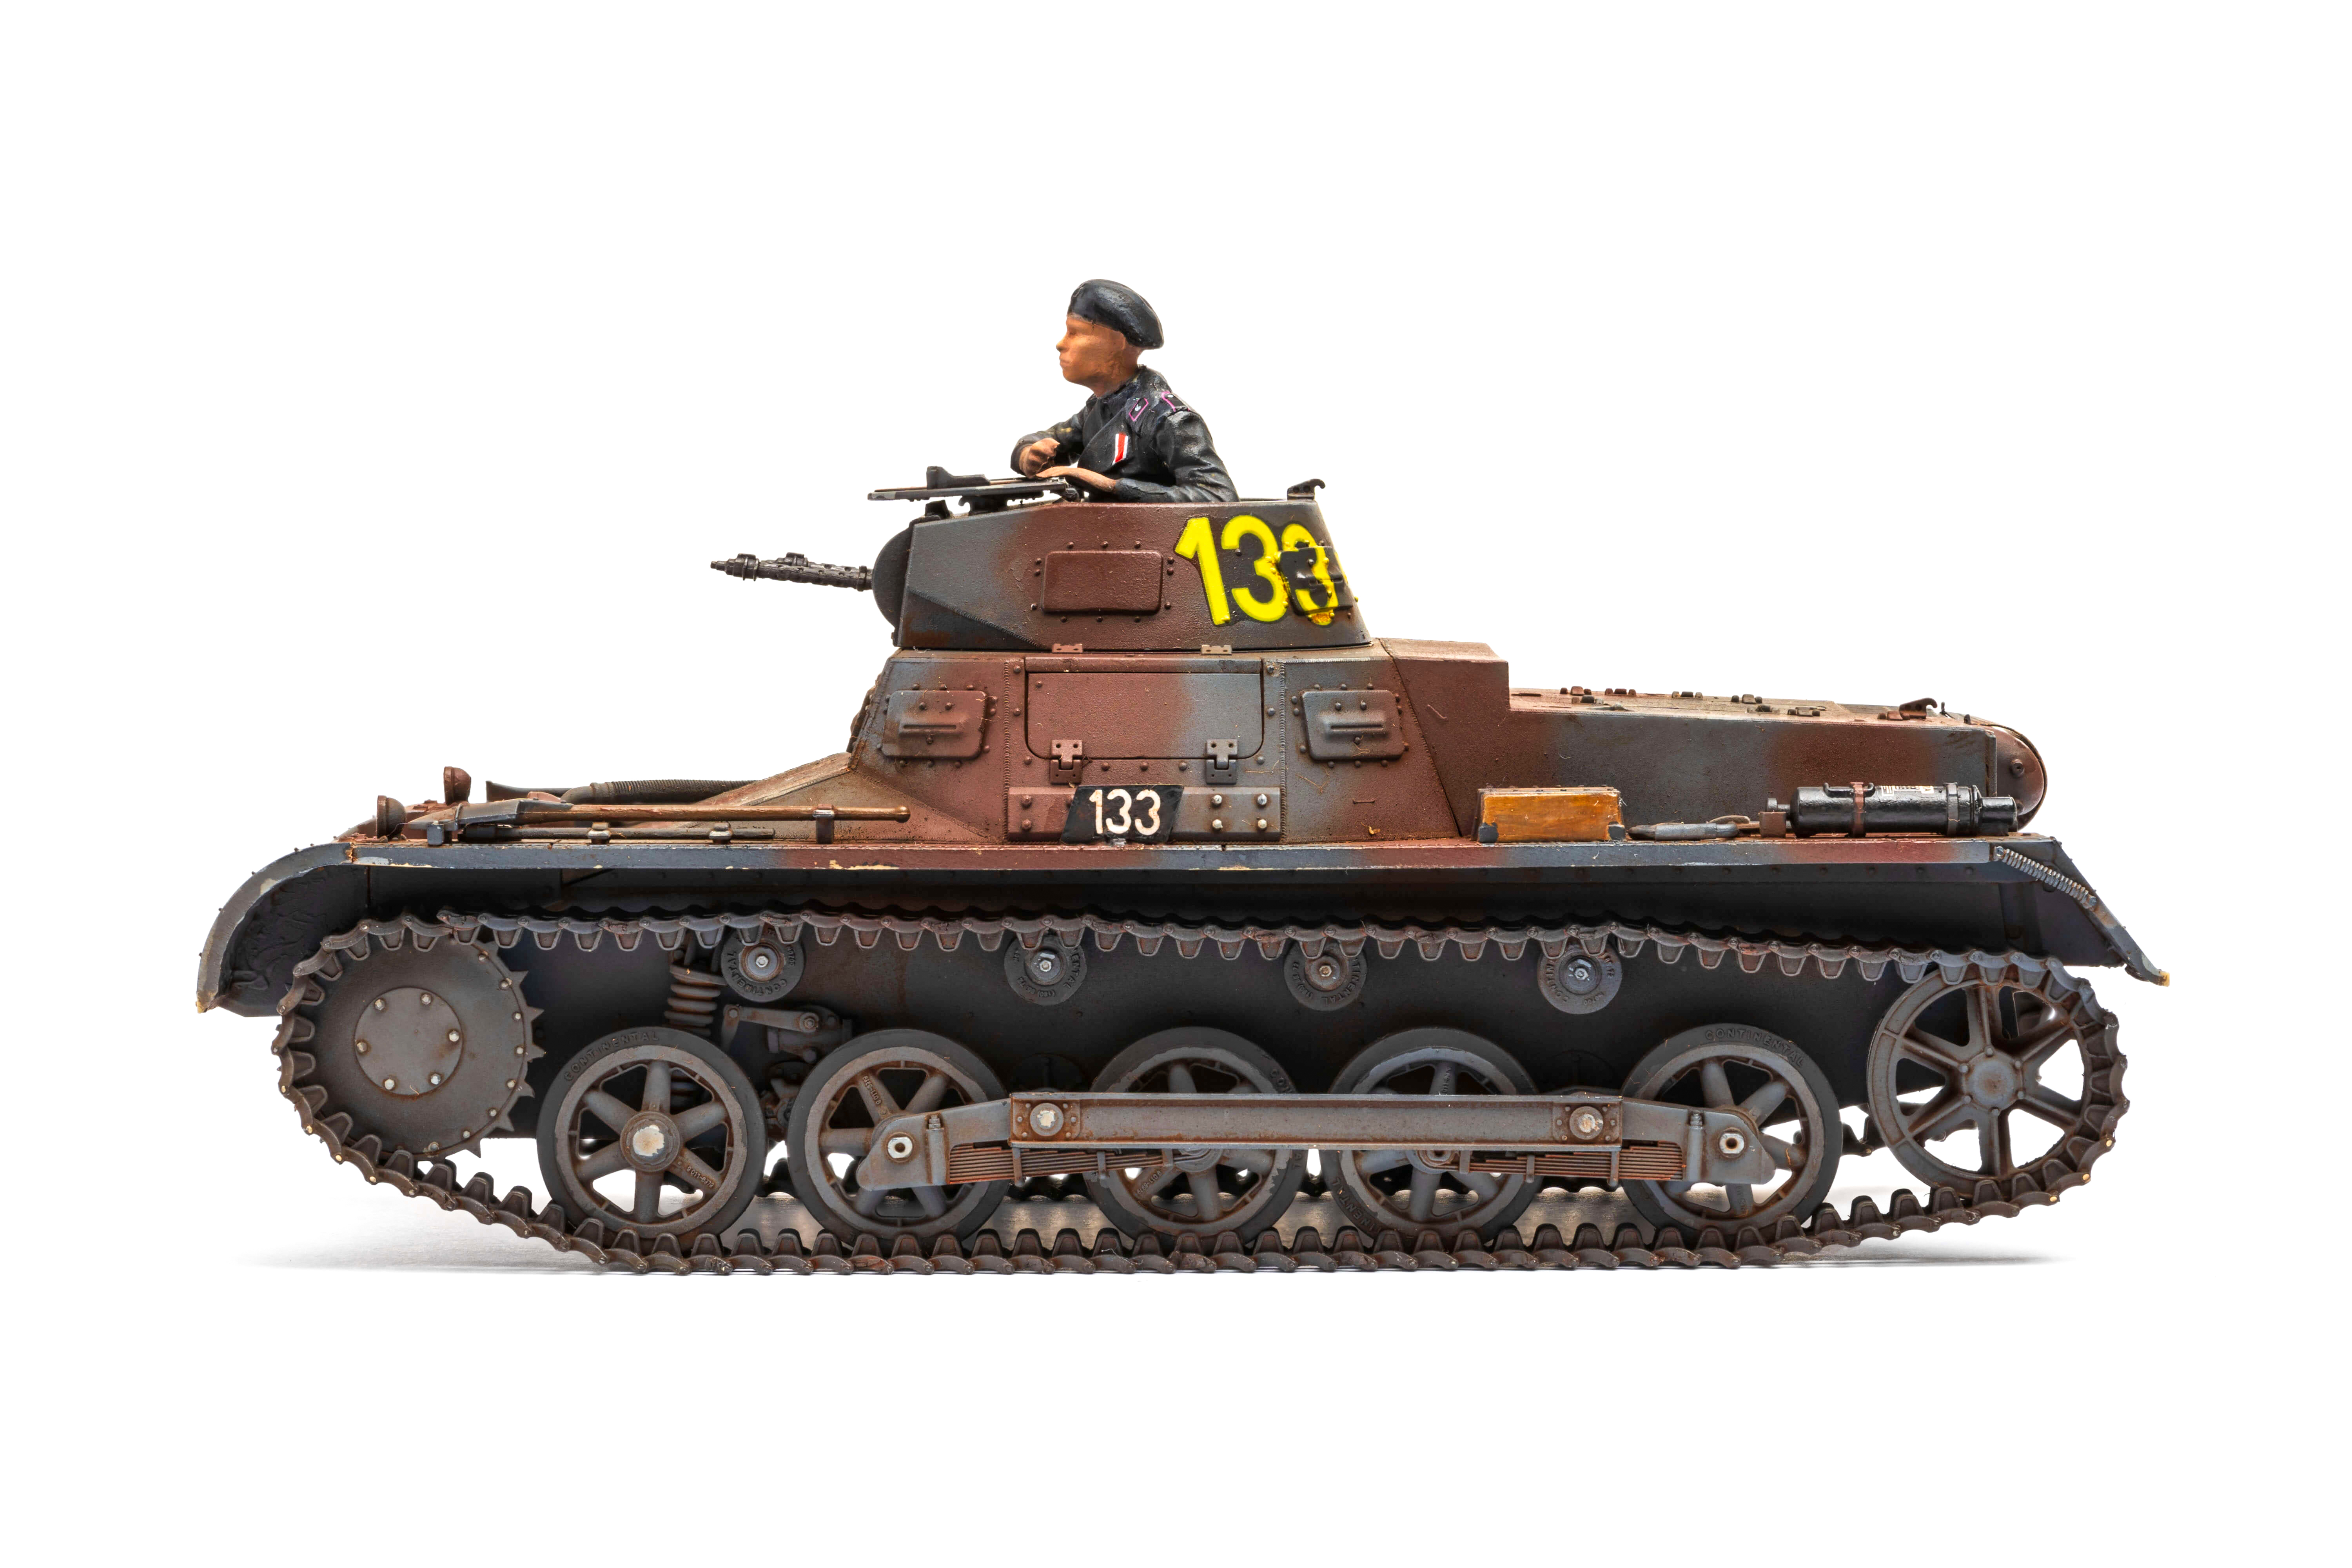
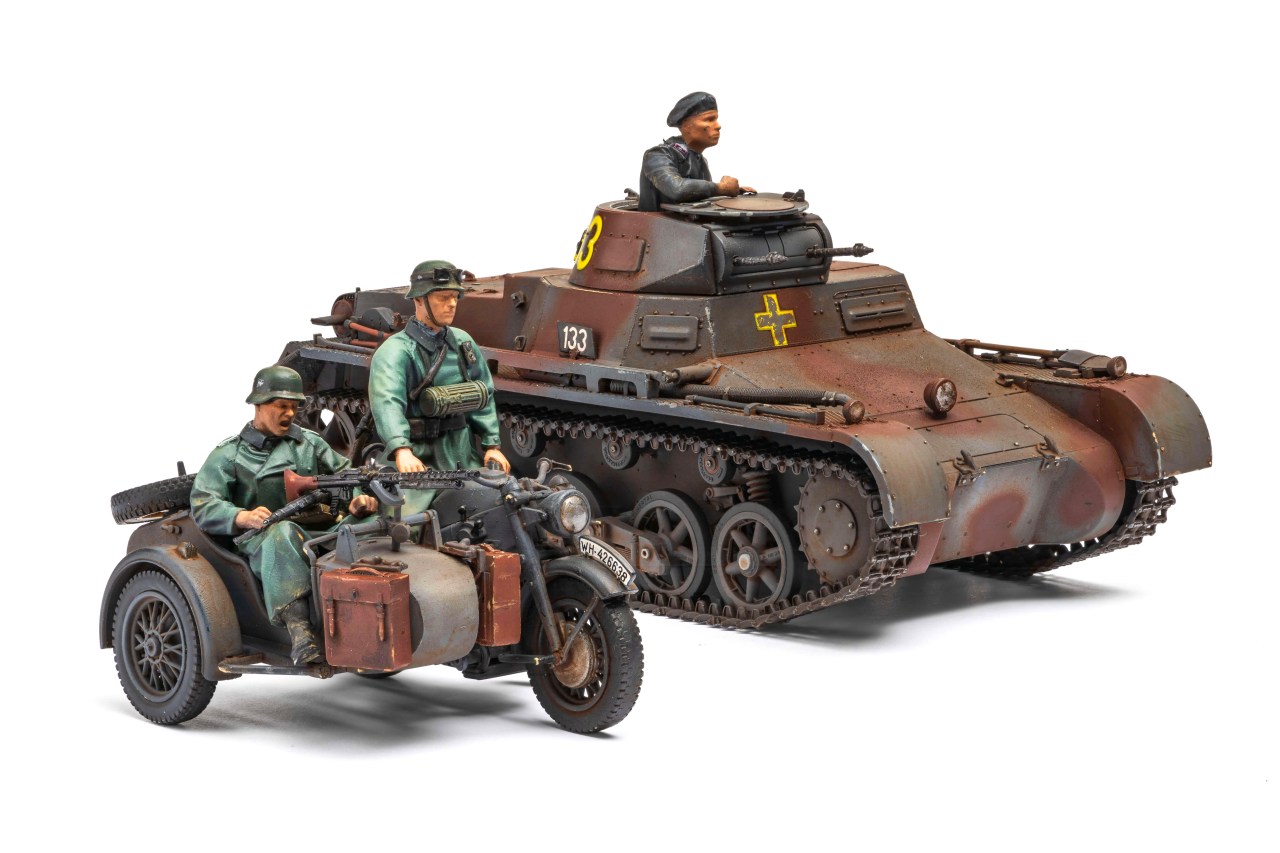
Academy supplies a half-figure for the commander with two options for the head (early war beret or a service cap after the Polish campaign). Despite placing the commander in the open turret hatch, you can see around the figure into the bare interior. If I was to build this kit again, I would add scratchbuilt details to address that gap.
Academy gives you five marking options for the Panzer I, including three for the Polish campaign, one for the Lowlands campaign in Denmark, and one for the French campaign. I chose the first option in the early war dark gray and brown camouflage and colorful turret numbers. I used Tamiya paints for the main camouflage colors and Vallejo for the details.
I was extremely pleased with the decals in this set. With a little help from Micro Sol, they settled perfectly over complex surface details. They even included the stenciling for the fire extinguisher! Finally, I used an artist oil wash to weather the hull and Rustall and a pencil to weather the tracks.
There is only one set of markings for the Zundapp motorcycle, but they went down nicely. Academy includes decals for the uniforms, adding a nice level of detail. Be warned, they are extremely small and a challenge to place properly. However, there are extras in case you make a mistake, like I did.
I enjoyed building the Academy 1/35 scale Panzer I Ausf B and Motorcycle plastic model kit. Well-engineered, it was reasonably easy to build despite the many small parts. I spent 35 hours building my tank and bike with most of the time focused on painting. Because of the small, delicate parts, I would recommend this for at least an intermediate modeler.