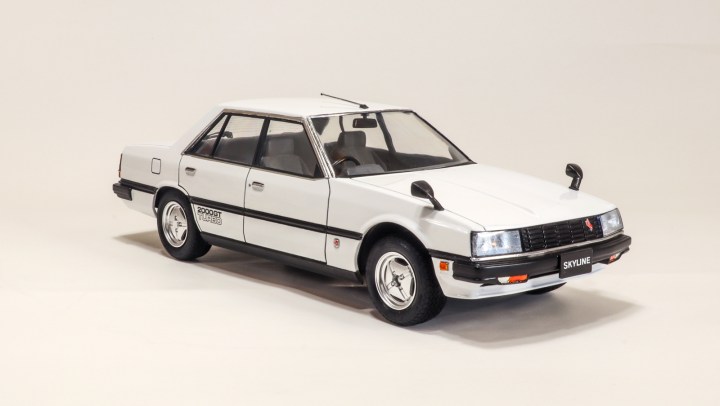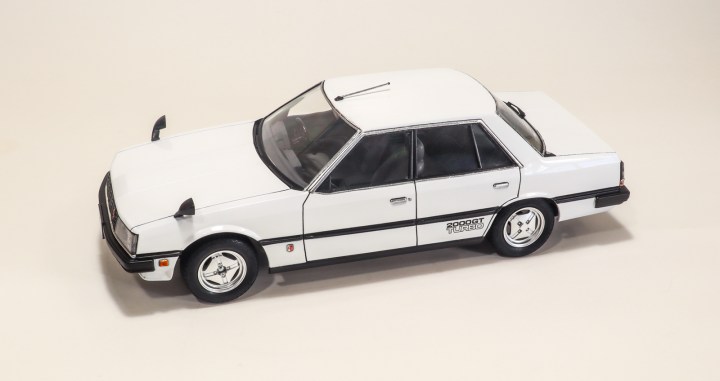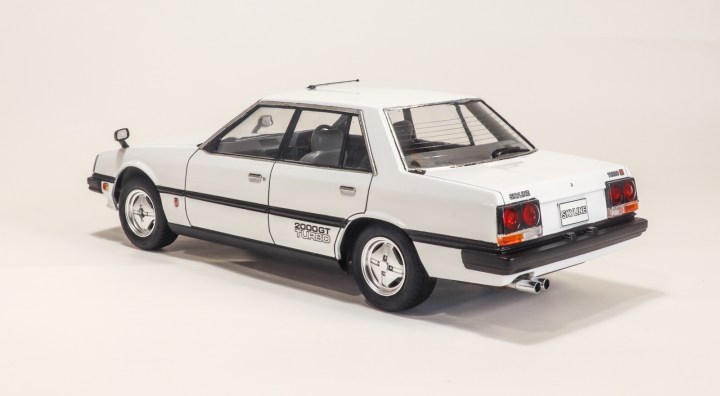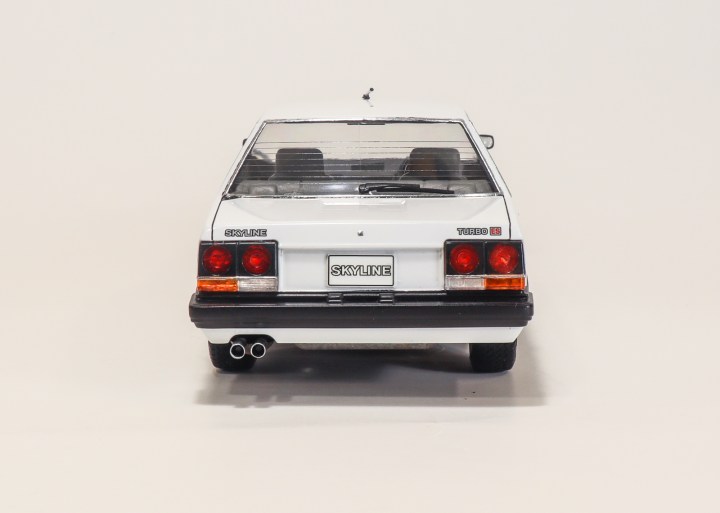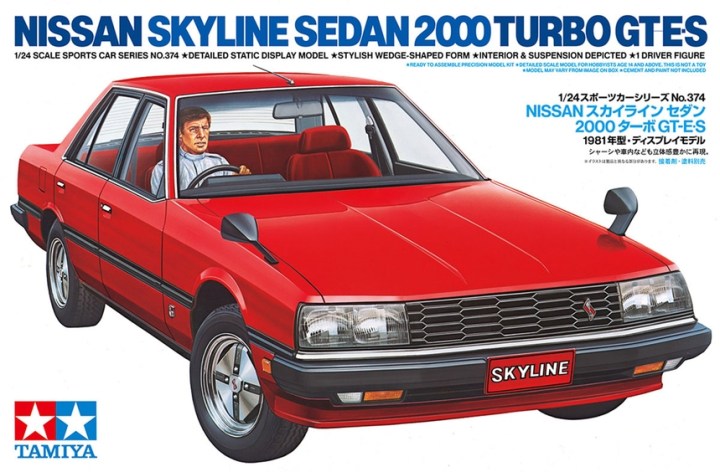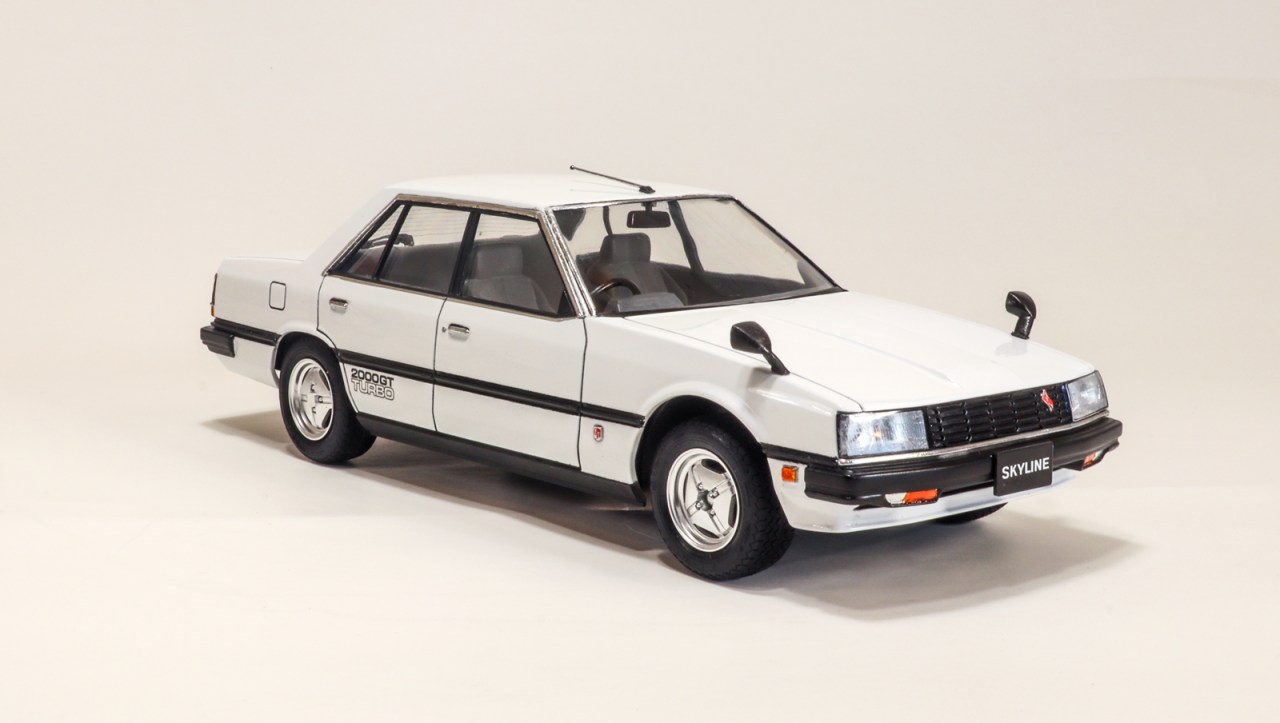
Tamiya has rereleased its 1/24 scale Nissan Skyline Sedan 2000 Turbo GT-ES plastic model kit, which debuted in the Japanese domestic market (JDM) in August 1981. Produced until 1985, the R30 Skyline was offered as a four-door sedan, two-door coupe, station wagon, and a short-lived five-door hatchback. Exterior colors included red, yellow, white, and four metallic finishes: black, gun gray, silver, and bright red. Interior trim was available in two color schemes depending on the exterior finish.
Nissan hired actor and race car driver Paul Newman to be the face of its advertising campaign. The partnership proved so successful that the R30 became widely known as the “New-Man Skyline” in Japan. The campaign’s success eventually led to the release of a special Paul Newman Edition in 1983.
During the R30’s first year on the market, Tamiya released a motorized scale model of the Skyline Sedan 2000 GT-ES that included a driver figure and 50cc Yamaha Towny motor bike. Tamiya also released a 2000RS sedan, a hardtop coupe version of each option, and a “Dressed Up” style RS coupe. Although several variants were reissued by Tamiya and Ben Hobby in the early 2000s, the GT-ES sedan hasn’t been seen for 40 years.
Removing the box lid reveals a white body shell, chassis plate, two gray sprues, a clear sprue, four silver-colored wheels, rubber tires, poly caps, a metal axle, two metal pins, and an updated decal sheet, all individually bagged. A folded instruction booklet with 14 assembly steps and Tamiya’s “Tips and Tricks” sheet round out the package.
The instructions are easy to follow with clear depictions of each step, along with excellent details and useful tips for assembly. Suggestions from Tamiya’s LP, TS, and acrylic paint lines are found on the second page, followed by a useful chart listing body colors alongside corresponding license plate and interior color choices. A helpful list of parts codes for replacements is found on the last page.
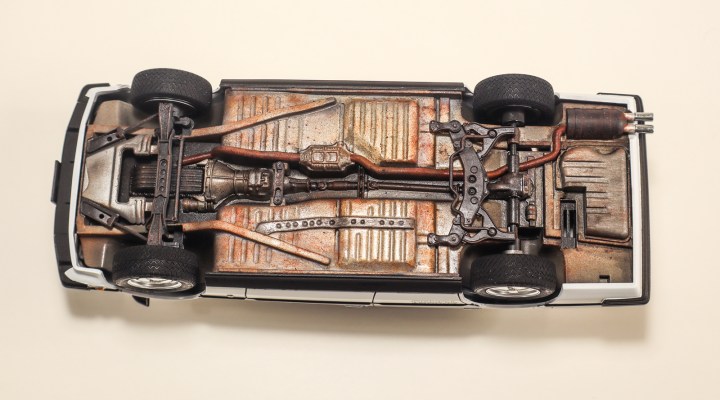
The first four steps revolve around the painting and assembly of the chassis. Despite its toy-like origins, the simplistic chassis plate with tell-tale remnants of its motorized past offers nicely molded features that create a convincing representation after detail painting. A bit of weathering will further enhance the look. Assembly of the suspension is straightforward with solid mounting points.
The beautifully cast tires are asymmetrical, so you’ll want to be mindful of that as you press them onto the rims. The front wheels are mounted via a pin, which passes through rim center from the outside into a poly cap that’s inserted into the struts; the rears sandwich a metal axle in the chassis pan. Don’t forget the large poly cap here or the rear axle spacing will be off.
The 10-part interior builds up from the chassis plate. Interestingly, the door panels attach to the body and only meet once the body has been secured to the floor pan. Rest assured, they will fit together quite nicely, assuming you seat the door panel against the tab shown in the exploded view for Step 11.
A small portion of the inside of the body shell will be visible afterwards. Don’t forget to paint this area to match your interior color. An optional driver figure is included. Despite the non-racing nature of the subject, it appears to be wearing a driver’s suit with racing seat belts cast into the torso. The mounting points are somewhat vague, allowing for some flexibility when positioning the arms and head.
If you’re accustomed to Tamiya’s modern engineering, this casting may feel a bit foreign to you with a somewhat thicker body shell and softly molded details. I had to clean up mold lines that were particularly tricky task around the bumpers. Judicious use of your trusty scribing tool will help the window trim stand out and make trimming with Bare-Metal Foil (if you use it) less of a chore.
MTV-era cars bridged the transition from bright chrome to modern black trim. Carefully plan your strategy before tackling the exterior trim. I added Bare-Metal Foil before applying the clear coat, which allowed careful masking before applying semigloss black to the door pillars and belt trim.
The clear sprue offers thinly cast windows that are relatively free of distortion. There are some small flaws that would benefit from block sanding followed by polishing. My sample had what appeared to be a cold-cast line in the sidelight. The front and rear light lenses fit well and look wonderful after detail painting.
The decals looked good with sharp lines, dense colors, and minimal carrier film around the edges. However, some of the outside badges presented challenges. The grille decal required a significant amount of setting solution and heat to get it to lay into the emblem. Chrome foil and a bit of paint might have yielded a finer result. The GT badges on the fenders are a touch oversized, even after trimming the excess carrier material. A word of caution: it’s easy to fold a corner or tear off part of the decal if the edges lift while it dries over the raised detail. There’s an optional reversed “GT-TURBO” for the front bumper should it tickle your fancy.
As is often the case, the final details require the most patience. The wing mirrors required a good amount of attention to smooth the castings, and you’ll want to be mindful of the sink marks in the mirror faces. Reflective chrome stickers would be a welcome addition here. The antenna is extremely fragile; use caution while removing it from the sprue and cleaning up mold lines. If it should snap in half, a short length of polished .025-inch music wire makes an excellent replacement. Finally, I used a hobby knife to thin the exhaust tip openings for a more realistic appearance.
Overall, the Tamiya 1/24 scale Nissan Skyline Sedan 2000 Turbo GT-ES plastic model kit goes together without much fuss and builds into an accurate, faithful representation of the real car. Whether assembled straight from the box or enhanced with aftermarket parts and custom markings, you’ll find this reissue a satisfying project. Its uncommon subject matter should make it a welcome addition to any collection, particularly for enthusiasts of classic JDM vehicles.