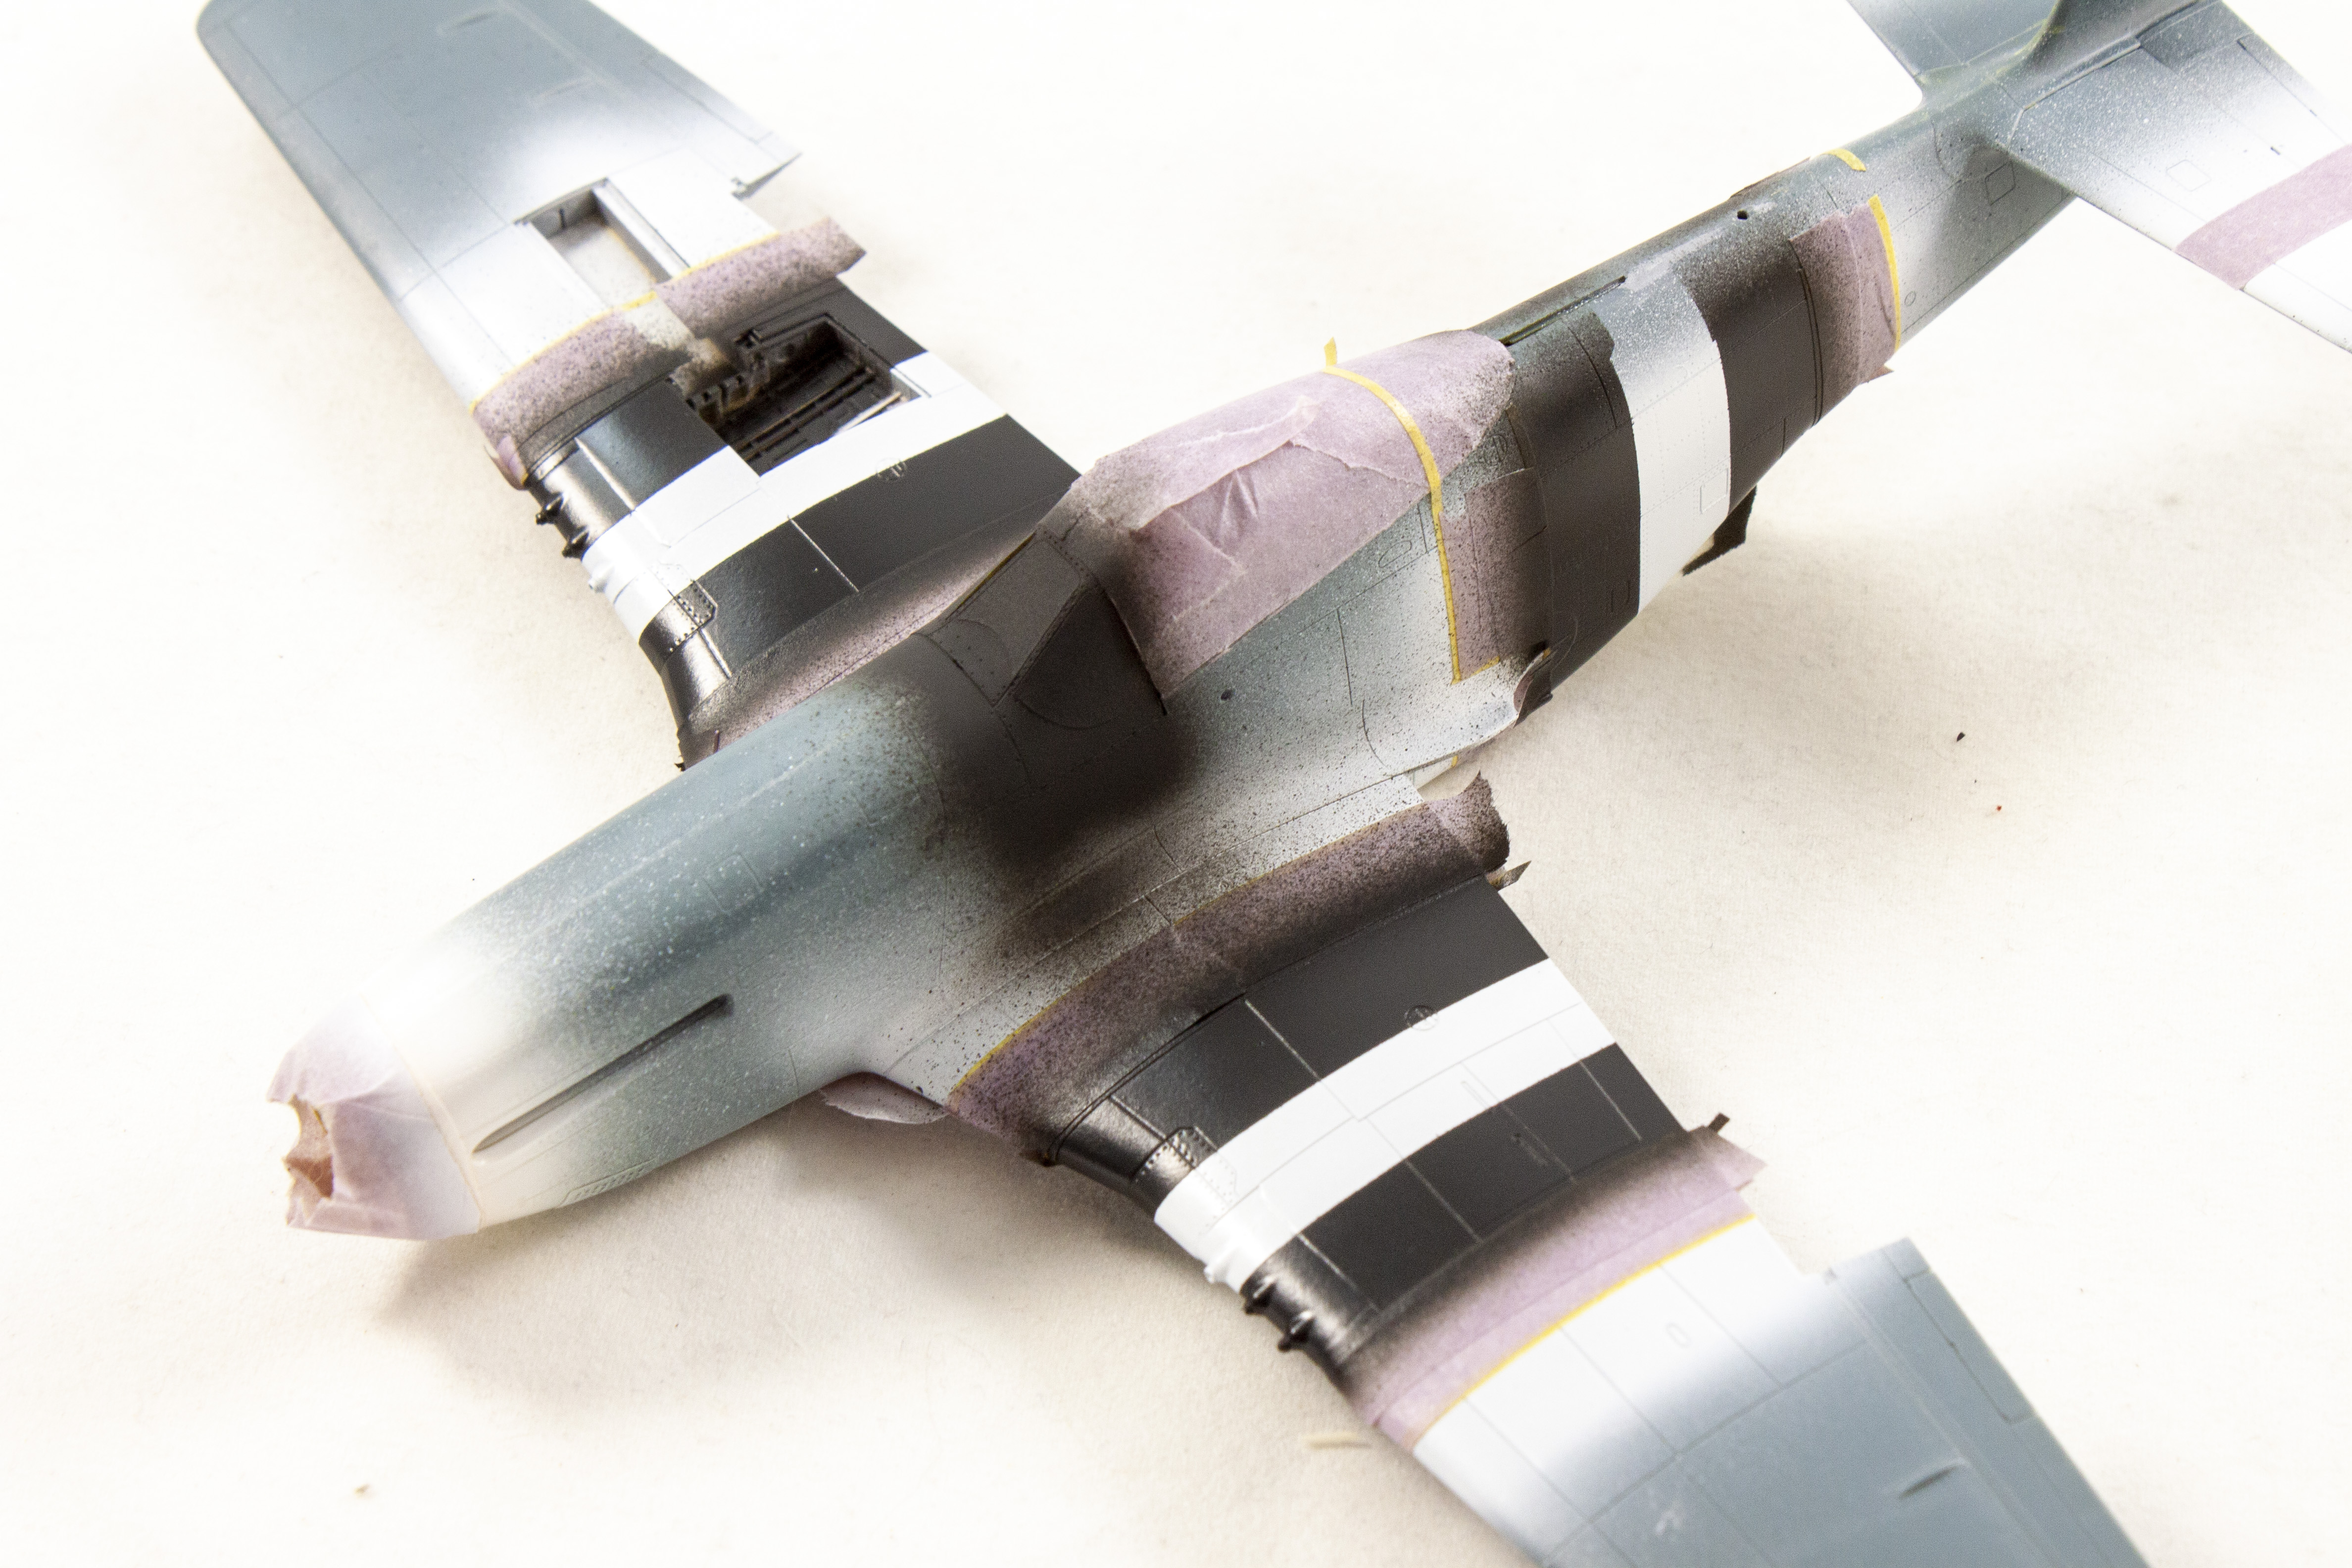
Painting invasion stripes on a World War II scale model aircraft doesn’t have to be difficult. You can make the process easier by using both striping and masking tape.
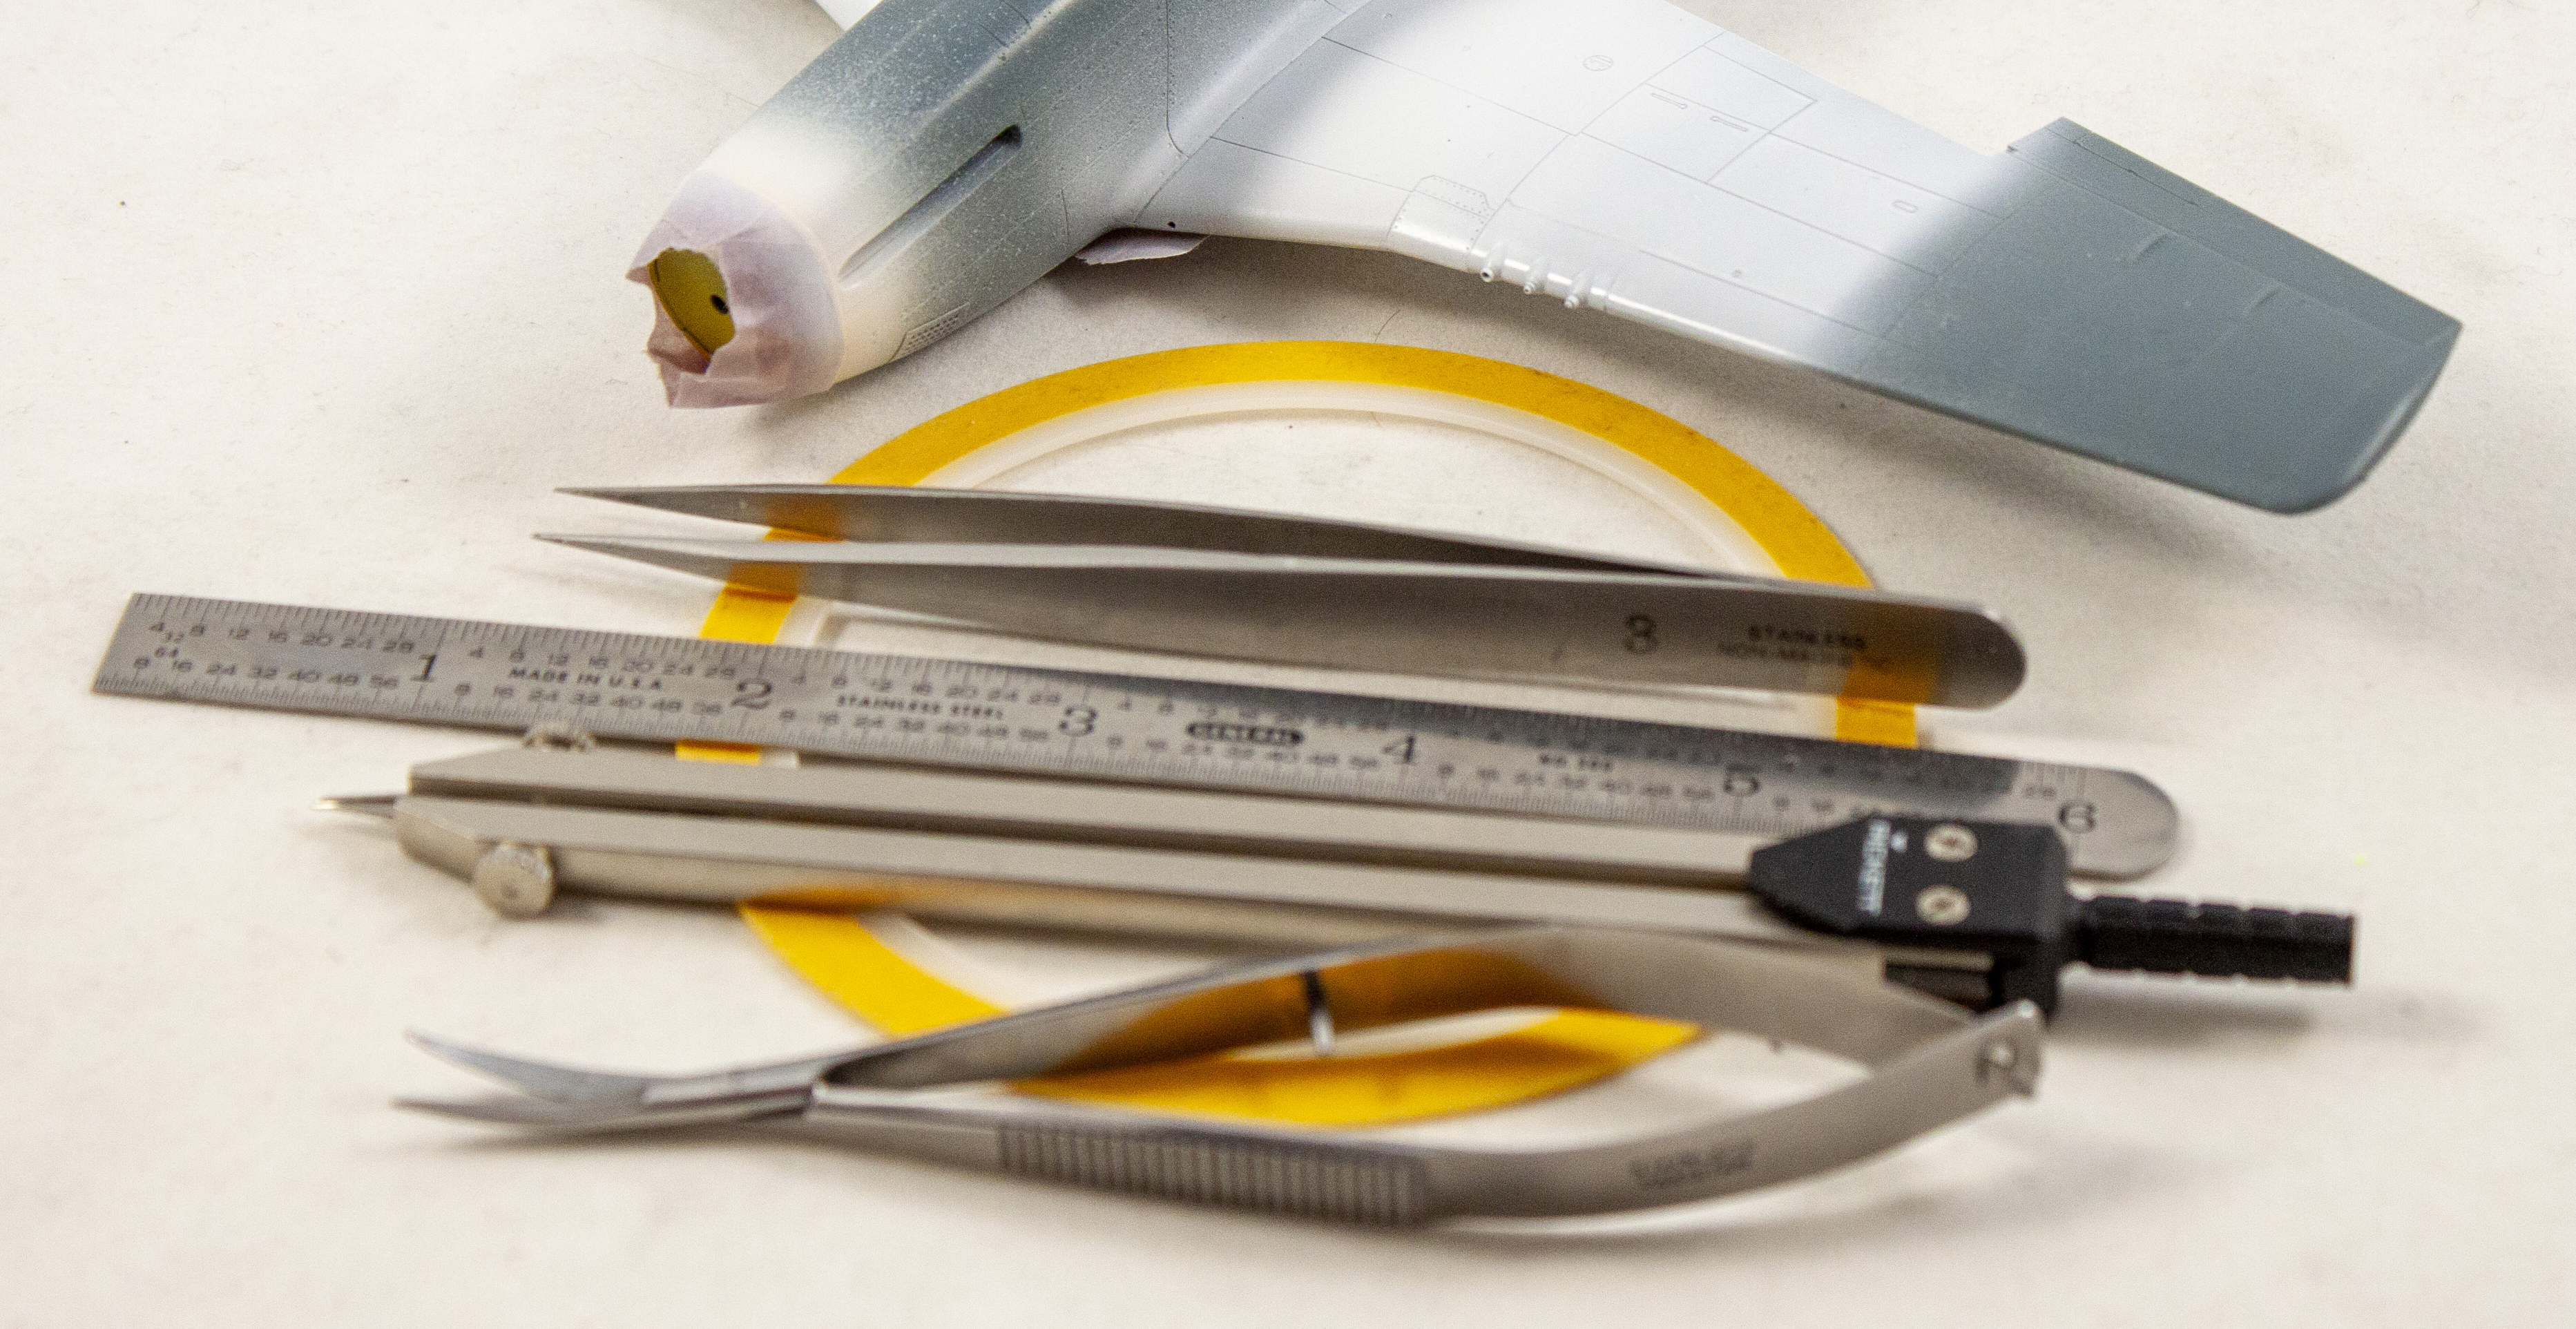
Painting parallel stripes requires patience, but a few tools, some math, and a tape trick can help ease the pain. You’ll need a ruler, good tweezers, dividers, and pinstriping tape. I find “squizzers” — a combination of tweezers and scissors — helpful. I already painted white for the stripes on a Mustang and clear-coated it for protection.
Define the edge of the inner or outermost stripe with striping tape. Cut masking tape to the width of the stripes; D-Day stripes on fighters were 18-inches wide, which means 3/8 inch in 1/48 scale. Cut this strip into segments and place the first segment on top of the striping tape. Then, place four segments alongside, edge to edge.
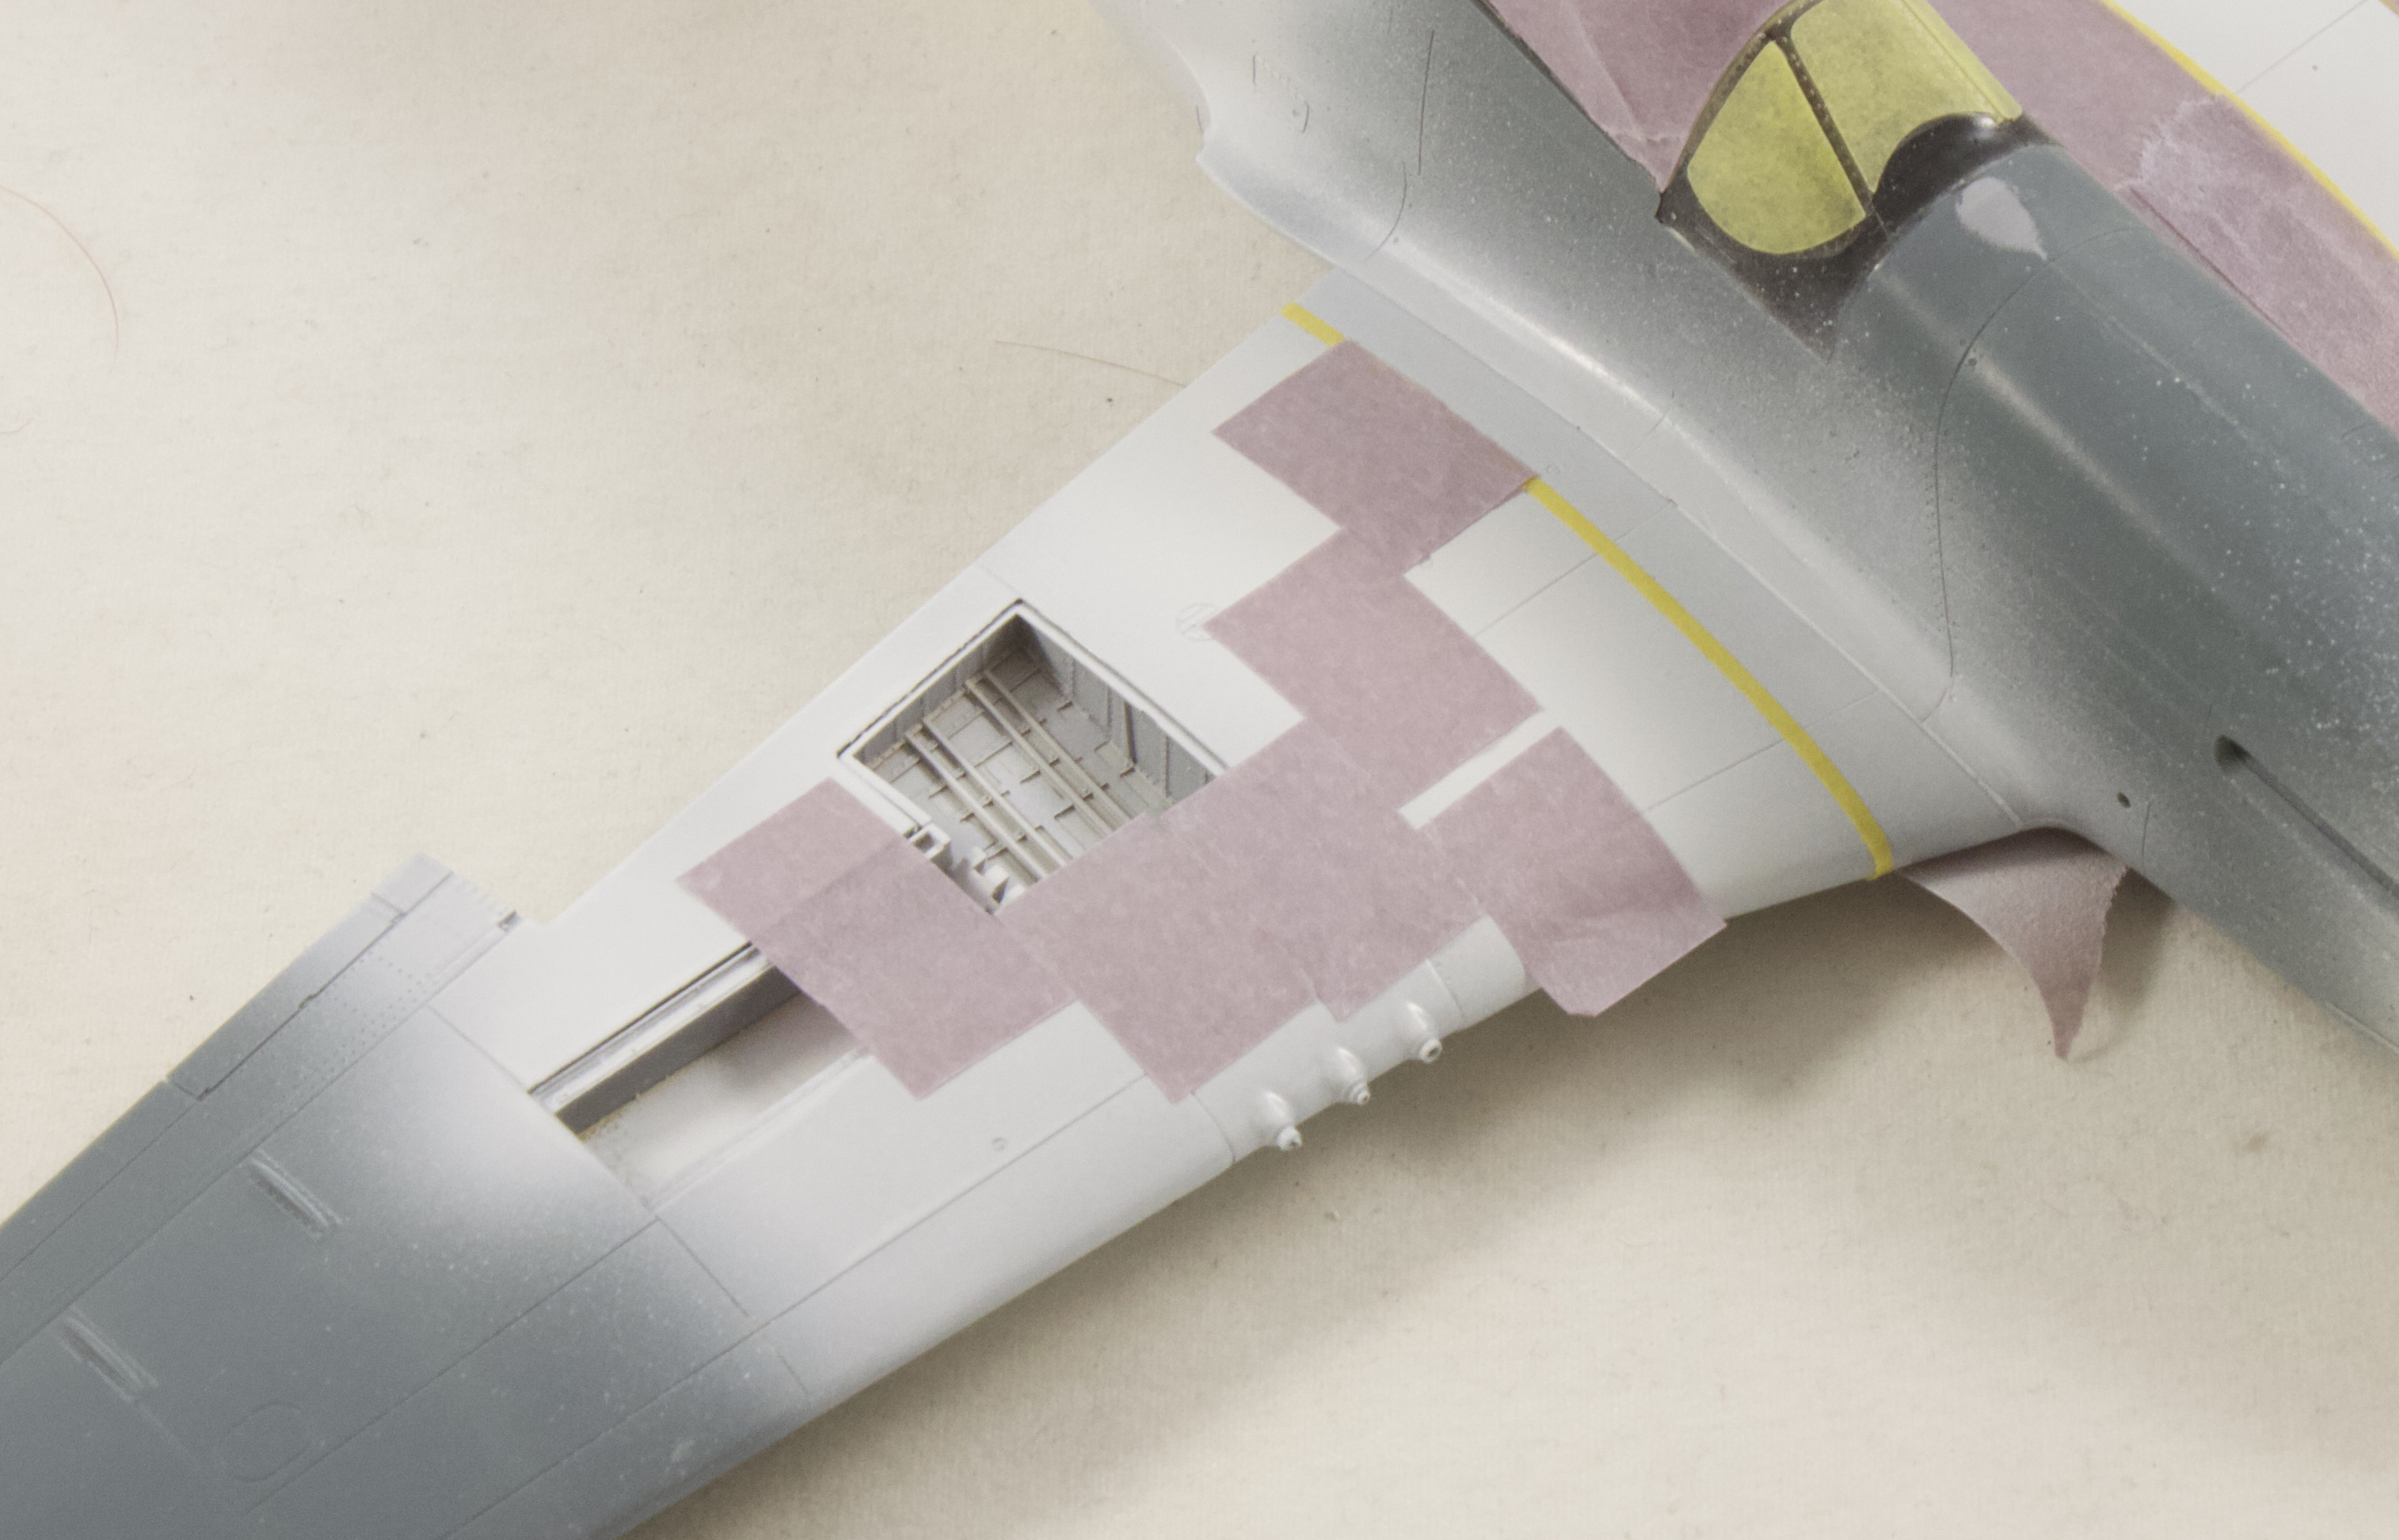
Remove the tape segments from every other stripe, leaving those where the black paint will end up. Use these segments as guides and place striping tape carefully alongside them.
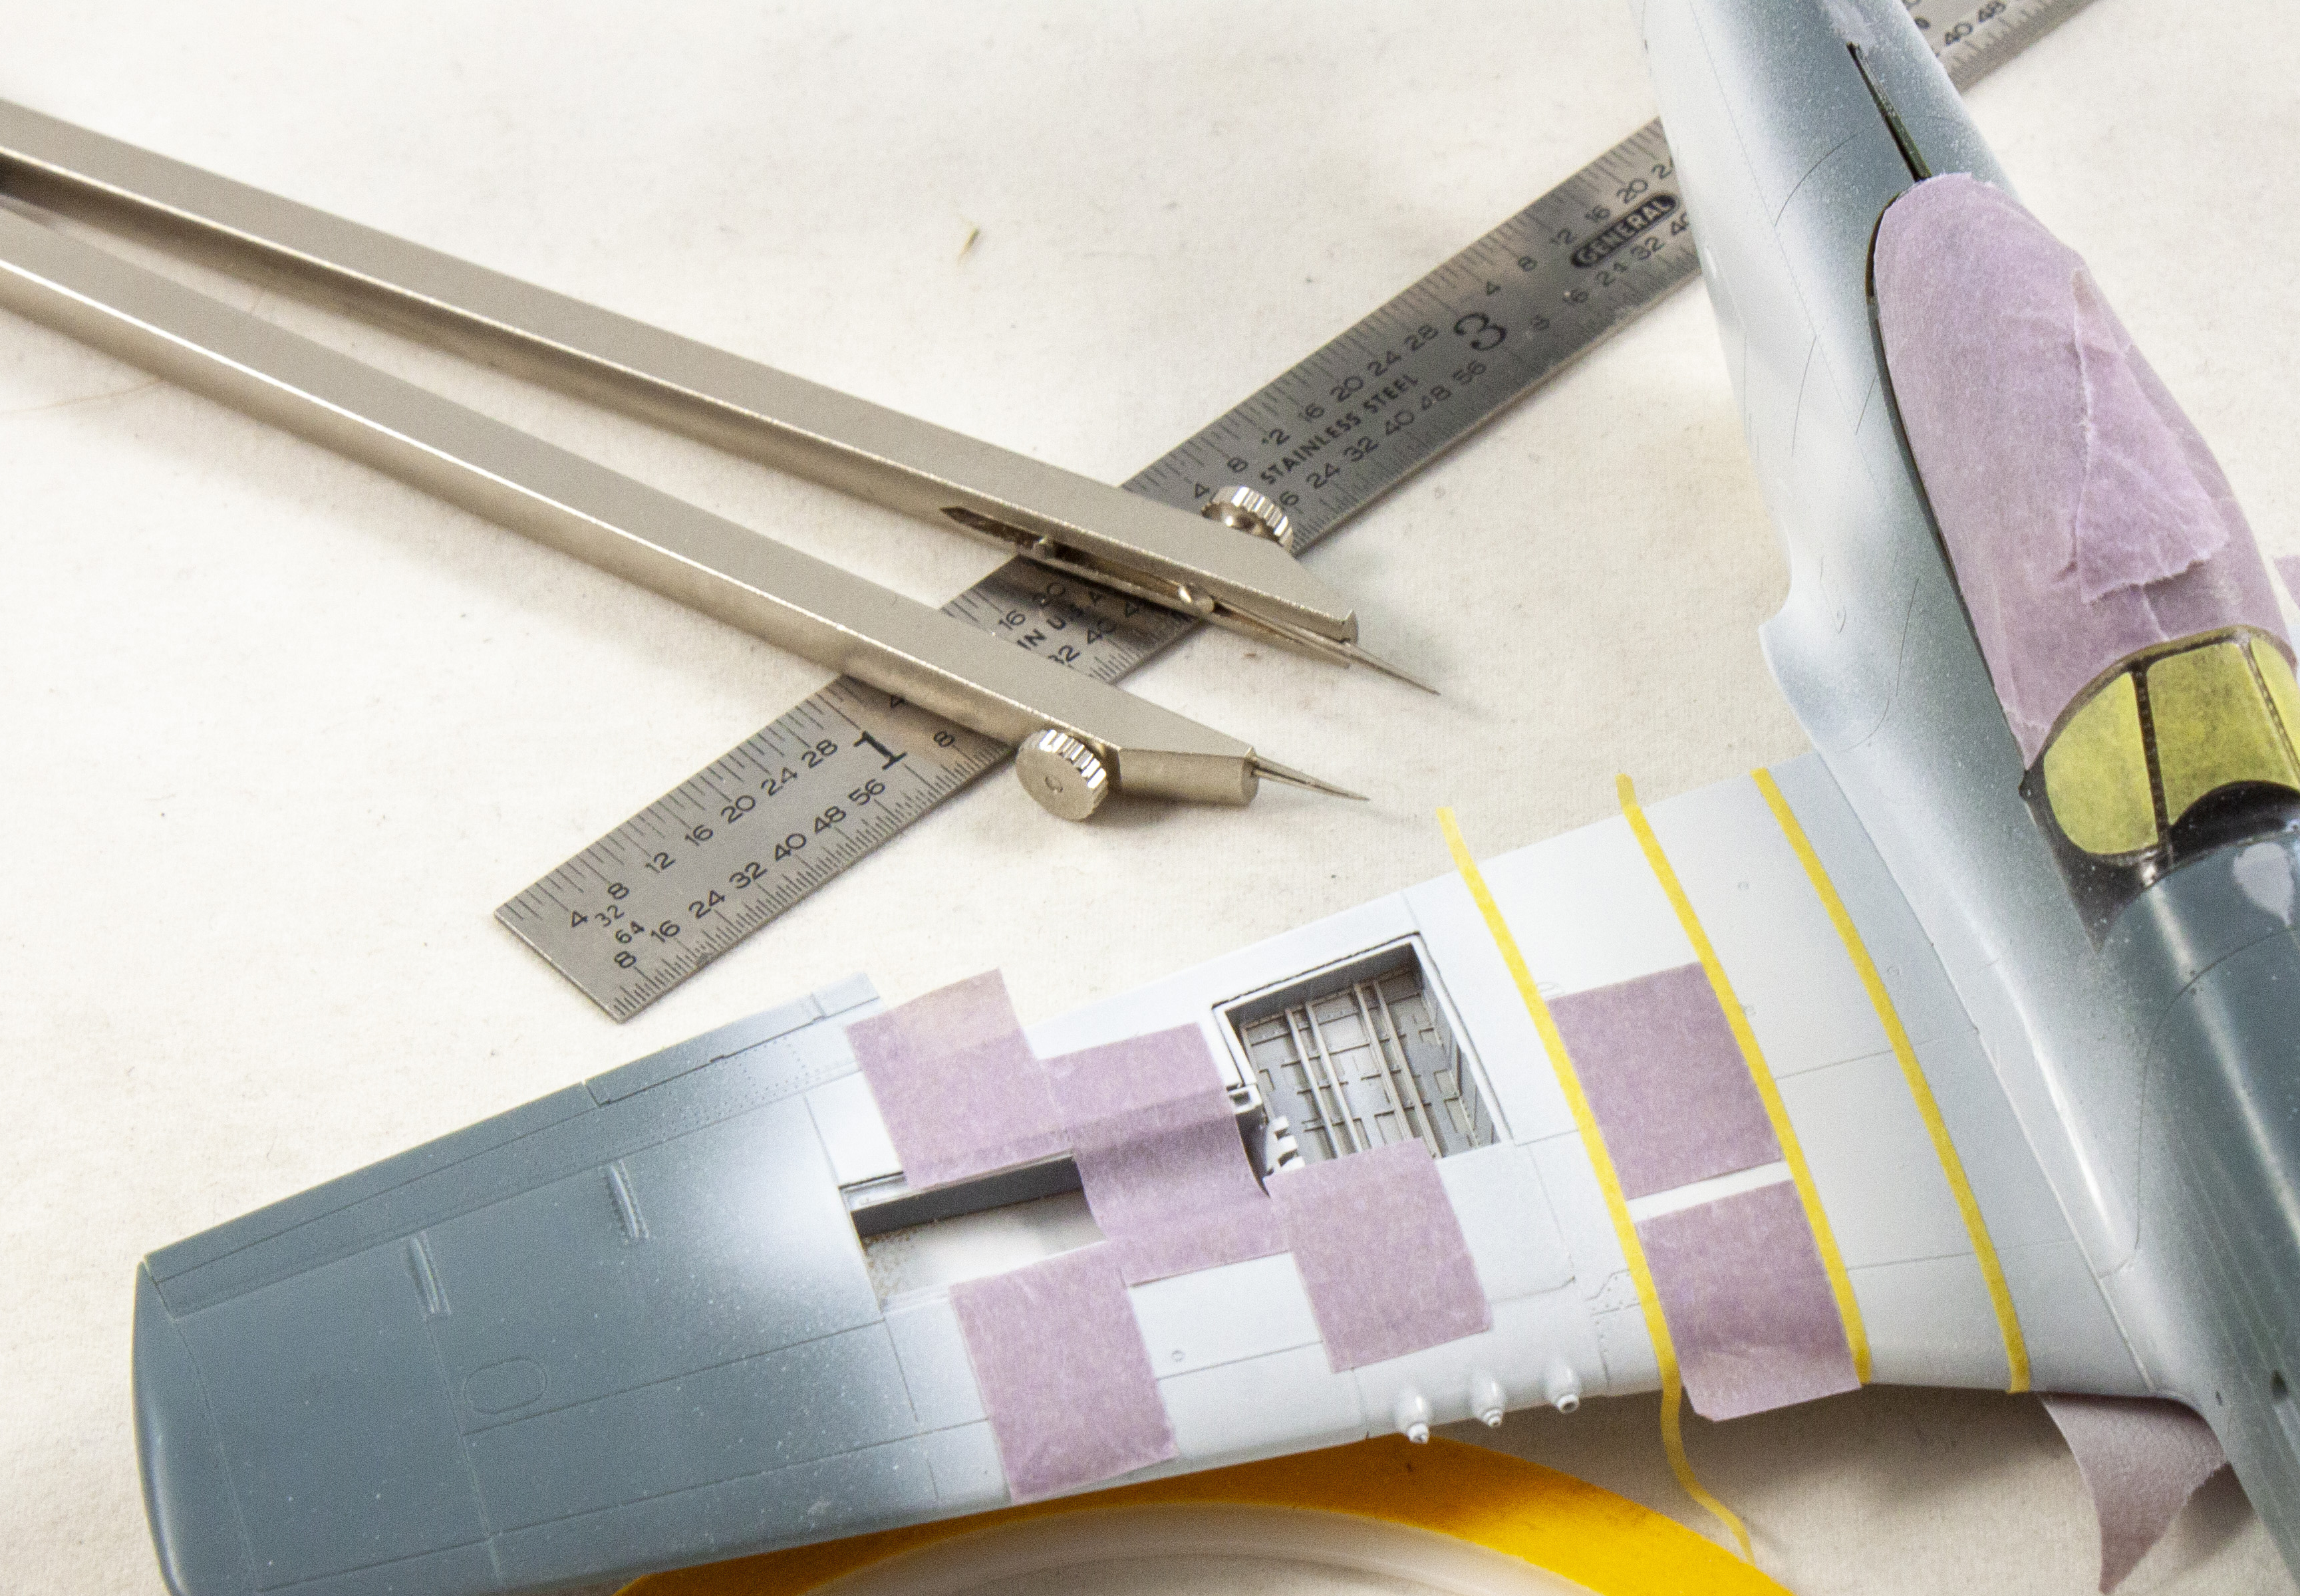
Continue along the wing, placing striping tape next to each spacer segment. Remember to add an “outside” spacer to capture the outer edge of the outboard stripe.
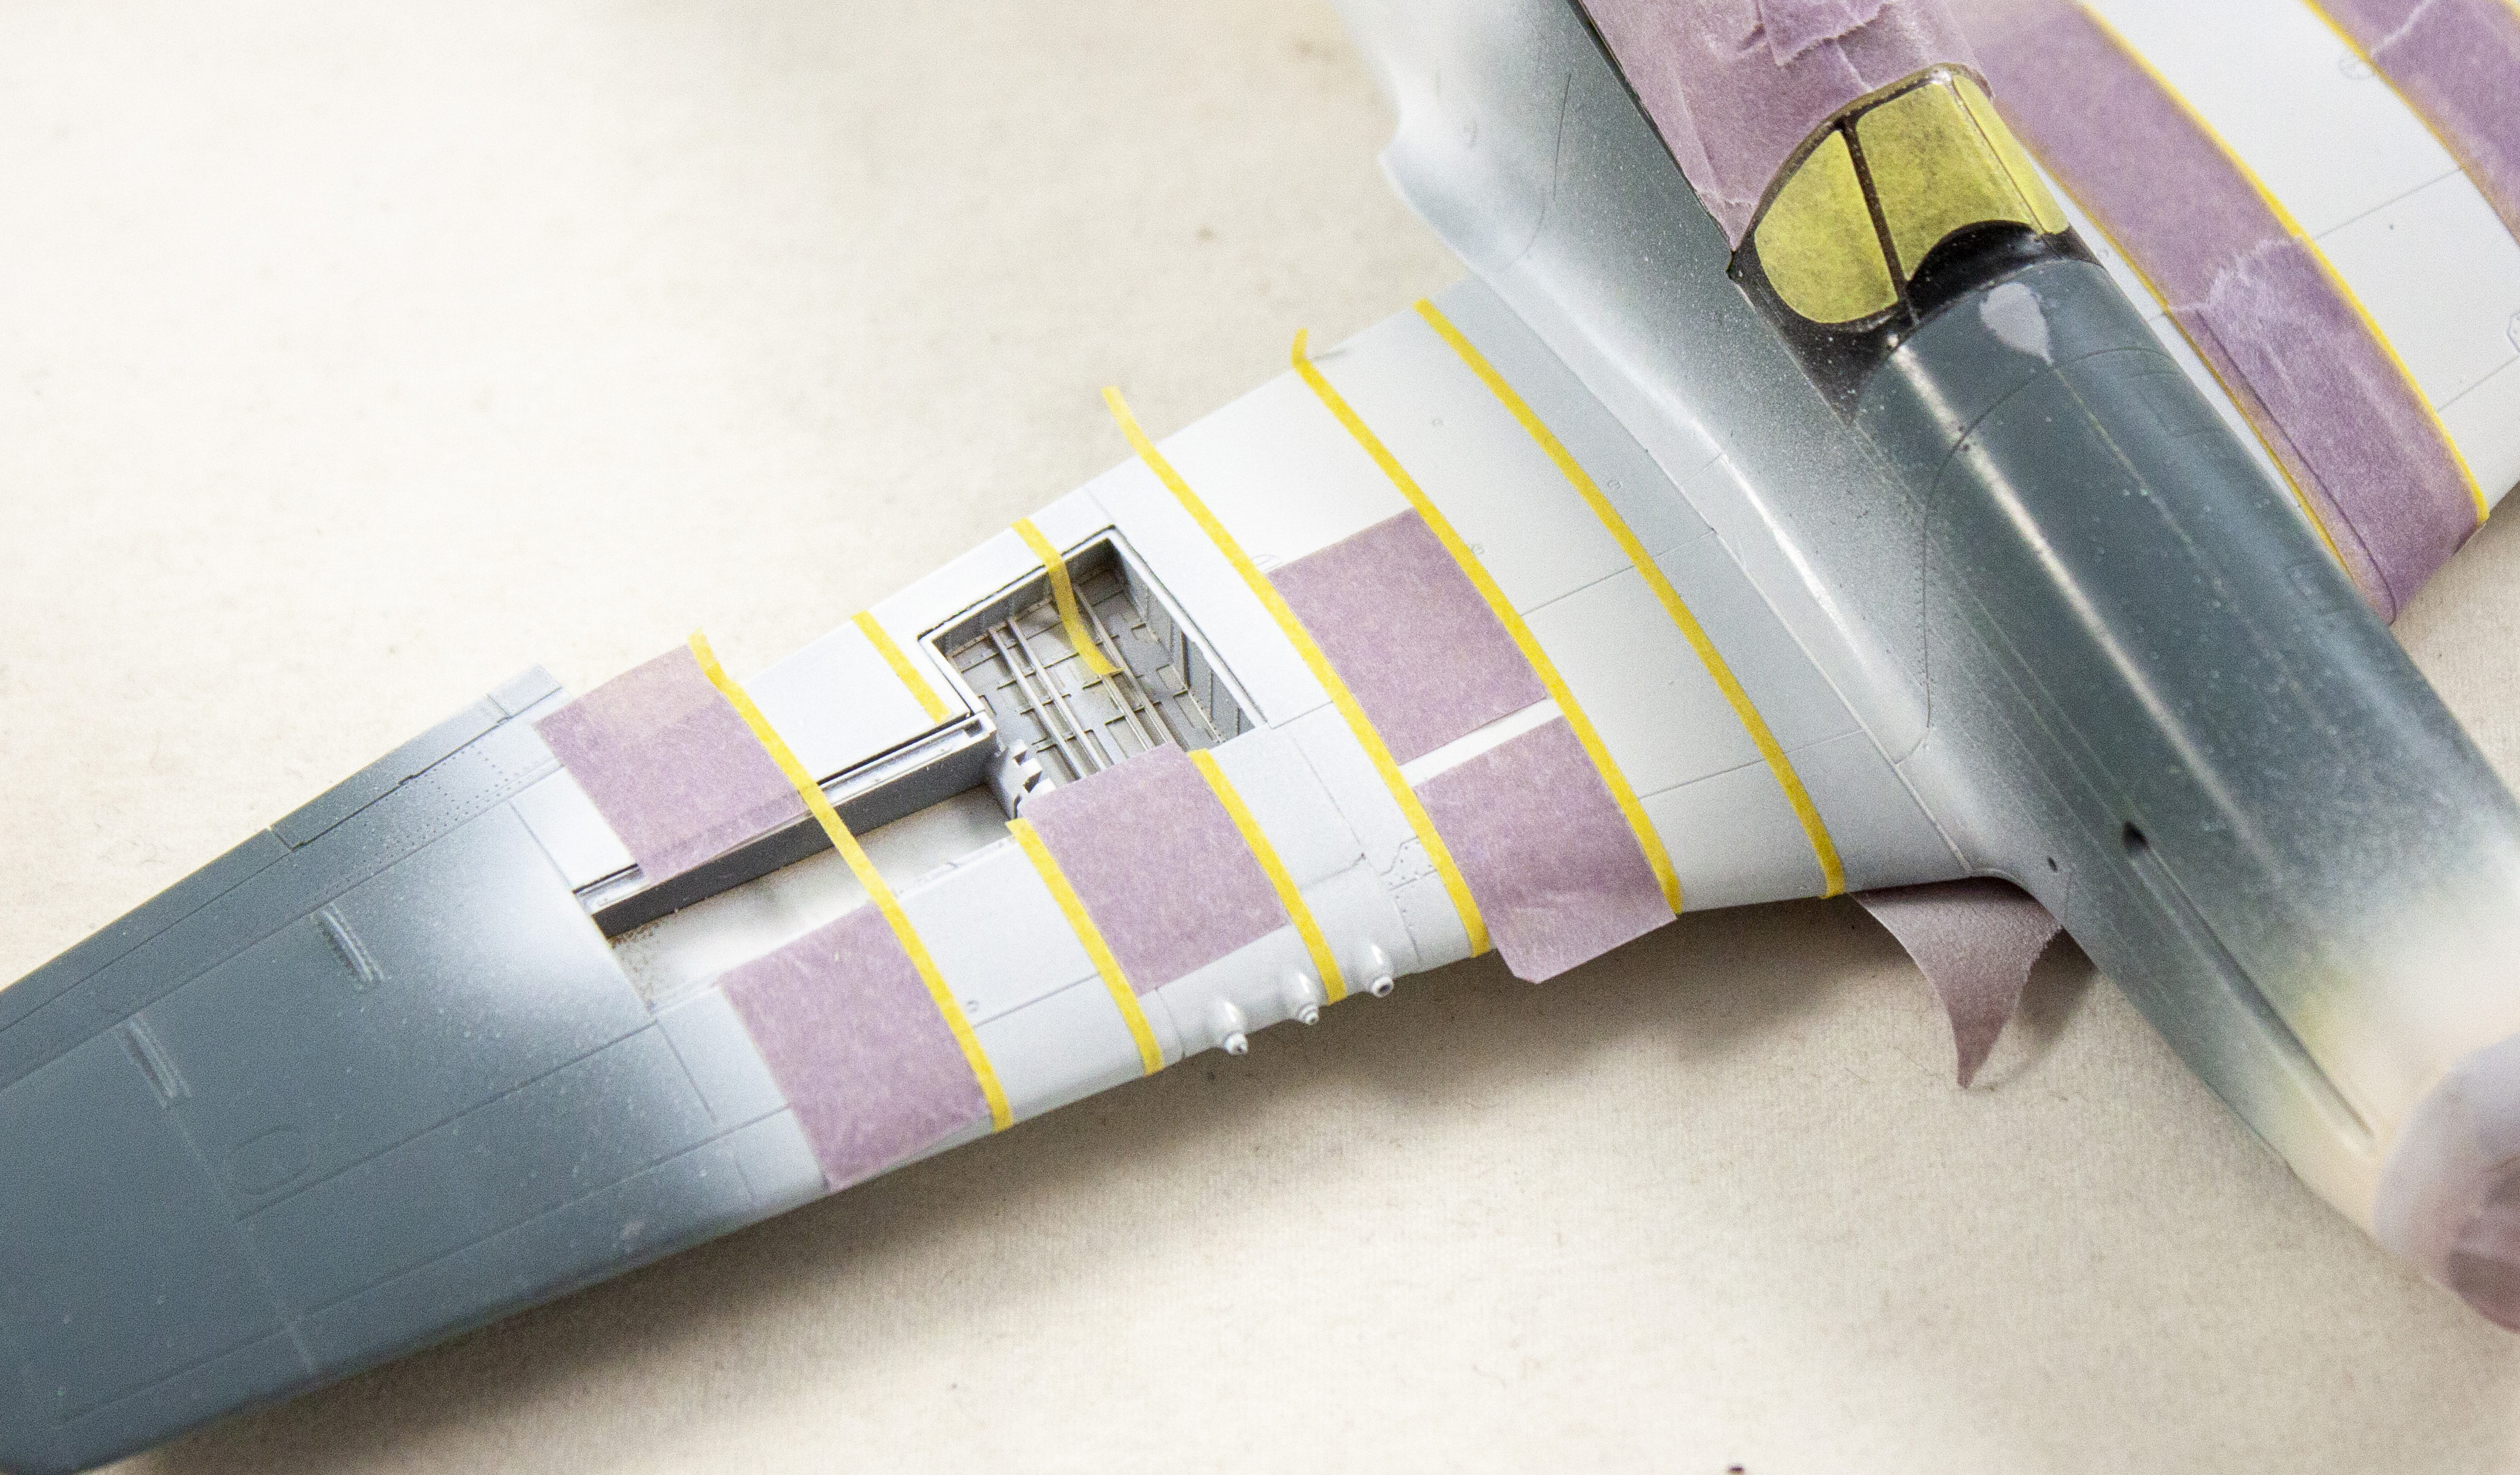
Remove all the spacer segments, then fully mask the sections to remain white. Ensure the tape is firmly fixed to the model to prevent paint bleeding under the edges. You can spray clear over the tape to help seal the edges.
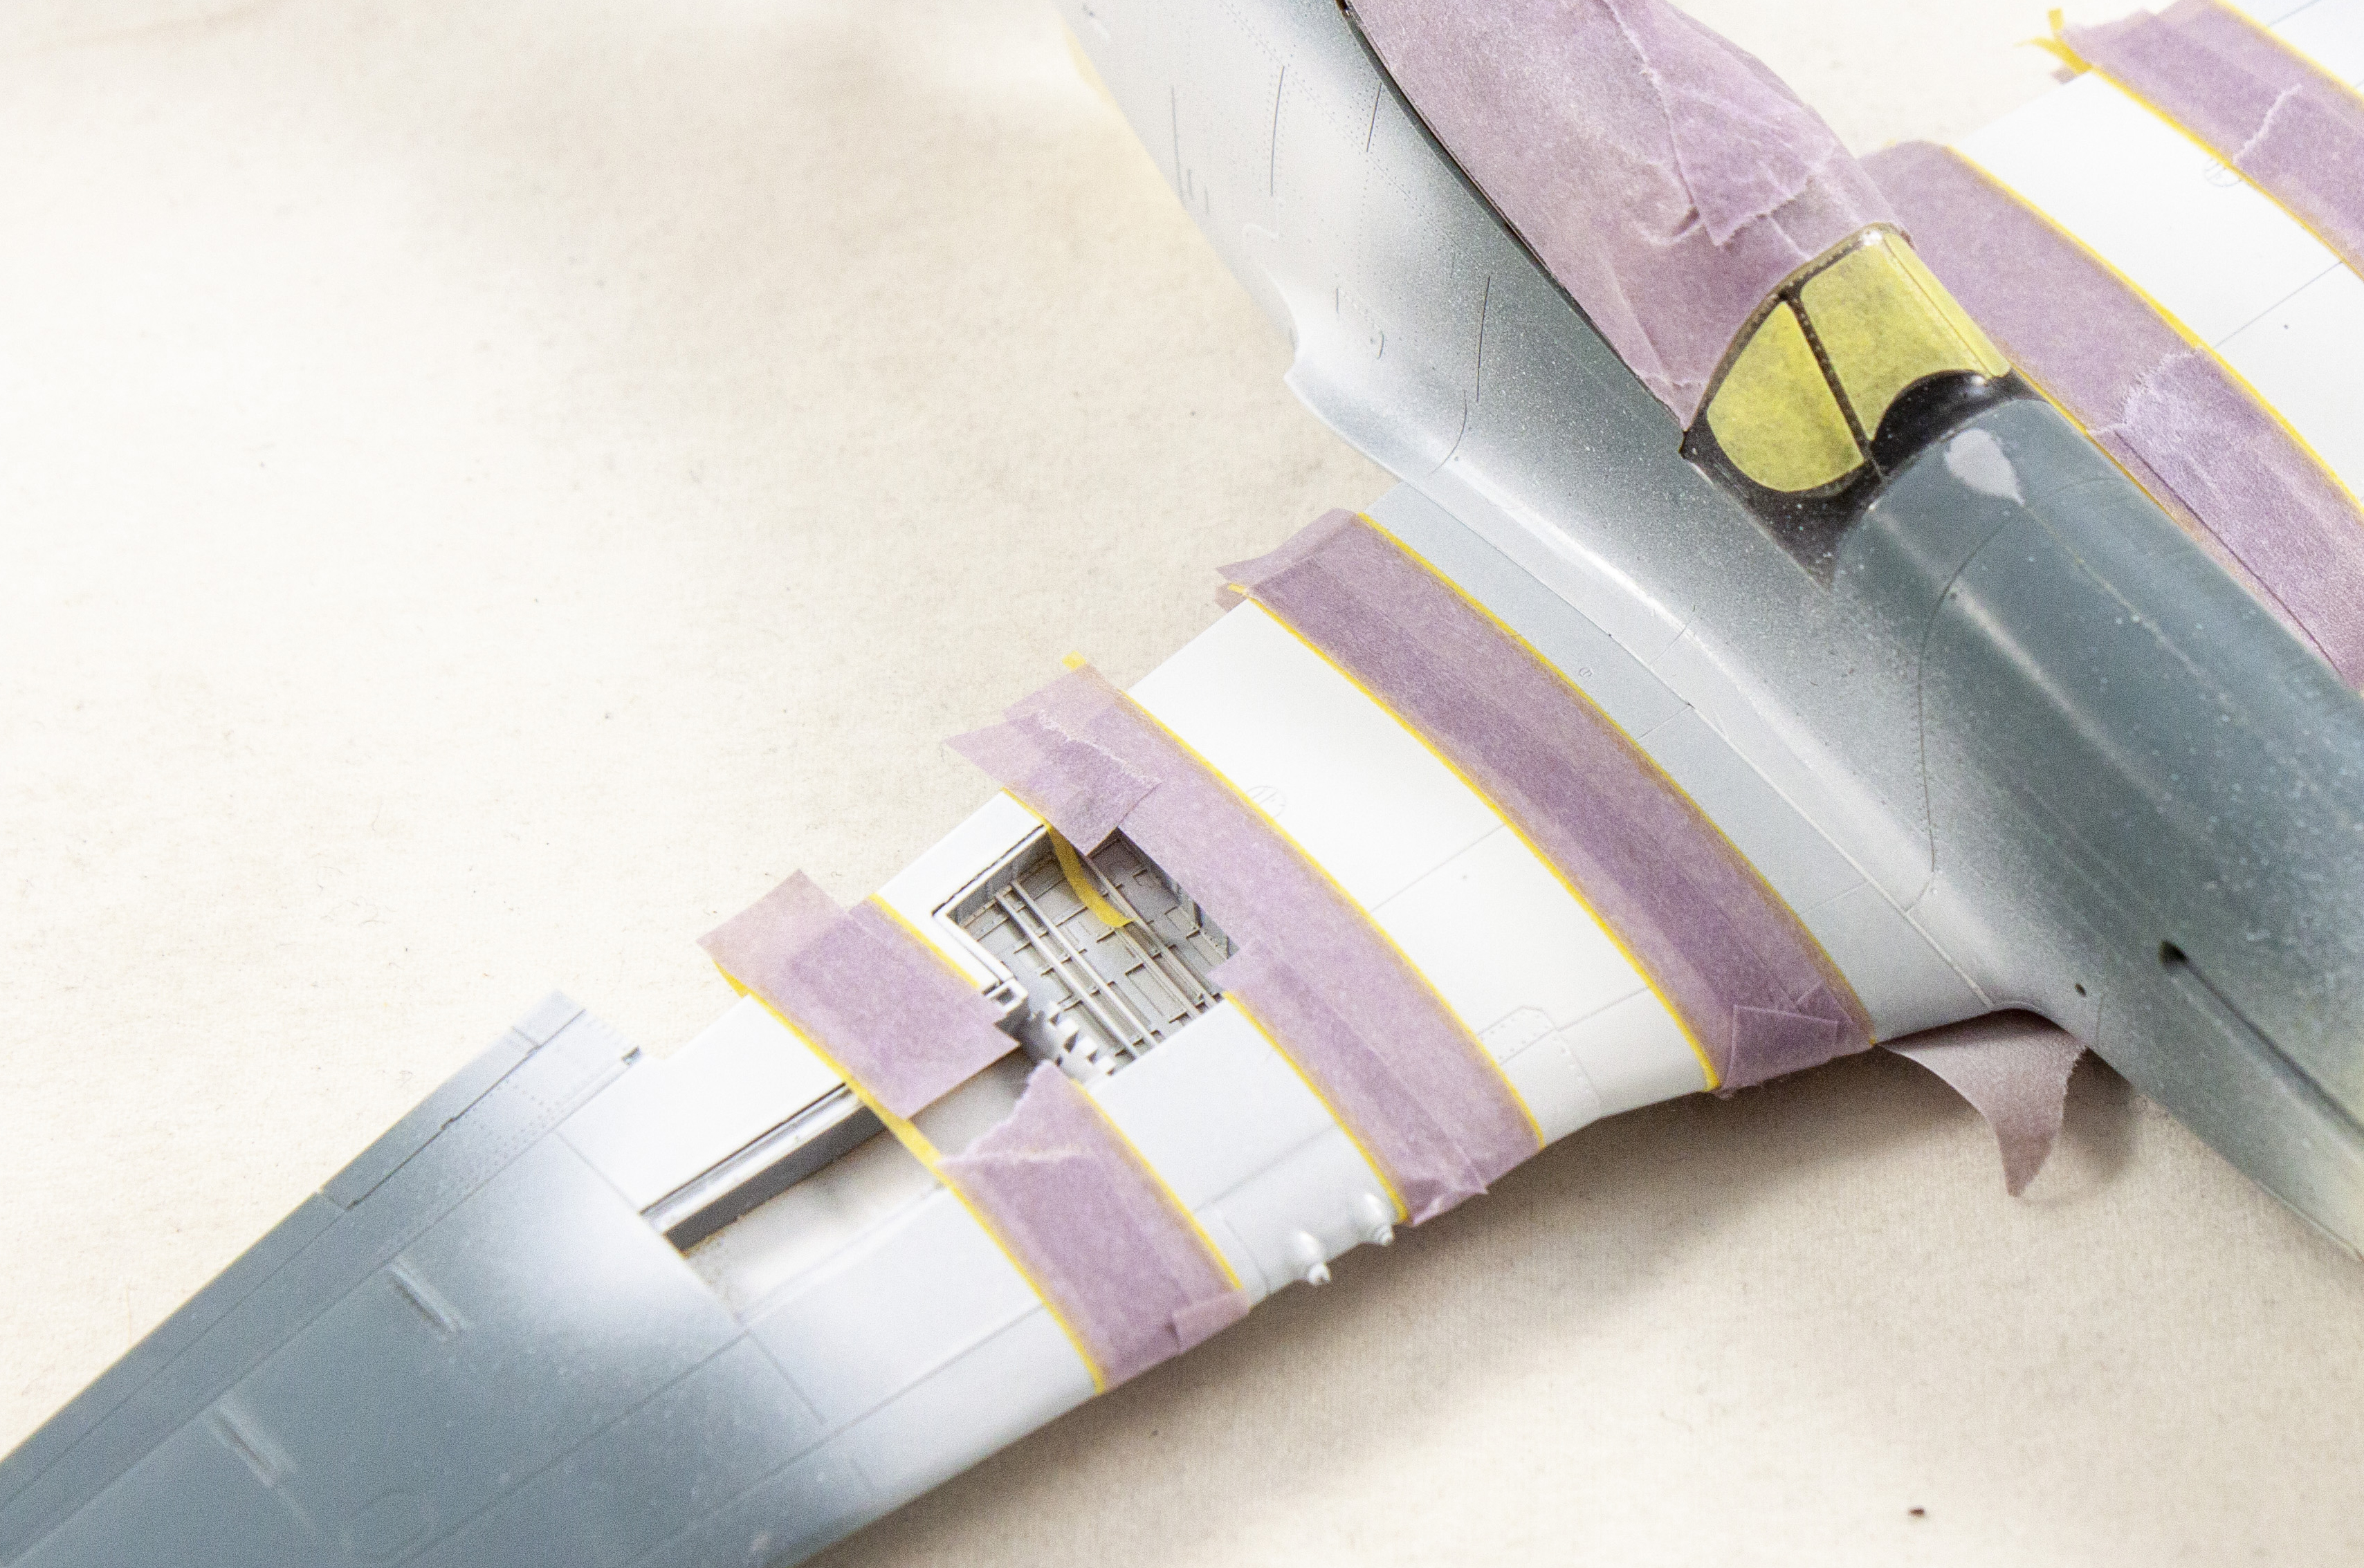
After painting black and a clear coat, I removed the inner masking to reveal perfectly symmetrical stripes. I left the innermost and outermost masks in place to preserve the edge for more painting. That’s a quick way to paint neat invasion stripes that likely took more care to apply than ground crews were allowed before D-Day!