
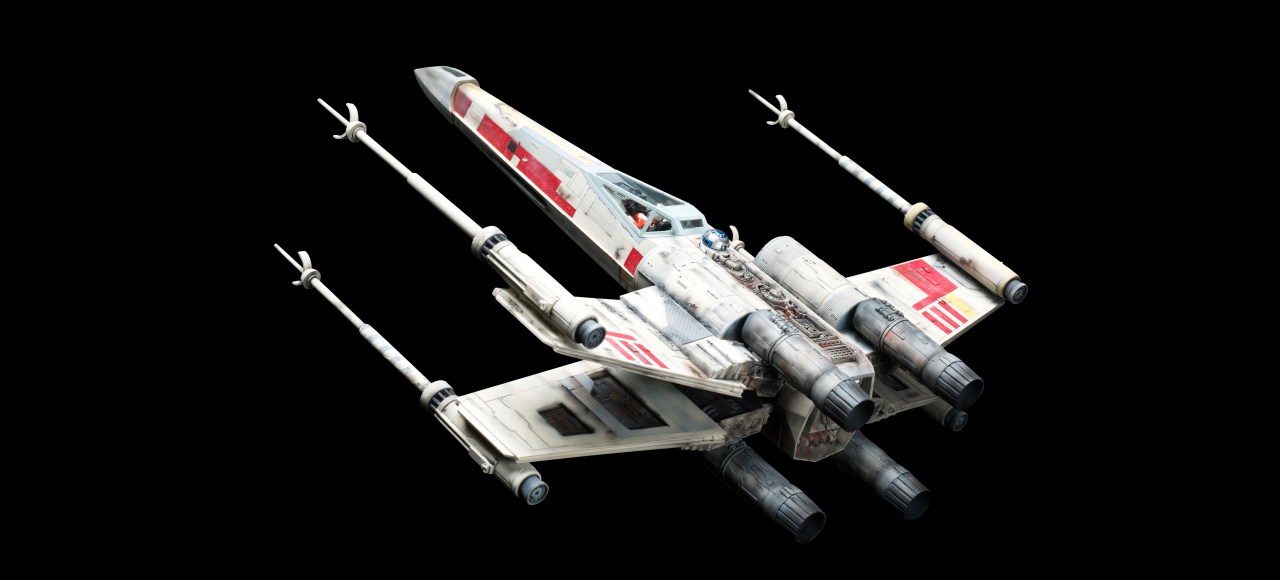
5. Dot filters
Similar to a wash, you apply a filter to the surface of the model in a controlled way so it doesn’t accumulate along the edges of details or in recesses and panel lines. Your goal is to alter the overall color of the vehicle, often to mimic fading and discoloration. For a dot filter, you’ll need various colors of artist oils and a thinner like mineral spirits or Turpenoid. Choose three or four colors and dot them on your model. Then wet a broad flat brush with your thinning agent and blend the colors together, pulling in the natural direction of airflow or gravity. The filter will subtly change the colors beneath it.
Be careful that your filter doesn’t turn muddy. Every couple of swipes, clean your brush, dampen it again with thinner, and repeat the process.
There are certainly lots more weathering techniques to learn (hairspray, wet pigments, and rotary tools to name a few). But these will get you started adding more realism to just about any model, no matter if it’s a tank, ship, spacecraft, mech, rat rod, or airplane.
The question comes up quite a bit both in correspondence with readers and in conversations with other modelers: What are the best weathering techniques?
I’m not sure we can rate the techniques so much as tell you the ones we most often use on our own models and what we see from FSM contributors. So, here, in no particular order, are the top 5 weathering techniques for scale models.
4. Chipped paint and scratches
Several techniques for chipping paint exist, but the simplest requires only a fine tipped brush and/or a micro-fiber sponge. Typically, a couple of coats of paint go onto full-size vehicles—at least a primer coat and then the color coat. Figure out the color of your vehicle’s primer coat (often a dark gray) and then paint tiny “chips” with your paintbrush in places that would naturally see wear. Try to make the chips appear random.
Alternatively, you can tear a small piece of a micro-fiber sponge, hold it with tweezers, dip it in the paint and blot away the excess (you don’t need a lot!), and then touch it to the model where you want to see paint chips. The sponge should naturally create a random pattern. However, be sure to twist your and adjust the angle between touching the sponge to the model to maximize the irregularities.
If you want to simulate deep gouges that go all the way to the metal, switch to a metallic color and use the same method and concentrate on the places you’ve already made paint chips.
This technique is easy to overdo, so be restrained the first few times and use a critical eye when assessing your work.
1. Washes
As a rule, modelers usually turn to washes as the first step in weathering. Typically applied over a model’s basic paint, a wash is nothing more than paint thinned to a very translucent consistency that flows well into nooks and crannies on your model. You can make your own washes or buy premade acrylic, enamel, and oil-paint formulas from many of your favorite paint manufacturers.
The two most common wash techniques are the pinwash and overall wash. With a pinwash (really it should probably be pin-point wash) you target small details and panel lines with a fine brush. For the most part, you’re letting the wash flow via capillary action and accentuate details to help make them more visible. A overall wash can accomplish the same goal, but you’re applying the wash to the surface of your model with a large brush and letting the wash accumulate in and around the fine details.
You’ll want to keep cotton swabs handy to soak up and remove any unwanted wash. Washes can also be used to simulate fuels, oil, and grease stains, as well as rust.
2. Dry-brushing
When dry-brushing, you apply nearly dry paint to a model’s raised details. The brush that you use doesn’t have to be perfect, and, in fact, you’ll probably want to designate a brush or two as your dry-brushes because the technique can be hard on the bristles.
To dry-brush, pick up just a bit of paint on the tip of the brush and then wipe almost all of it off on a paper towel or cloth. Then lightly apply the brush to the desired area on your model, moving the brush quickly back and forth. You are not looking for a great glob of paint, but rather a subtle gradient. You can repeat the process using gradually lighter shades until you get the effect you want.
Dry-brushing is a technique that requires practice to get right. Though it can be a quick way to highlight details, if overused, you run the risk of your model looking like it’s painted with cake frosting.
3. Pigments and pastels
You can easily simulate dust and dirt with pigments and pastels. What’s the difference? Weathering pigments you buy premade and come in shades like European mud and desert sand. They help you ease the decision for the color you want to use and do all the grinding for you. When we say pastels, we mean artist pastels, not blackboard chalk. And they come in sets of colors like black, burnt umber, and yellow ochre. They’re also sticks, you need to turn them into powder by either scraping them with the back of a hobby knife or grinding them on a bit of fine sandpaper.
Despite the extra work, the advantage to using pastels is that you can blend custom colors. That’s a daunting proposition for many modelers, so they stick to the pigments.
Either way, apply the powders with a soft brush over a flat finish. Flat finishes have tooth to hold the colors; pigments tend to slip off gloss surfaces. You can vary your brush strokes for different effects from an even coating of dirt to streaks to splatters.