Essentially a stretched F-80 with a two-place cockpit, the T-33 was widely used by the U.S. Air Force, U.S. Navy, and a multitude of foreign forces, not only as a trainer but also as a unit hack or transport, and even for ground attack on occasion.
The tolerances in GWH’s 1/48 scale Shooting Star are extremely tight. I found areas where even the slightest bit of sprue gate left on a part interfered with fit. Time spent cleaning up parts ensures an easy build.
Eight pages of instructions and a two-page addendum with part number corrections guide the modeler. A color diagram and well-printed decals provide three marking options: American, German, and Italian.
Once I cleaned up the seat parts they snapped together. I found it easier to glue the sides (H3 and H4) to the seat pan first, then add the back and bottom.
The multipart instrument panels have good detail. I attached the decal dials to the backs of the panels with white glue so I had time to align them, then glued on the rear plate. The side consoles can be painted or detailed with decals as I did. Separate the decals into front and rear sections, cut a slot for the throttle handle to slide through, and slice them along the sides of the raised panels. They looked great after multiple applications of Micro Sol.
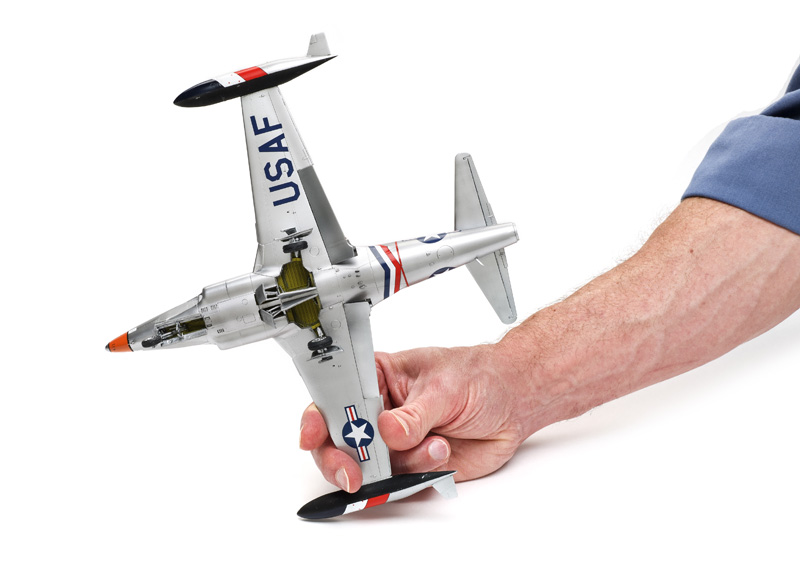
When I test-fitted the nose-gear strut, the fit was so tight I could not remove it. This is one of those examples of too many coats of paint and weathering exceeding the tolerances. Following the instructions, I glued the strut only to break it later. Wait until final assembly to install the struts; they will fit after the fuselage is sealed.
I was concerned that the provided plastic nose weight would not be heavy enough, but it does the job without putting excess load on the landing gear. I clamped the fuselage around the cockpit, too, because the fit was tight.
The design of the intake trunks and the scale-thin trailing edges of the separate rudder and elevators impressed me. Rather than follow the instructions as I had with the nose gear, I left the mains, speed brakes, and flaps for later.
I prefer the look of the T-33 with the canopy closed rather than open, but the instructions don’t give that option. However, if you cut the attachment tabs at the rearmost engraved line, the canopy fits in the closed position.
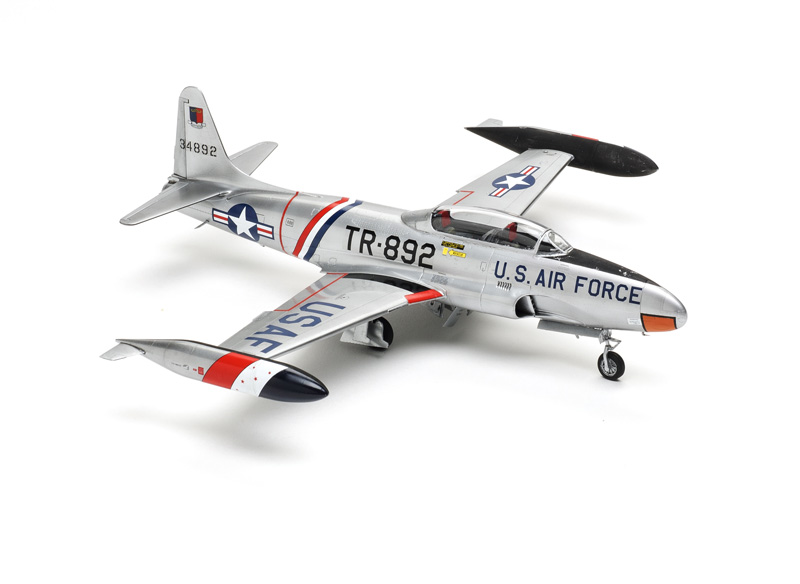
I sprayed GSI Creos Mr. Color paints for the USAF marking option. The color list calls for Mr. Color C79 orange for the nose panel. However, C79 is shine red; I used C59 orange instead.
There are a couple of other problems with the marking guide: The side view shows decals 2 and 3 — the red and white stripes — farther forward on the wingtip tanks than the top and bottom views. Place them farther aft where the diameter of the tip tank is constant or you will have problems. The decals are thick and opaque, so you can paint the blue farther back on the tanks and the decals will cover. Curiously, the decals responded well to Micro Sol but Solvaset had little effect.
Use caution separating the gear doors. There are engraved lines to guide you, but your saw blade could easily slip. The tabs and recesses provide strong attachment points for the doors. Use patience and slow setting glue to align the speed brakes and actuators. Consult the addendum for correct part numbers when adding the flaps.
GWH’s wonderful T-33 was the quickest, easiest build I’ve done in quite some time. Finely engraved parts, good detail, three colorful marking options, great fit, and even a nose weight all add up to a ton of fun!
Note: A version of this review appeared in the January 2017 issue.