Nicknamed the “Turkey” because of its ungainly appearance, the TBM Avenger was more of an able bird of prey when on the attack, serving as a torpedo bomber during World War II.
The new HobbyBoss 1/72 scale TBM-3 Avenger plastic model kit offers a highly detailed model of the most common Avenger. The crisp and beautifully detailed parts present numerous options, like multiple armament loadouts and folding wings. The kit also includes a handful of photo-etched metal (PE) and a set of pre-cut adhesive masks, although most are slightly oversized. Only a closed canopy is supplied.
A fully detailed turret that requires careful assembly and painting rounds out the complicated interior. Be aware that you need to paint the turret prior to fuselage assembly because it can’t be added after you’ve closed up the fuselage — it should be put in place before the aft shelf (Part A15).
You get to choose a torpedo, bombs, or an extra fuel tank for the remarkably detailed weapons bay. In hindsight, I would leave off the numerous side support girders until the bay was in the fuselage and then add them — I broke many while assembling and painting. I painted the entire interior with Real Color U.S. Interior Yellow Green (No. RC262) — the instructions incorrectly call out the dull, dark green used in earlier Avengers. Note that the radio operator’s bench seat in the lower fuselage (Part B15) is incorrectly placed. It should be even with the door. I cut mine in half and stowed it along the left fuselage half.
Before assembling the fuselage, take some time to trim the extremely tight-fitting slots for the wing spars. Also, I found all the clear parts required significant trimming — this is especially true for the tunnel gun windows. The kit includes an etched antenna mast shown in an incorrect position, so check any photo of an Avenger to see where it should be mounted. And the kit includes, but the instructions do not mention, an injection-molded option (Part B8).
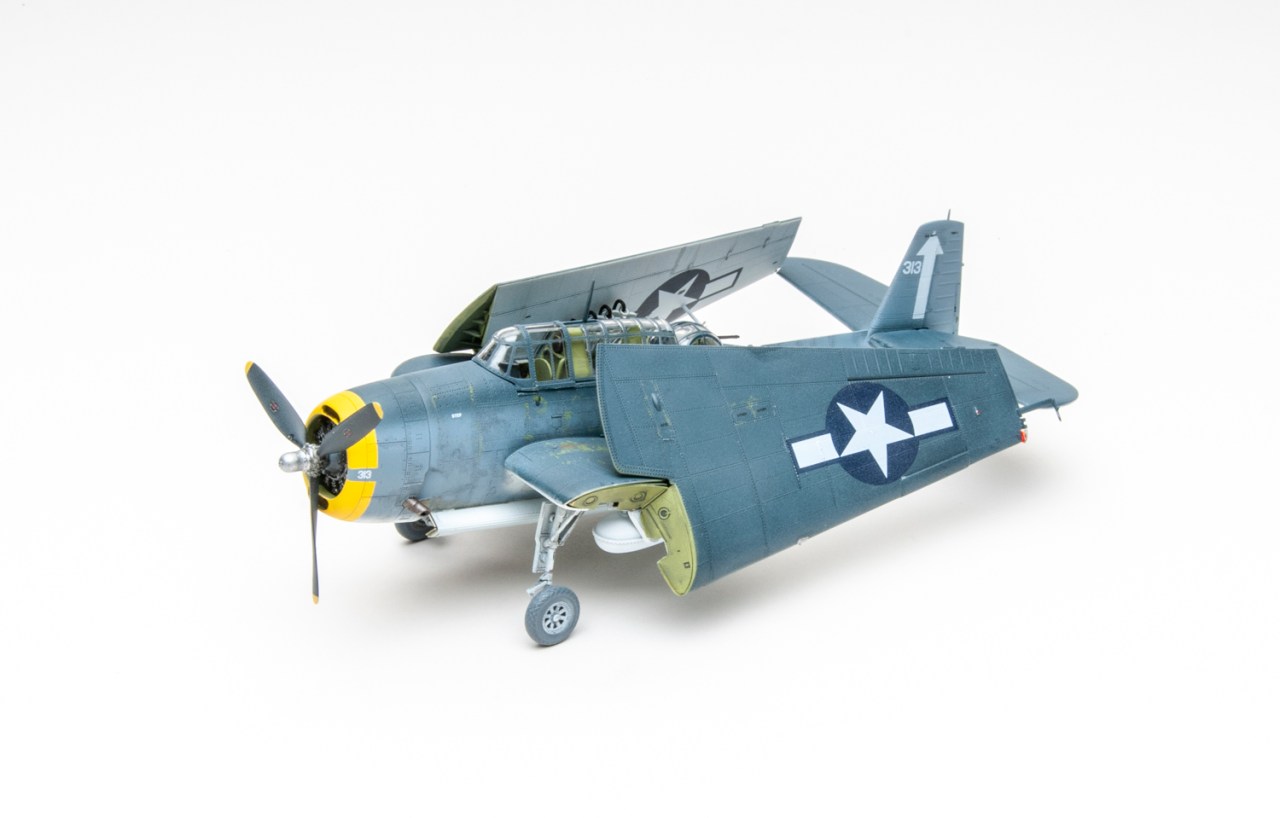
I decided to model the folded wing option for which spars are provided, and HobbyBoss even included the small doors on the wingtip that open to allow the wings to be cabled to the horizontal stabilizer. They are incorrectly depicted as a one-piece door, but they split in half, so check your references. I think parts B11 and B12 are intended to be cables, but they appear more like Allen wrenches, so I left them off. I assembled, painted, and decaled the wings separately from the fuselage. I was not a big fan of the kit’s somewhat clunky rockets. If I built this kit again, I would cut the rockets off and just use the stub mounts. HobbyBoss includes a pitot tube for each wingtip, but Avengers only had one on the left wing.
There are a few detail errors in the color marking instructions when compared to period photos: The yellow cowl ring is wider than depicted; there is no “148” on the nose; and the side number should be segmented, not solid.
The decals went on with no fuss, and included numerous stencils. Even the landing gear legs are marked! Unfortunately, the arrow marking on the upper right wing is not included. I made a mask using a copy of the rudder arrow and airbrushed it.
The instructions wrap up with assembling the wings, which went well, except I broke one of the wing spars in two. That side’s wing angle is a little off, but you shouldn’t have to worry about that if you don’t break a spar.
It may sound like I’m critical of the HobbyBoss 1/72 scale TBM-3 Avenger plastic model kit, but while there are a handful of small issues, it builds up into a beautiful bird. I spent about 27 hours on mine, and with careful assembly and a bit of trimming of the clear parts, a modeler of decent experience can prepare a fine looking “Turkey” for their shelf, too.


