After World War II, addressing a need for an updated observation and communication aircraft, Cessna developed the L-19/O-1 Bird Dog. The aircraft saw extensive service with the U.S. Army, Air Force, and Marines in Korea and Vietnam.
The kit includes: a nice little engine with the option of open or closed access panels; rockets with underwing launchers; posable boarding door, and window; and separate landing flaps.
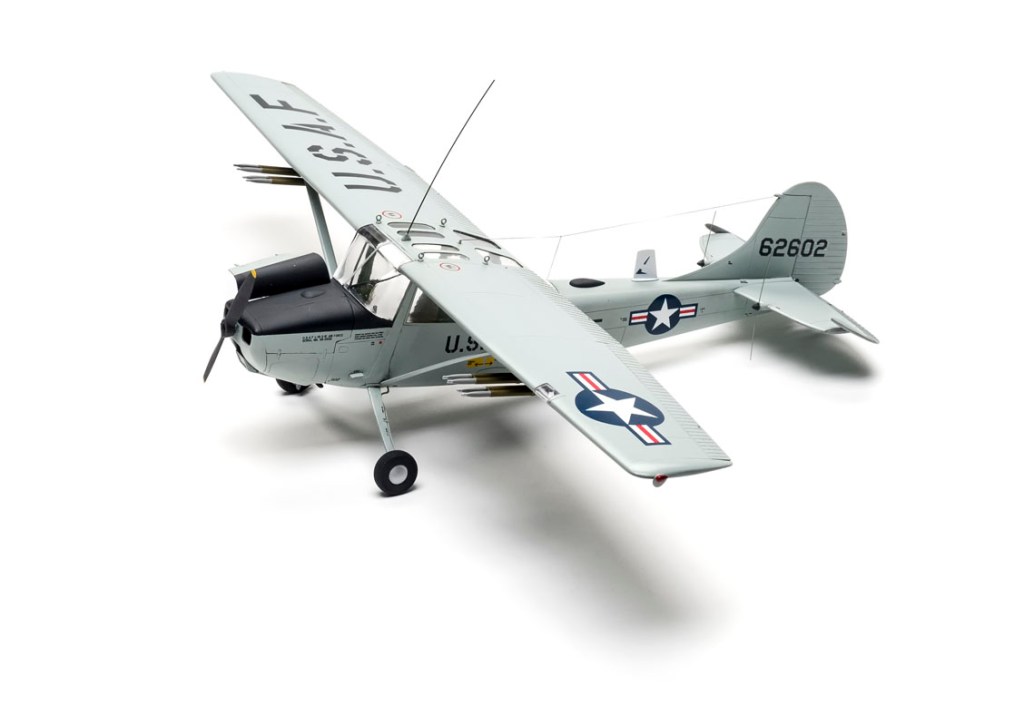
Two marking options are provided: an Army trainer from Fort Rucker, Ala., in olive drab and international orange, or an Air Force bird at Da Nang, 1966. Roden advises natural metal for the latter, but the aircraft I’ve seen were all aircraft (or ADC) gray. A reliable source who was in Vietnam agrees, although he says the normally glossy paint appeared pretty flat on the Bird Dogs.
The kit plastic was pebbly, and there was pesky flash and mold drift on most parts. The clear parts fit poorly and needed a lot of work. Male-female locators were sloppy, especially the landing-gear to fuselage.
Steps 1, 2, 3, and 5 deal with the engine assembly. In Step 2, the motor mounts (parts E15-18) fit poorly. For a better fit, glue the mounts from Step 2 and the framework from Step 9 at the same time; dry-fit them before all the glue sets, dry-fit these assemblies together, then let the glue dry. After that, you can pull things apart and paint as usual.
Beware of the landing gear: The struts (parts 5F and 1F) are flimsy. I broke one just by nicking it with a fingernail (seriously).
“Sparse” describes the cockpit. The instrument panel has relief molded details in but no faces. I just dabbed some white dots on the faces to make it look a little better.
All the clear parts needed sanding and filing on both the clear and the fuselage parts, but they still didn’t fit quite right.
The rockets and launchers were OK, but I questioned the recommendation to paint the tubes yellow. I used olive drab instead.
Before joining the fuselage halves and wings, be sure to drill all the appropriate holes for antennas.
In Step 19, the rear canopy bracing, the location points are wrong. The ends of the bracing should be glued at the very rear of the cockpit where the rear glass joins the fuselage, not as shown in the instructions.
Steps 22 and 23 install the landing flaps. Hinges (parts 19D) are given to pose them up or extended, but the O-1 had Fowler flaps, so the hinges require modification to be correct.
In Step 24, the wing-to-fuselage assembly, make sure you have a tight join between the fuselage and wing contact points. The wing struts needed fitting as they were a little long.
Once everything was assembled, I went back and filled gaps around ill-fitting parts with Kristal Klear smoothed with a cotton swab. Those areas included landing gear struts to fuselage, wing strut connections, and around most of the clear parts.
One suggestion on the gear struts: For extra strength, you could try taking a triangular file or scriber and making a channel on the underside of the strut. Then install a segment of stiff wire and paint as usual. It’s on the underside, so it won’t be noticeable. If you leave them as is, the struts will not survive.
The decals and antennas all went on OK.
This was not an easy kit, and it needed a lot of fitting, sanding, filing, and filling. It looks all right when it’s done, but it takes some experience to get it there.
I spent 27 hours on mine; considering the number of parts, it should have taken half that.
Note: A version of this review appeared in the November 2017 issue.


