Typical of Airfix’s new-tool kits, the Me 262 features great detail with excellent moldings and fits, all at an outstanding value.
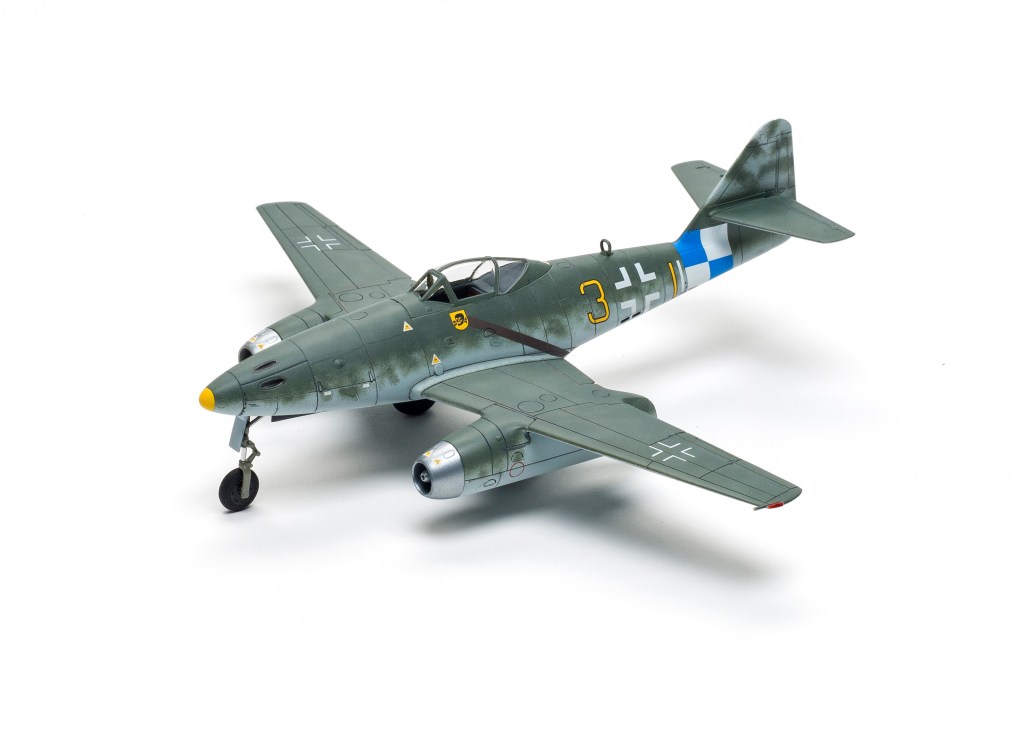
The finely recessed panel lines may seem a bit overdone to some, but I think they look fine; I had no worries about them disappearing under paint. The model can be built wheels down or in flight (a stand is not included), and the canopy can be posed open or closed. Sturdy tabs attach the separate rudder, which may be displayed off-center with modification. Cartograf decals provide markings for two Luftwaffe fighters.
The cockpit tub is split horizontally. Cockpit detail includes side consoles with molded controls, a flat instrument panel with decal dials, seat, joystick, and pedals. The only noticeable omission is seat belts. The kit’s pilot looks a little soft.
The completed cockpit mounts on bulkheads attached to the one-piece lower wing. I deviated from the instructions and attached the upper wing halves before adding the fuselage. The fit was nearly perfect, but I thinned the lower wing a touch to get it flush with the upper sections.
The fuselage halves fit well, with just a little Mr. Surfacer necessary in a few spots to eliminate the seam. After that, the wing assembly practically snapped into place. I added about 5 grams of lead shot to the nose. There’s a lot of space there, but be sure to leave room for the nose-gear bay in the lower nose; I shaved a little from the front corners for fit and used filler to blend it into the fuselage.
I had trouble fitting the leading edge of the engine nacelles to the main wing; both required putty for a smooth transition. However, the engines went together perfectly. The intakes on the marking option I chose were natural metal, so I left them off for painting.
Installing the landing gear was painless, with everything fitting neatly. Be careful, though: They seem a little weak, especially the nose leg. A front view showing the inward angle of the main gear would have been useful.
The canopy comes in three pieces, each with crisp framing. The windscreen includes part of the forward fuselage and joins at a panel line, so blending is unnecessary.
I painted the fighter with Testors Model Master RLM 76 lichtblau underneath and RLM 82 dunkelgrun on top. I randomly sprayed a little RLM 71, a slightly lighter shade of dunkelgrun, to add a little interest to the green.
The decals worked flawlessly and conformed to the surface with the help of setting solution and a little heat.
The model measures nearly dead-on compared to published dimensions, and a quick comparison with a Revell ProModeler kit shows it to be identical in size and shape. The Revell kit shows more refined surface detail, but Airfix’s kit looks superior in every other respect. I spent about 25 hours on mine and enjoyed every minute!
Note: A version of this review appeared in the May 2018 issue.


