Mechanized armies face the unenviable problem of vehicle breakdown and routine maintenance. As tanks became larger and heavier in World War II, newer cranes capable of lifting larger loads became a priority.
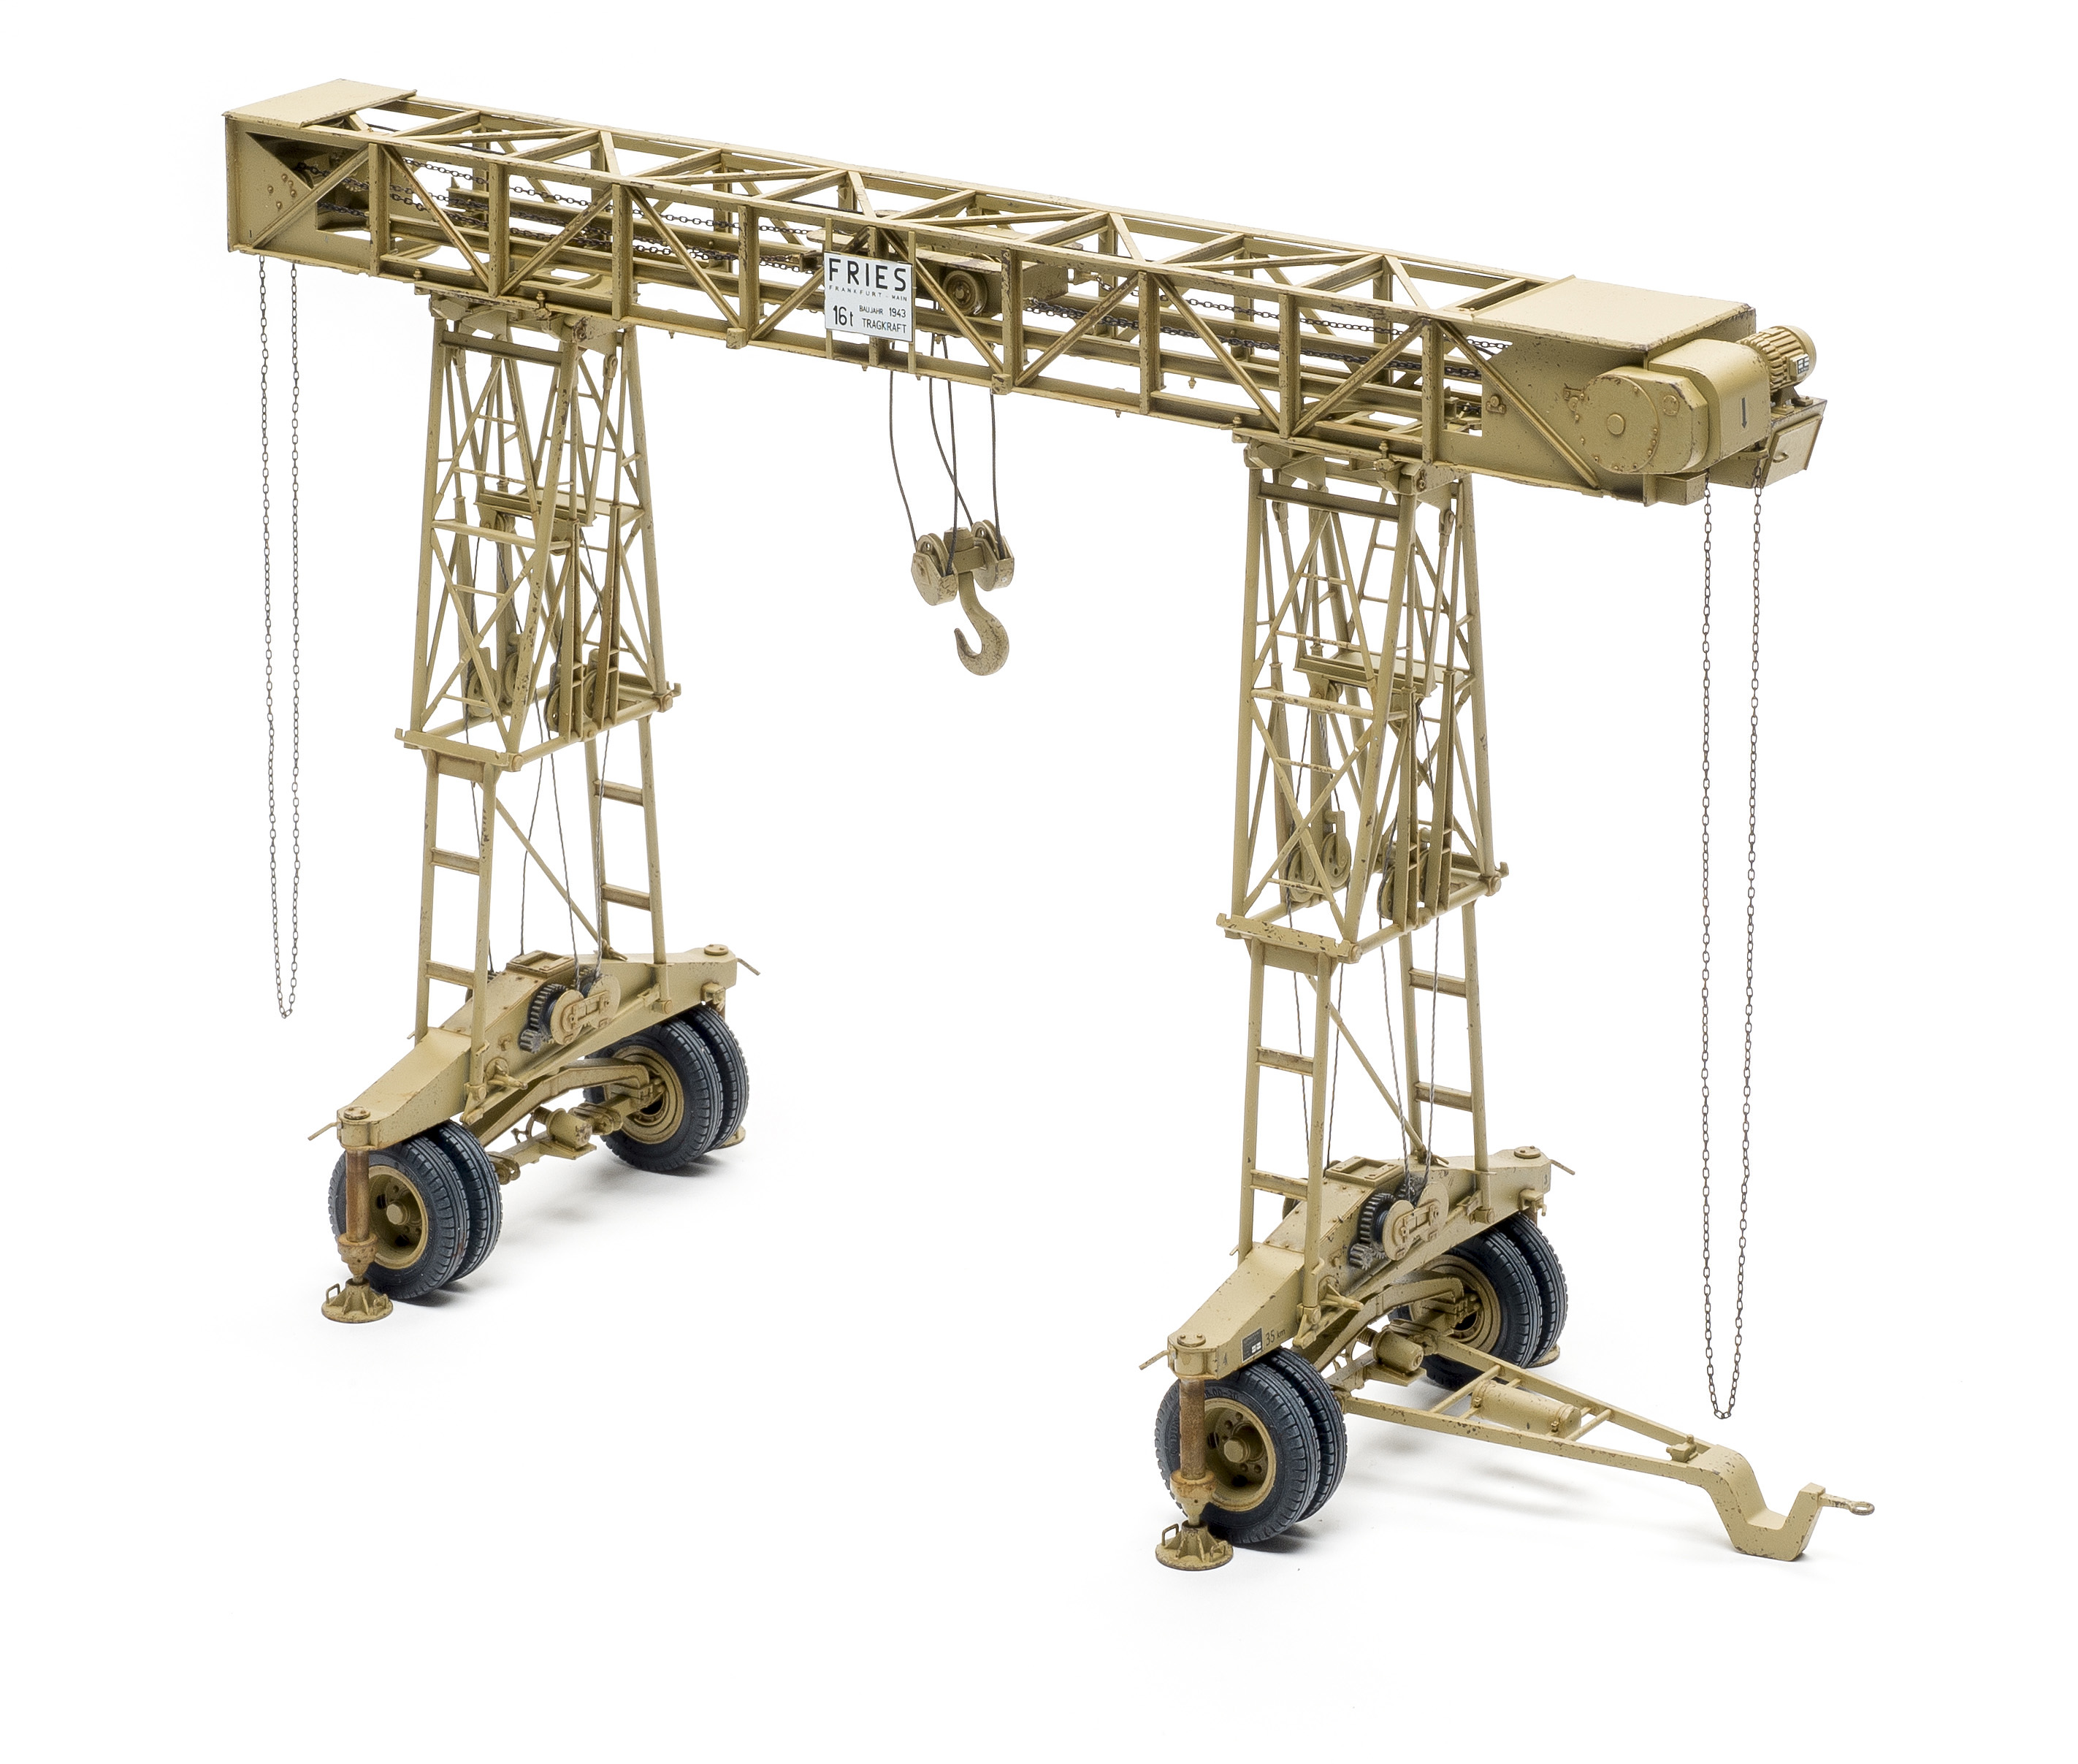
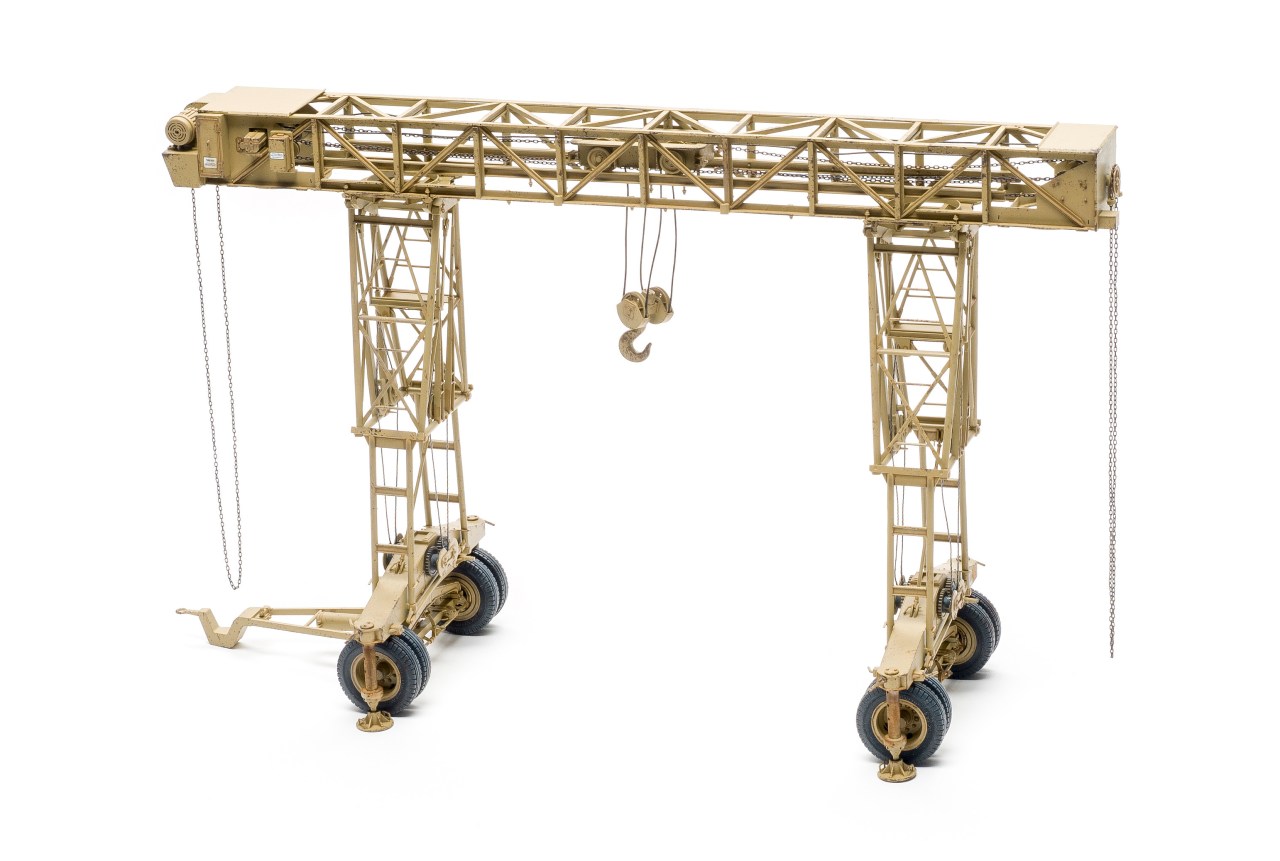
To meet these needs, the German army turned to J. S. Fries of Frankfurt, a company that built gantry cranes used in ship and railroad yards before the war. Three portable cranes were developed for the armed forces with lifting capacities of 15, 16, and 20 tons. Known as Strabokran, short for Straßenbockkran (road gantry crane), these horizontal gantry cranes were supported by collapsible towers for transportation.
Takom’s Strabokran comprises 427 light gray plastic parts, eight vinyl tires, a chain, and two different diameter strings. Good news for those who loathe photo-etch (PE) — none is included.
Thankfully, the pages in the instruction manual are twice as big as some recent Takom kits, which makes reading the often-busy diagrams easy. Color references are for Ammo by Mig Jimenez paints.
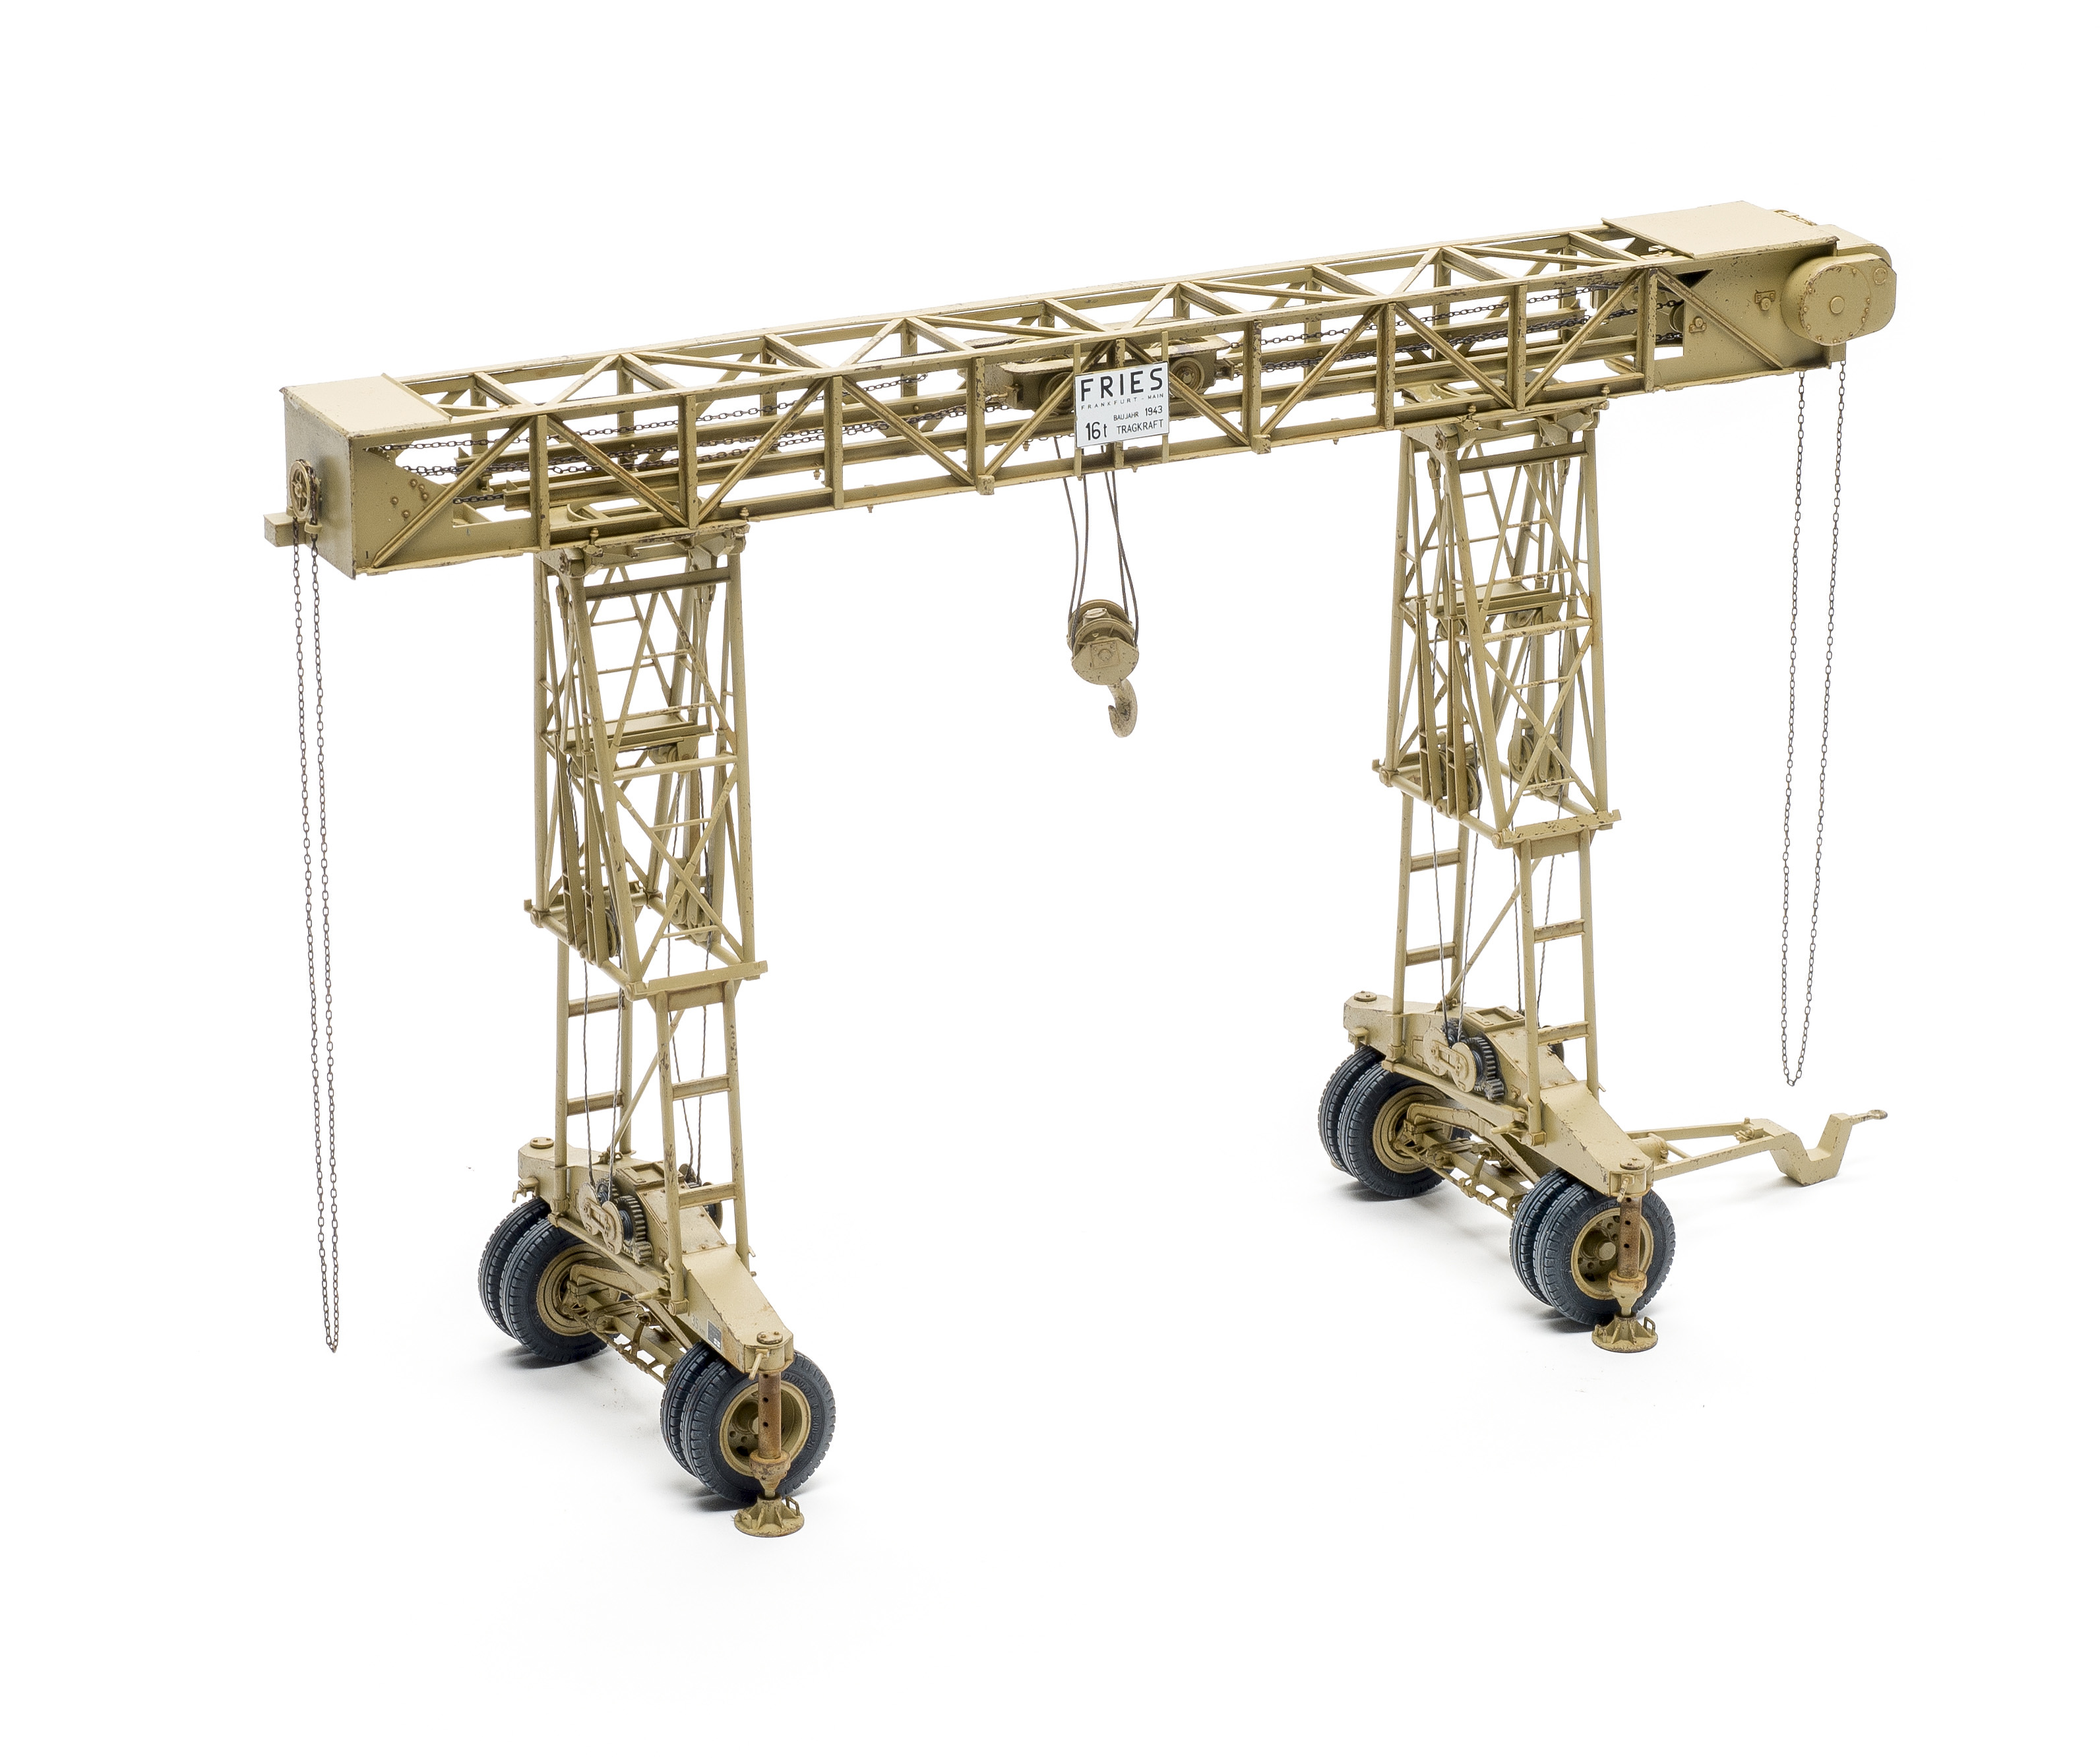
The gantry crane consists of several frames, so all of the structure and machinery is visible from every angle. Fortunately, the parts are cleanly molded with minimal mold seams and ejector-pin marks.
Overall, the fits are good and I used no filler. Study the instructions for the best approach; you’ll want to leave some parts separate for painting and rigging.
Construction starts with horizontal gantry. It’s nearly 12-inches long and the separate parts seem flimsy. However, once the rails and support braces are in place, it becomes pretty solid.
In Step 2, leave Part E22 off until after Step 3. Otherwise, it’s easy to position the part incorrectly so it interferes with the end plate (Part D11). Glue the plate (Part E26) to the gantry section D1 first. Then, glue the rest of the gear assembly in place.
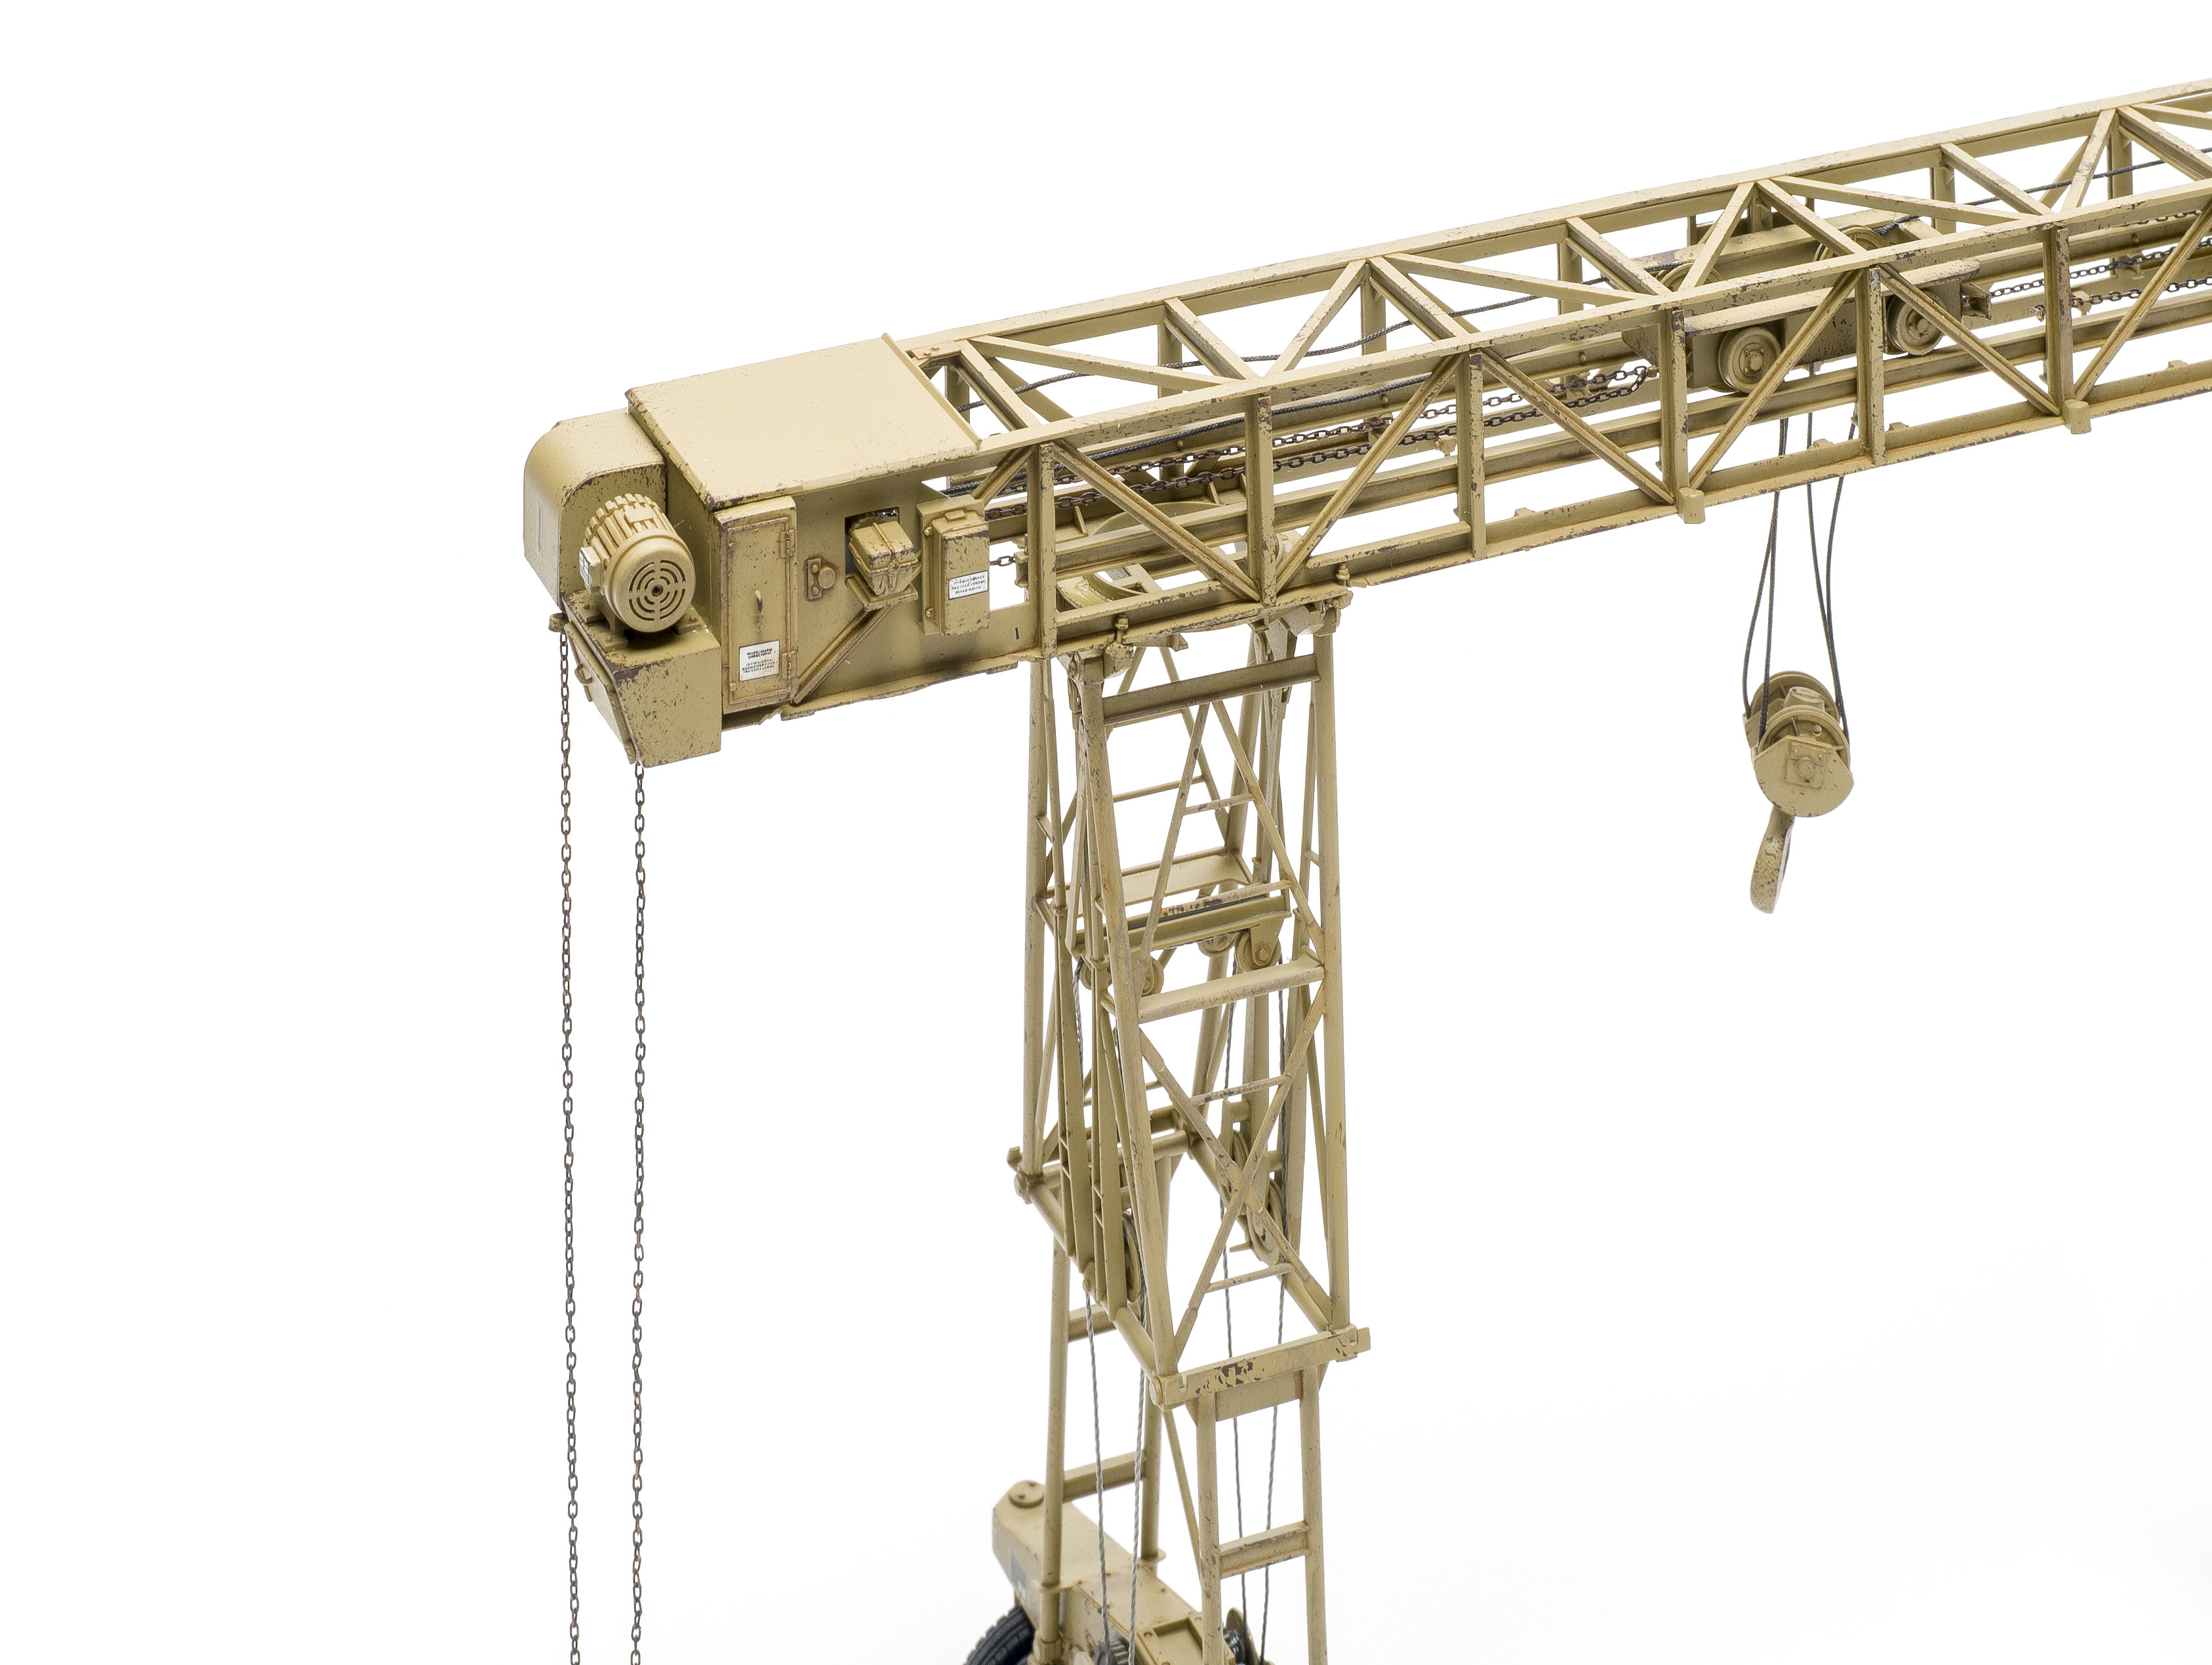
I left off the roof of the gantry along with two of the cross supports (parts A34), so I could properly paint and rig this section. I also left the pulley cover in Step 4 separate to allow the chain to be rigged after the model was painted.
To rig the trolley, I glued it to the rails then super glued one end of the chain to the trolley. After feeding the chain through the pulleys, I trimmed it to fit the other end of the trolley. I repeated the process on the other side.
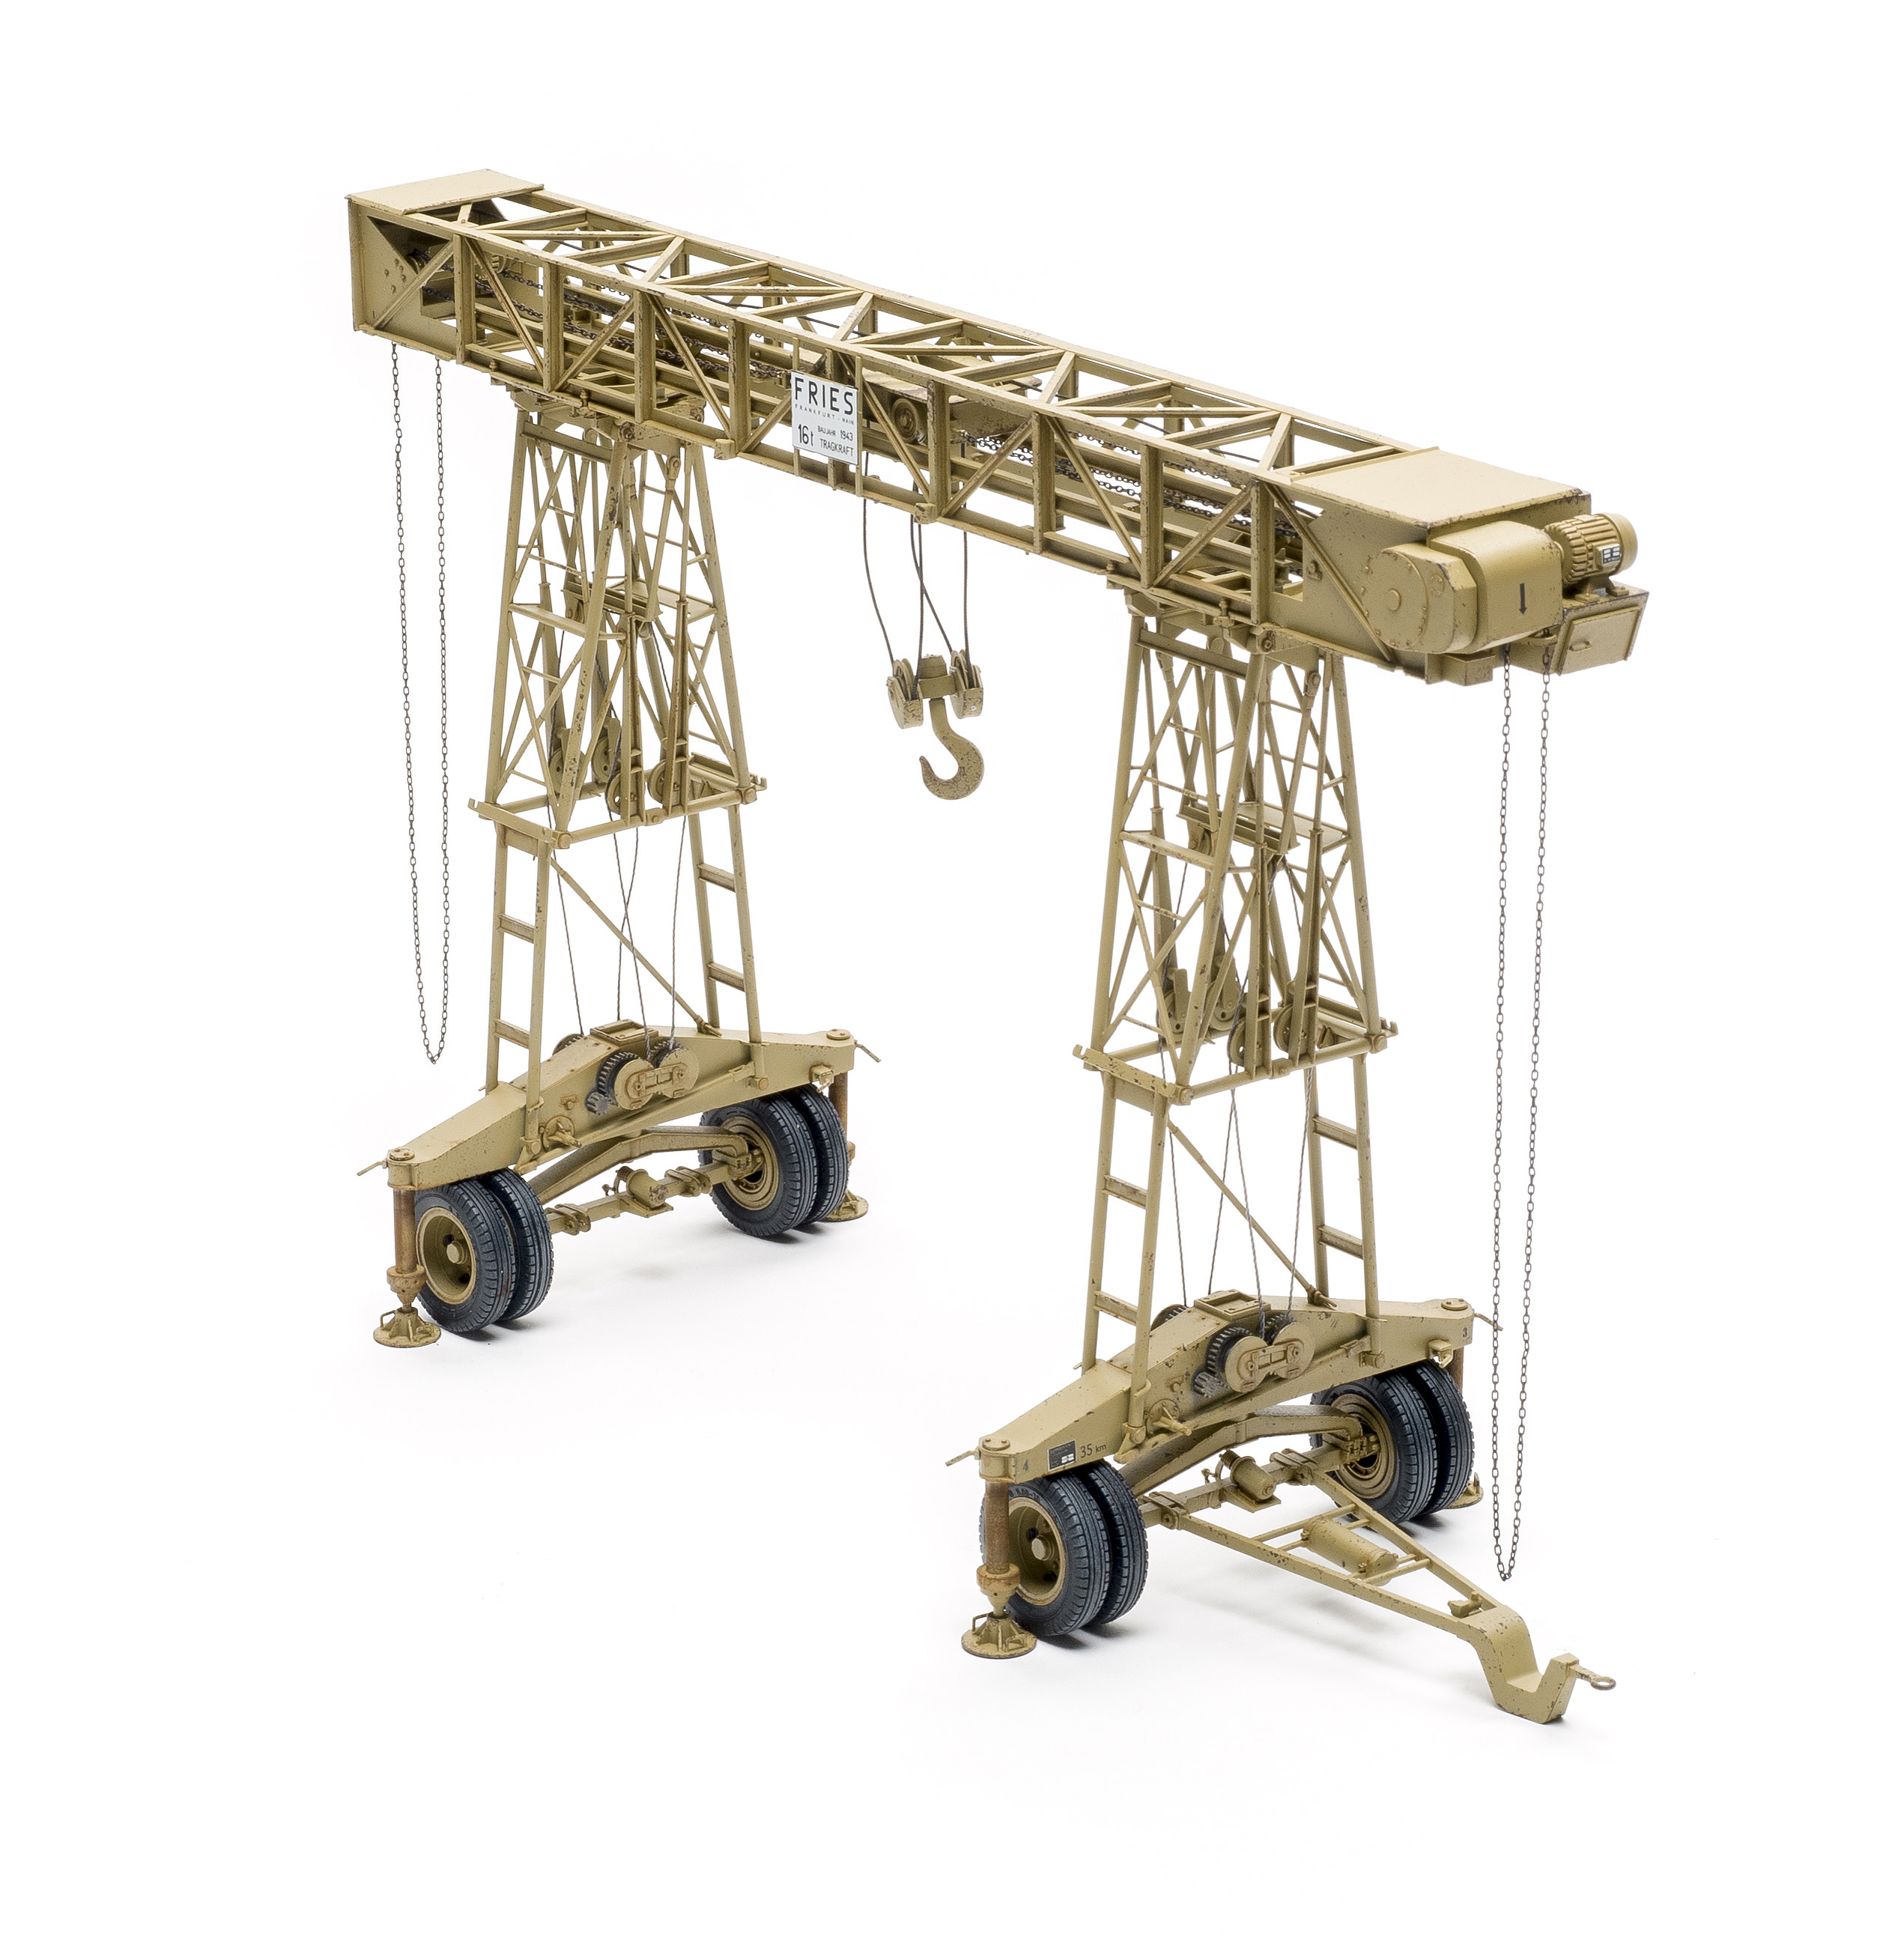
I found the large diameter string to rig the hook difficult to feed through the pulleys as it was prone to fraying. I gave up and replaced it with nylon string. Takom provides a hoist jig to lift a Panther turret. To use it, do not glue the locking pin (Part E31). Otherwise the hook won’t match the jig, as happened with my model.
The towers can be built erected or stowed. The instructions call for two holes to be opened in the base side plates (parts B11 and B12) to fit covers for the winch gears (parts C21 and C22). However, most photos do not show them, so I left them off rather then drilling the holes. Omitting the plates also simplifies rigging the winches.
In steps 9 and 10, you must chose to pose the wheels either on the bogies or on jack stands. Or you can replace the tires with rail wheels. No rails are included to display this options. The vinyl tires have molded sidewall information and tread.
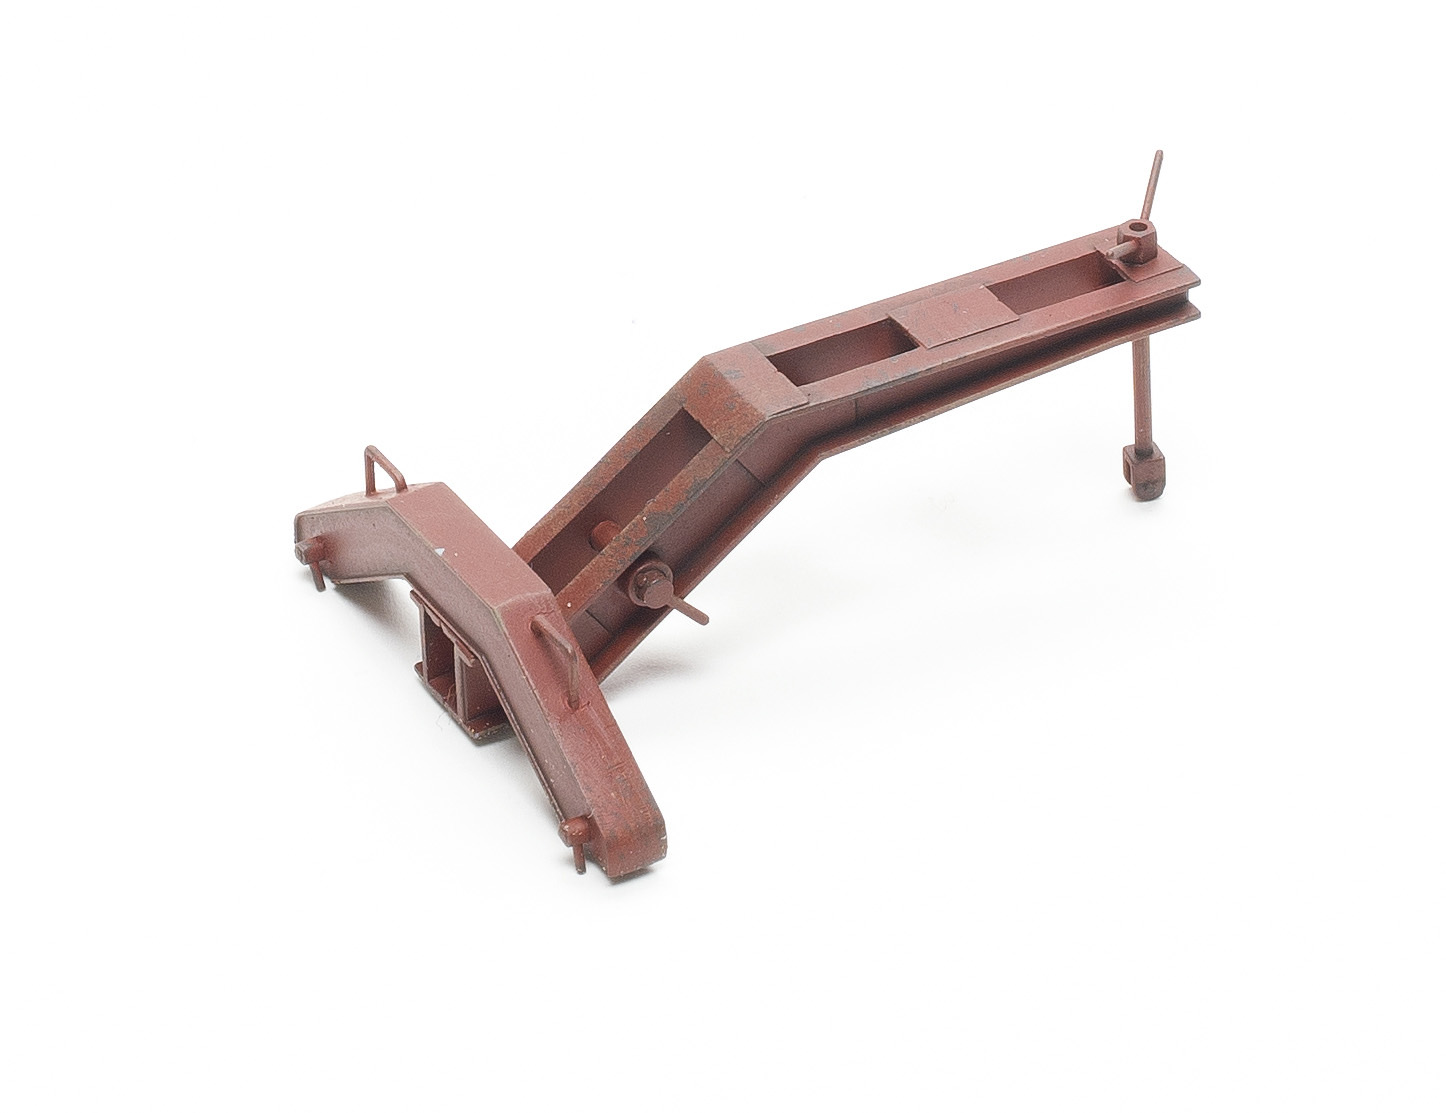
The instructions indicate the trailer hitch was on only when the crane was in travel mode, but photos show either still in place when the gantry is erected or removed and stowed on the side. If you choose to put the hitch on the front bogie with the towers erected, attach it before gluing the brackets (parts A9) in place.
The smaller diameter string rigs the towers, but it is too large for the molded holes. I enlarged them, attached the string and fed it through the pulleys, gluing as I went to maintain tension.
I painted the model in overall dunkelgelb with Tamiya acrylics; painting the turret hoist oxide red added contrast. The decals include the prominent Fries signs seen in photos along with placards, numbers for the positions of the towers, and divisional insignias. The markings are thick and required multiple coats of Mr. Mark Fit to prevent silvering.
A plastic model of the Strabokran has been a long time coming, and Takom’s kit was worth the wait. It’s an easy build with only the rigging proving a challenge; much of the more than 35 hours I spent on the kit involved rigging, so I recommend the kit to modelers with some experience.
Note: A version of this review appeared in the May 2019 issue.