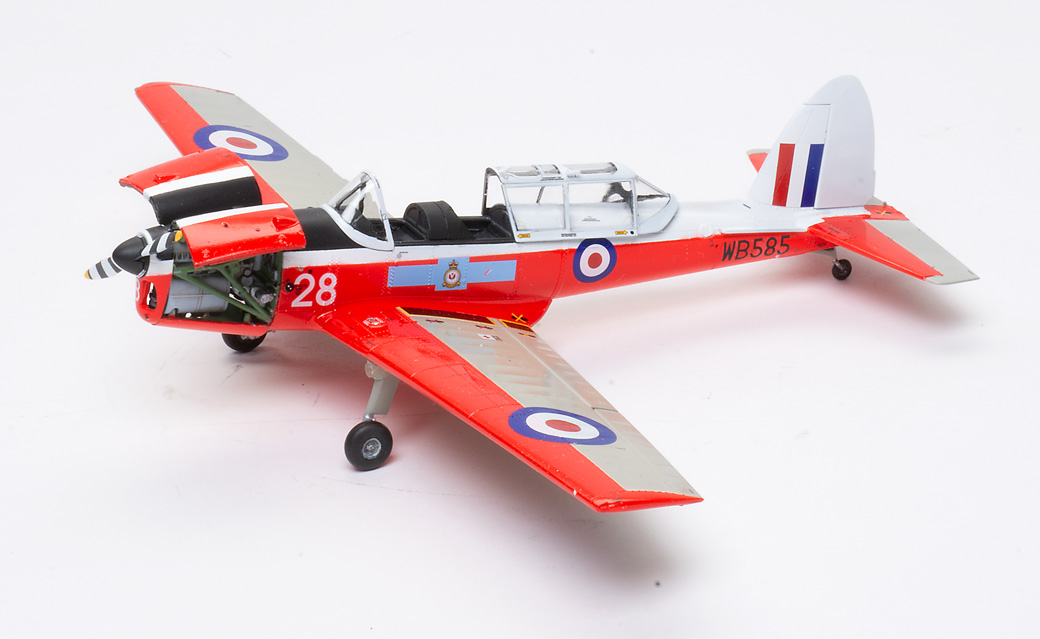
A post-World War II Canadian design largely built under license in the U.K., the de Havilland Canada Chipmunk trainer served a multitude of Commonwealth countries for decades.
Molded in light blue-gray plastic, 76 cleanly molded parts feature deep recessed panel lines and raised rivets; the eight clear parts have crisp framing. The side panels are crystal clear, but the rounded windscreen and aft canopy look a little wavy.
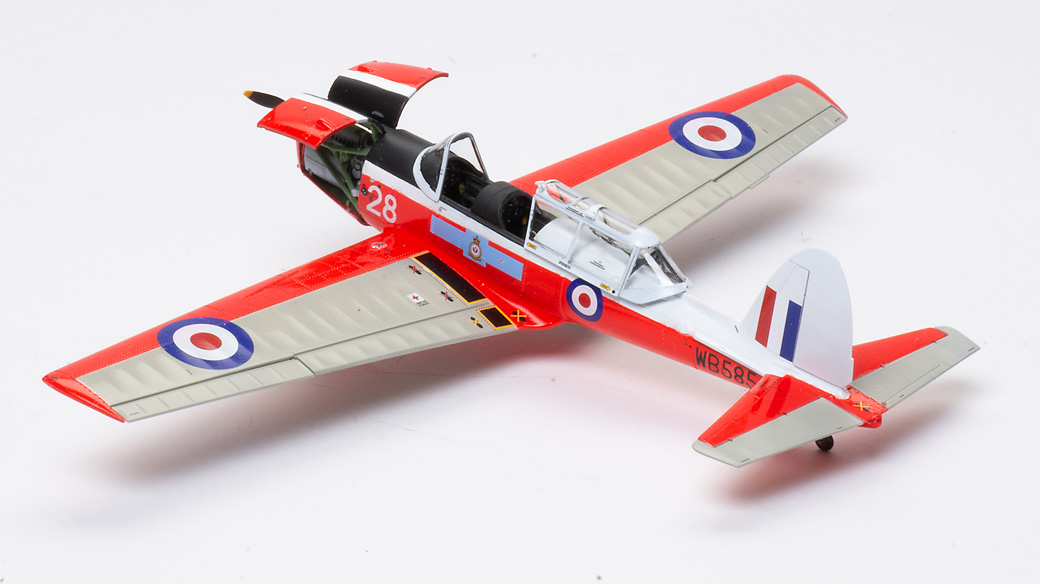
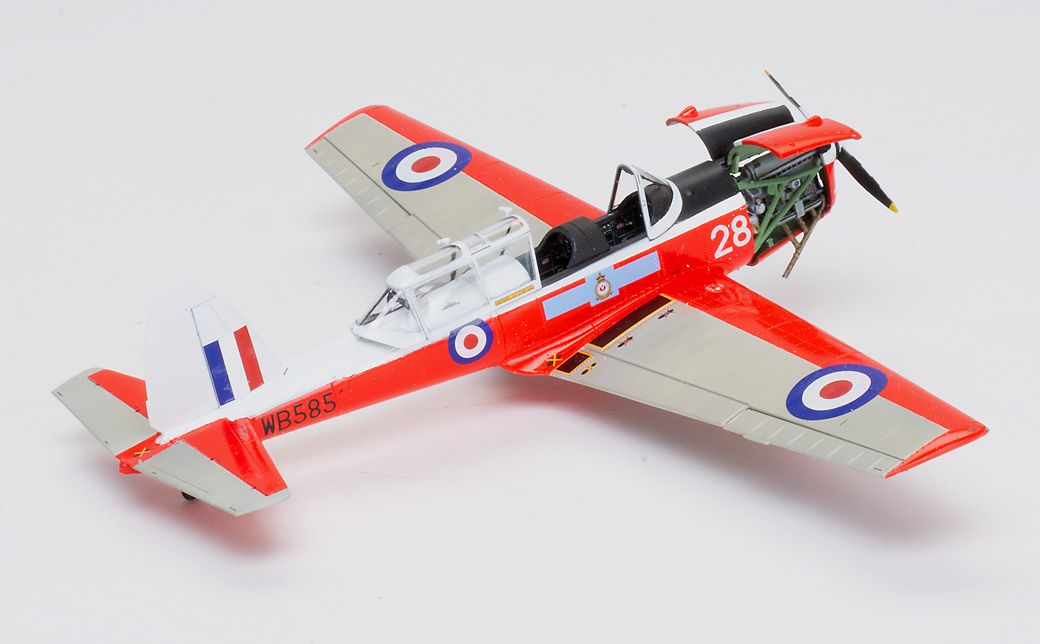
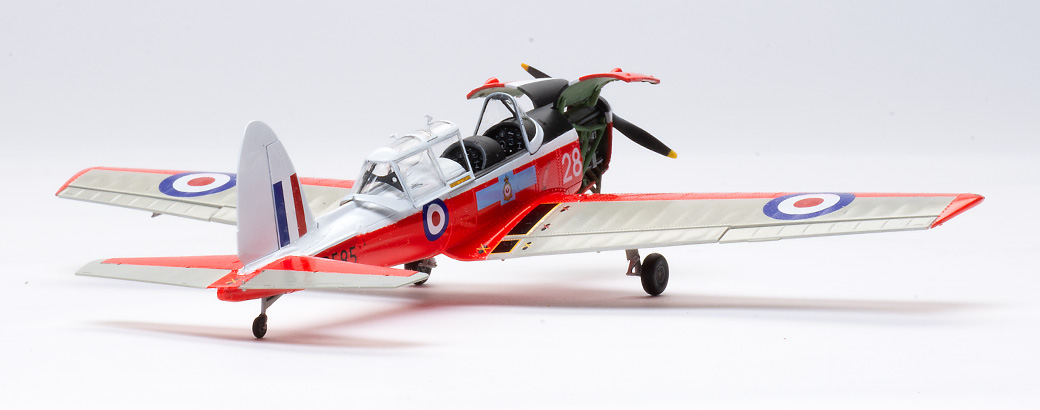
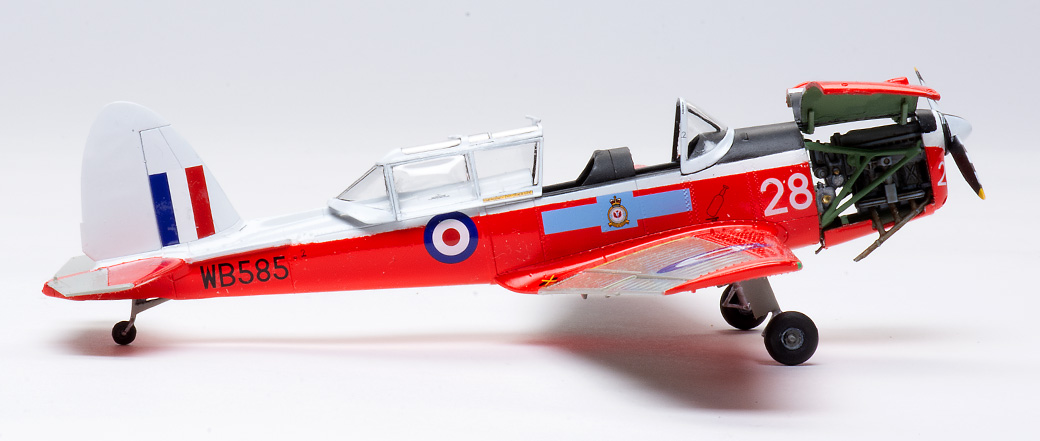
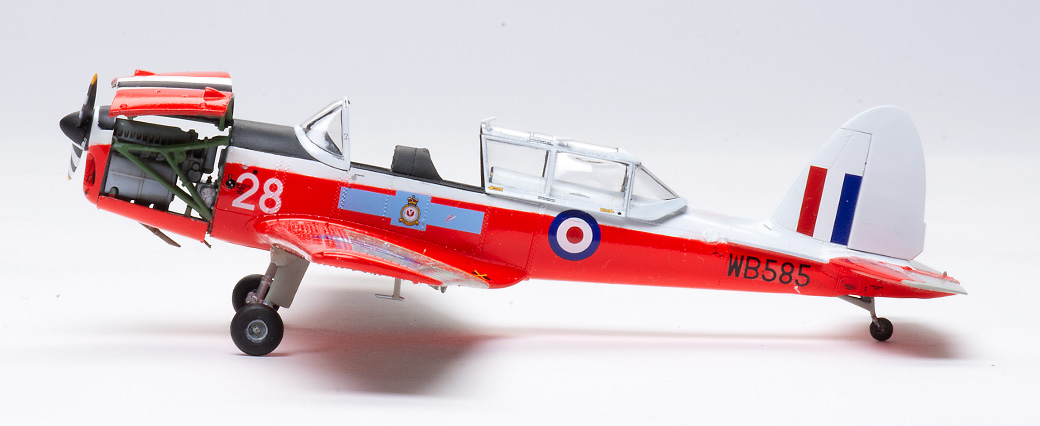
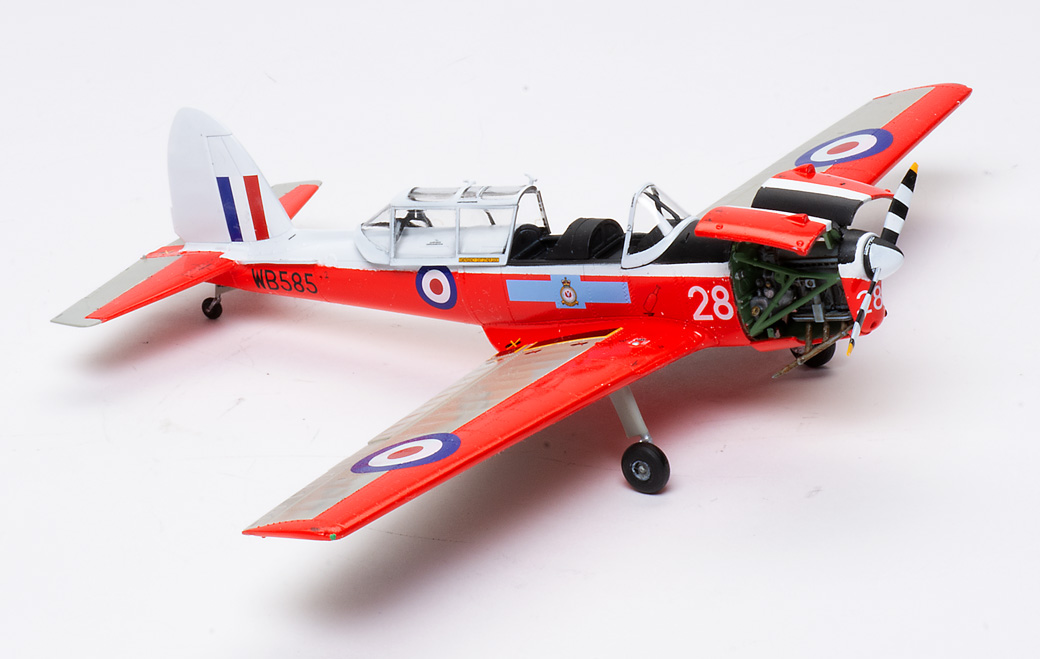
Options include two seated figures, open or closed engine access panels, weighted and inflight gear legs, two styles of canopy side windows, and four sets of markings — three colorful, the fourth camouflaged. The well-designed instructions consist of a short history, 54 assembly steps, and the paint and marking illustrations. Given the kit’s low parts count and the absence of photo-etched metal, I expected a quick build.
The model’s cockpit is sparse, but so is the real thing. After deciphering the Humbrol paint numbers used for color callouts, I painted the cockpit dark gray with a black wash and light gray pencil highlights. With a drop of Tamiya Mark Fit, the decals conformed perfectly to the raised detail on the instrument panels.
Test-fitting the fuselage halves revealed excess material interfering with the fit of the cockpit at the leading edge of the wing root. A round burr in my rotary tool removed it quickly. I also narrowed the cockpit tub with sanding sticks and prepped the firewall to ensure it fit properly before gluing the fuselage. Although everything dry-fitted perfectly, I needed clamps to secure the underside together.
Be careful cutting the intake manifold (Part C1) from the tree; the four “fingers” need to be the same length. I removed too much material requiring repairs with styrene sheet.
To avoid masking the exhaust pipe, I left the engine separate and temporarily tacked the ill-fitting cowl panels in place with white glue. I hoped this would simplify painting, and then I could carefully cut the panels apart, add the engine, and remount them in the open position.
The instructions have the wing going on before the tailplane, but I reversed this order. Once the horizontal and vertical stabilizers are aligned, they provide a visual reference when adding the wing.
The instructions add the full-span lower wing half to the fuselage, before installing upper halves. First, I trimmed the spar to clear the cockpit tub and noticed what I thought was a twist in the fuselage produced by clamping it. I decided to build the complete wing and then try to mount it in a manner that would disguise the perceived problem.
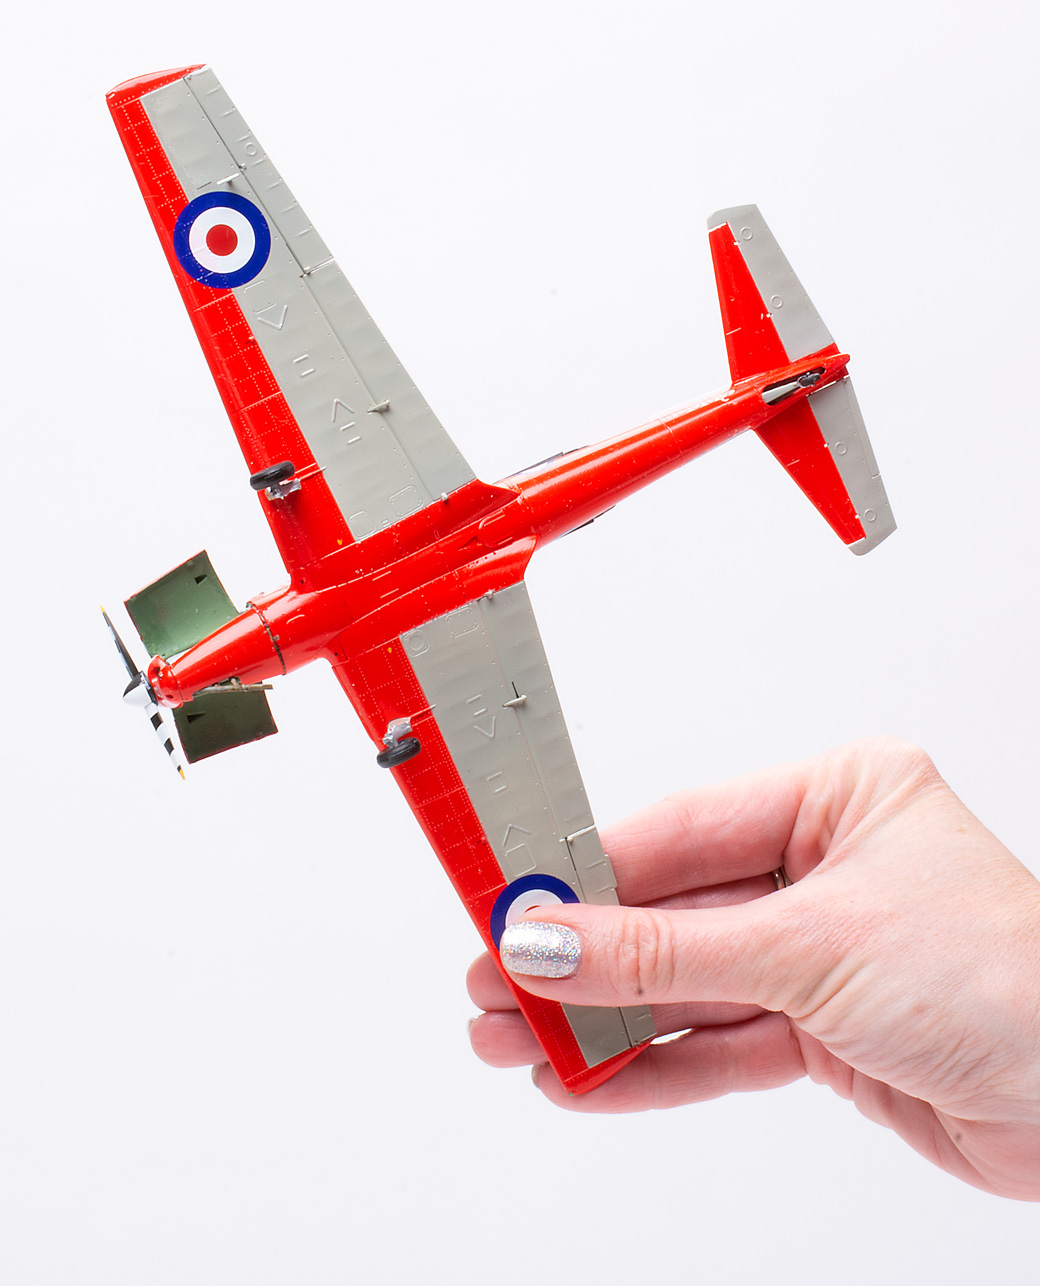
Test-fitting the upper and lower wing halves revealed more issues. The span of the upper halves is greater than the corresponding area of the lower half. Forcing the alignment pins home, caused a visible curve in what should be a straight wing. I removed the pins near the wing tips, kept the ones near the fuselage, and allowed the upper halves to overhang the lowers at the tips. I sanded off the excess after the wings were together.
When I fitted the completed wing to the fuselage, it was a snug fit with no evidence of a twist! Don’t forget to fit the clear light (Part D8) to the lower wing like I did. Deep recesses provide positive alignment for the gear legs.
To accommodate the optional side panels, the canopy must be assembled from three parts and Airfix provides a jig for it. Gator’s Grip thin blend did the job.
The decals worked OK over a coat of clear gloss, but Tamiya Mark Fit (Strong) helped settle them over the rivets. Unfortunately, the underlying colors bled through the white areas of the roundels and the stripes for the propeller are too narrow.
Although this build wasn’t as quick as I had hoped, Airfix have given us a good, if challenging, kit of a historically important airplane and one that will stand out in any display of Commonwealth aircraft.