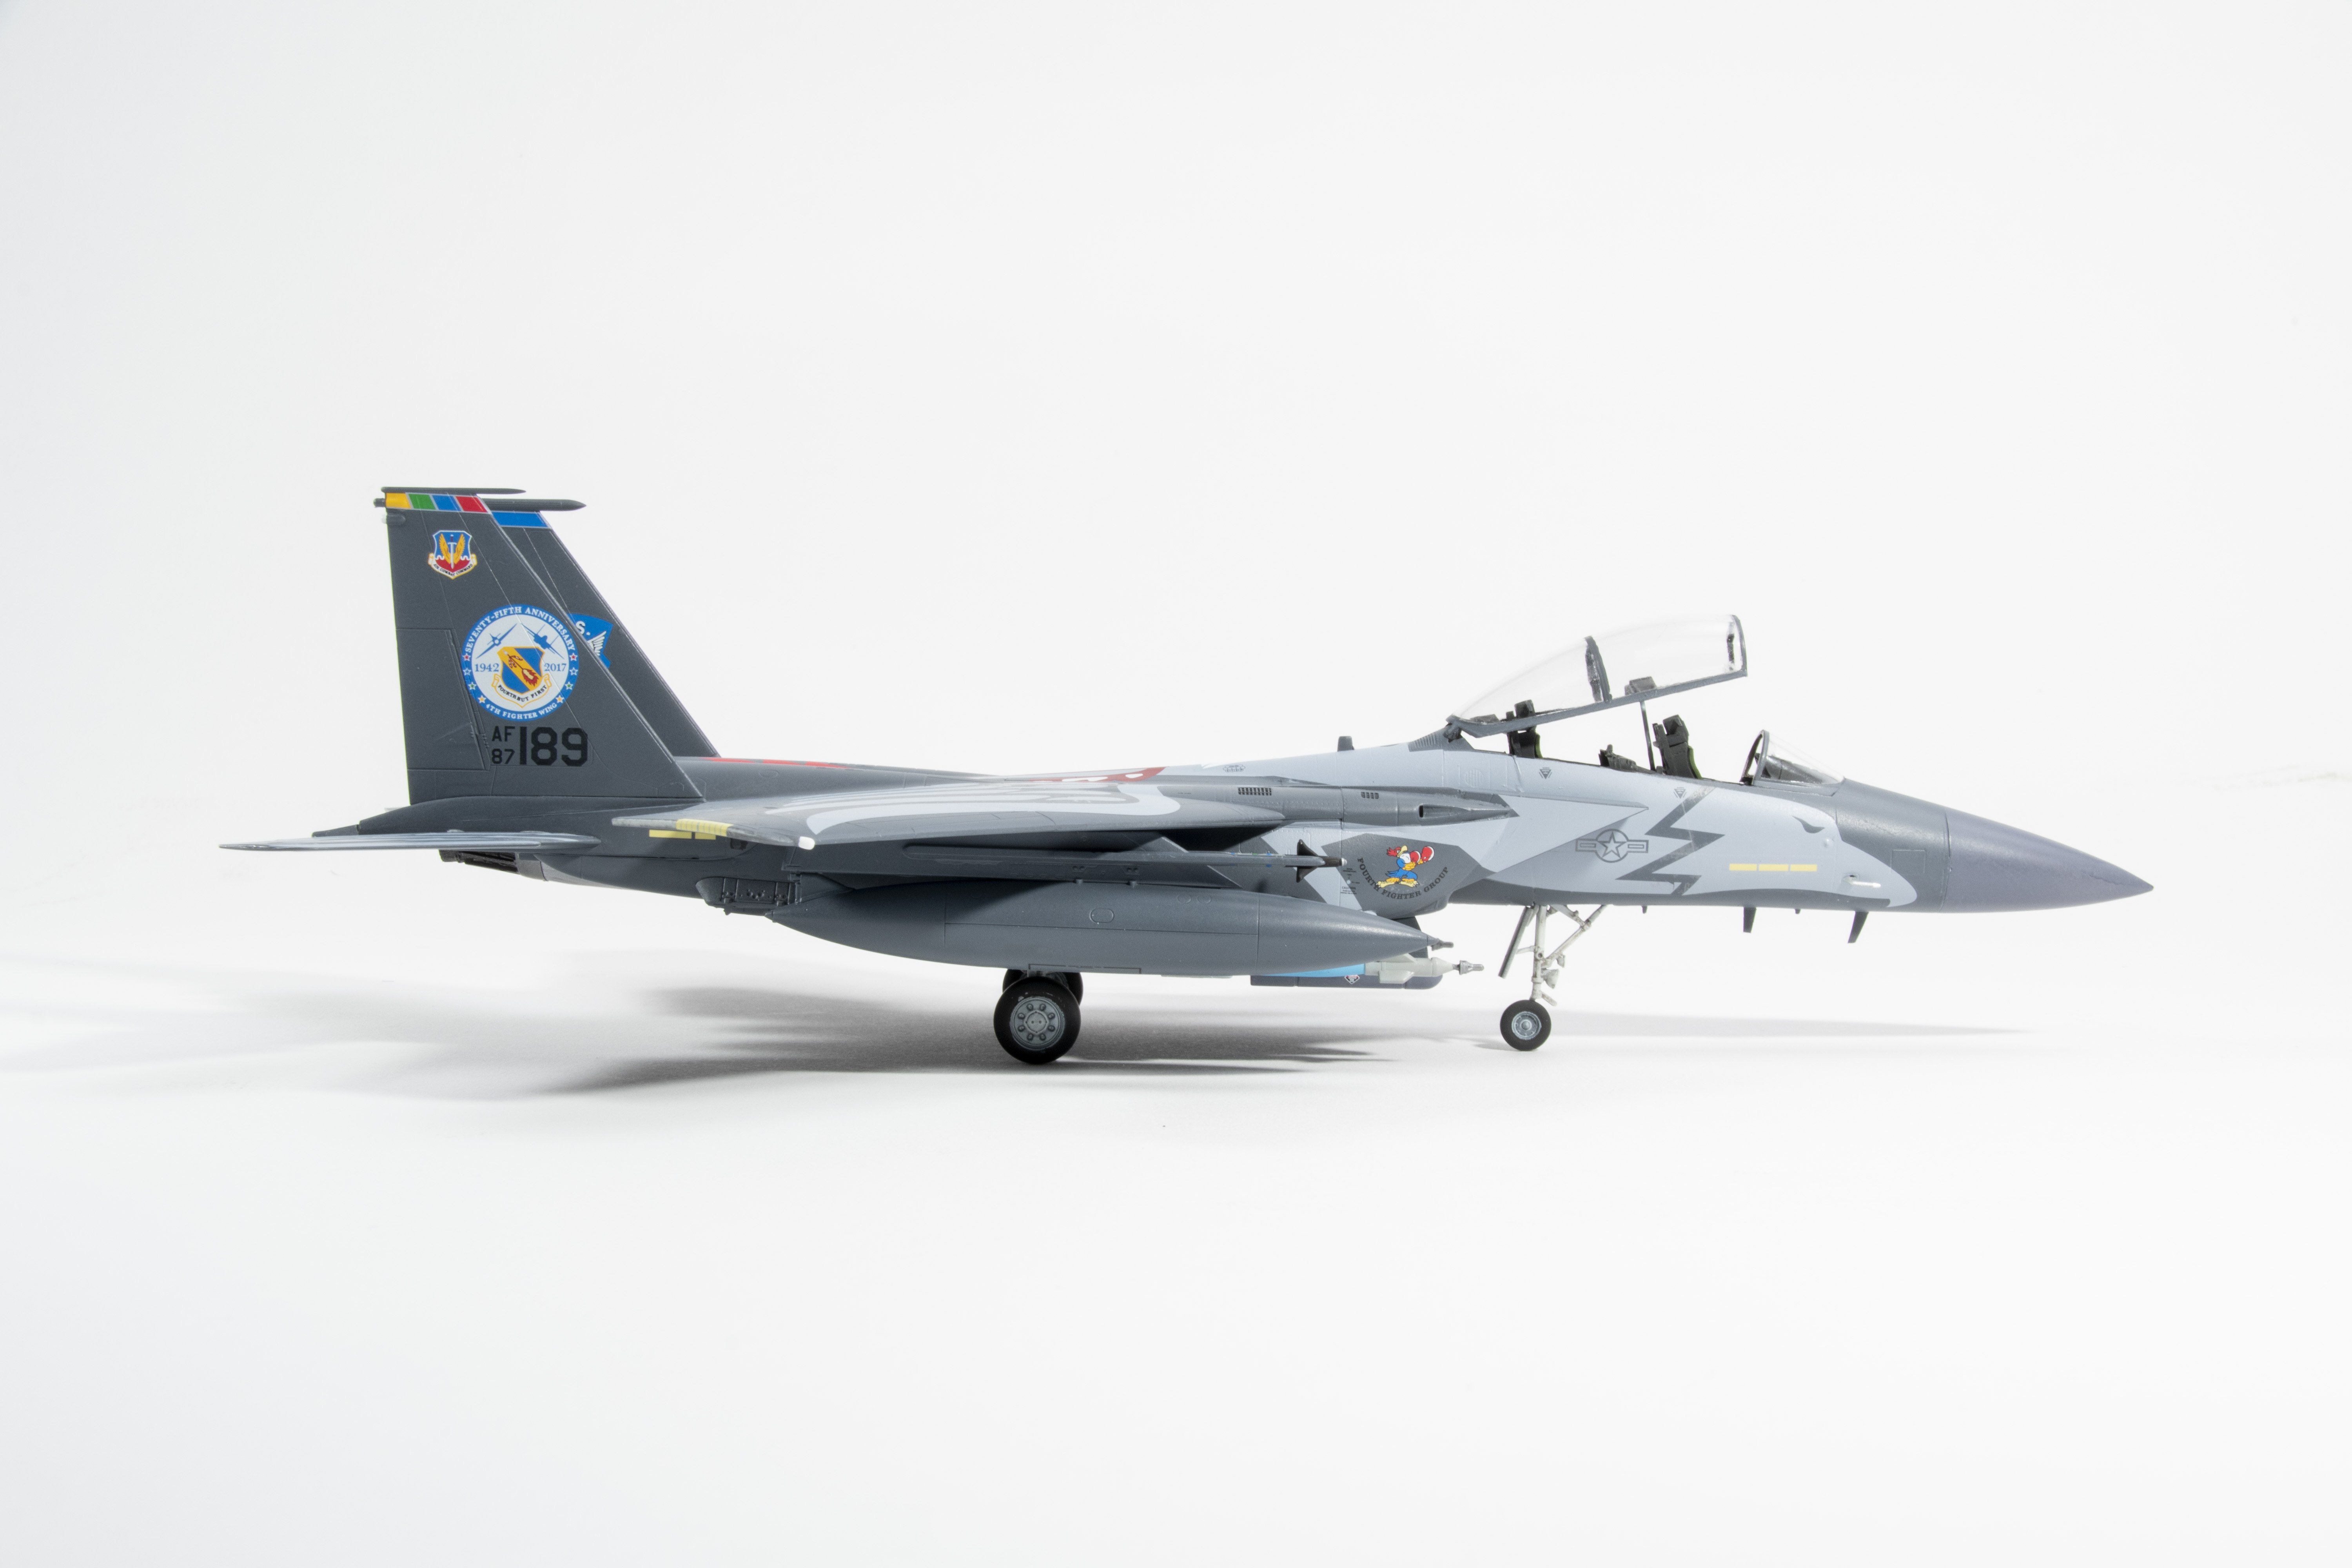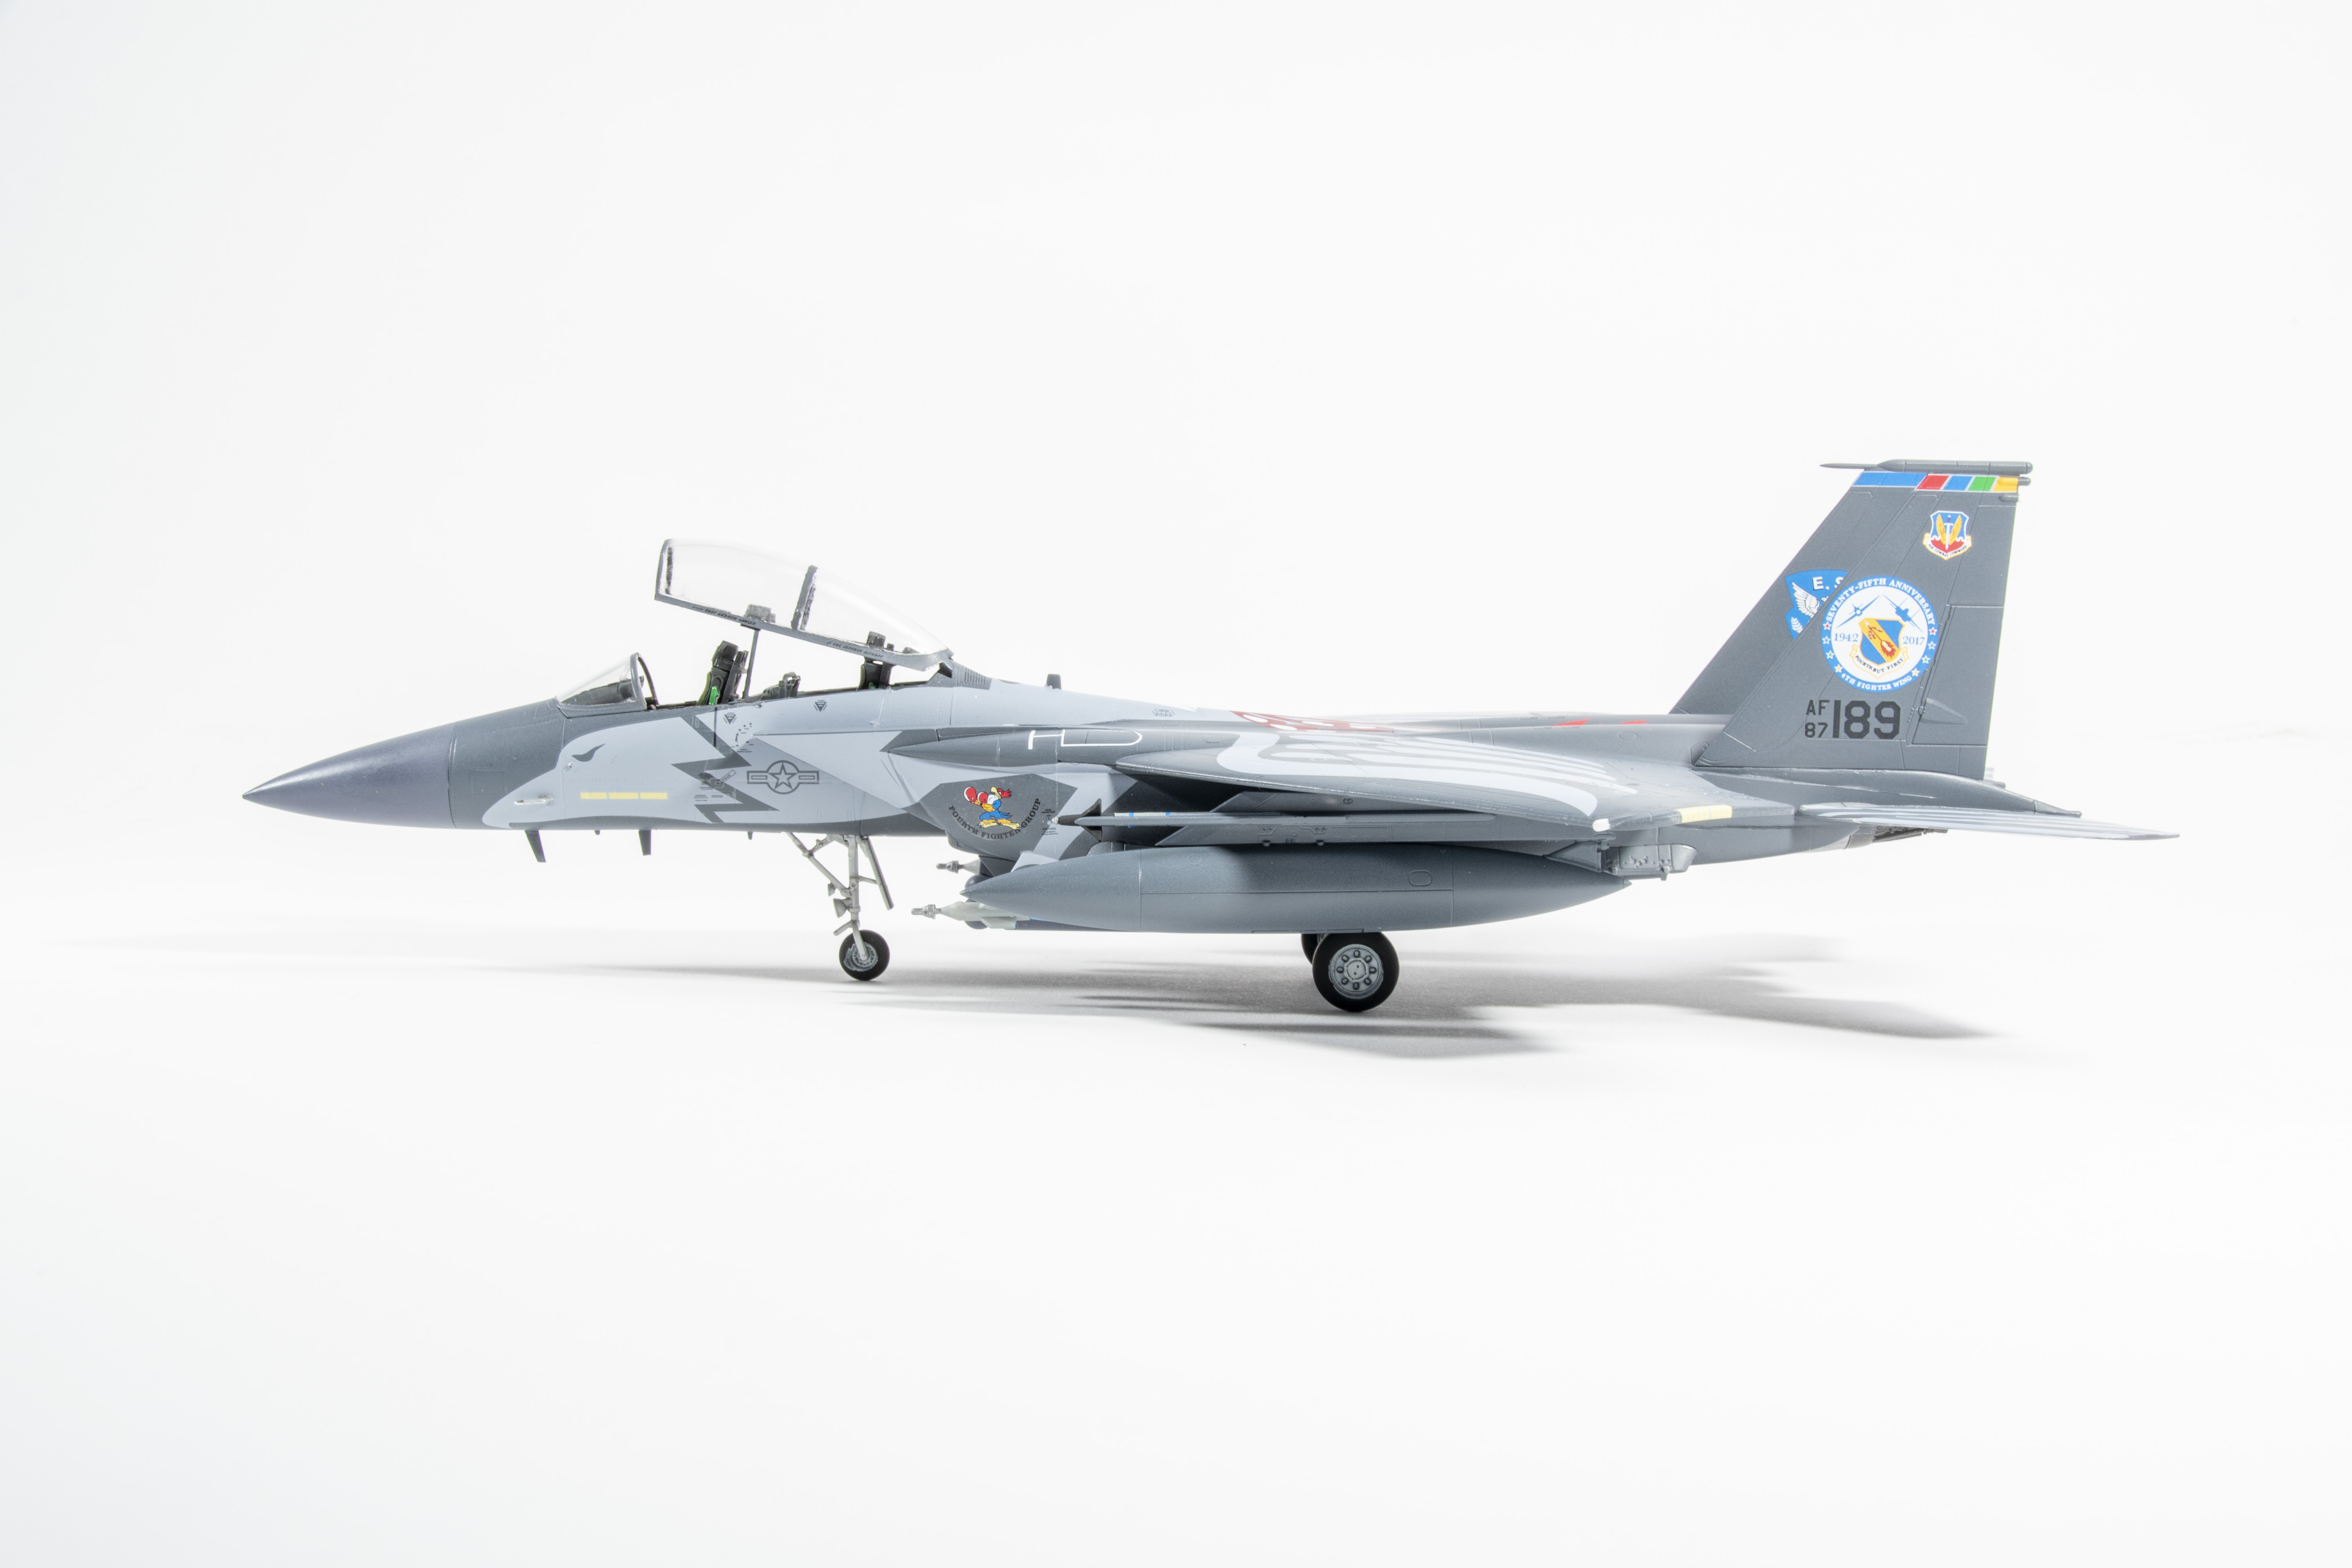
Backed by the pedigree of one of the most successful air-to-air fighters to ever take to the skies, the F-15E Strike Eagle is anything but a standard Eagle with lots of bombs. The jet nearly bursts with electronics, targeting sensors, and a plethora of weapons options, ensuring this hunter’s talons are still sharp today.
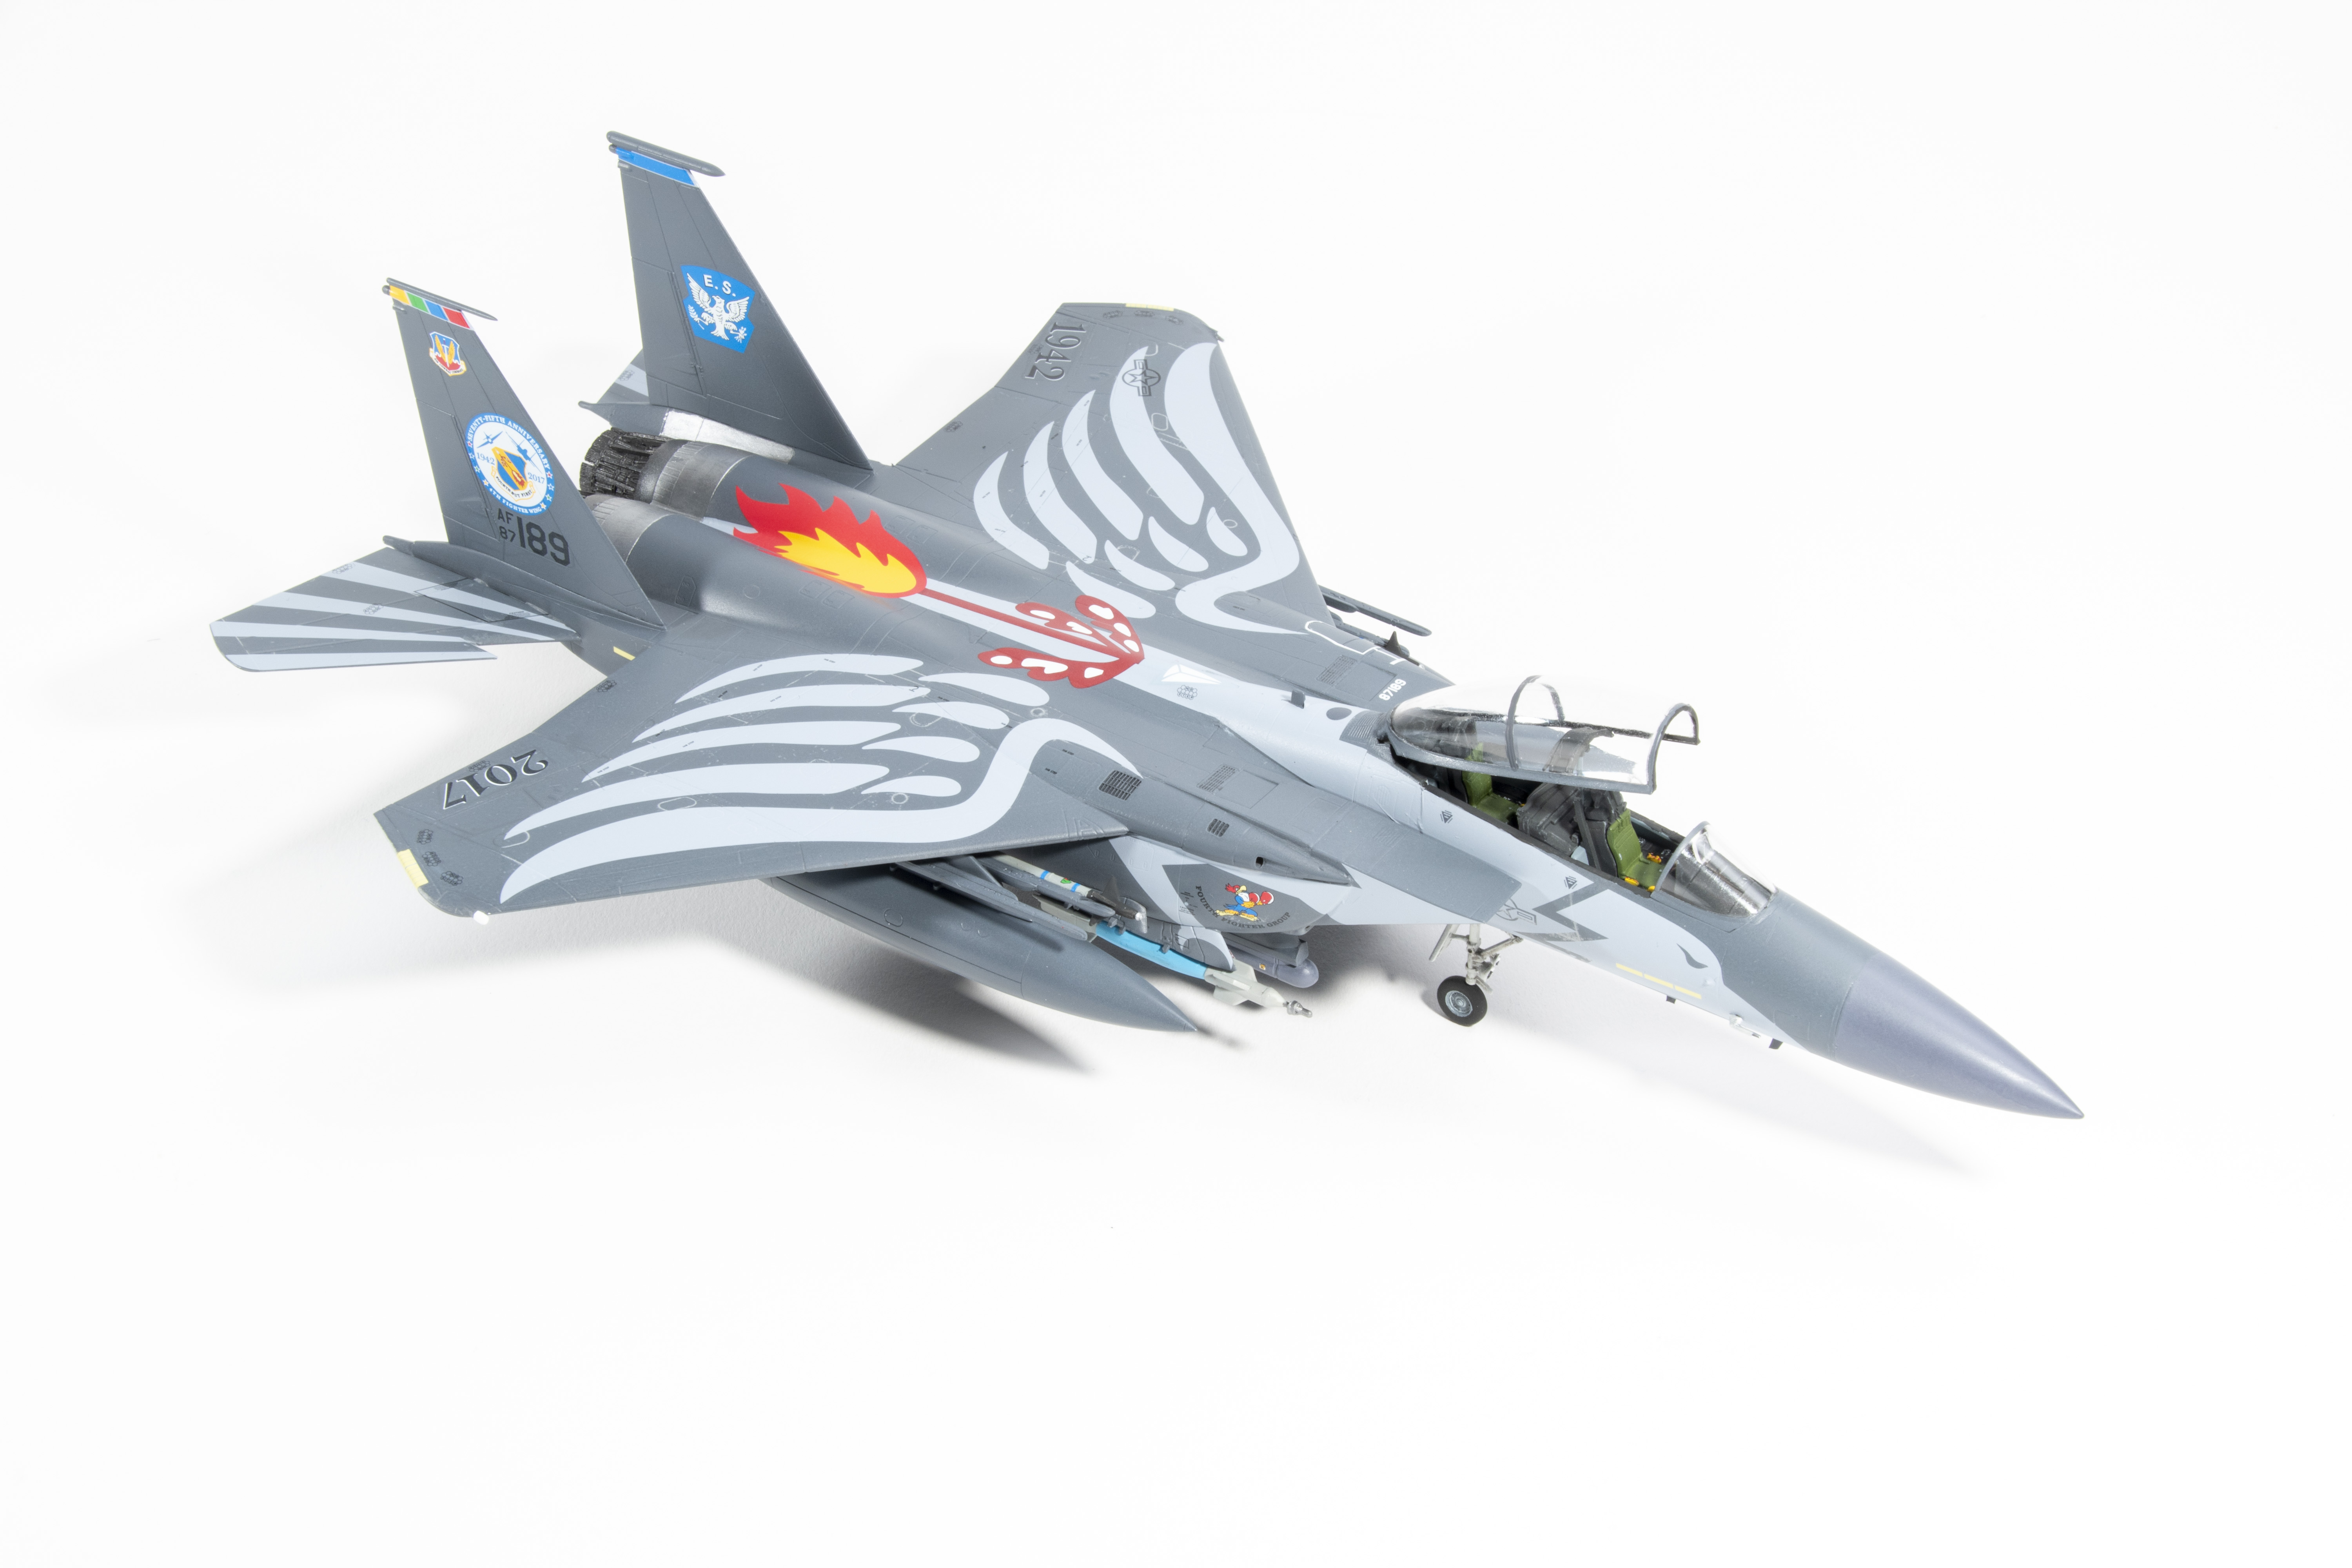
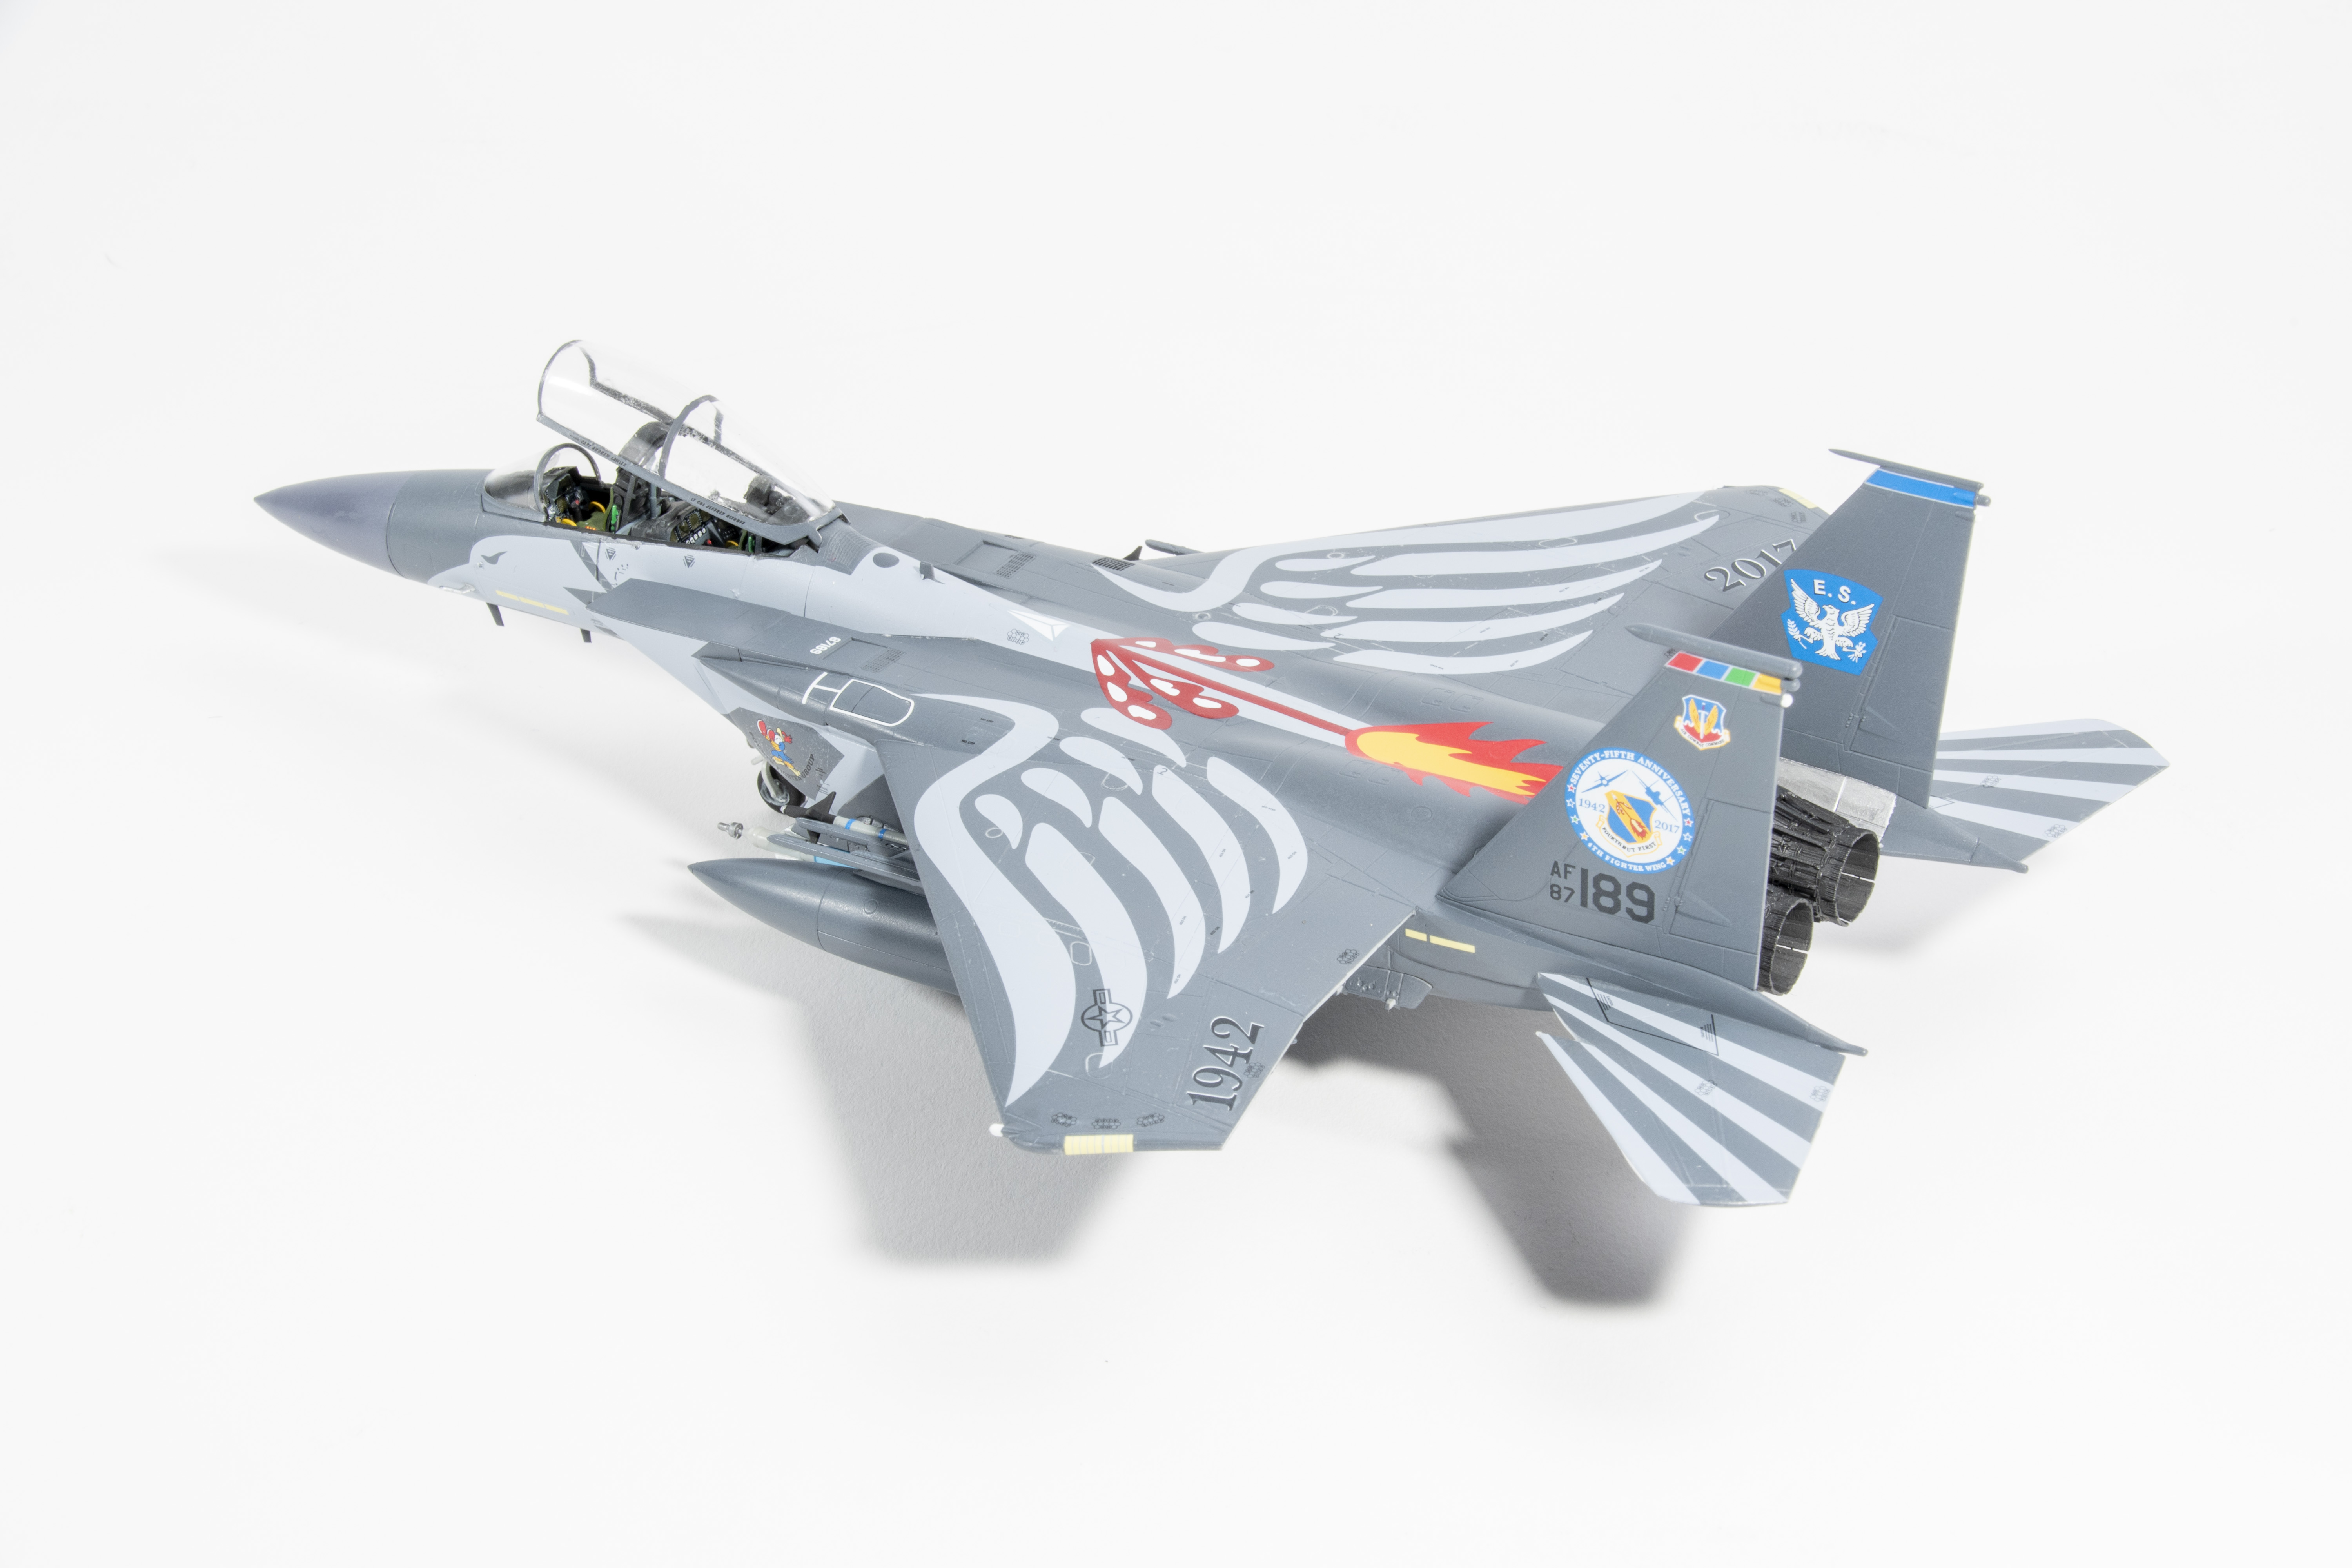
Revell’s new 1/72 scale Strike Eagle features striking 75th-anniversary markings for the 4th Fighter Wing in the 2017-18 timeframe. This poses a problem for the kit because the targeting pod under the left intake is the older version, not used since earlier in the decade. Also missing are the commonly carried AIM-120 missiles, although Sidewinders are provided. A full load of GBU-12 laser-guided bombs and Mk.82 “slick” bombs are also provided, along with AIM-7 Sparrows, which I’ve never seen loaded on an E-model (however, they, and other parts, may signal a standard single-seat Eagle kit in the future). While you’ll find two types of wheels in the box, the thinner ones marked “not for use” belong to the lighter fighter version. Overall, the surface details are refined, and a detailed cockpit, full intake trunks, and detailed landing gear round out the highlights.
Assembly starts with the multipart seats, and here lies the first problem: The rear seat as-built-and-installed sits too high for the canopy to close. The seat body can be narrowed, and the seat mount shortened to allow the seat to sit lower — provided you know about it early on — you’ve been warned. Interior decals lay down nicely, although I opted to paint the molded side console detail. To be safe, I added weight in front of the cockpit before assembly, but there’s room in the nose cone as well.
The intake assembly, really the backbone of the kit, does a respectable job of aligning assemblies and providing rigidity. Oddly, the lower wing panels attach to the intake trunks before anything else. If you are using the centerline drop tank, don’t forget to open the locator holes in the fuselage. The intake and lower-wing assembly mount to the upper fuselage, but I left the front loose to adjust the fit with the lower fuselage. With no positive alignment or support for the lower fuselage, I carefully aligned the rear-most part and allowed the glue to dry before gluing the forward joints. Most major joint lines needed the edges squared off before mating them to avoid messy seams. In contrast, the long bomb racks on the bottom of the conformal fuel tanks fit like a glove.
A dab of filler fixed two divots in the nose cone where the part was damaged by the sprue being twisted and pulled at some point. Most joins needed filler, especially near the horizontal stabilizers. Leave off the assembly of the intakes until you fill the seam between the cockpit and the main body of the jet because it’s difficult to address otherwise. The vertical fins fit neatly without the need for filler.
The detailed landing gear mold seams and ejector-pin marks need a bit of cleanup. I also drilled the prominent landing lights on the nose gear. I had to open up the locator holes to get the gear legs to fit. The placement of the bomb racks along the intakes is a clever bit of engineering.
The after-burner cans were a trial to assemble. Individual petals need to be aligned to form a circle, and the actuator rods are not cleanly molded, requiring careful cleaning.
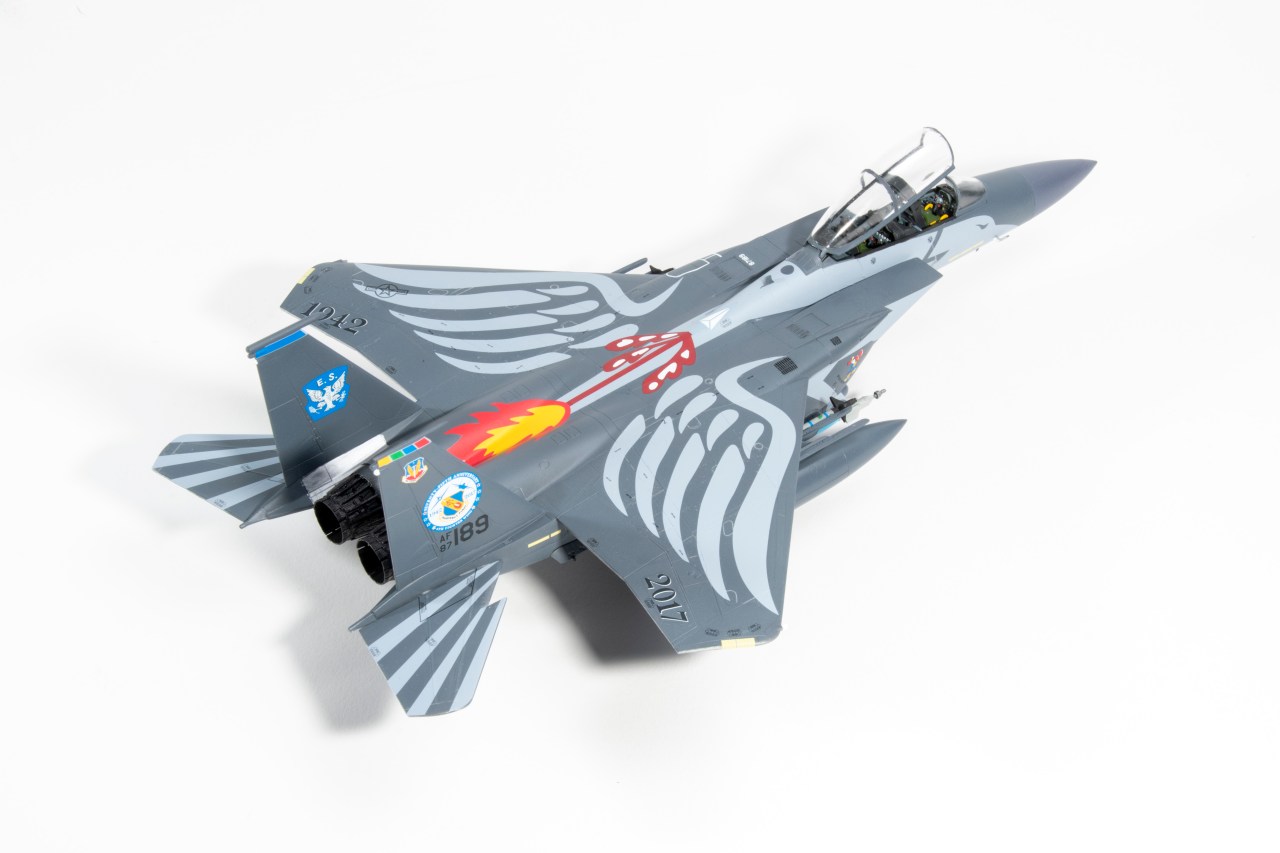
The decals for the anniversary scheme worked well, settling down with heat from a hairdryer. The shaft of the arrow needed to be a lighter gray because it hardly shows up against the grey of the body decal.
I finished the Revell 1/72 scale Strike Eagle in a little over 20 hours, with quite a few of those spent on decals. Eye-catching in the anniversary markings, I would recommend you have a few models under your belt before tackling it. You’ll want to have experience cleaning up mold lines and seams to make the most of this kit.