The R17 (SS-1C Scud B) was developed in the late 1950s and entered service in 1964. Originally, it used a fully tracked TEL (Transporter Erector Launcher) similar to the R-11 (Scud A), but this proved unsuccessful and was replaced by a vehicle based on the eight-wheeled MAZ 543 truck chassis. While the Scud missile is no longer used by Russia, several African and South Asian countries still employ it.
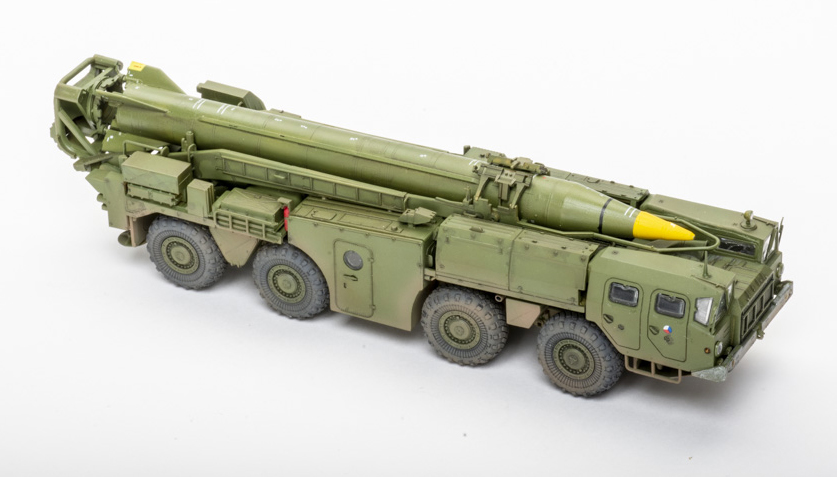
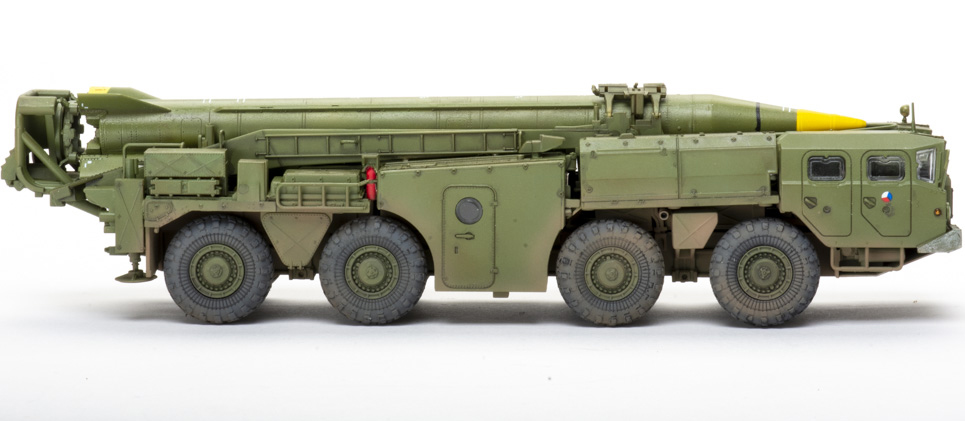
The HobbyBoss 1/72 scale Soviet launcher with R17 rocket (Scud B) with its TEL vehicle increases its collection of truck-based Russian weapon systems in this scale. The parts show finely engraved details and scale thickness on parts like the grab handles.
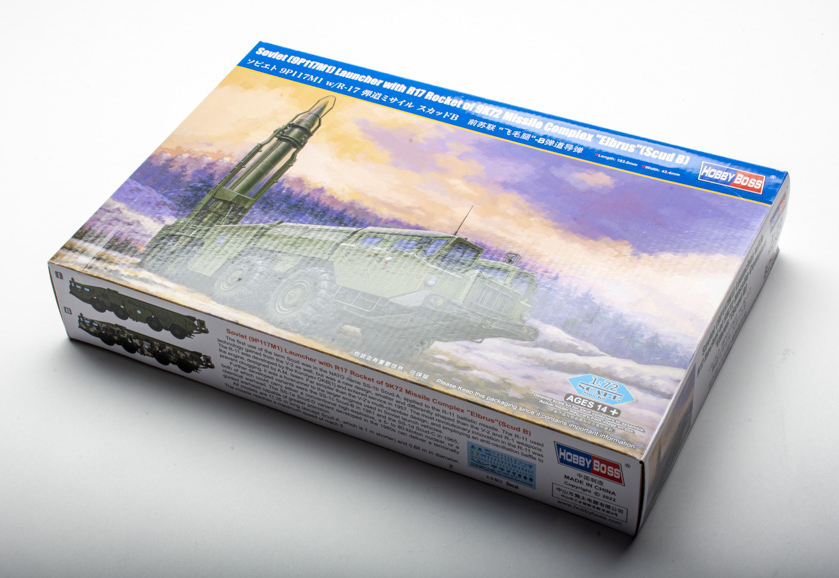
The instructions have clear diagrams and include a full-color painting and marking sheet for four vehicles: two Russian and two Iraqi. The well-printed decal sheet features full stencil markings for the missile, but it is difficult to see the small white decals against the light blue backing paper.
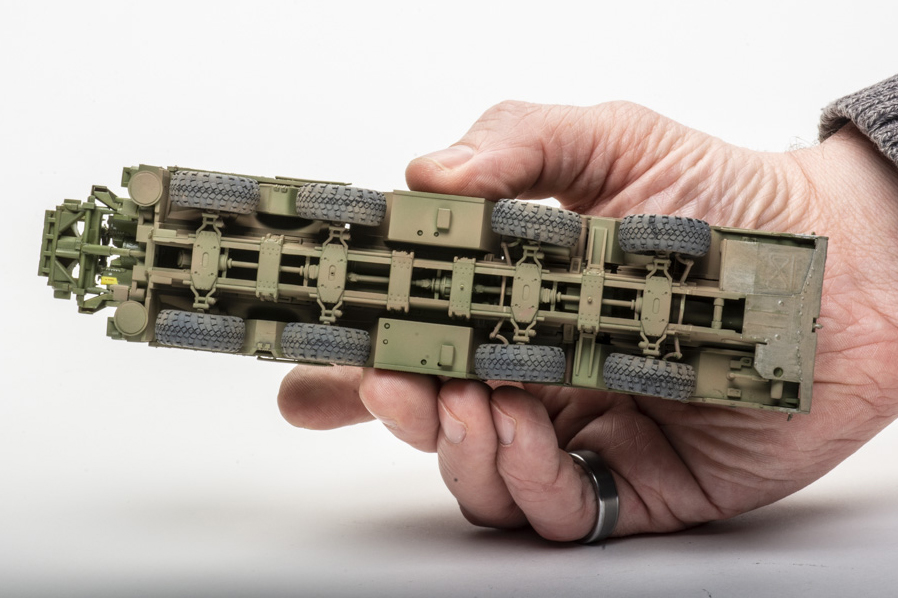
Assembly starts with the truck frame. The one-piece main frame assures that all eight wheels will be firmly planted. While assembling the frame, I suggest you leave off the mid-frame brace (parts D20 and D24) until you are ready to install the control room to help locate it properly.
I left off the wheels and steering linkages until final assembly but added all of the rear stowage boxes, fenders, and rear plate to the frame. The right rear stowage box (Part E6) has an open back, which would be noticeable on the finished model. I closed it with thin styrene sheet. When building the section just behind the cab, I did not glue the cover (Part E10) in place so I could detail paint the interior parts.
Sadly, HobbyBoss does not provide any detail-painting information for the interiors. For the main color, I chose Tamiya Cockpit Green (No. XF-71). I painted the seat cushions brown and various other details black. After masking the windows inside the cab, I installed (but did not glue) the interior assemblies. I did the same with the control cabin and left the roof unglued to install the windows later.
The missile halves fit well, only requiring a touch of filler near the rear fins on one side. The launch cradle went together quickly. However, I left off the missile and the clamps (parts C17 and C18) until after painting.
I went with an overall green and gave everything a coat of clear gloss before applying the decals, which settled well with Microscale Micro Sol and Set. When the decals were dry, I brought out the engraved panel lines with dark brown Tamiya Panel Line Accent Color. After a coat of flat clear, I removed the cab interiors and the control cabin roof, added the clear parts, and reassembled everything with glue.
When installing the various structures on the frame, start with the section behind the cab. It interlocks with the cab, but I still couldn’t get the cab to sit perfectly flush on the frame. I used a rubber band to hold it down until the glue set. I had to adjust the center support to allow the missile and launcher to fit.
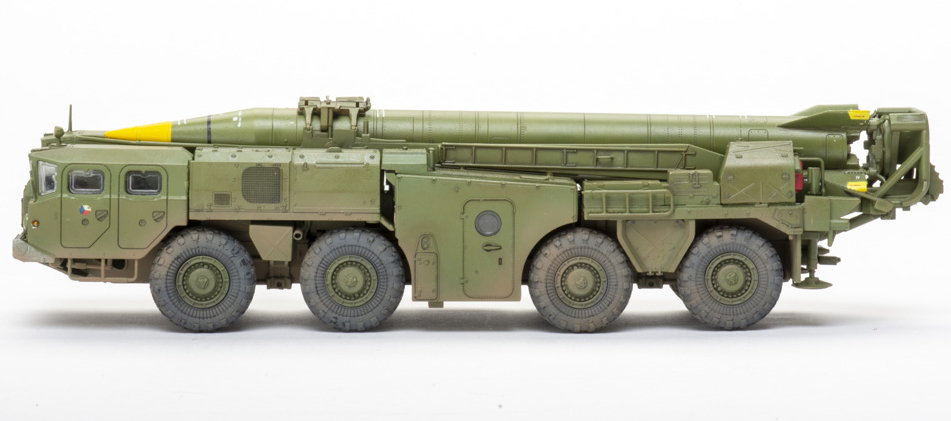
Before adding the wheels and steering linkages, I sprayed an extremely thin mix of Tamiya Flat Earth (No. XF-52) and Buff (No. XF-57) on the undercarriage and sides, as well as the wheels to simulate road grime.
I spent about 13 hours building my Scud missile launcher (including two repaints because I wasn’t happy with my initial mixes). Not too bad for a complex kit. The details and fits impressed me, but this kit is definitely not for a beginner. However, an experienced modeler should have no problems. If 1/72 scale military vehicles are your thing, I recommend you add one of these kits to your collection.