In the fall of 1963, Mercury ran a 100,000-mile Durability Run over 40 days and nights at the Daytona Speedway using five Comet Calientes. With average speeds of around 105 mph, these production vehicles primarily had safety modifications. Powered by solid-lifter 289 V8s, only one car had a failure: a broken valve spring at 25,000 miles.
Round 2 has brought back AMT’s original 1964 Caliente Craftsman kit with new decals to replicate any of the five Daytona Durability Run cars, a Durability Run tour vehicle, or a factory stock offering. The Craftsman series were primarily unassembled promos with no engines. As such, this kit only has 31 parts.
The original two-page, four-step instructions have been updated to show decal placement.
The one-piece body is molded in white, and the bumpers, rear taillight insert, and hubcaps are chrome. The interior consists of a tub, dash, steering wheel, and floor shifter. The door panels and seats feature nice details, as does the dash. Gauges and radio are supplied on the decal sheet. The remarkably clear windshield and rear glass come as a single insert.
The raised detail on the chassis plate benefits from careful painting. The hubcaps press into the sharp-looking whitewall tires and mount to the chassis with metal axles. There is some play where the axles go through the chassis plate, but this is OK because you don’t need to worry about all four tires touching the ground.
The body requires minimal cleanup, which is a pleasant surprise for a mold of this age. Watch the tops of the hood and deck lid where the insert pins are molded underneath. Mine had very faint depressions, almost unnoticeable until I primed and block-sanded.
I was able to sand them out. Let my experiences inform you: these shallow depressions can become pronounced when the color coat is applied. Make sure to check for them.
Round 2 now supplies decals for the body emblems. I sanded the molded emblems off and applied the decals. However, they’re fragile, so be careful.
If you elect to use the mirrors, spotlight, or antenna, you’ll need to drill locating holes in the body. The bumpers snap into place.
The taillights are clear red plastic, but the headlights are molded with the grille. I mixed a small amount of Tamiya White acrylic (No. XF-2) with Pledge Floor Gloss and painted them, and they don’t look too bad.
I also made a quick pass with Tamiya Smoke (No. TS-71) over the chrome parts to add depth. The body and interior are painted Tamiya Gloss Aluminum (No. TS-17) without a clear topcoat and Pearl Light Blue (No. TS-58), respectively.
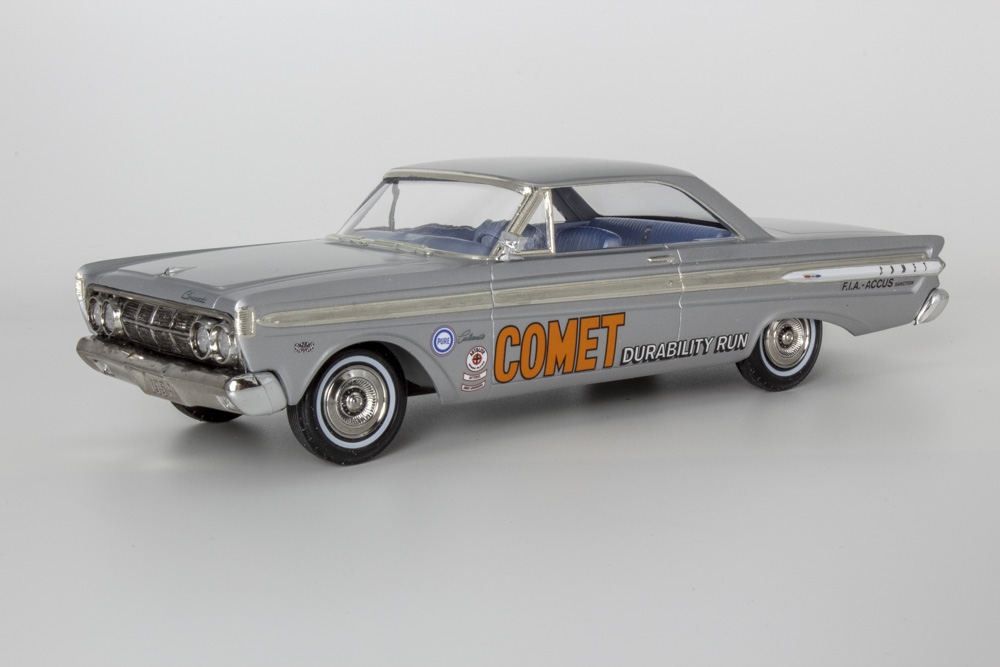
As mentioned earlier, you can make a Daytona or a Durability Run tour car. I went with the Daytona car for two reasons: I didn’t want to overpower the model with additional decals, and I couldn’t find any pictures of the tour car. I did find an image showing the passenger-side Comet decal starting at the rear of the door.
The decals release quickly from their carrier and, with plenty of water, remain positionable. The setting solution helped the decals settle over the door openings.
I spent 26 hours on this build. More than needed, but I was having too much fun! It’s helpful if you have experience with decals and Bare-Metal Foil if finishing as a Daytona or Durability Run tour car. No such worries if you want to build a factory stock model, which would be a good learning build.


