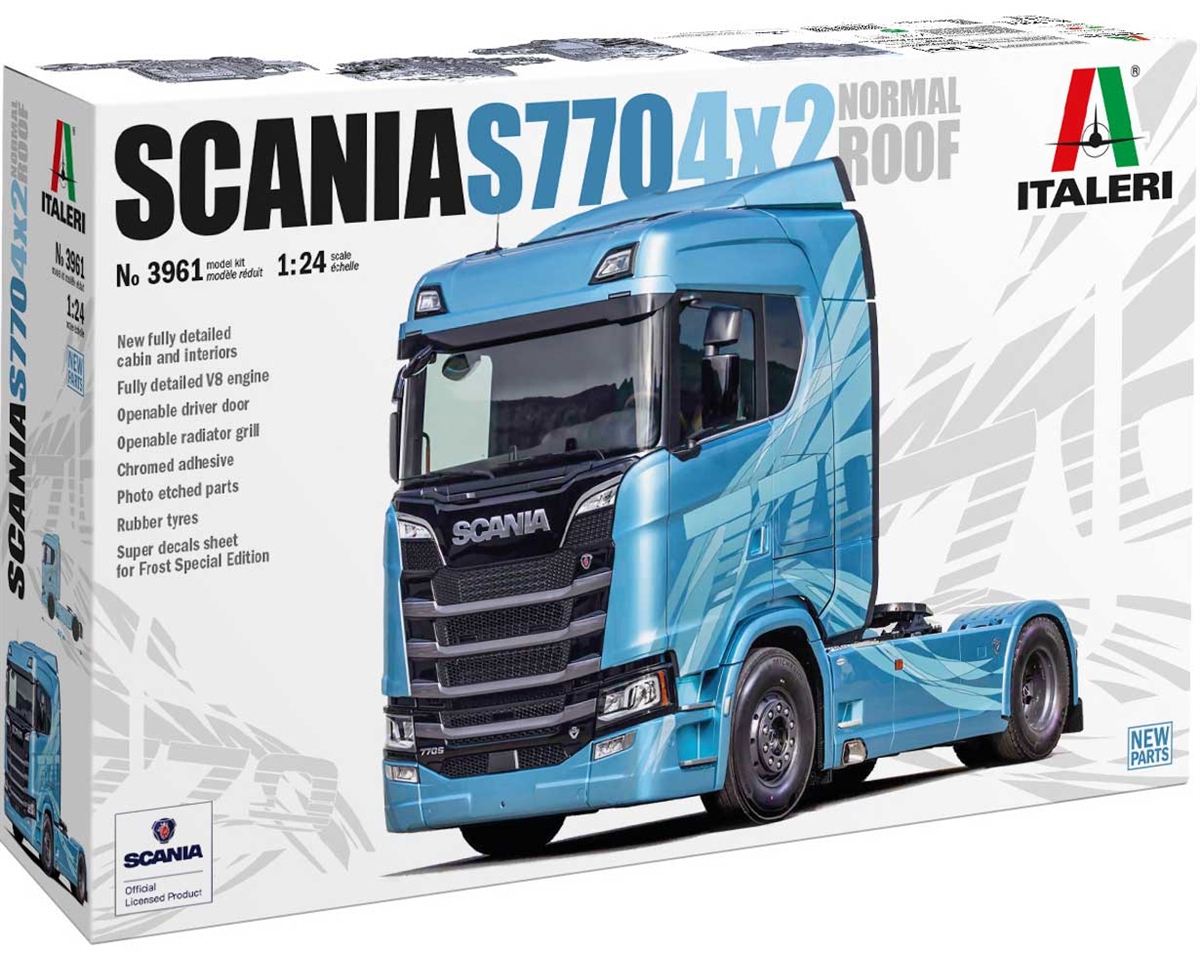
Italeri’s updated Scania tractor is both wonderful and challenging. The full box features nine plastic trees with more than 400 parts (many not used for this version), six rubber tires, photo-etched metal (PE) details, colorful decals, and foil stickers for mirrors and chrome badges.
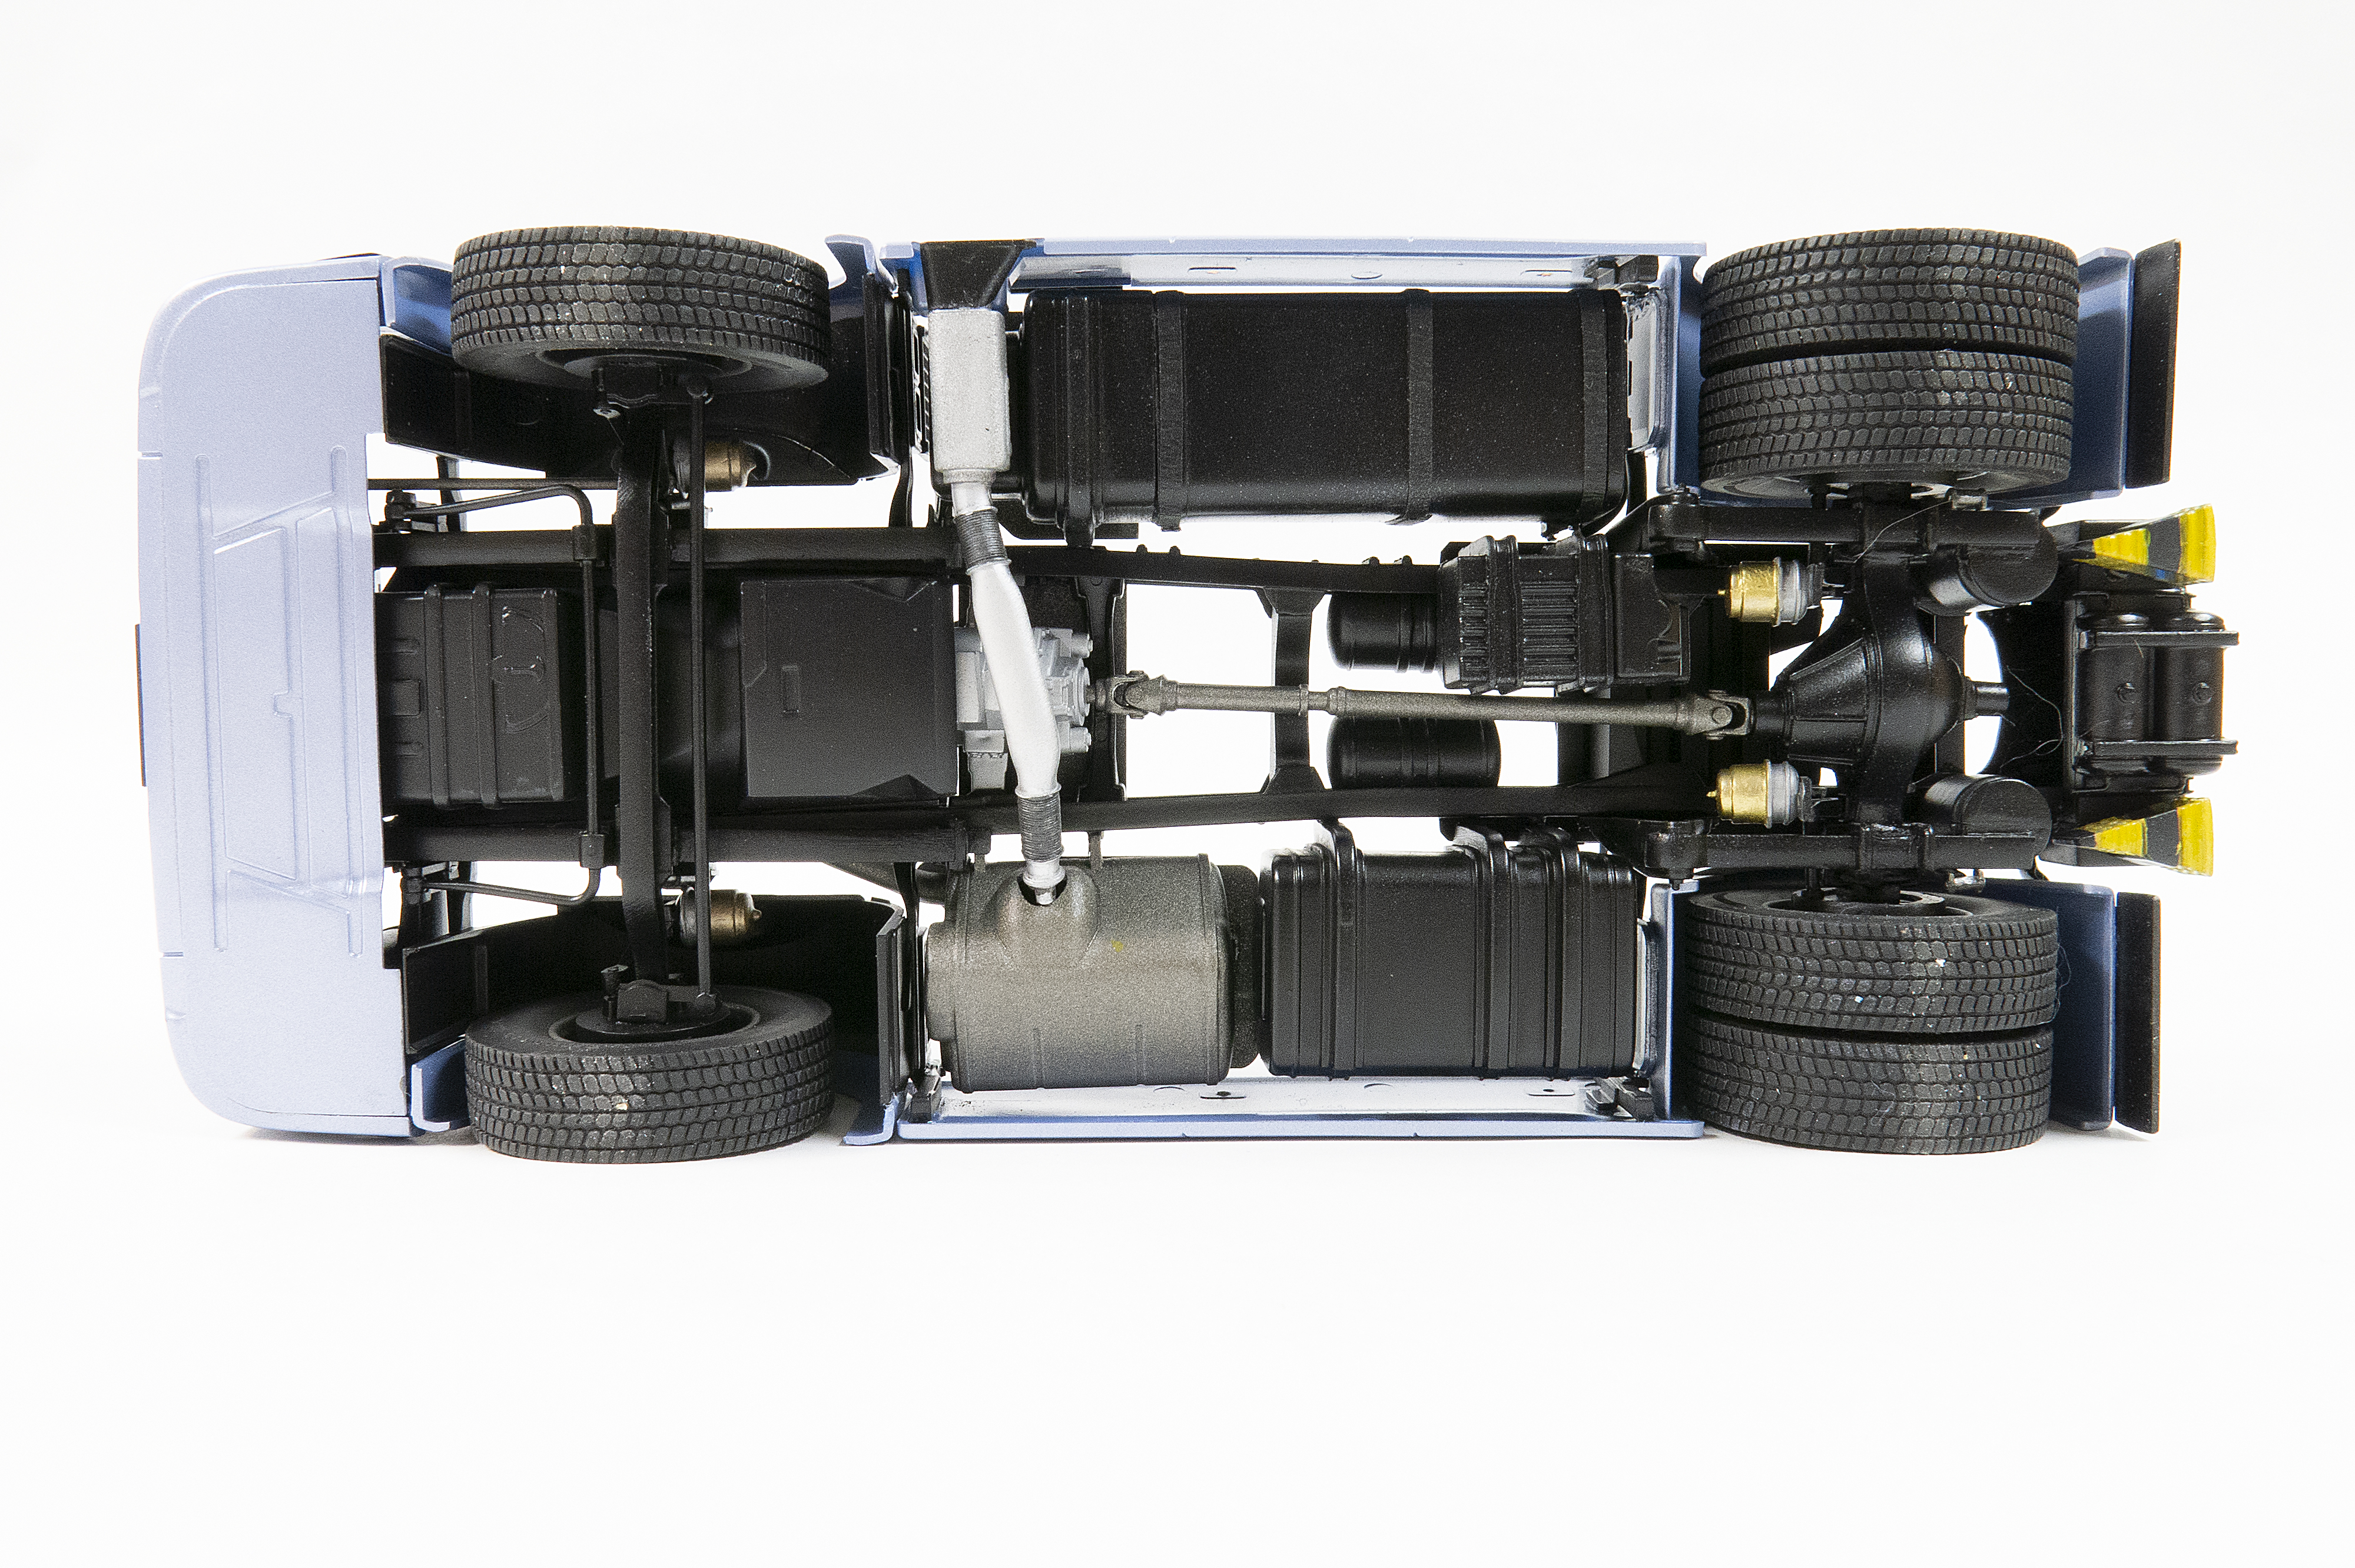
After minimal cleanup and opening the required holes, the 16-piece frame went together with little fuss. Rubber bands held the rails and cross members snugly as the glue set. Adding the 15-part rear suspension went smoothly. I painted the chassis flat black and picked out details on the airbags and canisters by hand.
The 770 in the rig’s designation refers to the engine’s horsepower rating, a naturally big feature of the model. The V8 powerplant comprises 28 parts, and I encountered minor fit issues, including vague placement of the intakes. After a little sanding and light persuasion, as well as painting, I installed the engine and belly pan to the chassis. Adding the front suspension, steering assembly, and radiator finished the drivetrain.
Beautifully molded, the flexible vinyl tires have tire size and a label saying they are regroove-able and tubeless but are unbranded. Each is sandwiched by two-part wheels, and the dual rear wheels have positive locators to align them squarely.
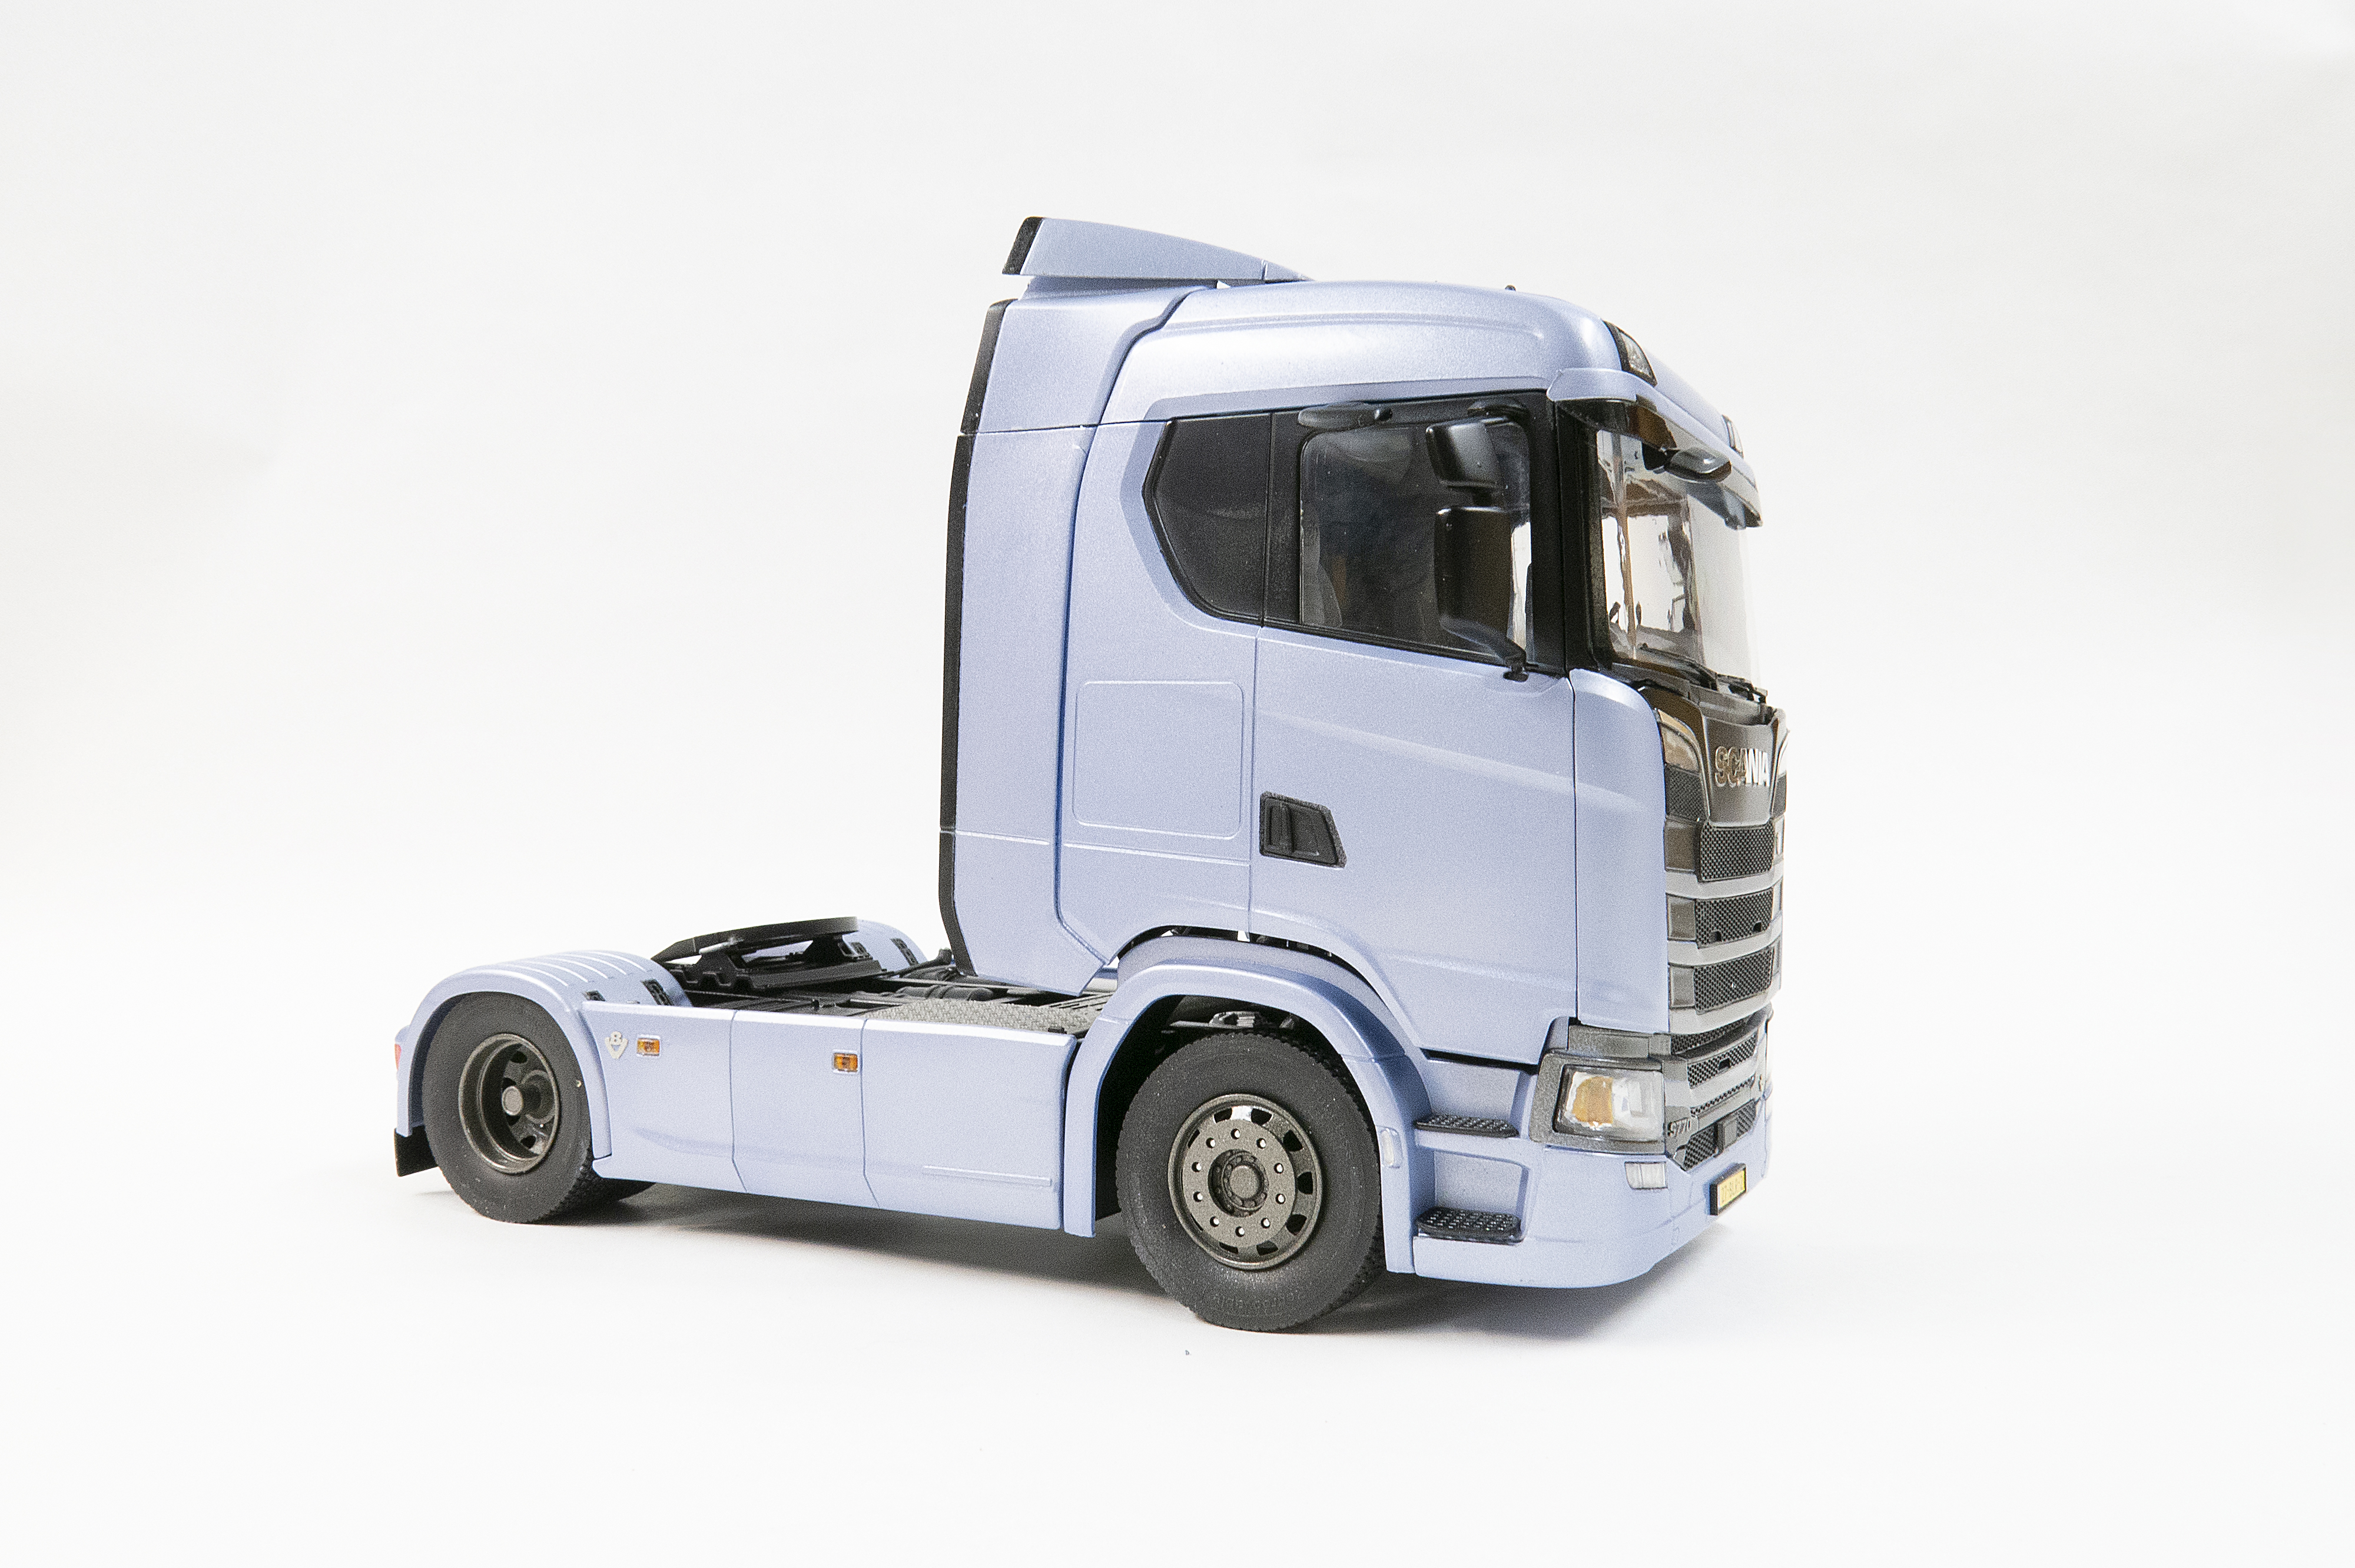
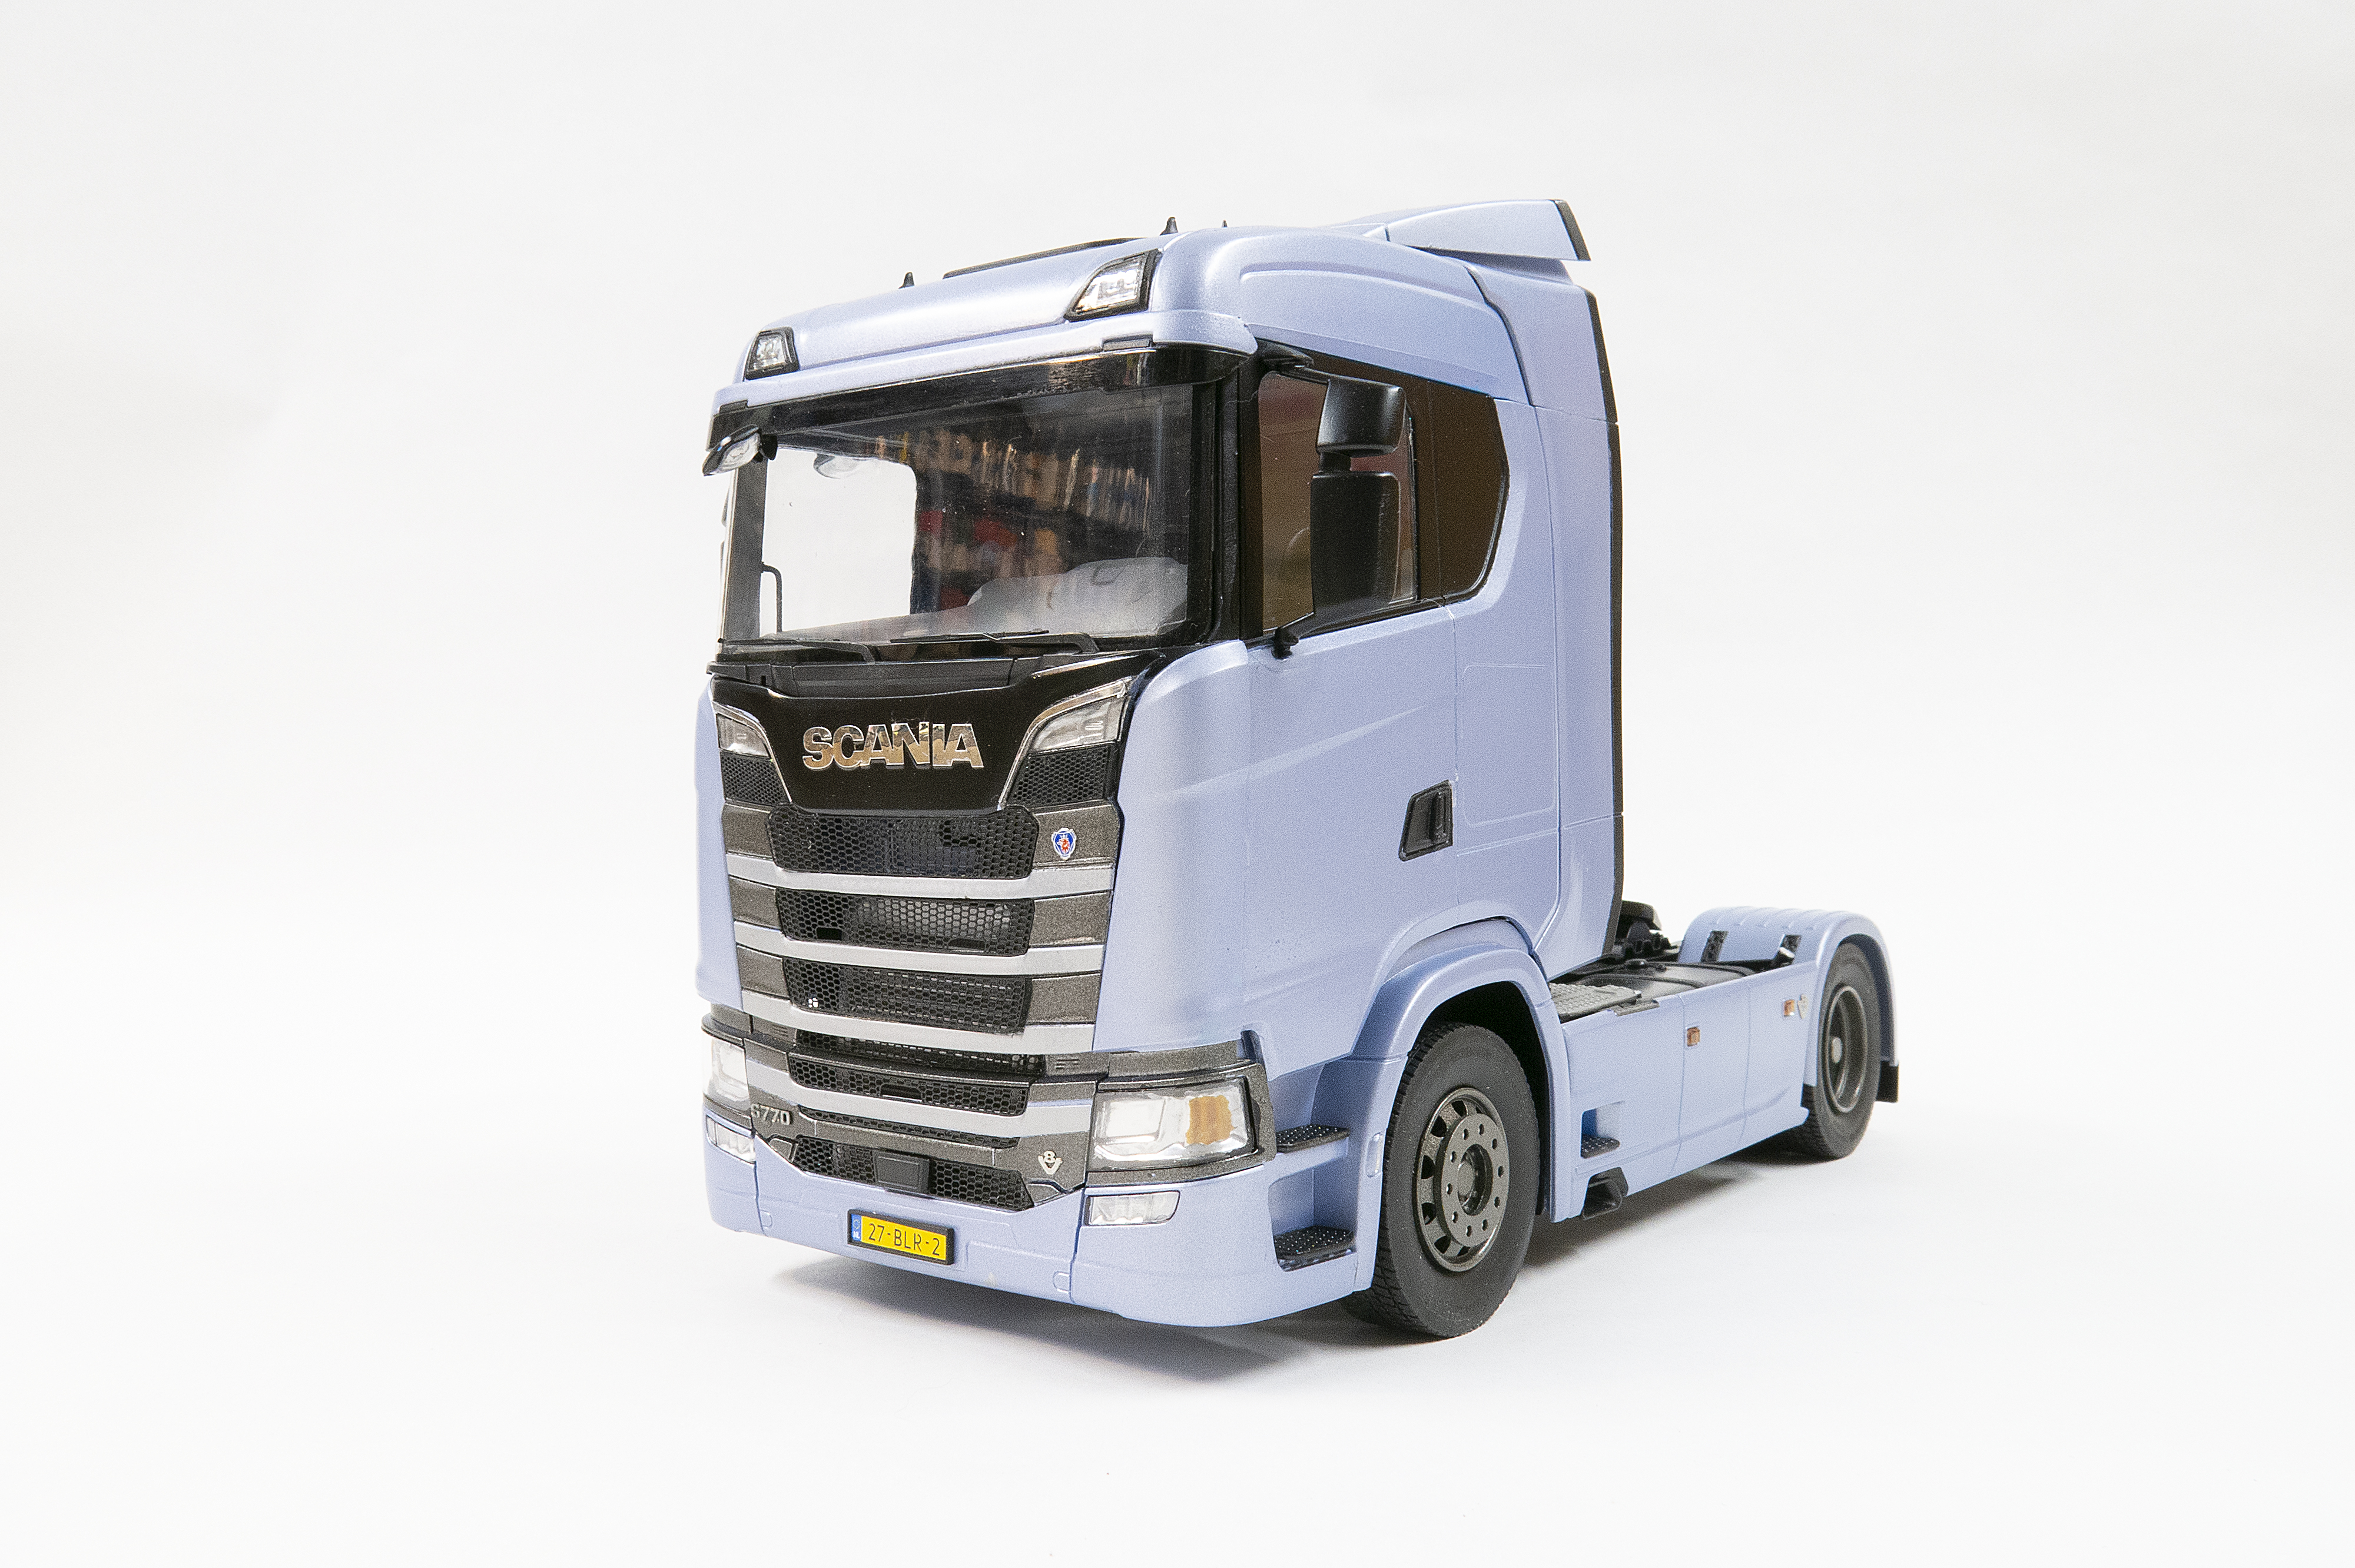
Paint the rear fenders before attaching them, along with the fuel tanks, exhaust, system, and rear wheels in steps 8-10; other parts attach around them. I used Tamiya Light Blue Metallic (No. TS-58) for these and other body parts. Enlarge the mounting holes on the chassis because most are too small, even before primer and paint.
The detailed interior — there are 42 parts inside, including six for each seat — assembles easily and benefits from careful detail painting in gray and black with chrome buttons and switches. The PE seat belts are astounding, but assembling them requires time and patience. Bend and fit them before painting to minimize chipping during handling. The well-molded dash and control center come alive with detailed painting and decals. The inner side steps must be painted the body color before attachment.
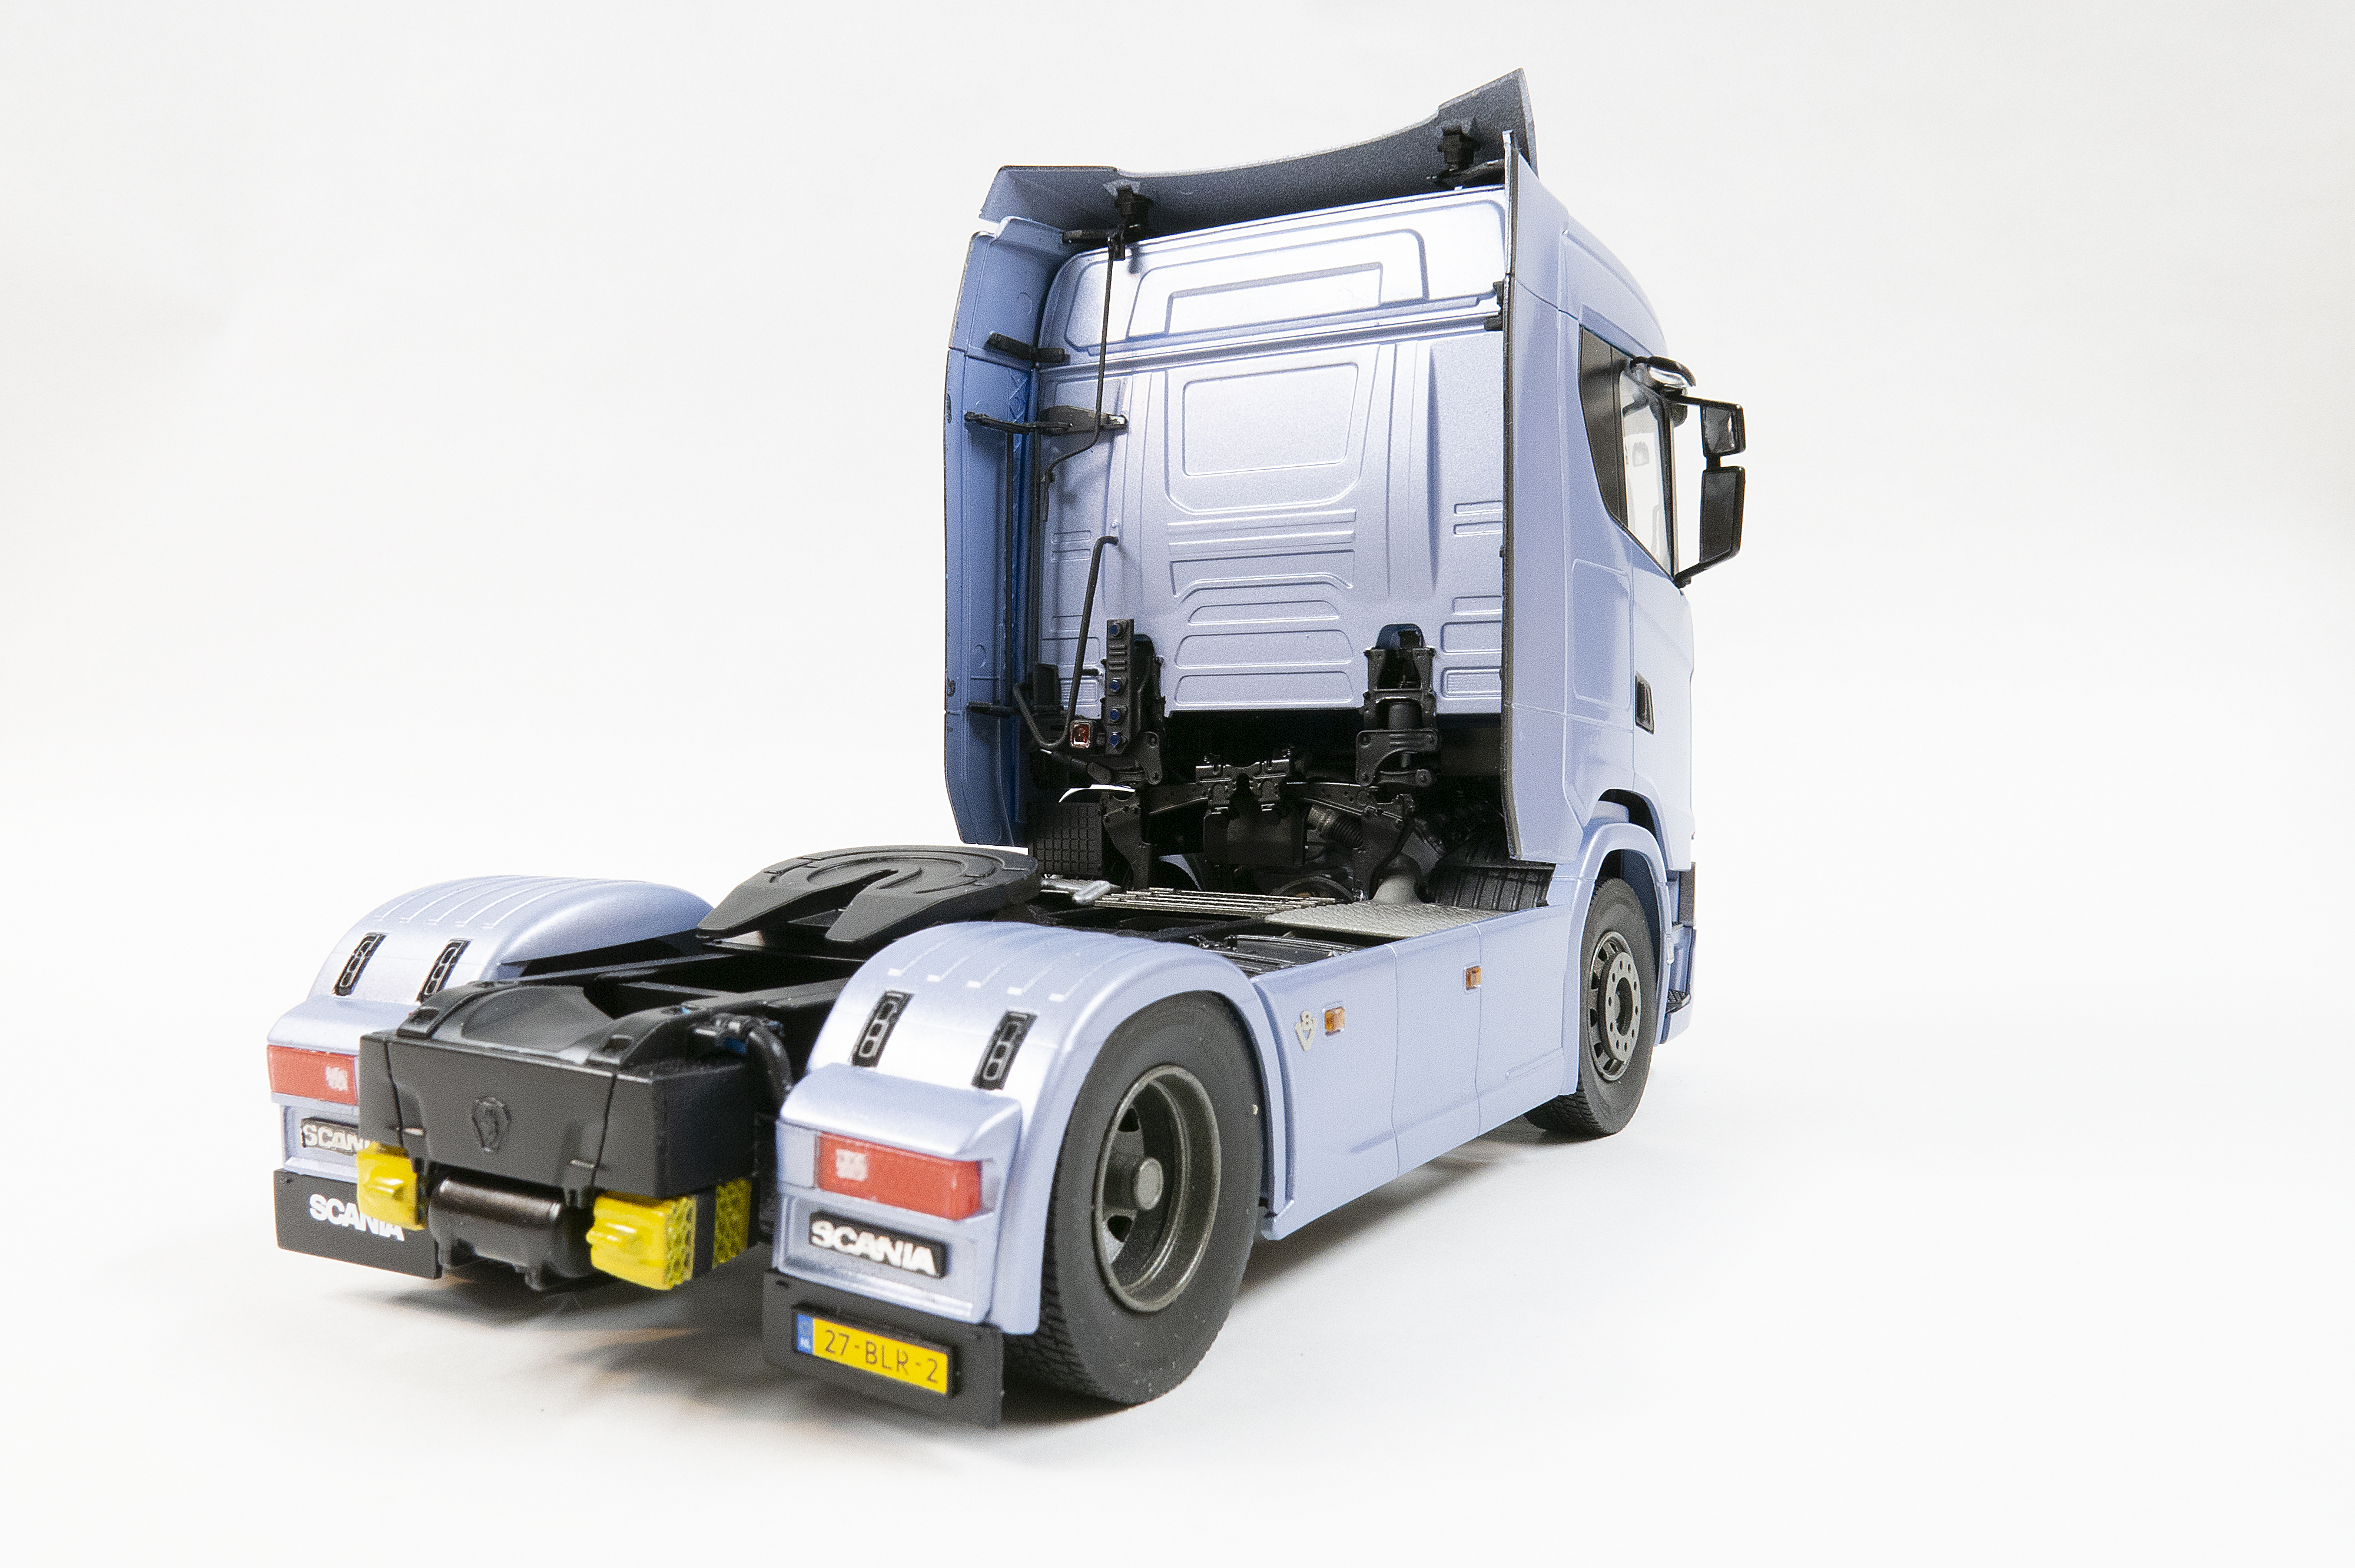
The body is where things really got interesting. Rather than one or two parts, the cab exterior is made up of multiple parts that must be painted and finished before assembly, something I am unaccustomed to. For the most part, the body panels lined up and fit together positively without many issues. Take time assembling these parts. Note that this kit can be posed with a door and the “hood” open, but I opted for closed.
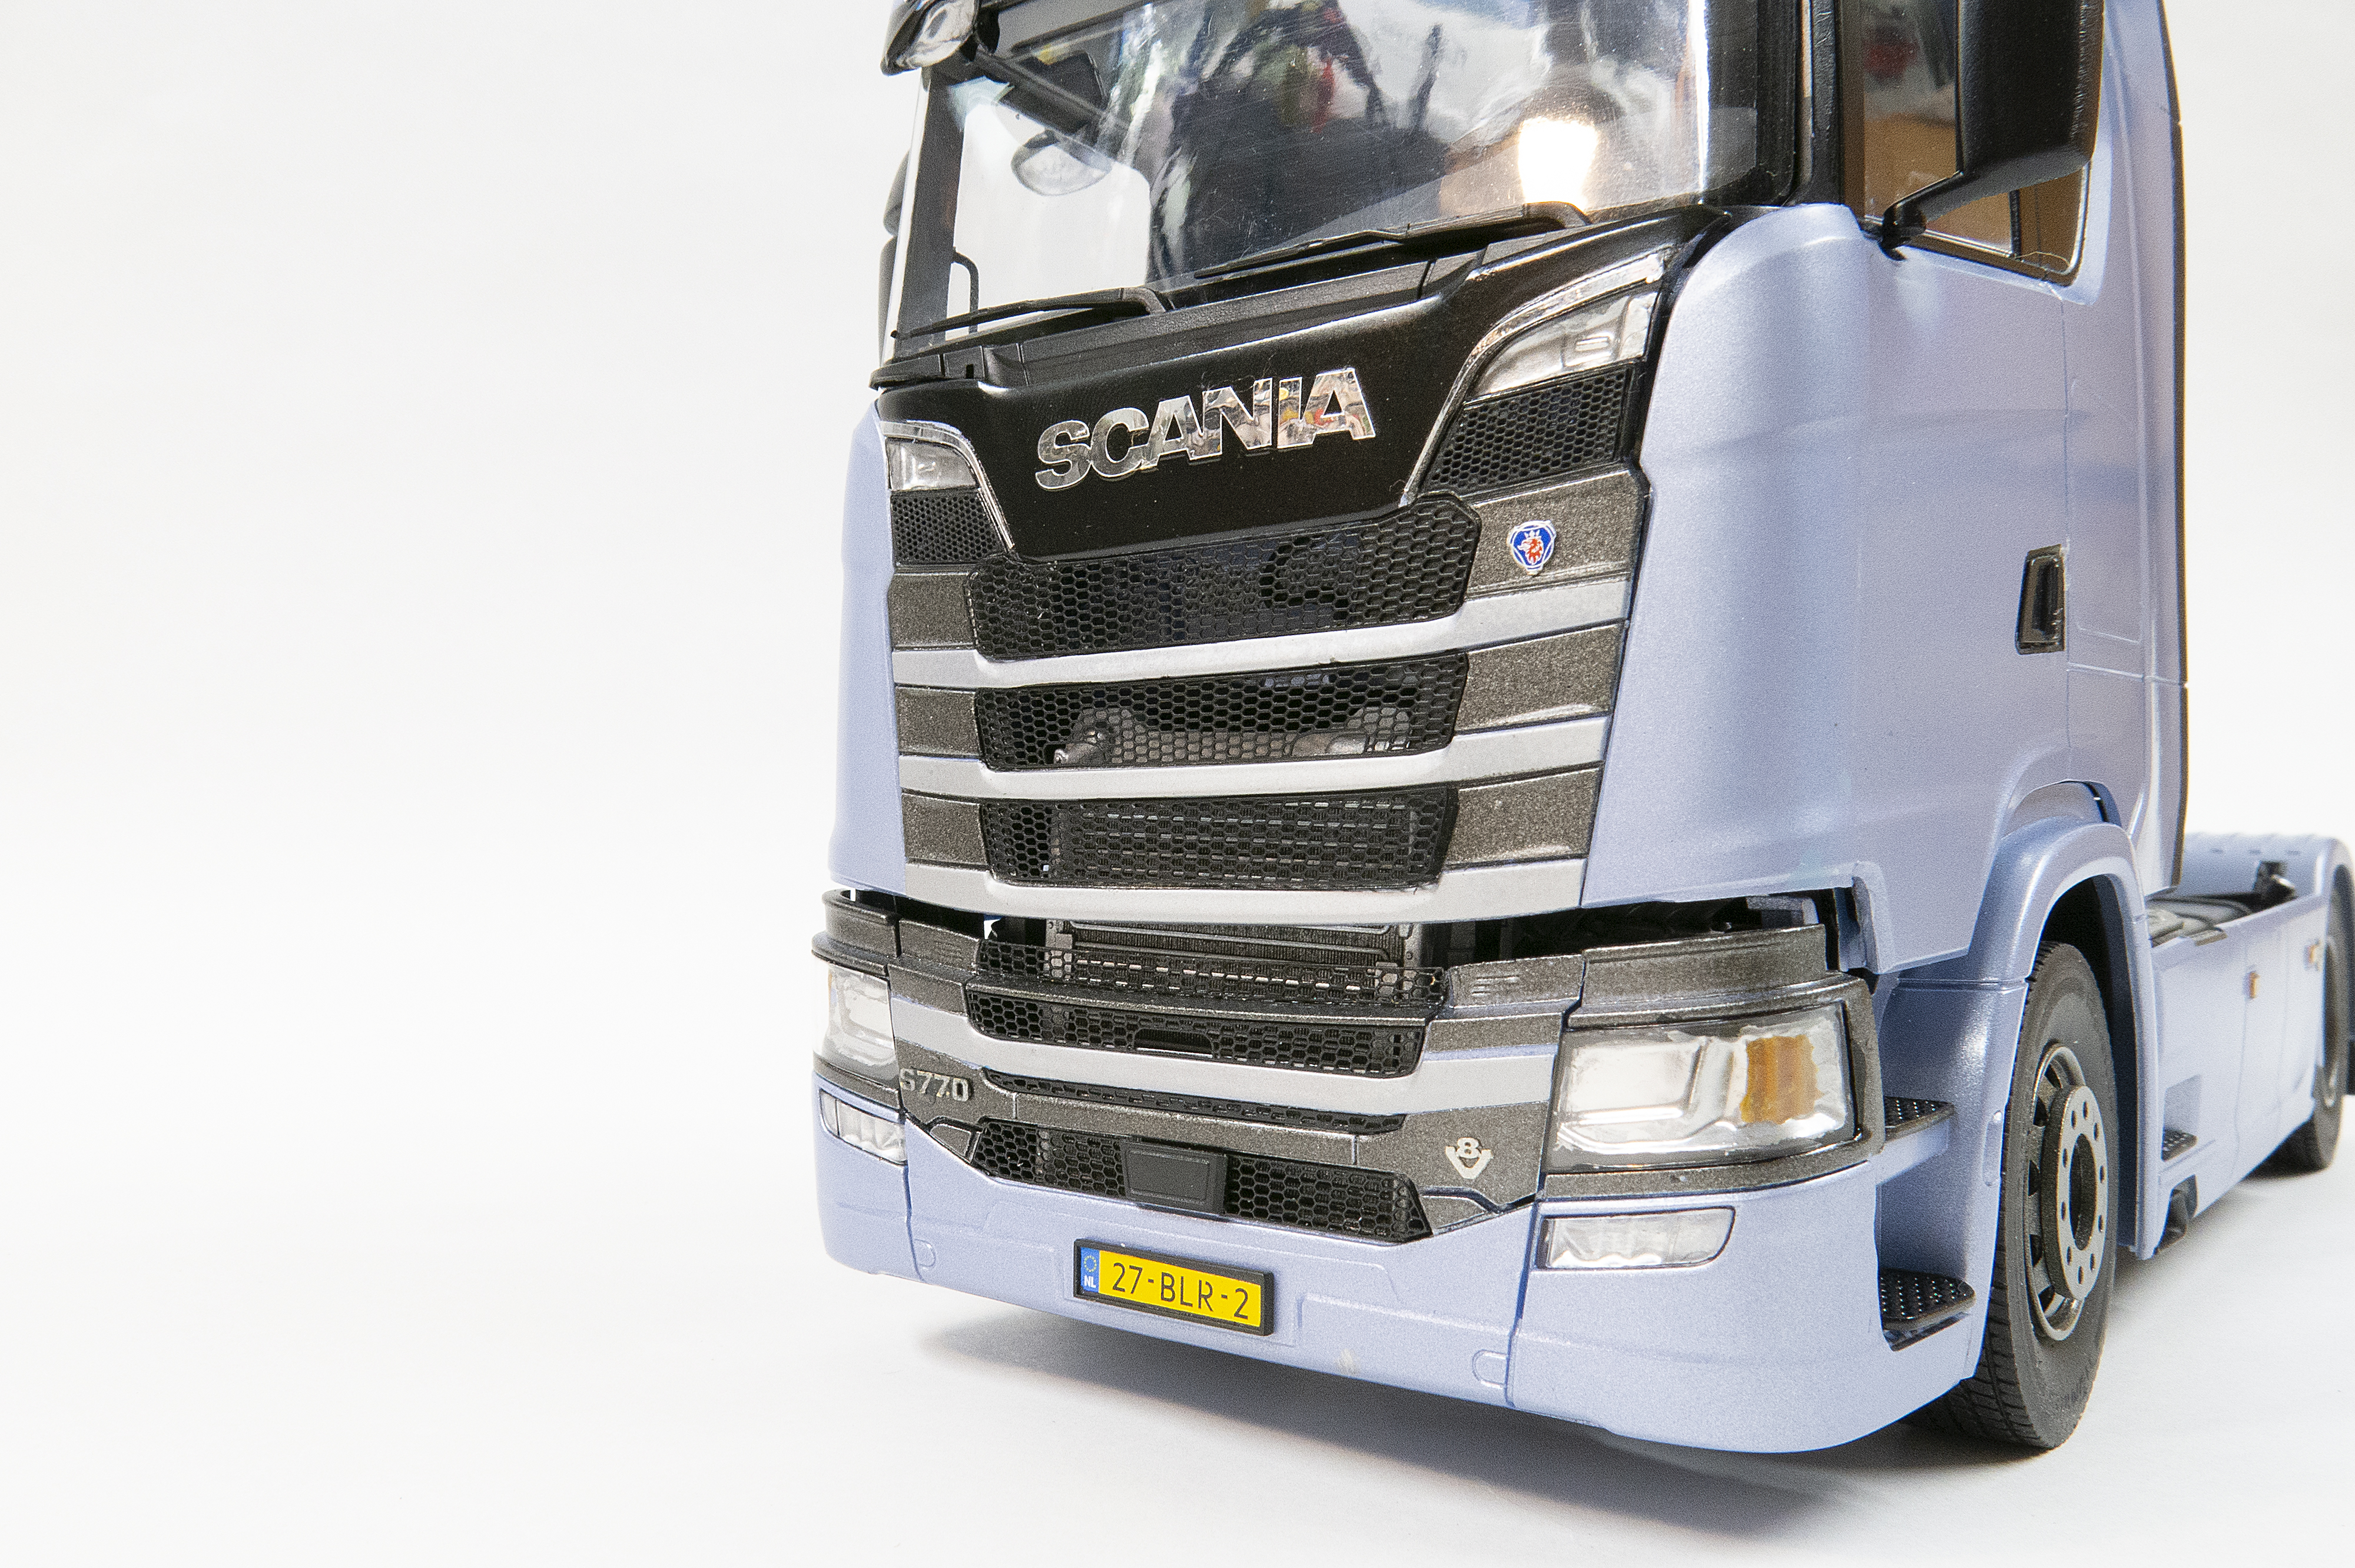
Next, I added the PE details and clear parts to the hood and front bumper. The only issue I ran into was a warped header panel along the top of the windshield. Fortunately, it was hidden by the sun visor.
When I attached the various body panels to the chassis, the left body cladding and rear fender didn’t seem to meet as tightly as I thought they should despite matching up with their locators. It’s not a dealbreaker, and it could be something I did.
Mating the cab and chassis required finesse and tweaking to align locator pins and the rear landing pads to ensure the cab sat straight and level. The final touches for the body were the PE badges that I had painted chrome and the mirrors with their adhesive foil reflectors.
The decals include large body decorations that are beautifully printed but are extremely thin, and I made a mess of them. I have a replacement sheet coming, and I plan to cut the big sections apart to ease application. In the meantime, this incredible behemoth sits proudly, if plainly, in my display case. While Italeri’s Scania S770 plastic truck kit is not for beginners and will be a challenge for seasoned modelers because of parts count and assembly complexity, the result is a beautiful replica that is worth every minute.