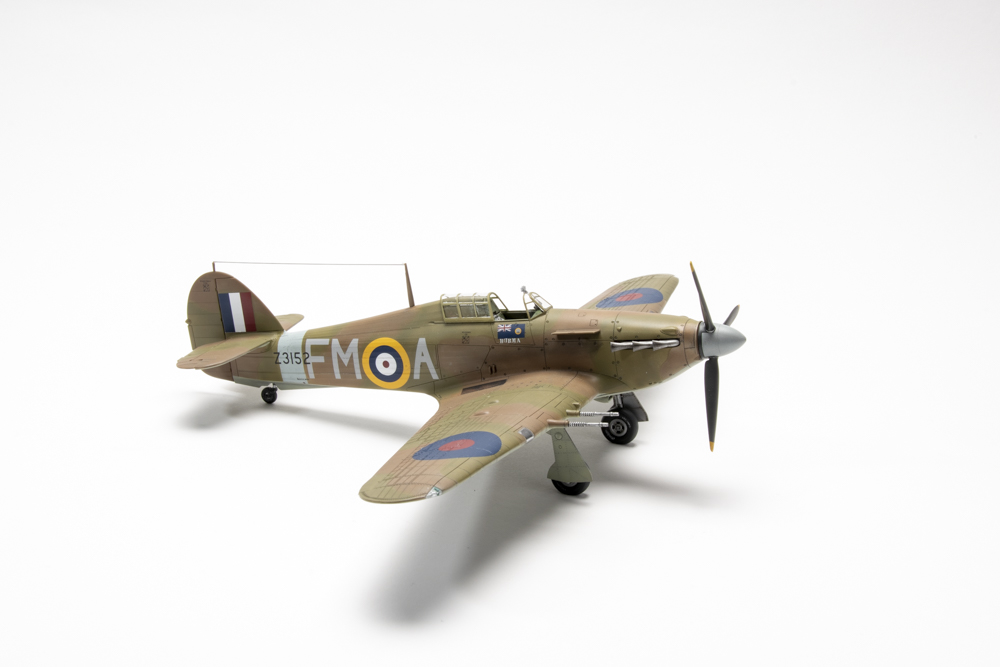
I tend to think of the Hurricane as the “British P-40.” That is not a criticism, just a comparison. Both were based on mid-1930s technologies and were on the edge of obsolescence by 1942. They fought in the shadows of newer, more glamorous fighters and served valiantly in nearly every theatre of war on the front lines to the end of World War II.
For several years, I’ve listened to friends with better eyesight than mine rave about the quality of Arma Hobby’s 1/72 scale kits, but now I get to see that quality for myself with its 1/48 scale Hurricane Mk.IIC plastic model kit. Inside the box are 120 gray parts on three trees, along with 11 crystal-clear parts on a fourth. You also get die-cut masks, three marking options, and stencils on a single decal sheet. Bombs, drop tanks, two types of cannon barrels, and two canopies (open/closed) are included. Sprue gates are more numerous and larger than most other manufacturers. It can be difficult to determine where the gate ends and the part begins.
Decide your marking scheme before you start building. The instructions and a small errata sheet show modifications unique to each scheme that need to be made to surface details and holes to open for ordnance. I chose not to add bombs or drop tanks, and I didn’t want to risk damaging the beautiful surface detail, so I skipped the external alterations.
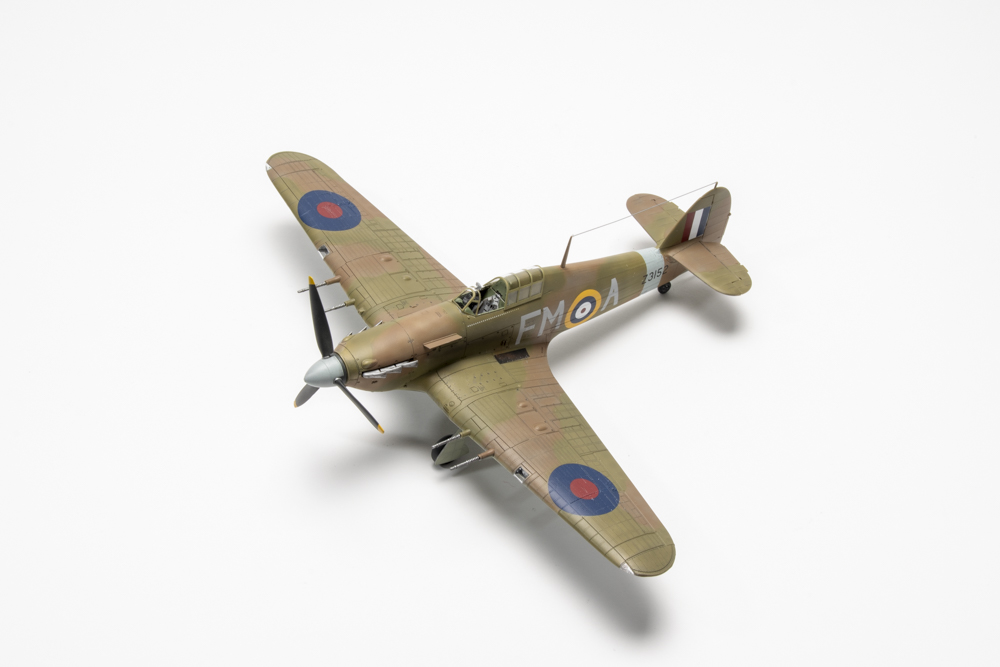
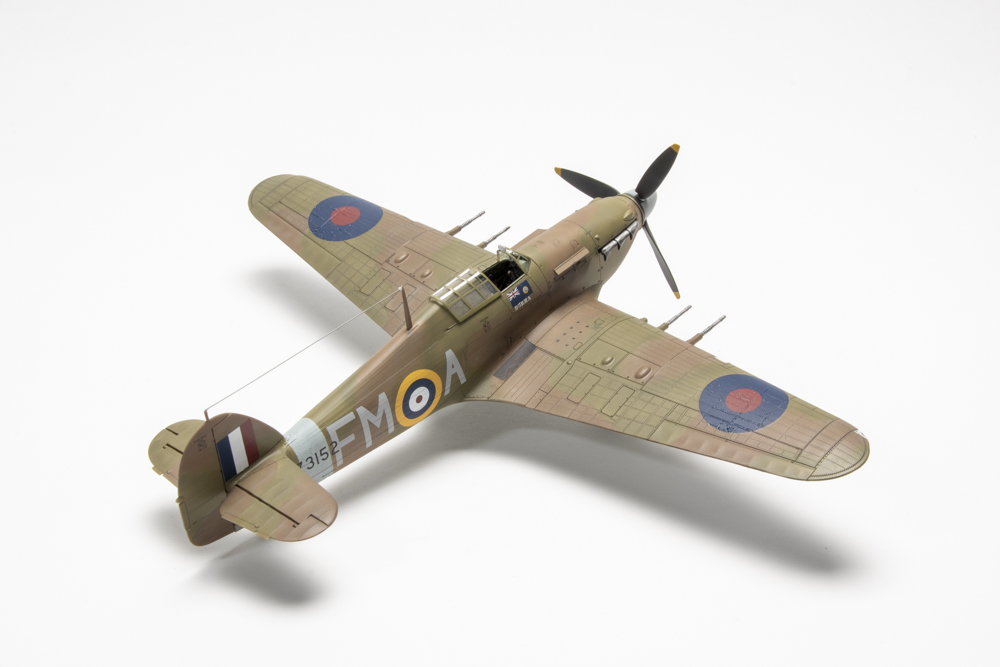
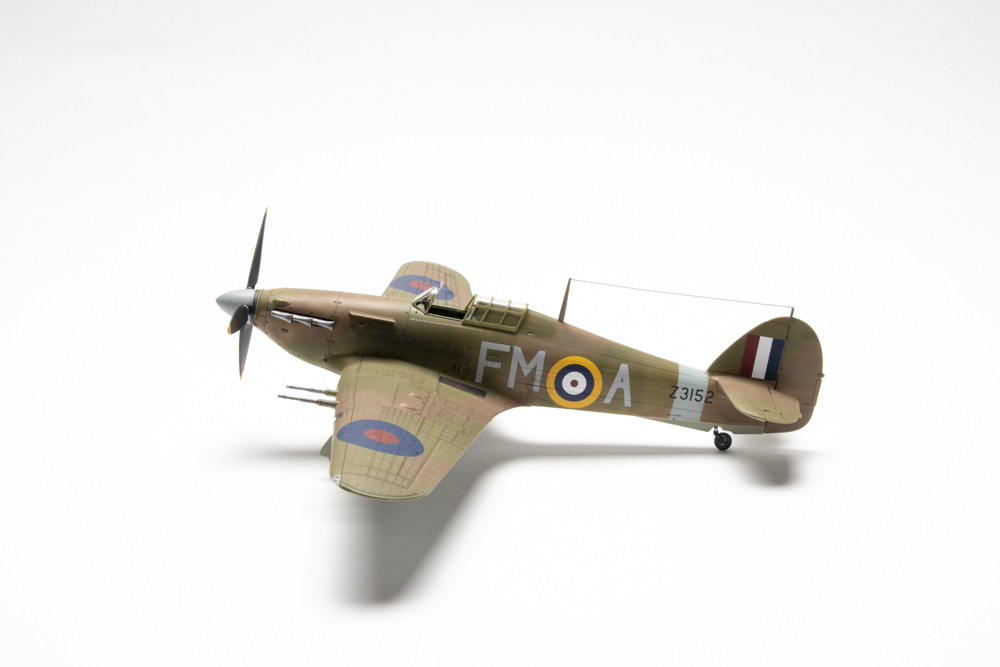
It has become cliché for reviewers to say, “this is the best surface detail I’ve ever seen,” but it is. I could feel the rivets on the wing, but I could not see them until I base-coated. Also, the razor-thin trailing edges on the flight surfaces look fantastic but can be easily damaged.
The multipiece cockpit assembly went together easily, as did the three-part seat. Fitting the seat to the armor plate/rear bulkhead was one of the few places I had issues. It just didn’t line up.
As much as I dislike working with photo-etched metal (PE) parts, some seat belts would have looked better than the decals provided in the kit. Be sure to follow the errata sheet and trim the stringers in the wing so the lights fit. Also, be careful removing the delicate tubular cockpit framework from the sprues, or they can crack. Don’t forget the decals for the sidewalls because they can be tricky to add after closing the fuselage. Test-fit Part A16 to ensure that the seat fits over it. The bottom of the “V” should be in front of the lateral structure, not on top of it.
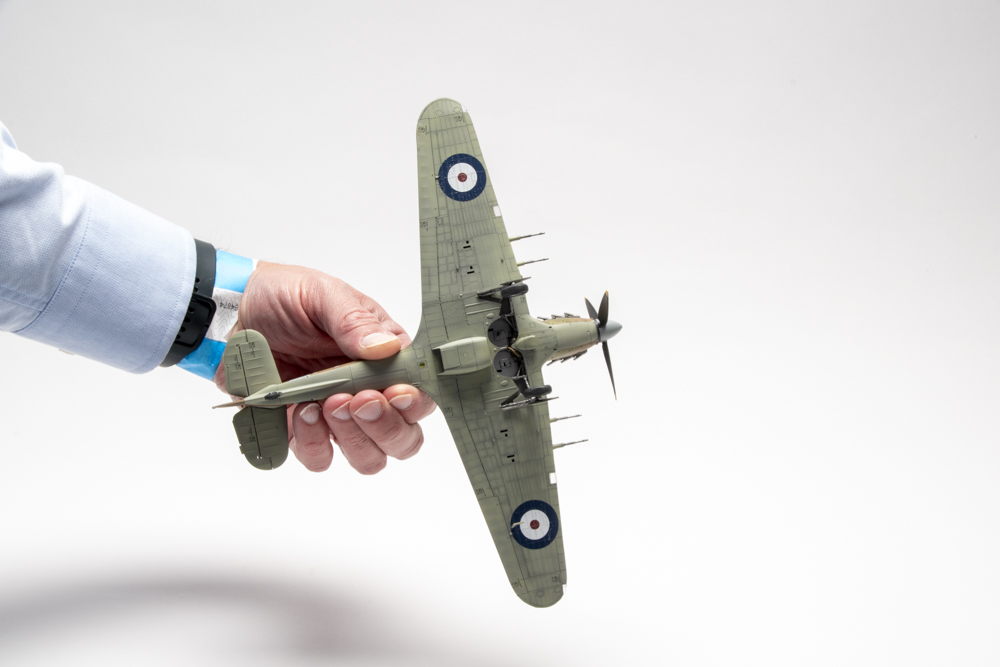
Repeated test-fitting and light sanding resulted in a perfect wing/fuselage join, and the lower, aft fuselage is a separate part. The remainder of the construction was trouble-free, with two exceptions.
First, I did something silly and added the pitot and boarding step before painting. Of course, I knocked them off. I found the pitot, but the step never resurfaced.
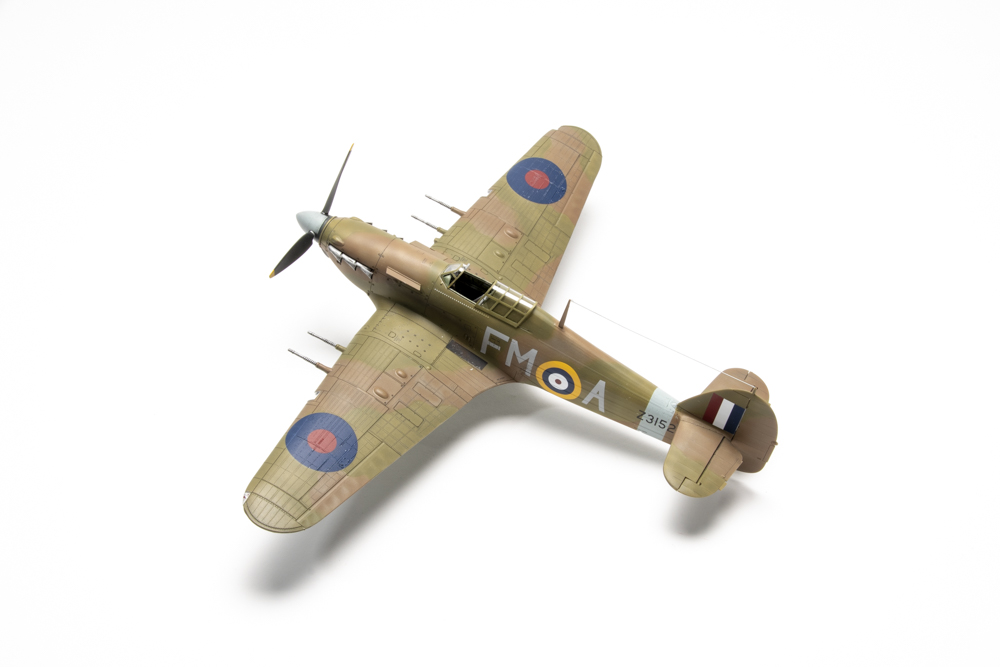
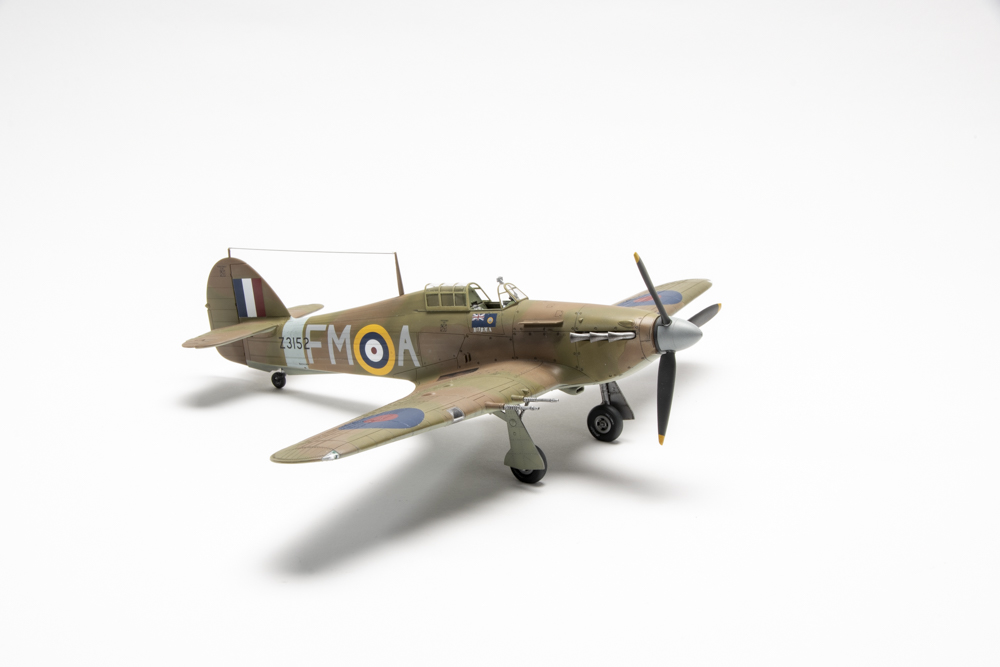
Second, when I added the gear legs, I thought the retraction strut pinned into the side of the structure in the wheel well. Doing this, the hydraulic cylinders added in Step 1 met the appropriate points on the retraction strut. However, this caused the main legs to be canted in about 15 degrees. References showed the legs at right angles to the underside of the wing.
Further examination revealed a small notch on the edge of the wheel well structure. Placing the pin on the end of the retract strut results in the correct 90-degree stance, but the ends of the hydraulic rams float in space.
I did need to use filler where some of the sprue gates had been located, and a silver base coat revealed a ghost seam on the fuselage. A little Mr. Surfacer sprayed over the joint fixed the seam.
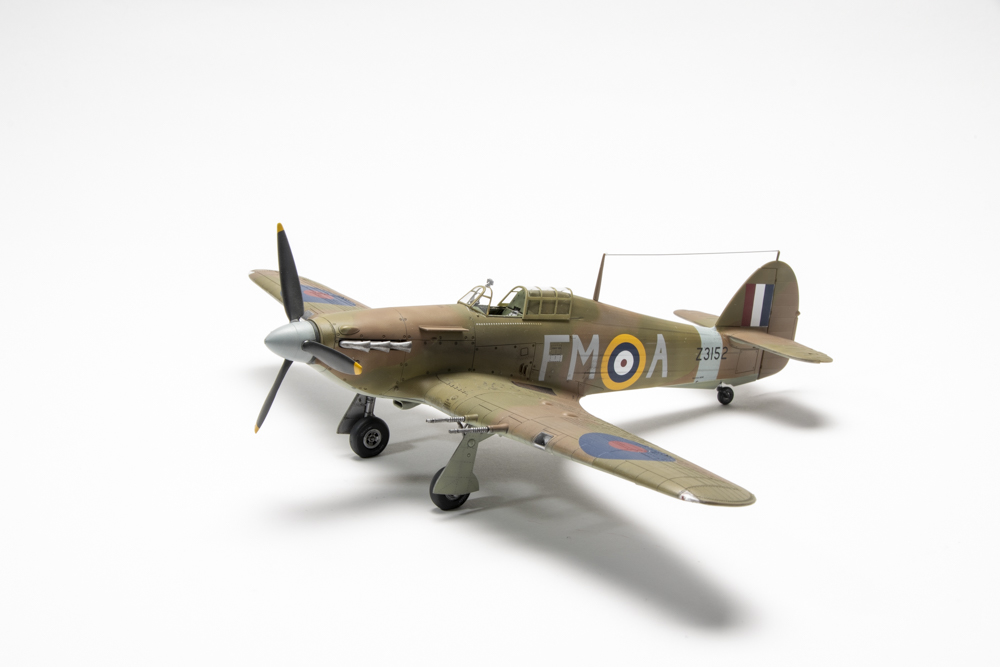
Trying something different, I applied a black acrylic sludge wash over the silver base coat to accentuate all the surface detail. Then, I sprayed light coats of highly thinned Mr. Color to build up the camouflage while allowing the detail to show through.
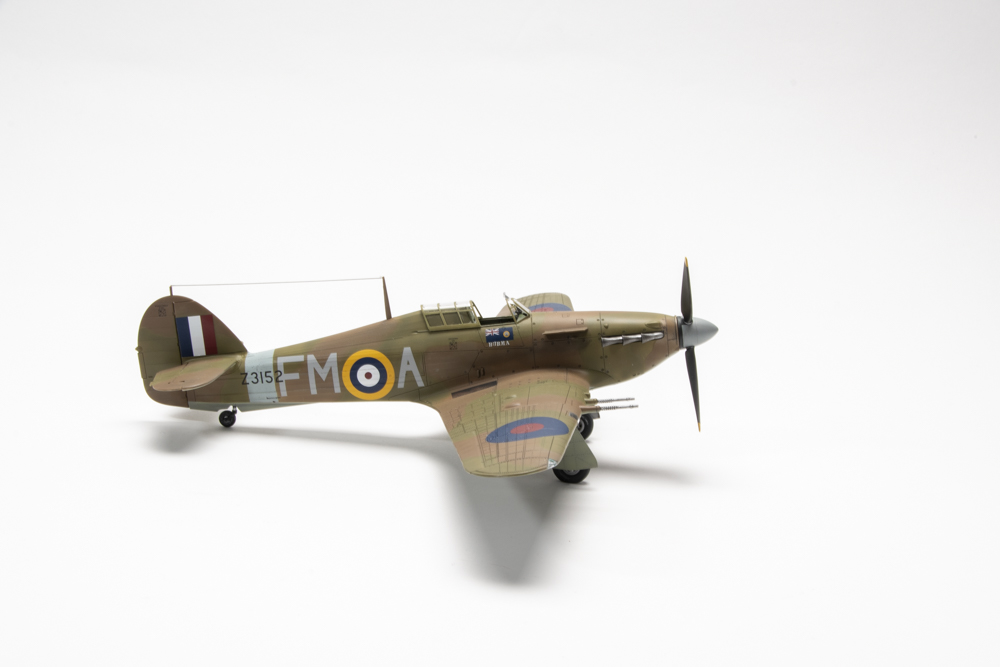
Most of the decals went down well over a gloss coat, but the stubborn wing roundels did not want to conform to all those lovely rivets. A hairdryer and multiple decal solvents did the trick. Light weathering with pastels and pencils finished the project.
The Arma Hobby 1/48 scale Hawker Hurricane Mk.IIC plastic model kit only took 12 hours to build. That is slightly more than half what I usually spend on a single-engine fighter. Masking and painting added another 14 hours. Fantastic detail and easy construction made this kit a joy to build, and I look forward to what Arma Hobby will release next in 1/48 scale.