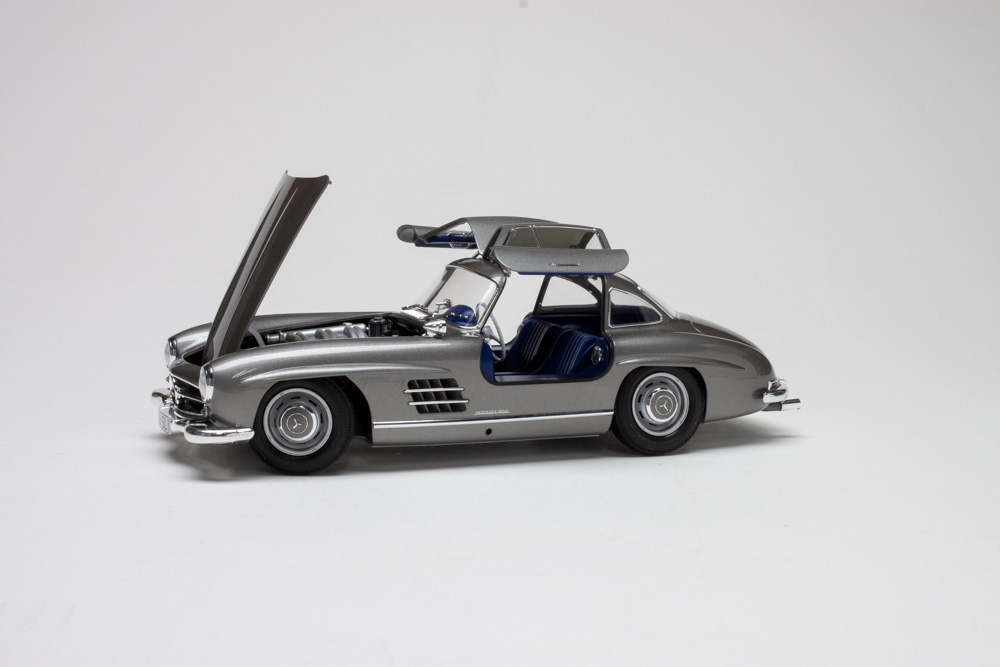
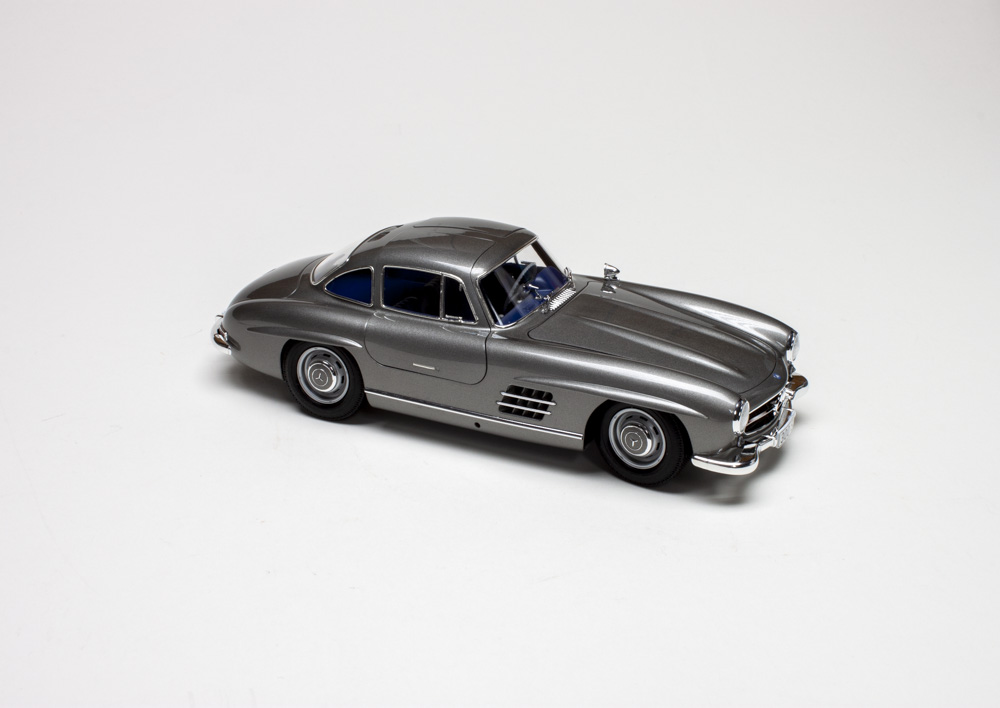
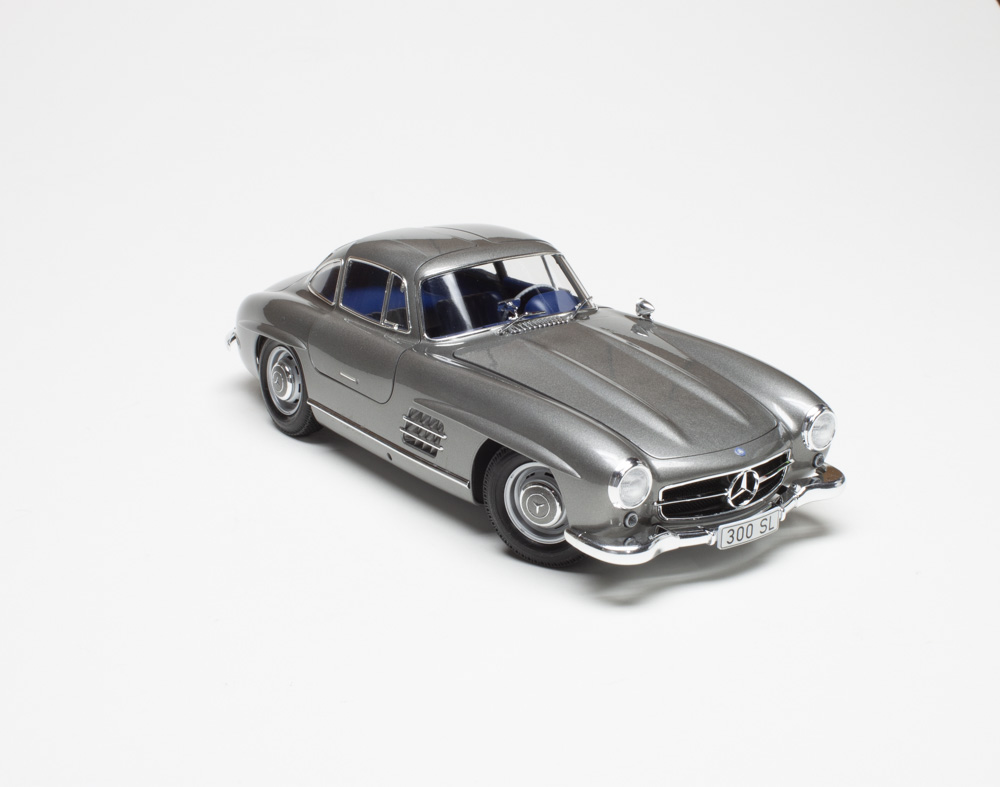
Mercedes-Benz has long been at the forefront of automotive technology and innovation. In 1954, it showcased the company’s abilities with the introduction of the 300SL. A beautifully sculpted body with distinctive gull-wing doors covered a lightweight, but sturdy, tubular space-frame chassis and elegant interior. A 3-liter straight-six engine with fuel injection producing 215 horsepower gave it impressive performance as well.
The Tamiya 1/24 scale Mercedes-Benz 300SL Full-view plastic model kit is a modified reissue of the initial 2015 release (No. 24338). Comparing it to the original issue, it appears the only difference is that the body panels are now molded in crystal-clear styrene, and I do mean crystal clear. For those who wish to build it that way, there will be virtually no prep work needed on the body. Any mold seams are nearly invisible, which is a testament to the quality of Tamiya’s molds.
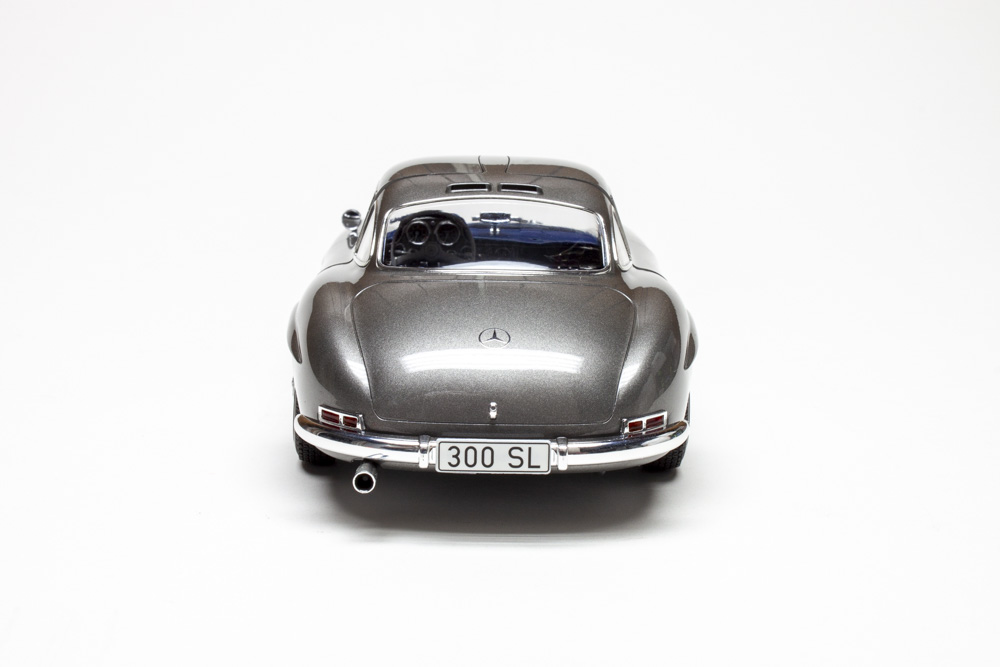
The chassis, engine, and interior parts are molded in black or silver gray with a frame of bright chrome-plated parts for bumpers, grille, etc. A small decal sheet covers dash gauges, some engine placards, and license plates. The clearly illustrated instruction sheet includes paint callouts for Tamiya acrylic and spray paints, but not the LP line, with its 24 assembly steps.
The construction of the intricate space-frame chassis is accomplished with 12 parts expertly engineered with excellent fit and positive location. I used quick-setting, extra-thin cement to attach the parts and sprayed the assembly with Tamiya Gloss Black (No. TS-14). Rear and front suspension parts were painted and added, as per the instructions, with everything dropping into place without a hitch.
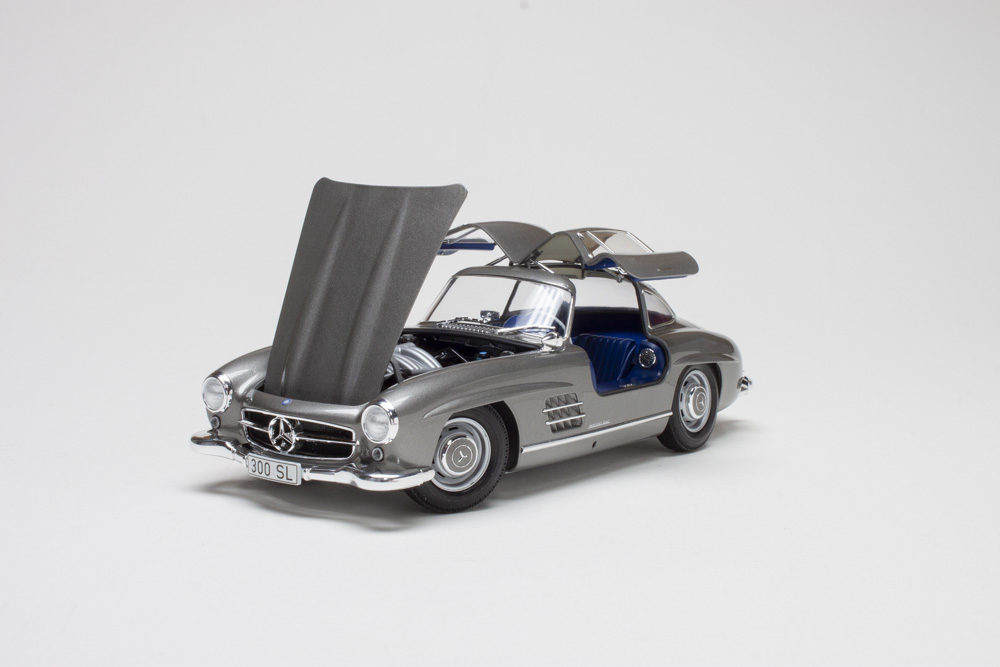
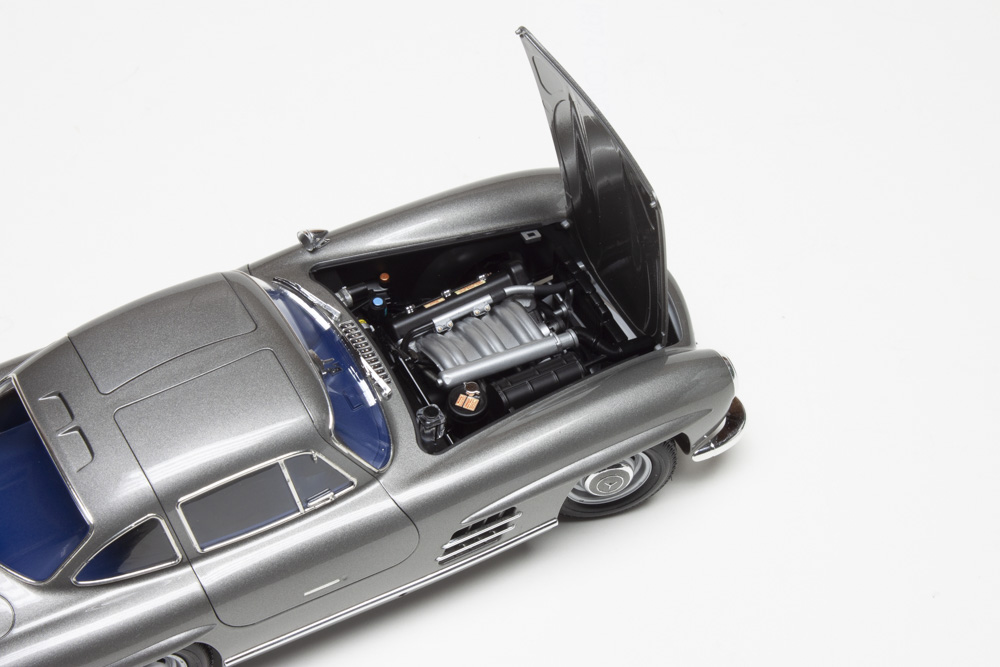
The basic engine block builds up from five pieces, so there are a couple of glue seams to clean up. Painting will also require careful masking or a steady hand and brush. The gearbox, exhaust, fuel injection pump, water pump, intake manifold, and distributor are all separate and make for an impressive powerplant. The small, chrome-plated knobs on the rocker cover are tricky to handle but add that finishing touch.
The engine mounts neatly into the chassis, just make note of where the exhaust slips through the frame rails. When installing the radiator fan, make sure to position the narrow X of the fan horizontally. I had mine positioned just right to interfere with the upper radiator hose; this was the only glitch I found in the whole build and a minor one, at that.
Building the interior is fairly simple, the most difficult task being painting the dash. It comes as a chrome-plated piece requiring you to paint a small strip along the bottom in your interior color and the main dash panel in the body color. I hand-painted mine, but if I were to do it again, I would probably try a liquid mask and airbrush for a more uniform finish. Decals for the gauges have a fair bit of extra carrier film and needed a good dose of Microscale Micro Sol to get them settled into the bezels.
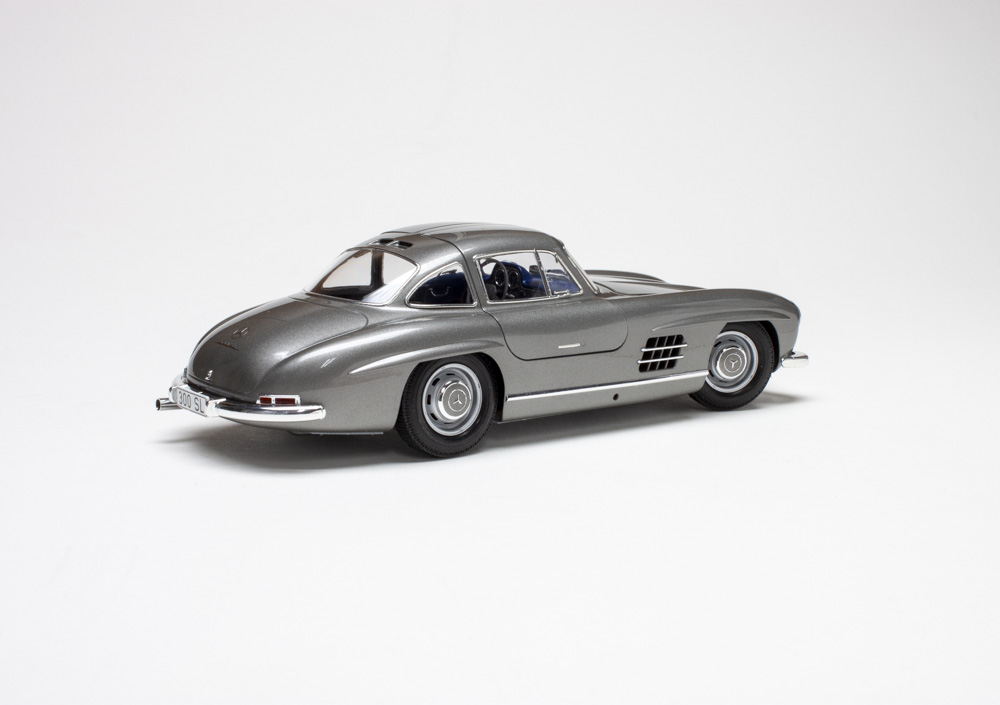
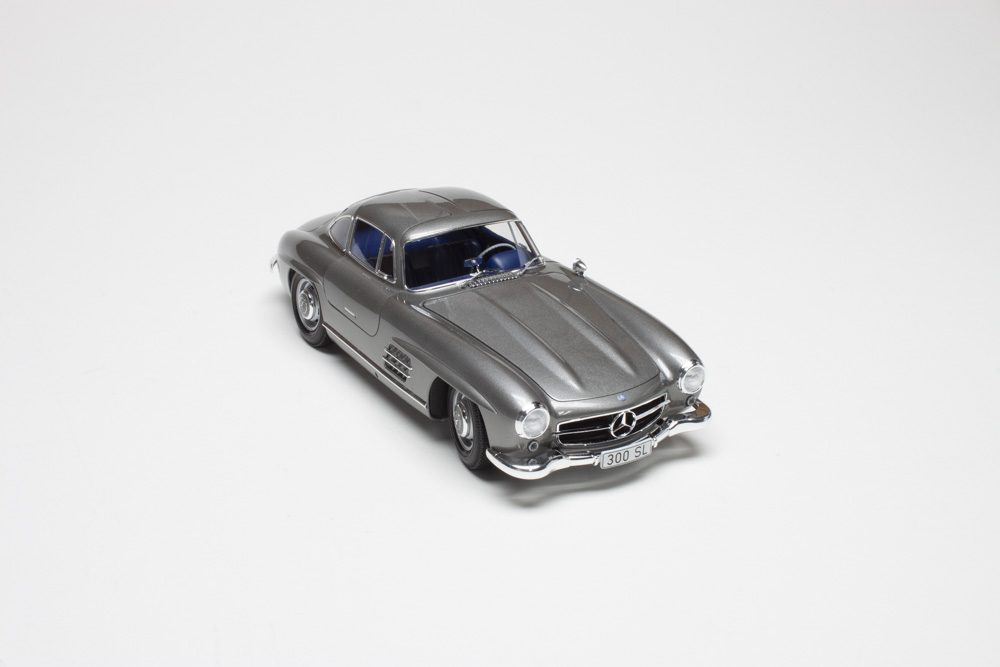
For me, the clear body is a bit gimmicky. So, I prepped the body as I would for any other build, first removing mold seams followed by a shot of Mr. Surfacer 1200 gray primer. I thinned Cobra Motor paints Mineral Grau (No. A.MIG-0346) with Mr. Leveling Thinner and airbrushed. I chased that with Cobra 2K clear.
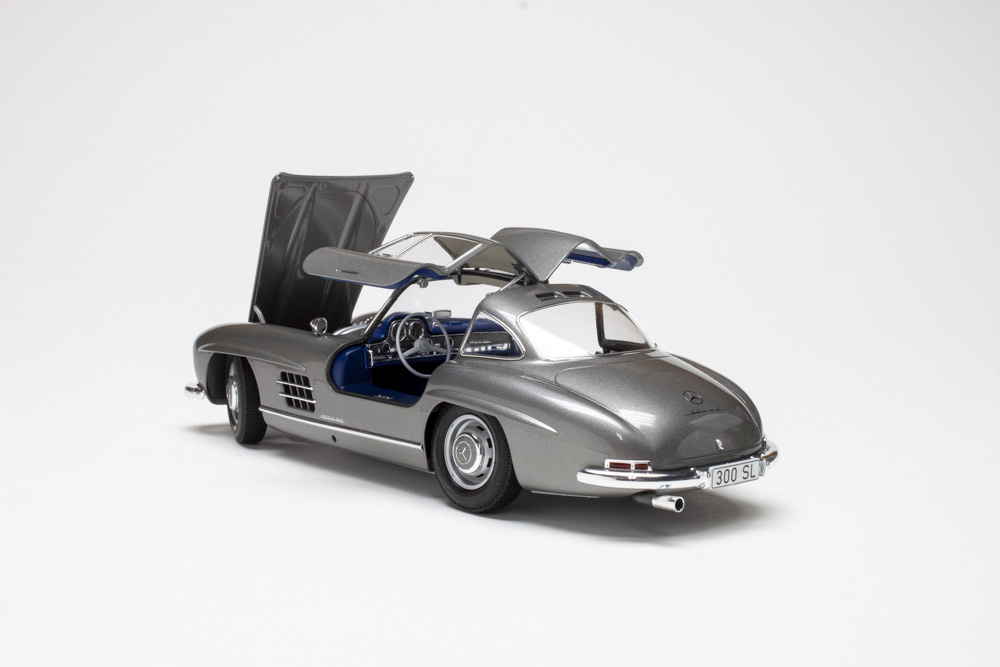
Window trim was completed with Bare-Metal Foil before adding headlights, taillights, and other trim parts. The glass parts have nice, large mounting tabs minimizing the chance of glue mishaps. The fit for the opening doors and hood is quite good, and the hinge mechanisms work well.
Inserting the interior into the body shell was a little harrowing, but slipping the chassis in was even more so. Start at the rear as instructed and rotate the front down and in. Just work slowly and carefully and know that it will all snap smartly in place.
Tamiya has a reputation for producing some of the best kits available and building kits like the Tamiya 1/24 scale Mercedes-Benz 300SL Full-view proves that reputation is well deserved. The ability to produce a kit that is both highly detailed and still easy and enjoyable to build is not a simple task. That, along with the little details of placing ejector-pins and sprue gates in places that don’t affect the part, are the things that take the kit to the next level. I probably wouldn’t suggest it for a beginner, but certainly for someone with a few kits under their belt should be able to get a great result. Highly recommended!