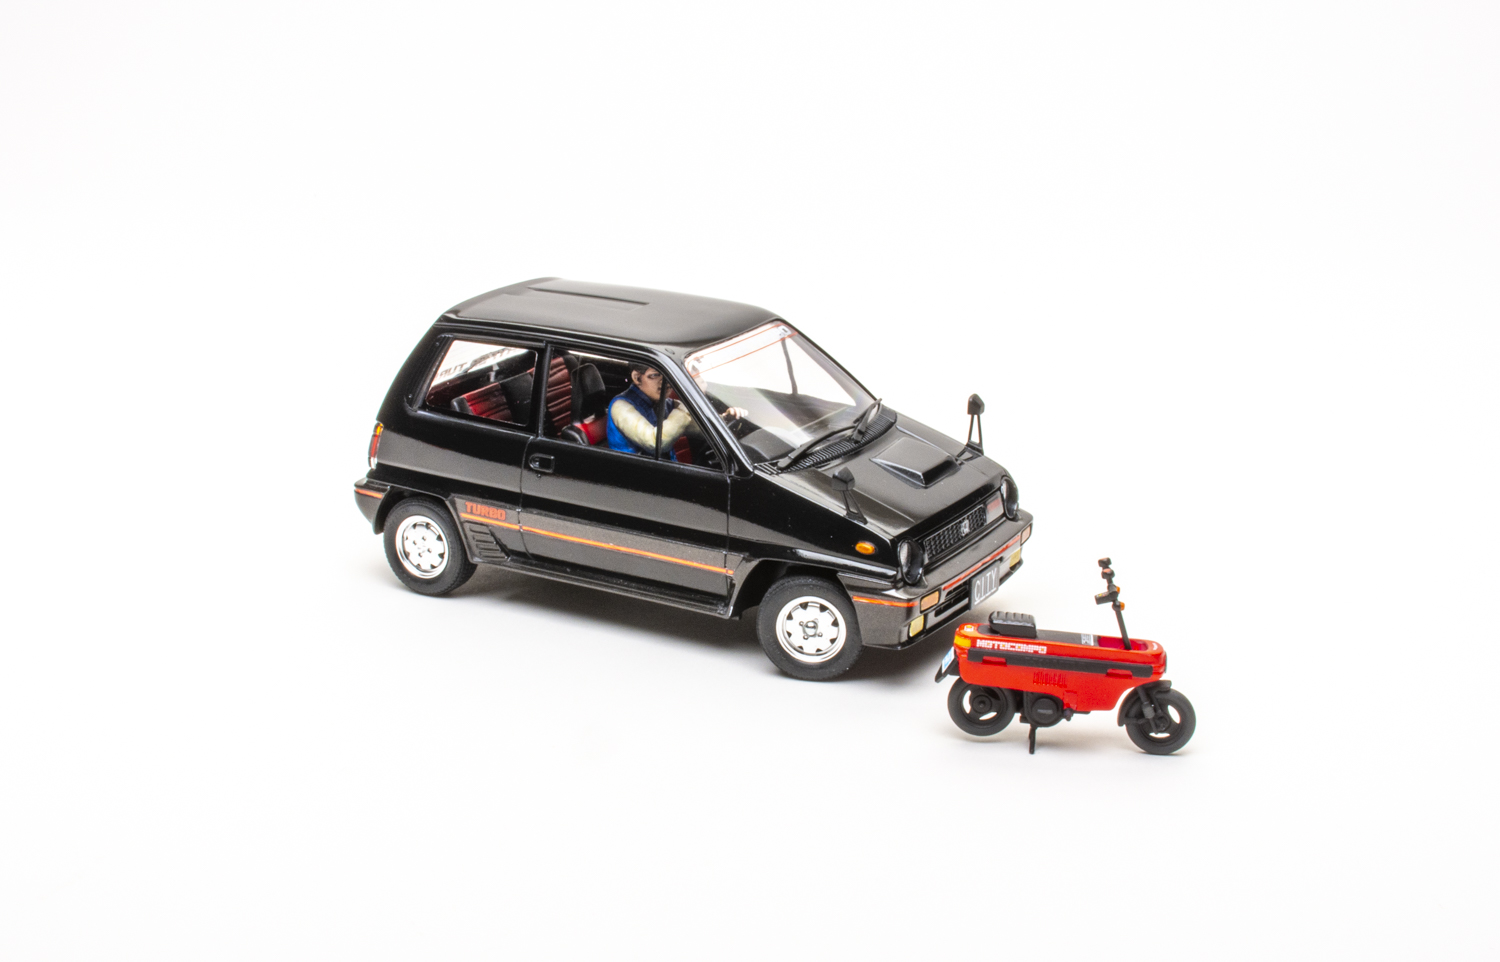
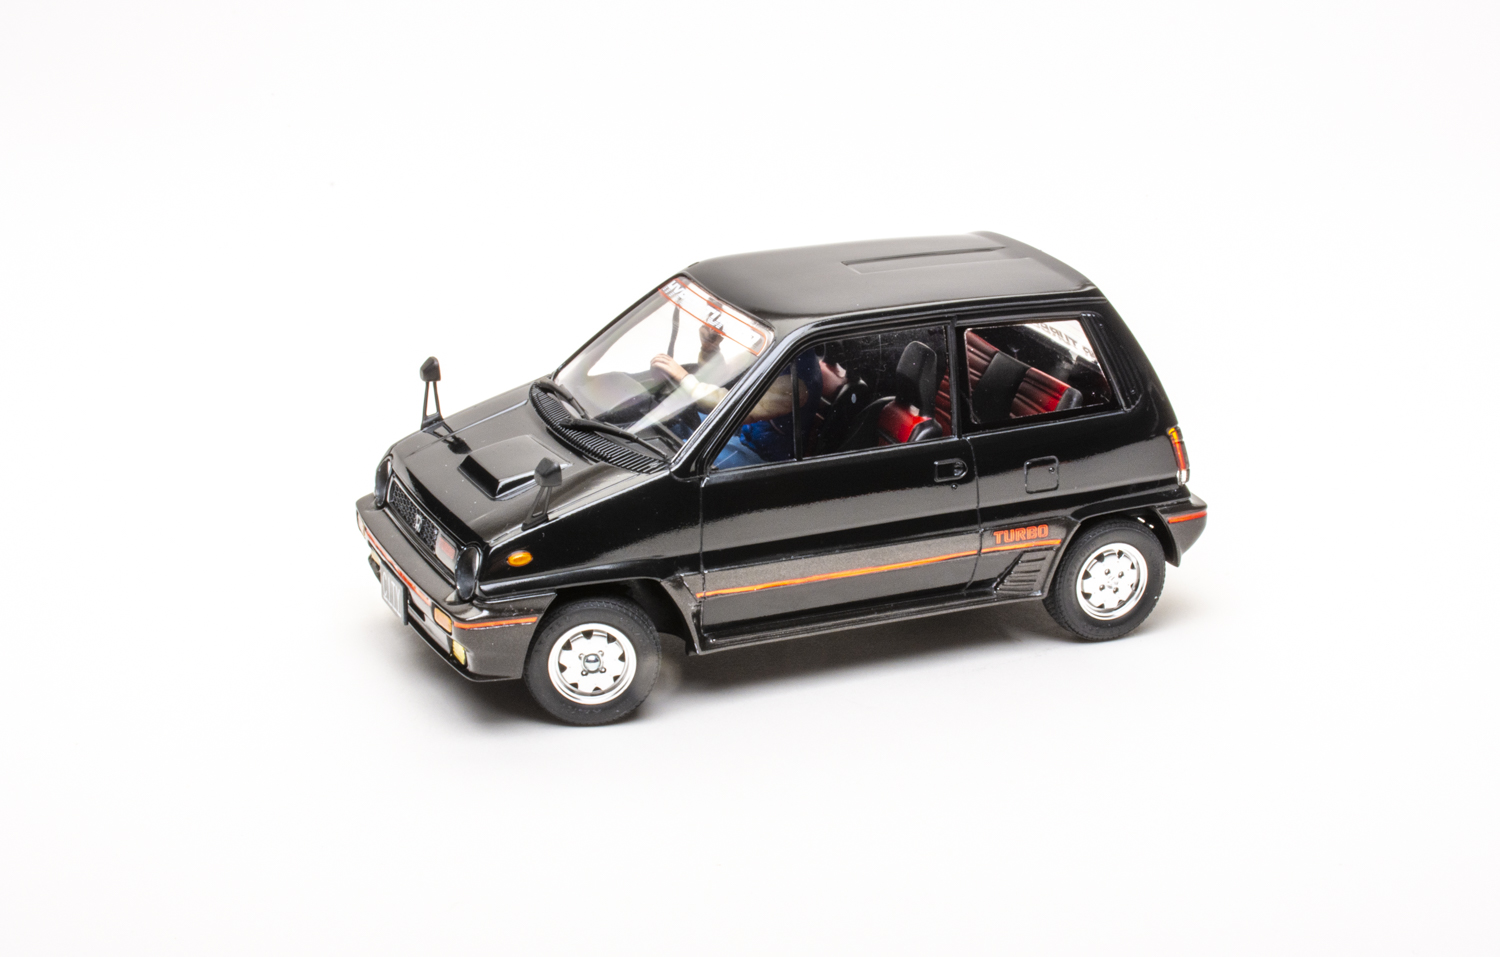
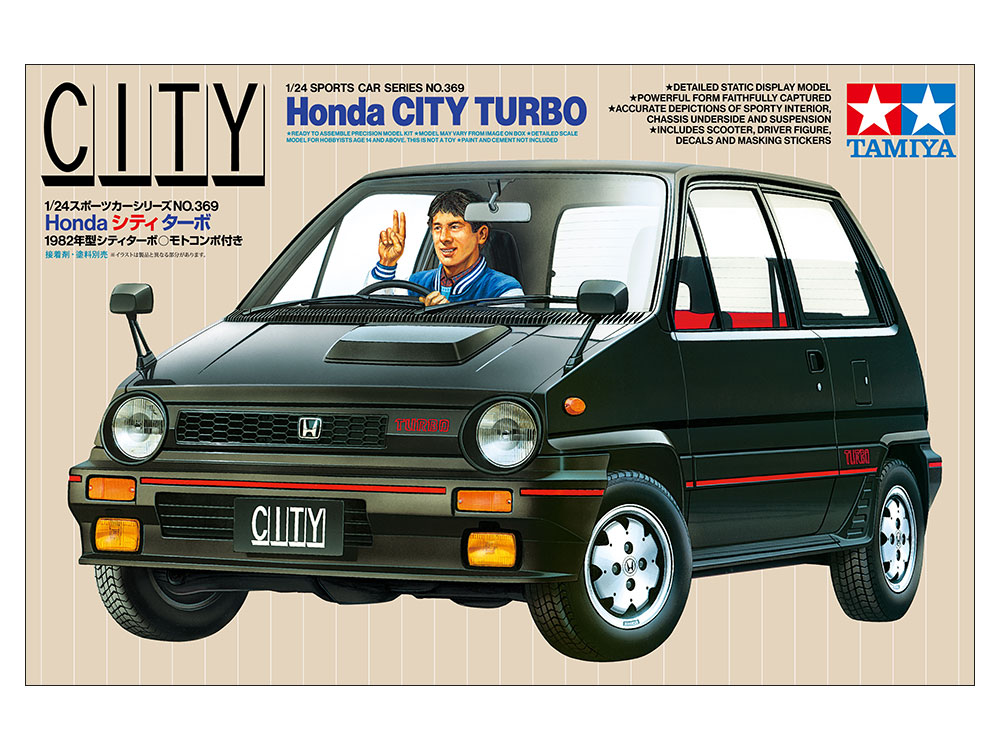
The first generation of Honda City, a small sub-compact hatchback, was produced from 1981 to 1986. Hirotoshi Honda, founder and owner of Mugen Motorsports and the son of Honda founder Soichiro Honda, took the unassuming City and turned it into a street rocket as the Honda City Turbo. It also had one of the best factory options ever: a folding, 50cc Motocompo scooter that fit in the back.
The Tamiya 1/24 scale Honda City Turbo with Motocompo plastic model kit is the first time it has offered the kit in this configuration. In the past, the only version that came with the Motocompo was the 1982 City R; the original City turbo kit from 1982 didn’t come with the Motocompo and had a slightly different interior. This new release combines the main body of the City Turbo and the interior of the City R and Motocompo.
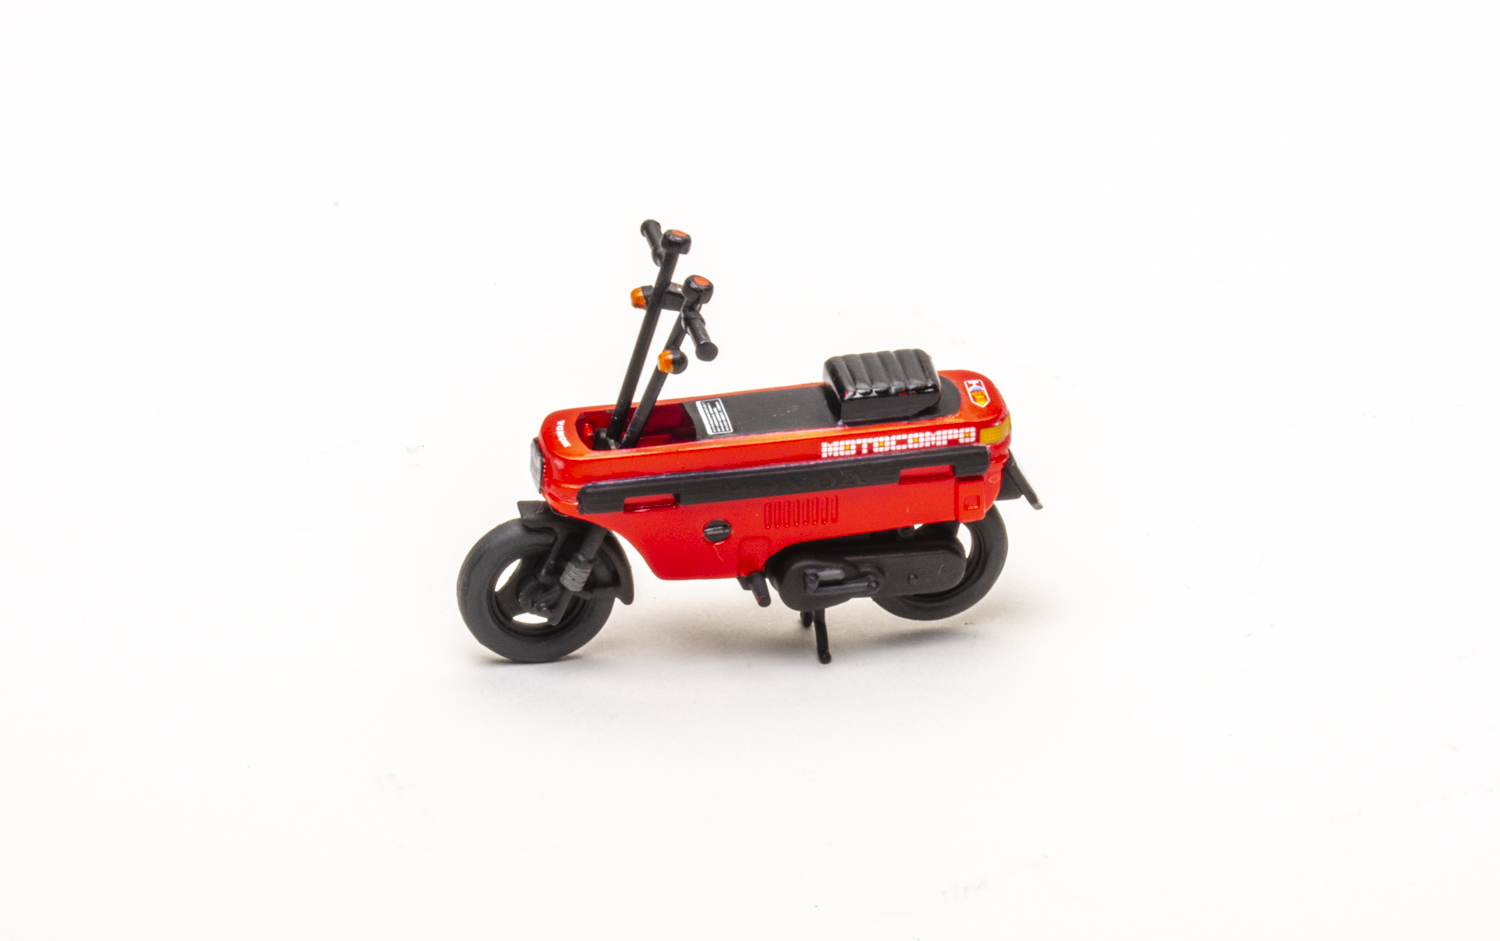
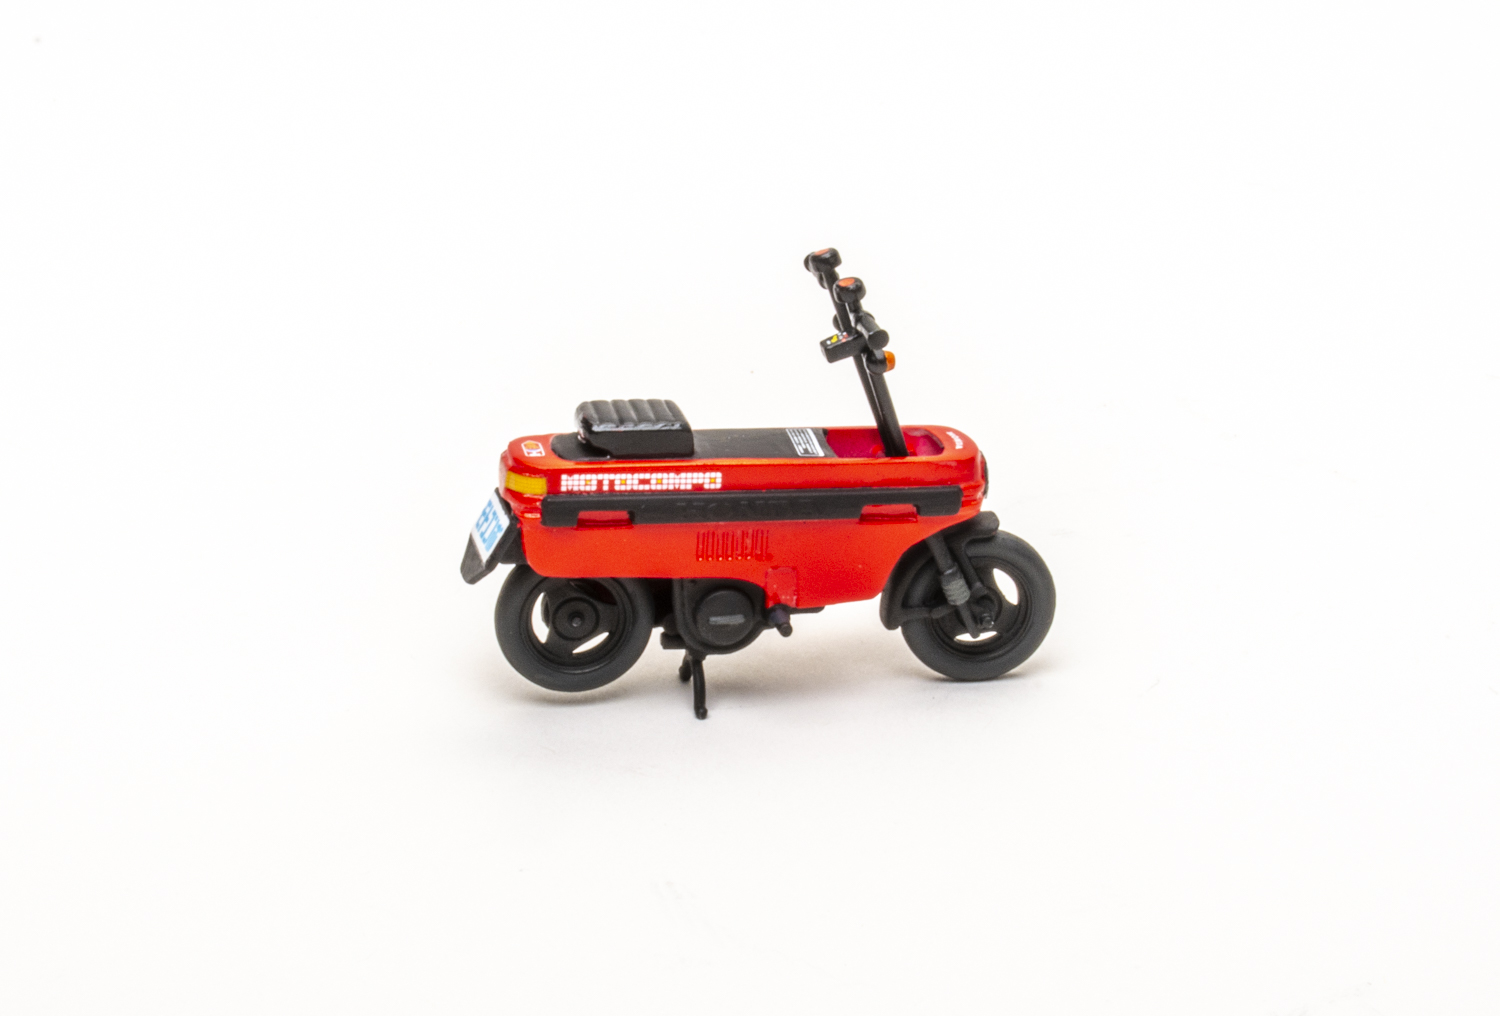
Construction starts with the seven-piece Motocompo. The scooter can be built ready-to-ride or folded away. If you choose to build it folded, the car’s trunk has a mounting location for the scooter. The molding on the Motocompo is so crisp that I would have thought it was a newly tooled addition to the kit. The Motocompo has more decals than parts (13!), but they really bring the pint-sized motorcycle to life.
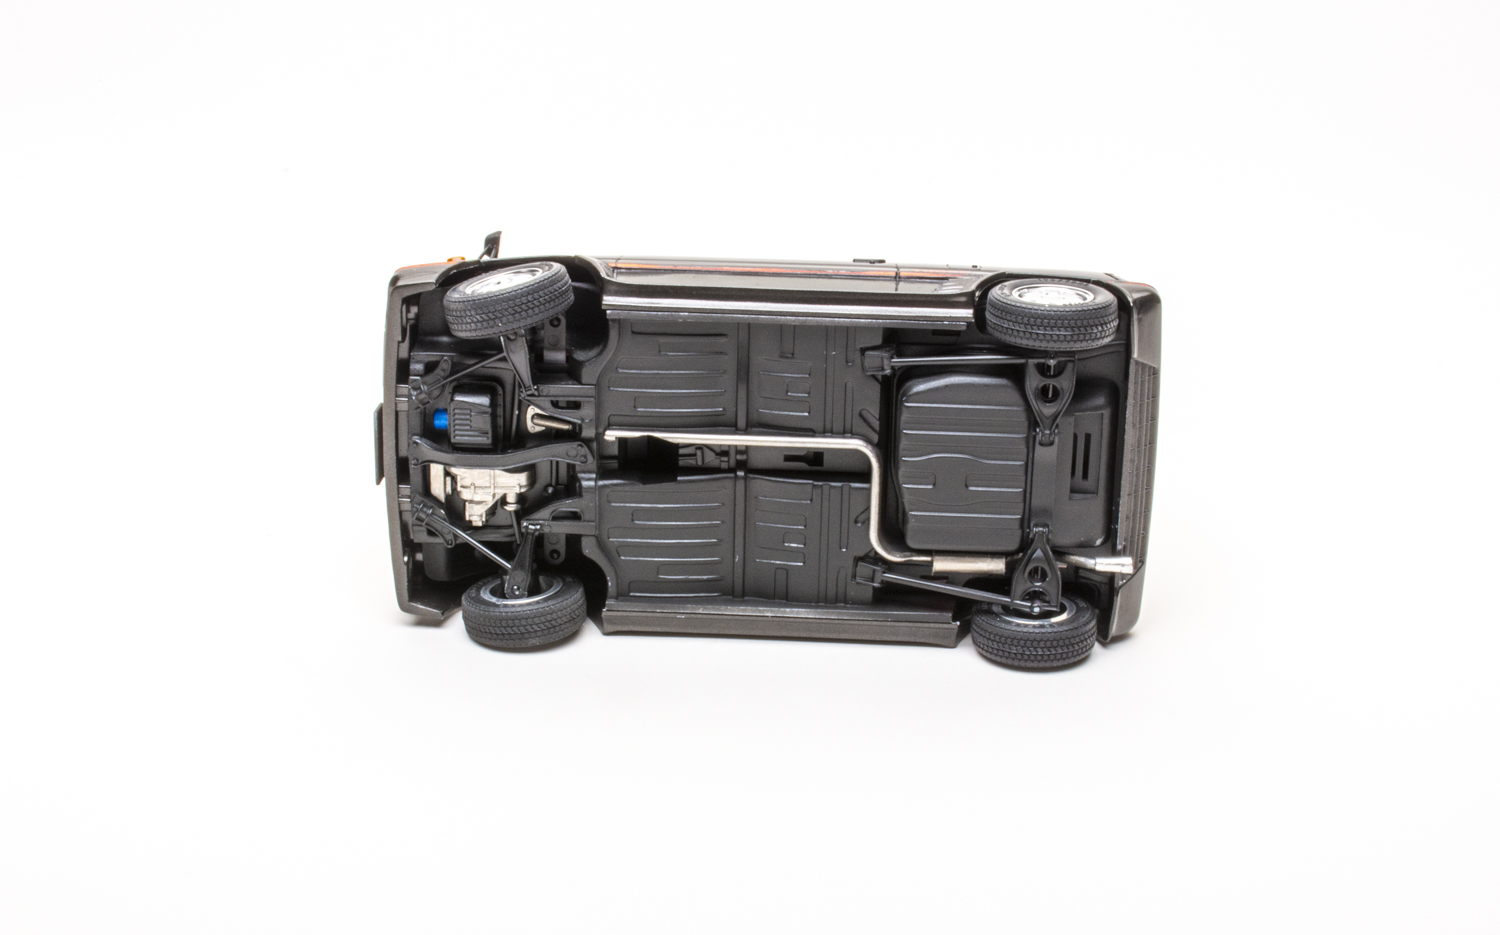
Construction of the curbside car starts with the running gear and interior. The detail still holds up well for a 43-year-old kit. The front wheels are posable. You get some basic engine detail on the bottom plate, but the undercarriage holds up well.
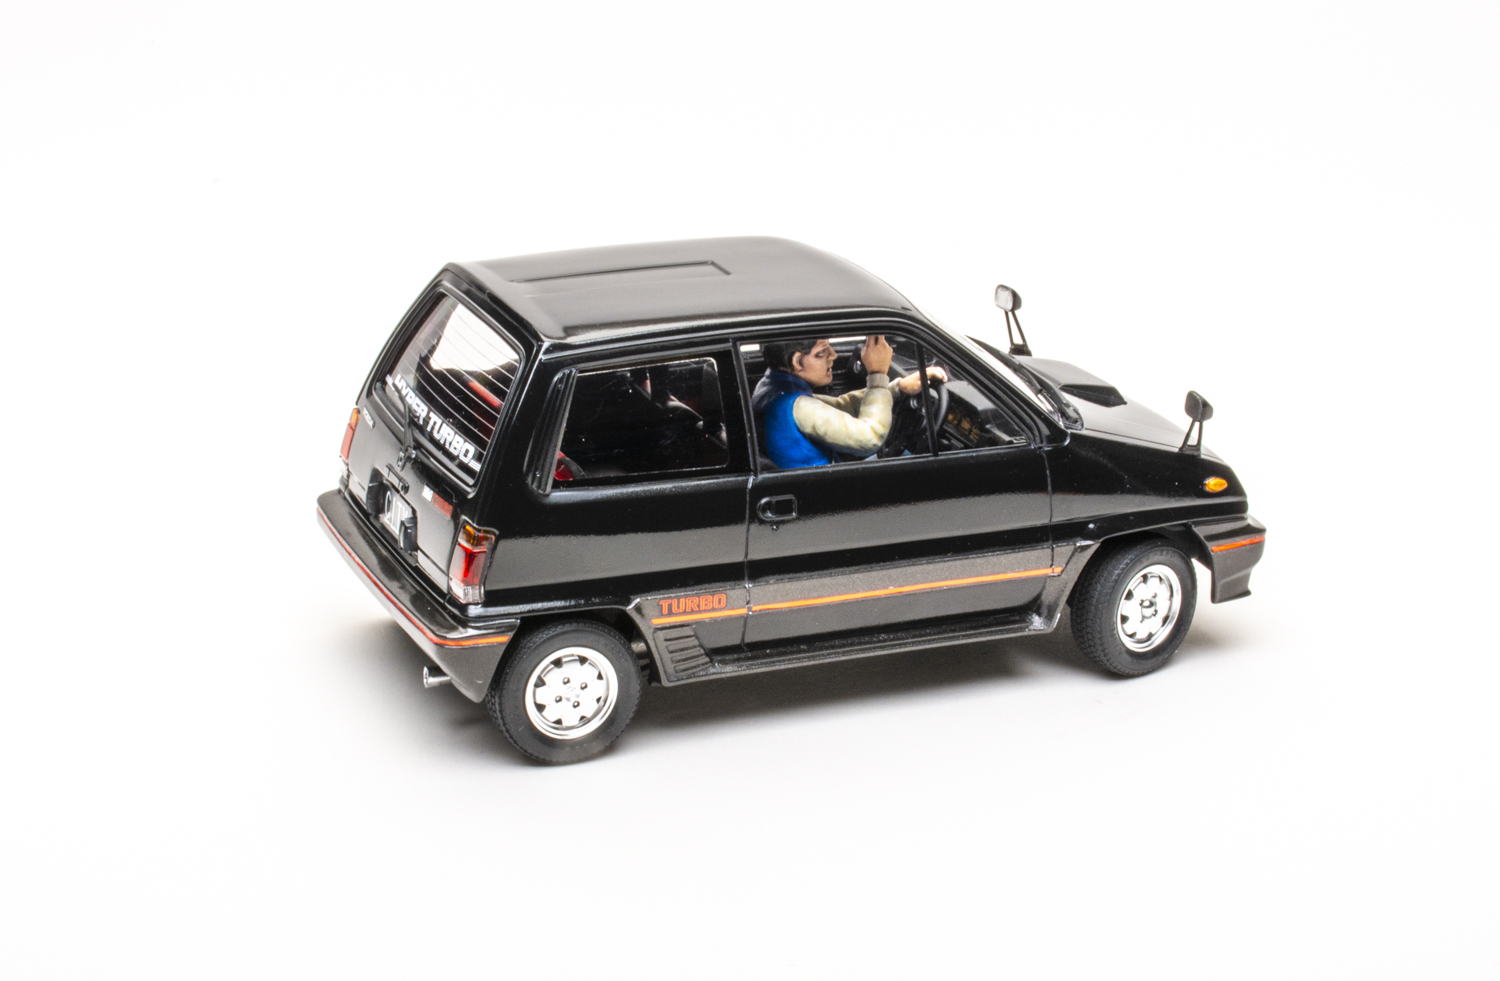
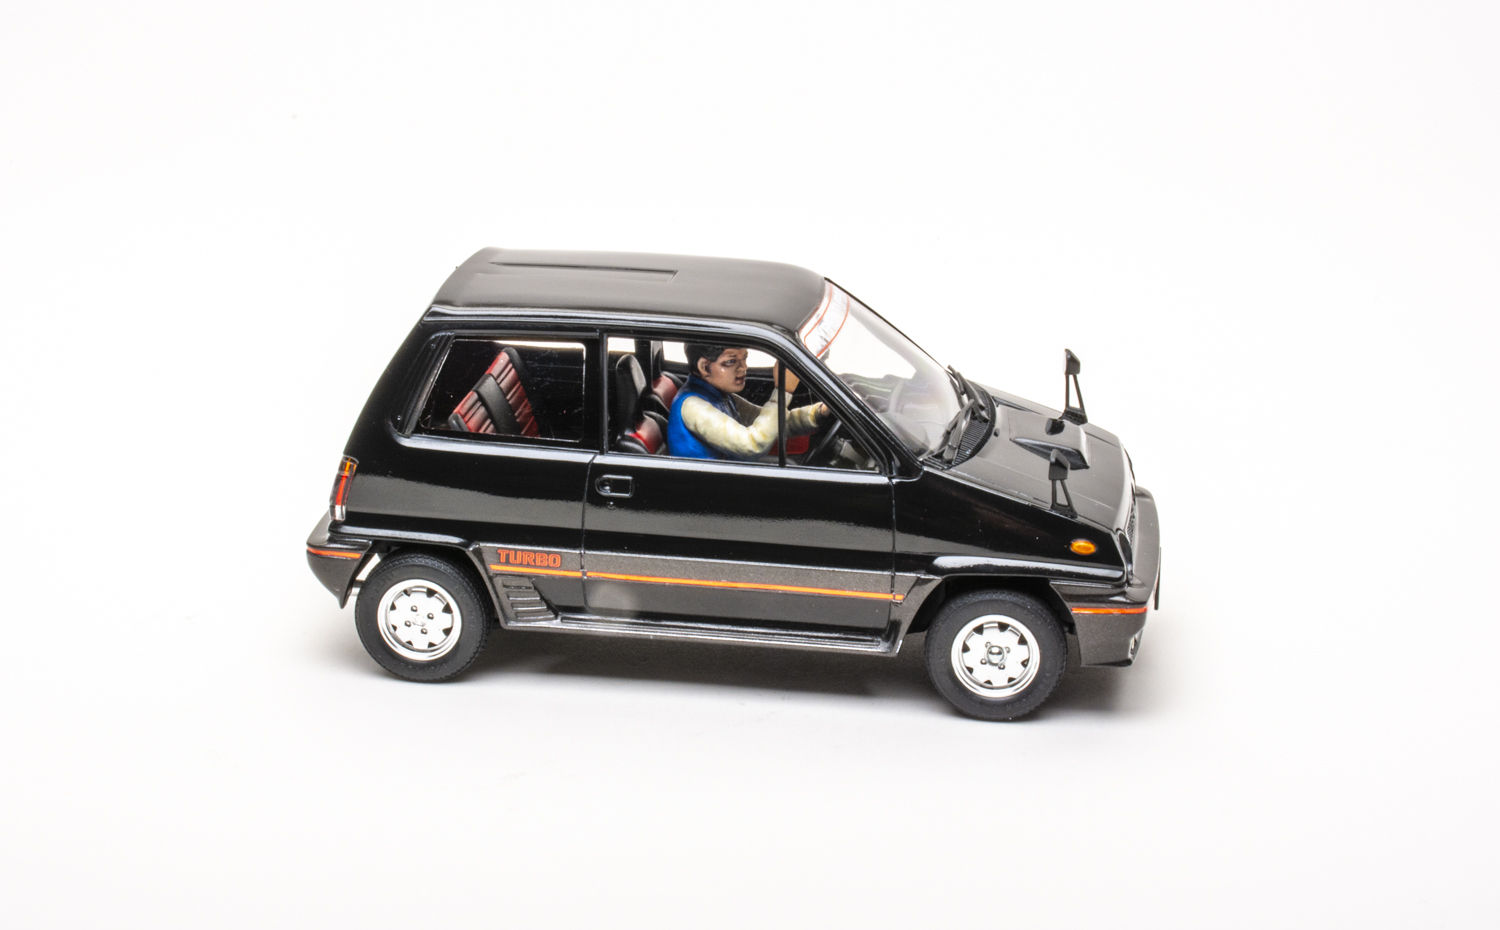
The interior builds quickly. The only things that I felt needed to be “fixed ” were ejector-pin marks on the floor, the hollow backside of the front seats, and the back of the driver figure. I filled both with Ave’s two-part epoxy putty. I love the inclusion of the well-sculpted driver, although its face does have the look of Tamiya’s 1980s figures. If you build this as a showpiece model, you could quickly improve the figure by using the extra male head from the Tamiya Campus Friends II (No. 24356) set.
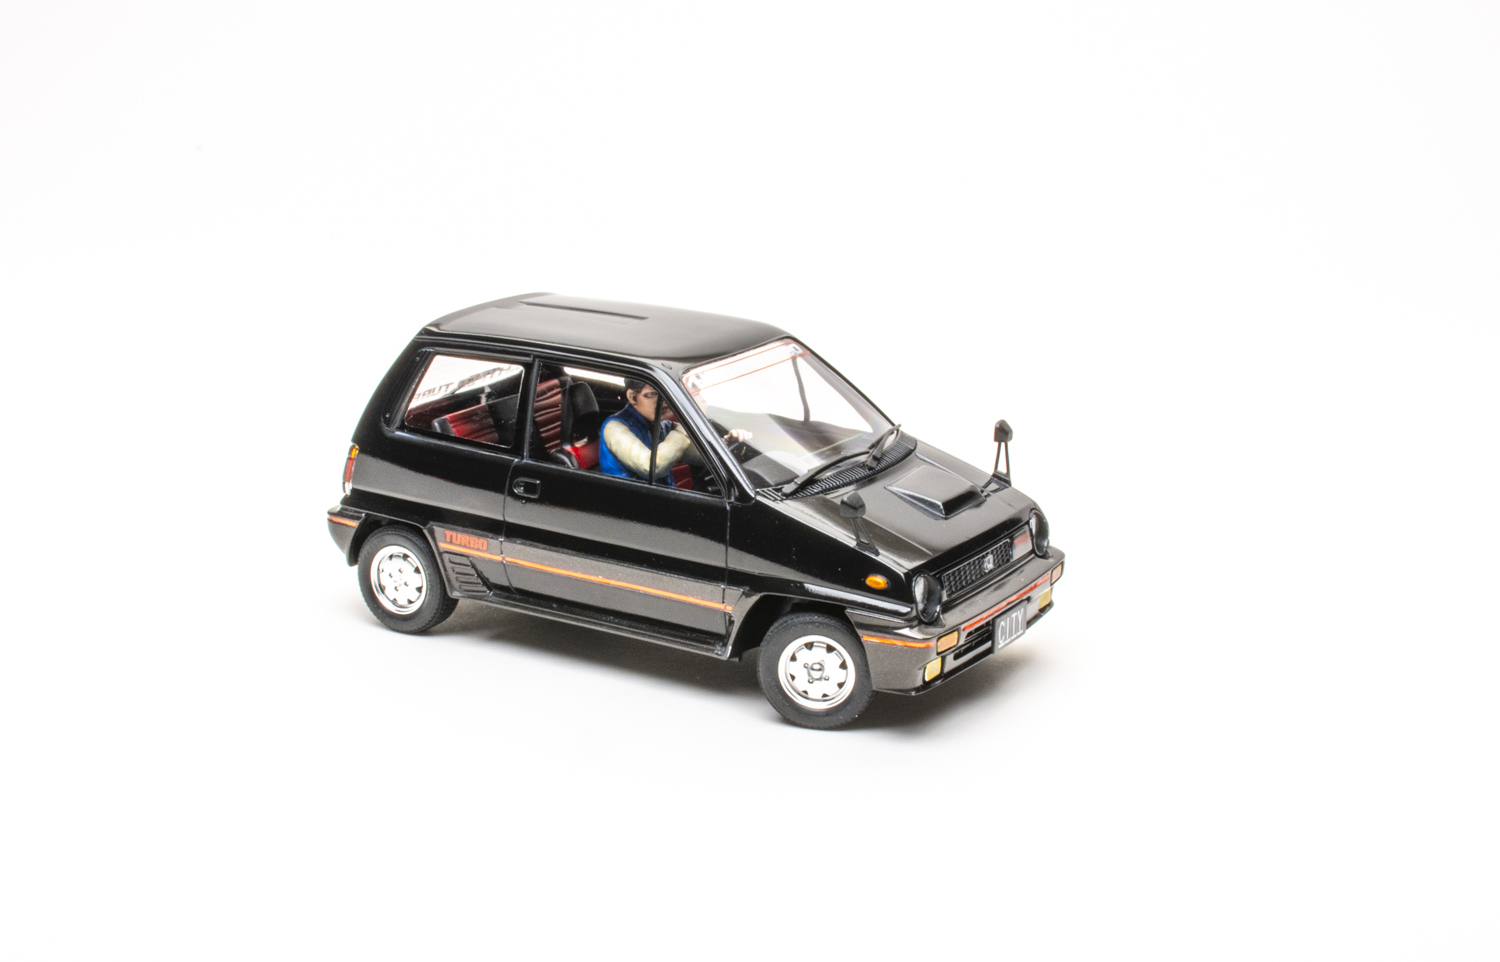
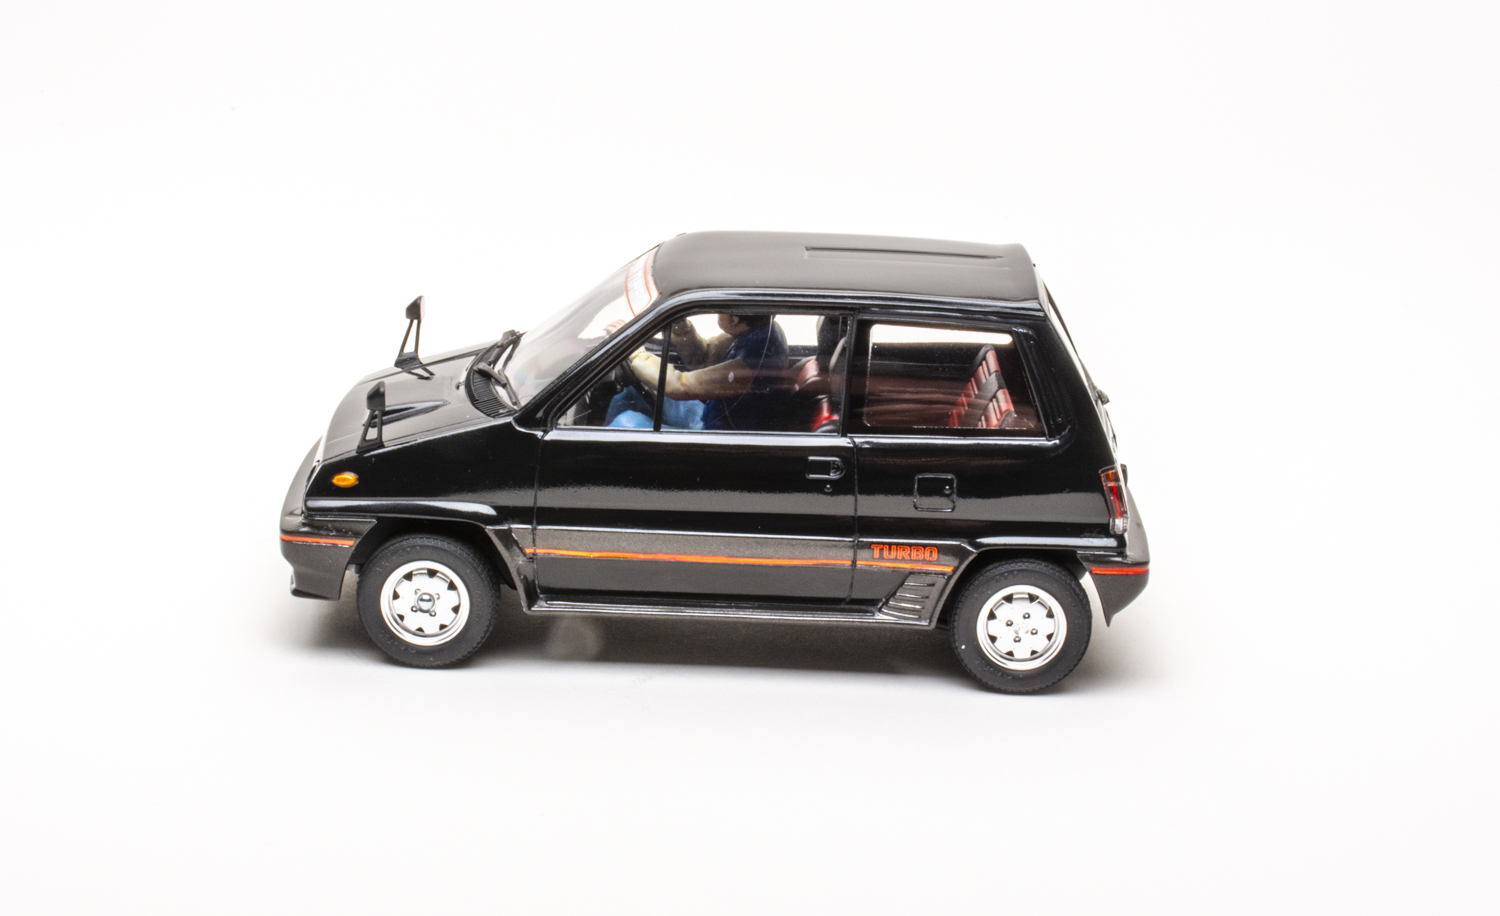
I attached the lights, mirrors, and wipers after painting the body. The Motocompo was available in red, yellow, and white, and the City Turbo came in Blue, Black, and Red. I chose black because I thought it would go well with the red accent line, and painted the Motocompo red to match. The instructions provide color callouts.
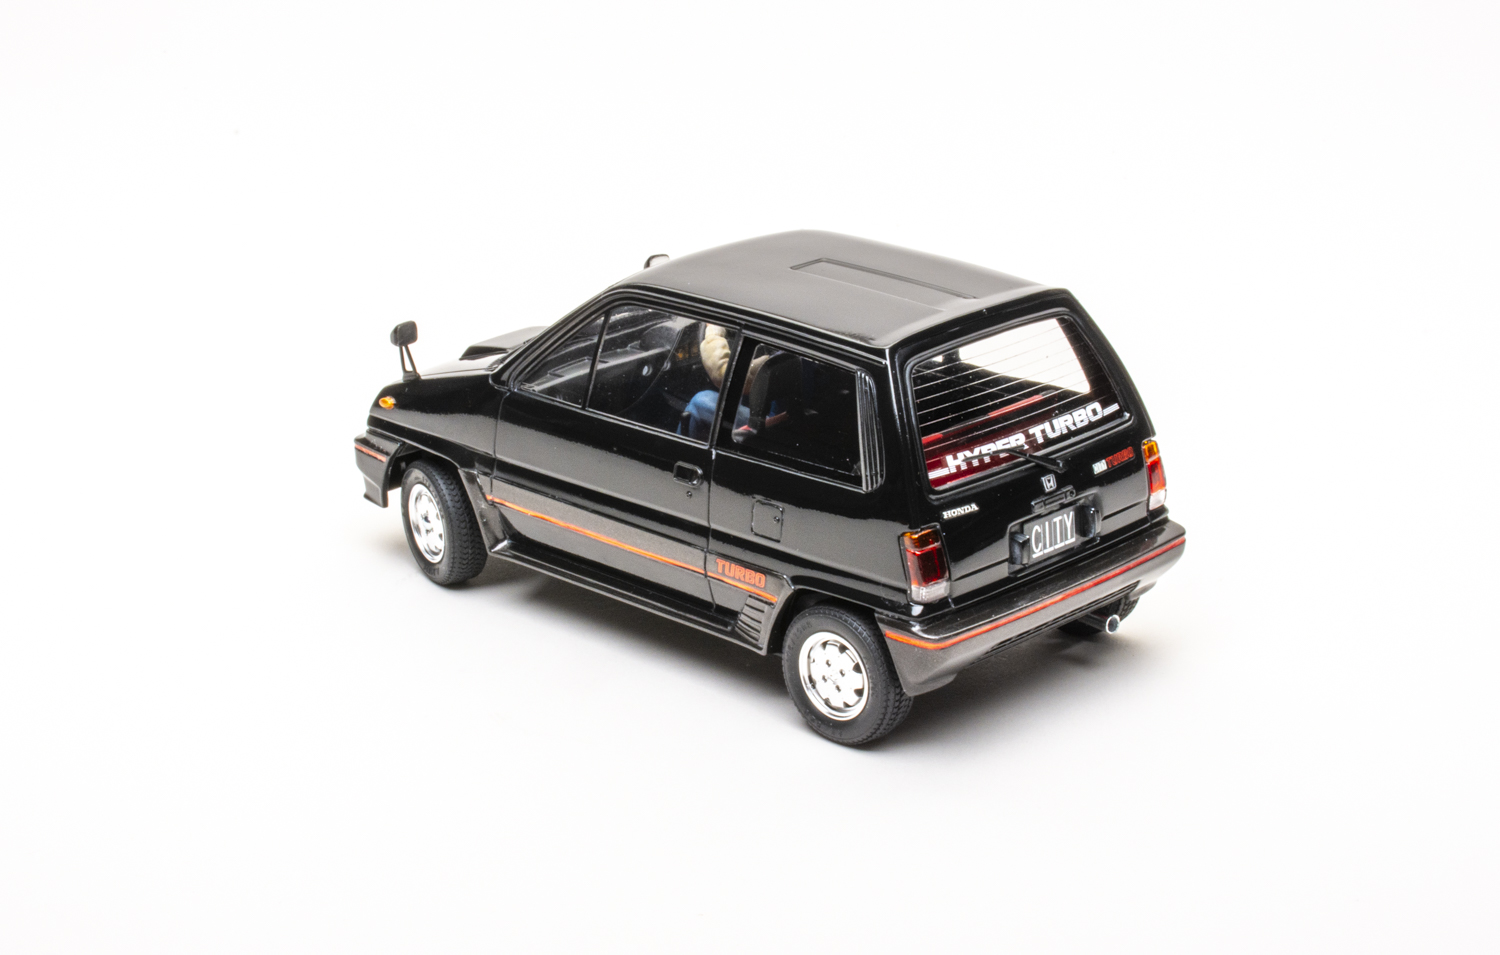
The decals went on smoothly — no surprise there. My favorite is the HYPER TURBO windshield banner. Remove the clear carrier film from around the red accent stripes right up to the red. The body contours where the stripes are placed make it difficult to maintain a straight line if you don’t trim the extra film.
All in all, I thoroughly enjoyed this kit and might pick up another to build as a modified show car. Building and painting this pint-sized hot hatch took me about 20 hours, and I really enjoyed every minute of it. With a low parts count and great parts fit, I would gladly suggest this model to any modeler.