
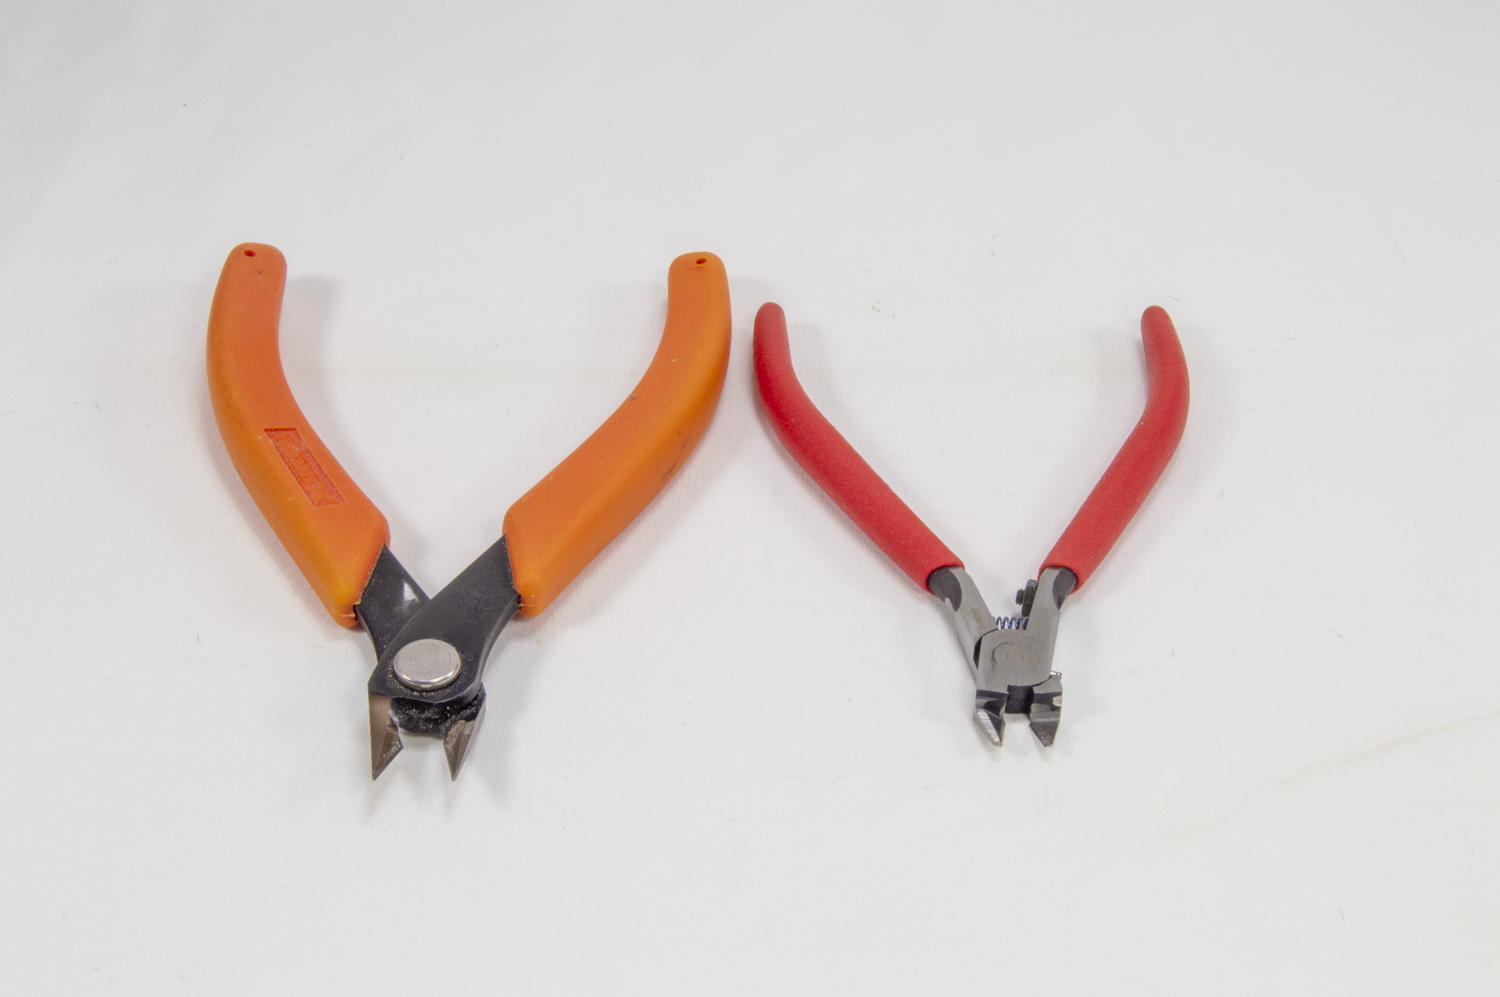
The goal when removing parts is to avoid damage and minimize cleanup. The most often used tool in a model builder’s arsenal is a side cutter (colloquially known as sprue cutters or snips). Here is a Xuron 217A Maxi Shear Flush Cutter (left) and a Dspiae ST-A 3.0 Nipper (right). The more common shear pinches the plastic with two blades, while the nipper has a single very sharp blade and a flat surface that it squeezes against.
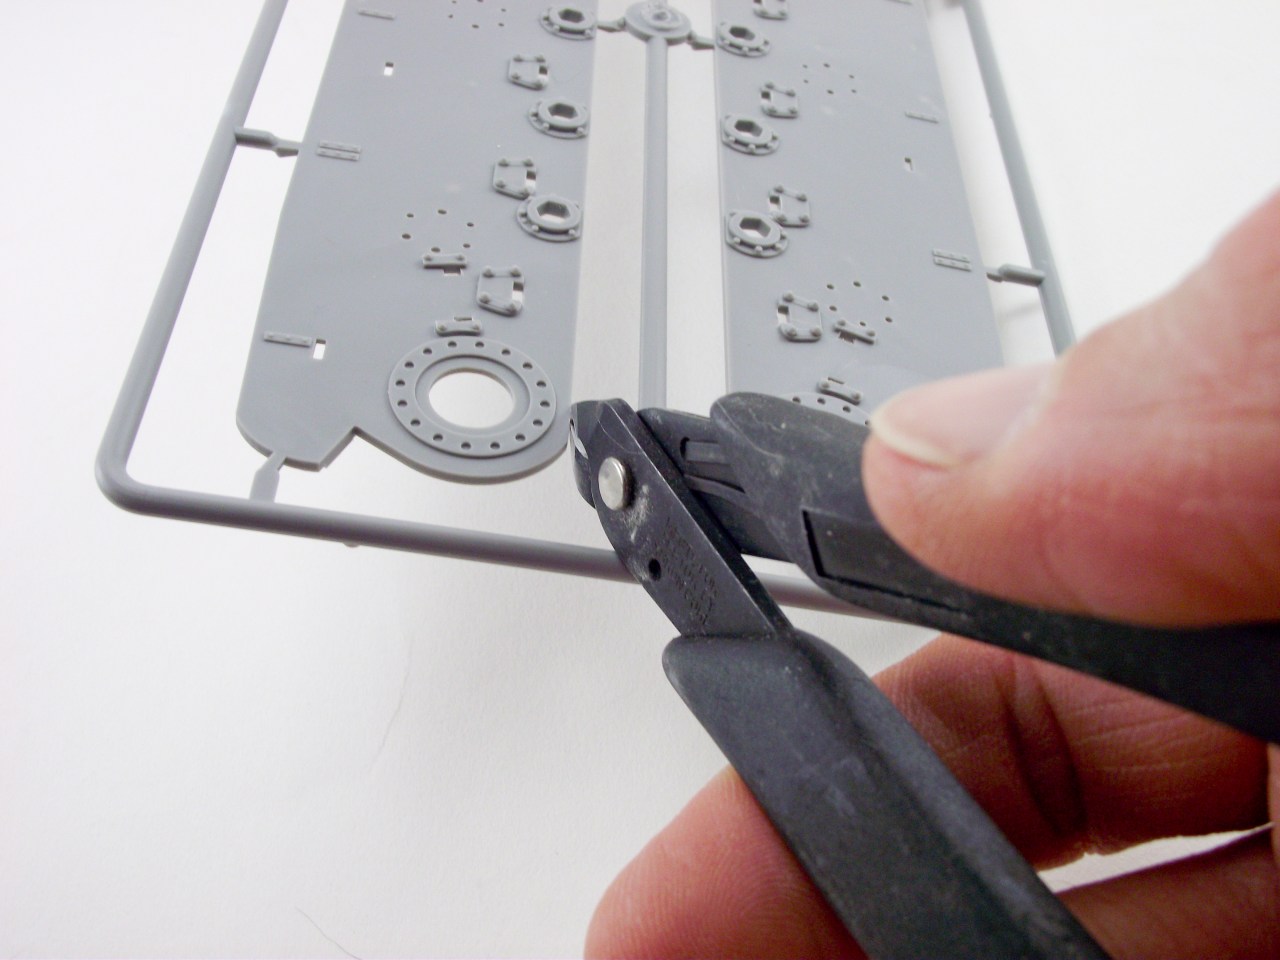
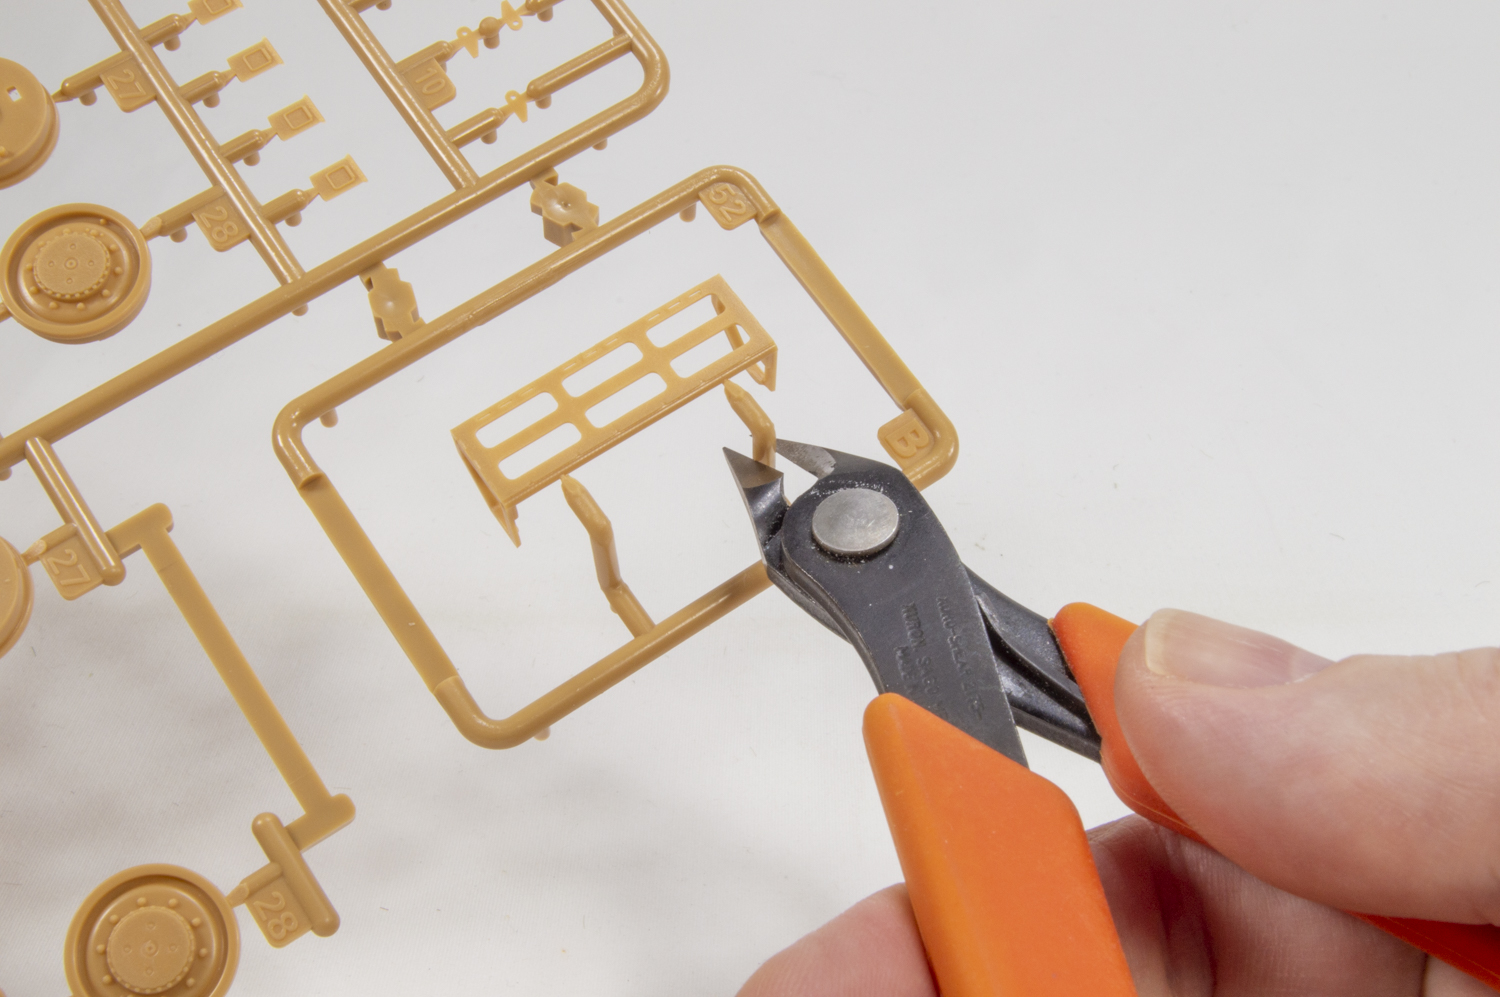
If you’re using shears, place the flat part of the snips as close to the part as possible and gently squeeze to remove the part from the sprue.
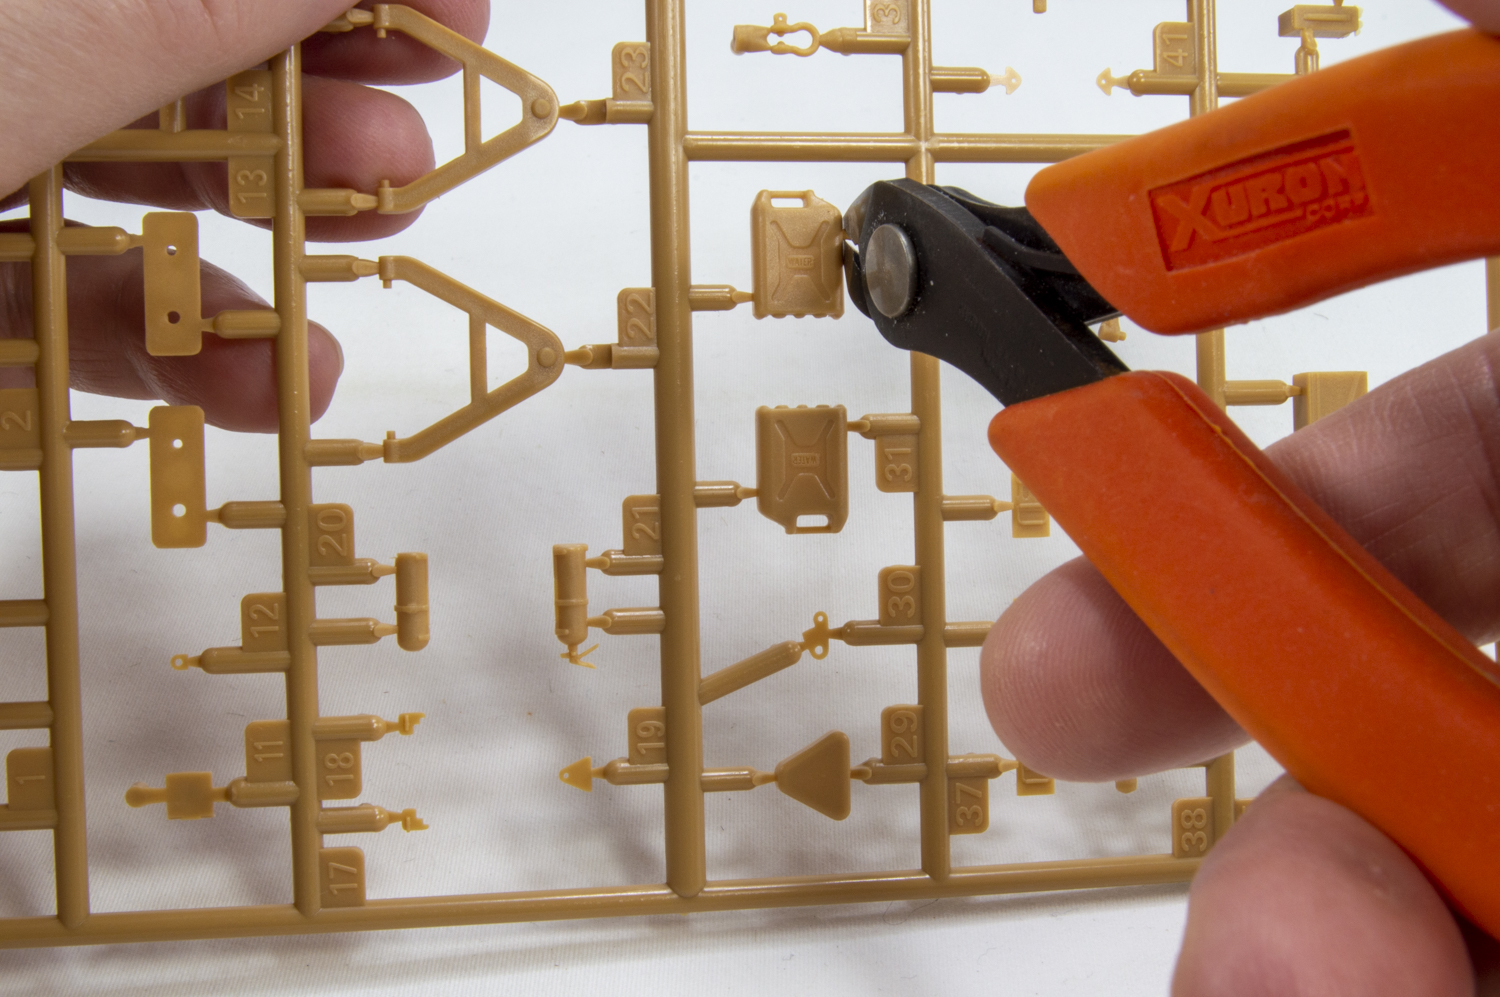
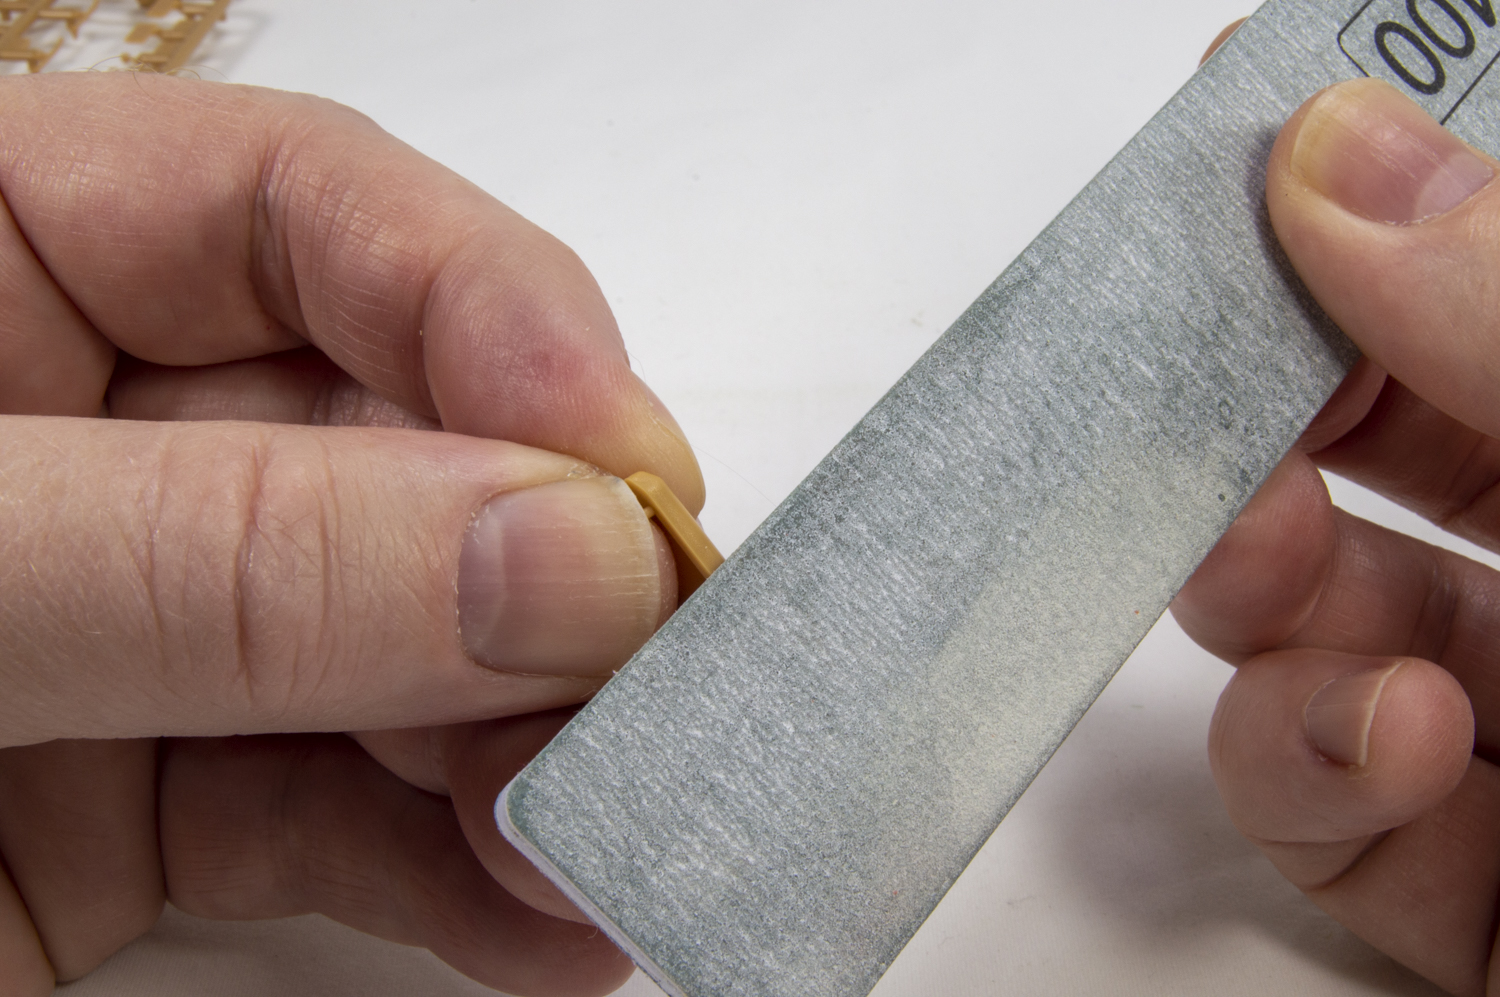
Carefully cutting close to the part leaves only a small amount of plastic from the sprue left on the part that is easily cleaned up with a few passes of a sanding stick.
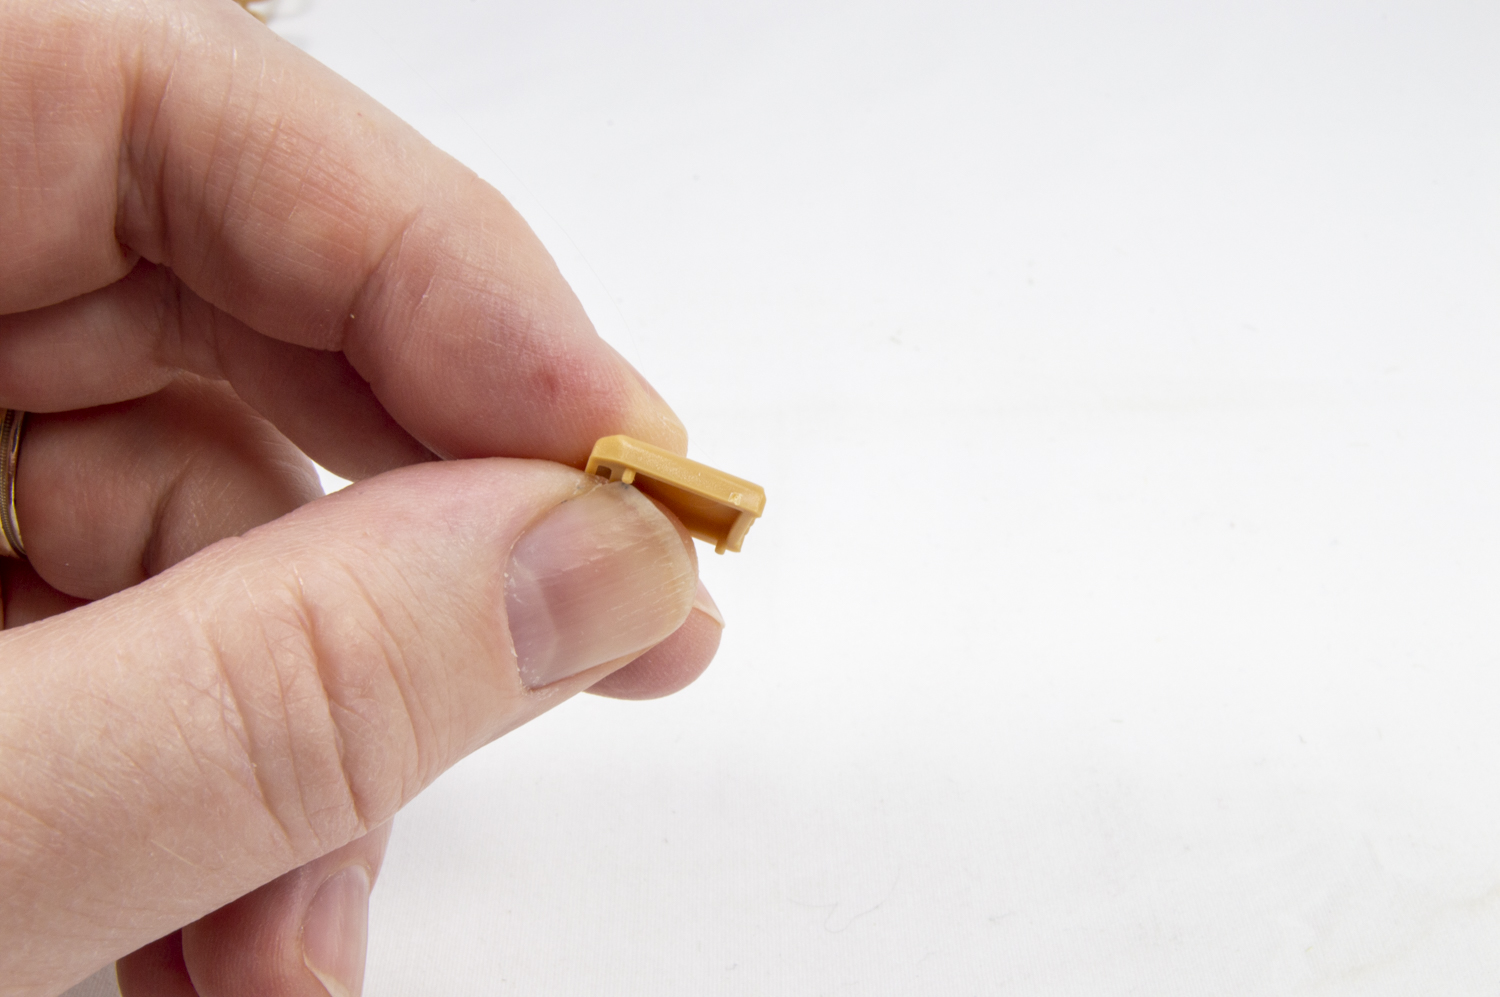
The nipper does the same job, but the blade is much sharper and leaves behind less material from the sprue. It is great to use for small parts that are difficult to clean later, like this jerry can filler. Note: The nipper has limitations on the diameter of plastic it can cut through.
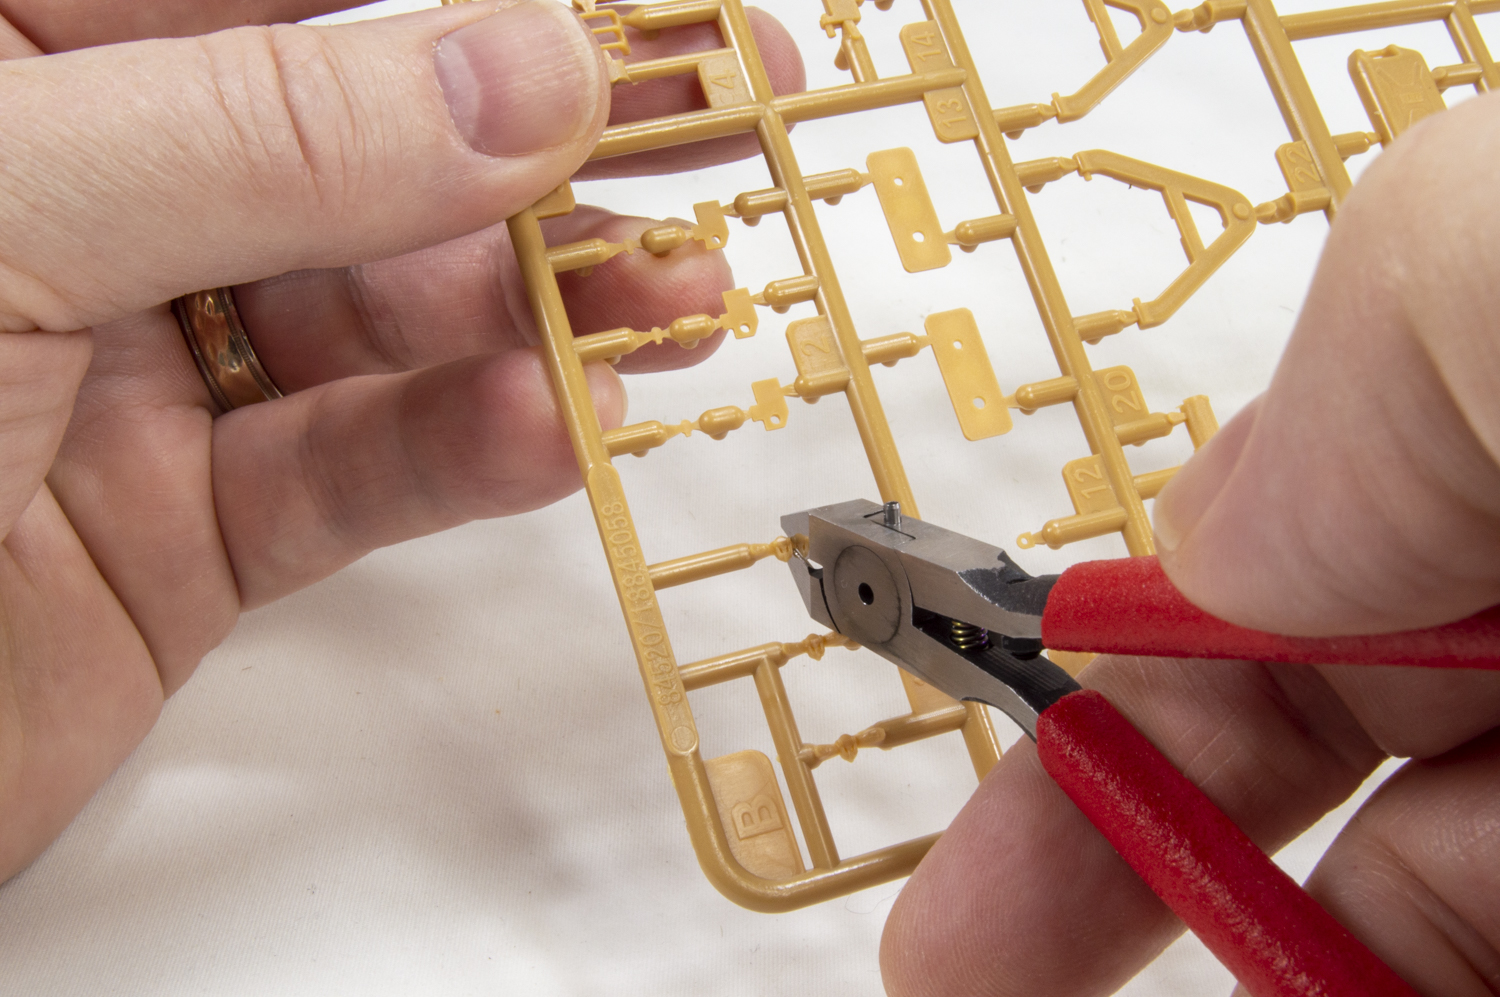
Sometimes you may wish to cut a section of the sprue away with the part still attached. This can make it easier to position the part for removing it from the sprue. In such a case, cut the thicker part of the sprue with the snips.
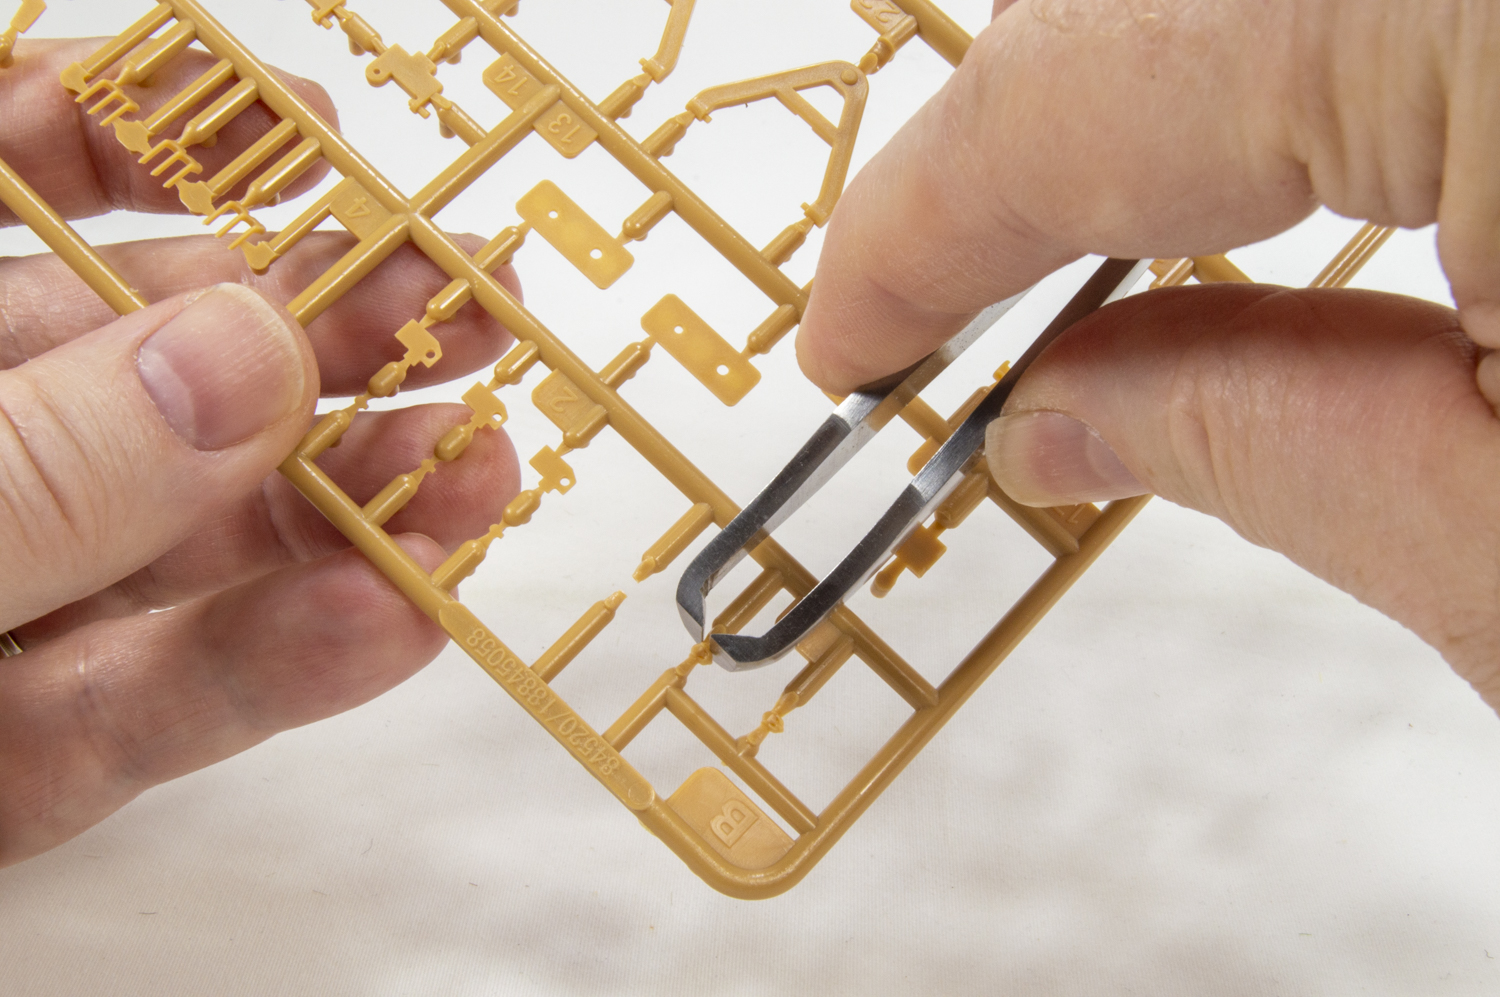
Tweezer-style cutters work like snips with two sharpened blades that pinch the plastic to cut through it. They’re handy to get into tight places on the sprue where you cannot get a close cut with other types of cutters.
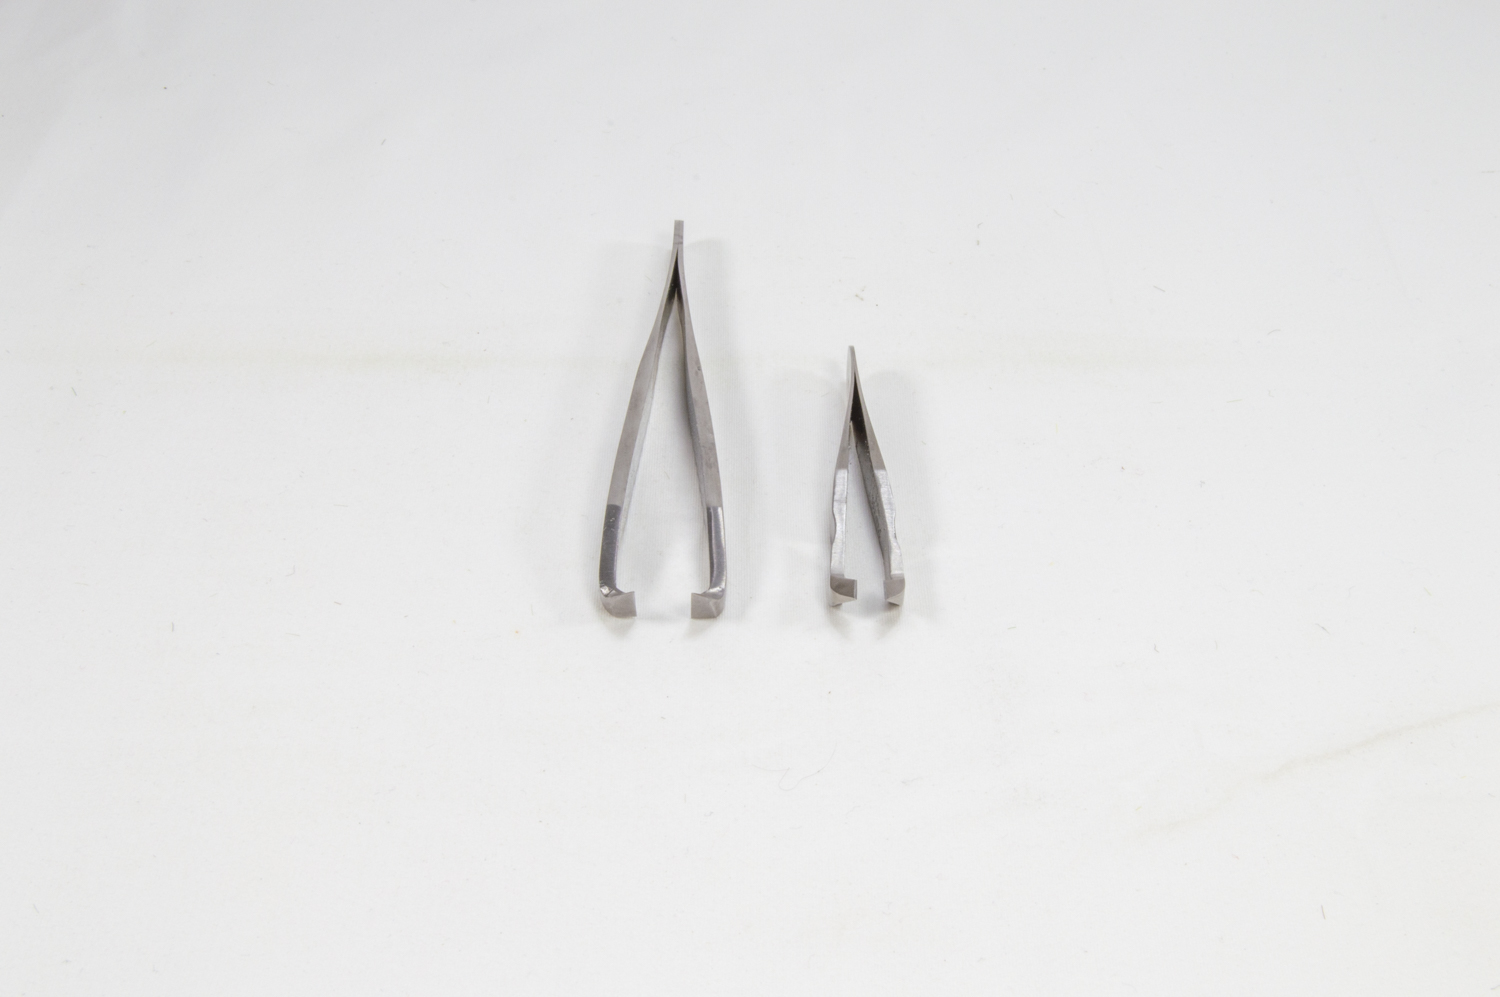
Just like with snips, get the cutting end of the tweezers close to the part and squeeze.
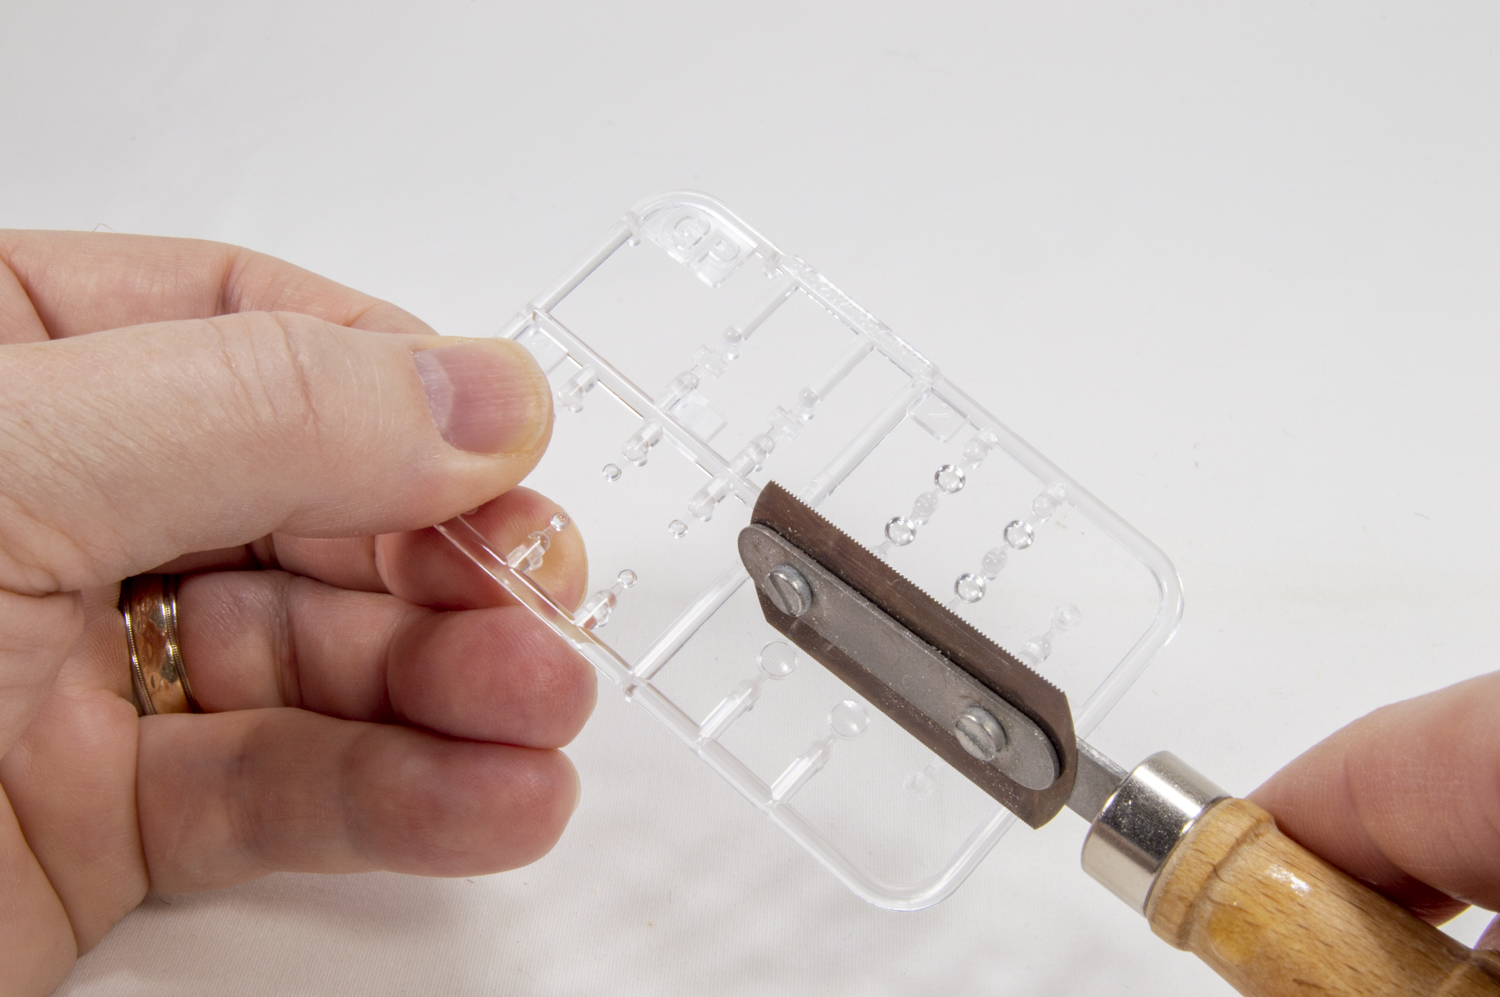
To remove clear plastic parts from sprue, you’ll want a razor saw in your toolbox. Clear plastic, typically harder and more brittle than colored styrene, can crack from the squeezing pressure of snips. Instead, hold the razor saw as close to the part as possible and gently saw through the sprue. Let the saw blade do the work and be careful not to damage nearby parts.
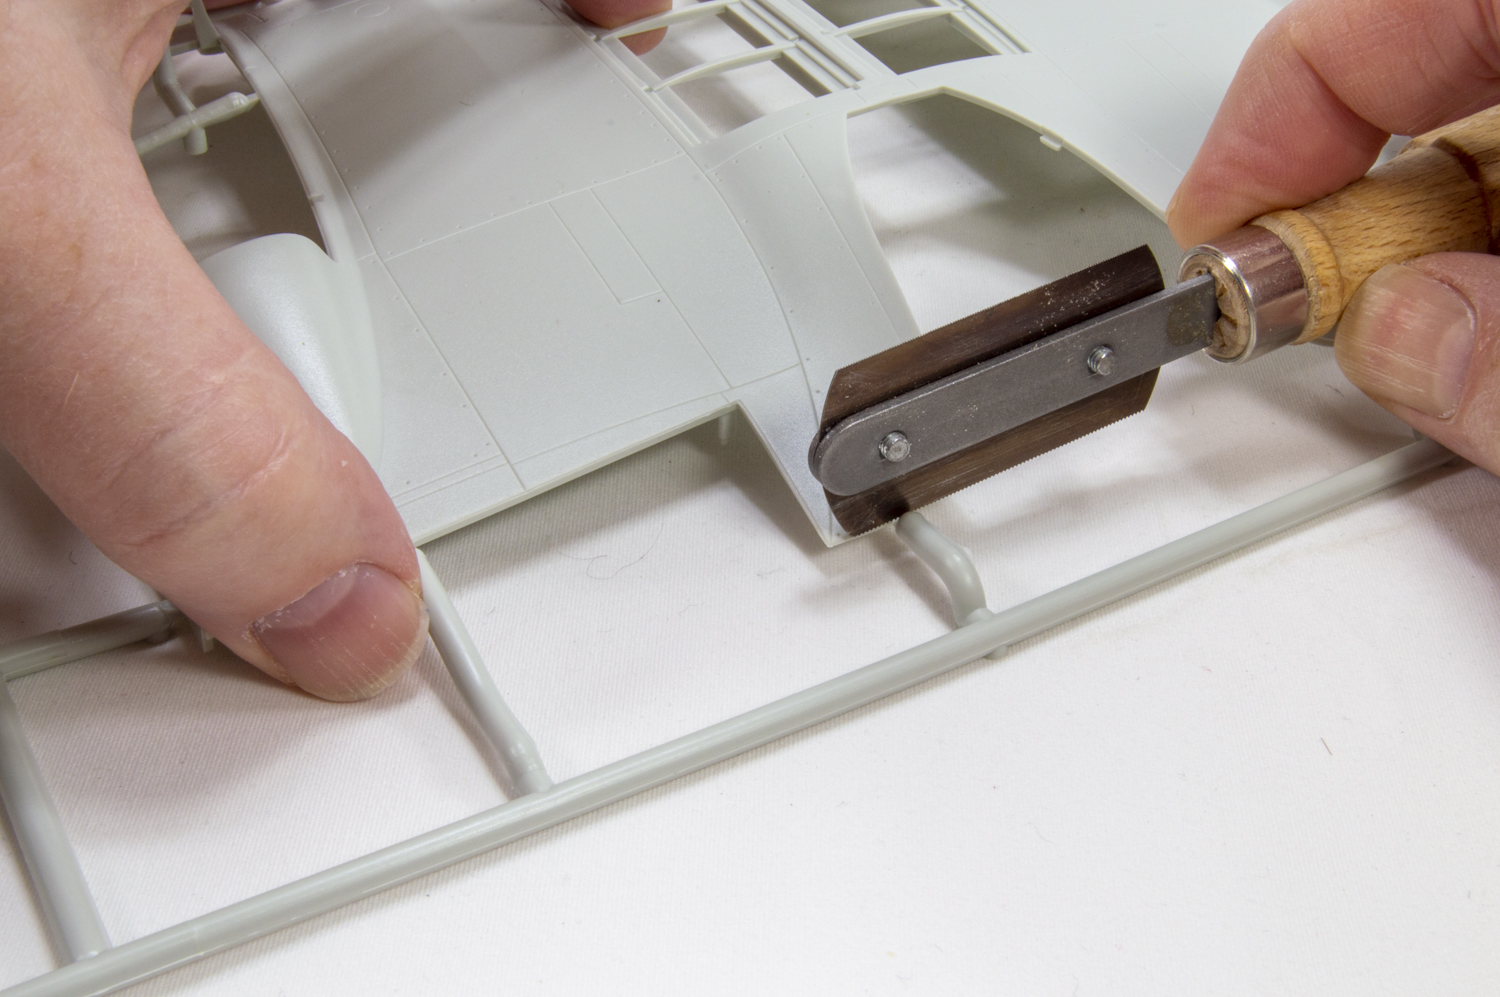
A razor saw is also useful for large sprue attachment points. Snips may not be able to cut through the attachment. To avoid damage and extra cleanup, use a razor saw for a clean cut and then clean up with a sanding stick.
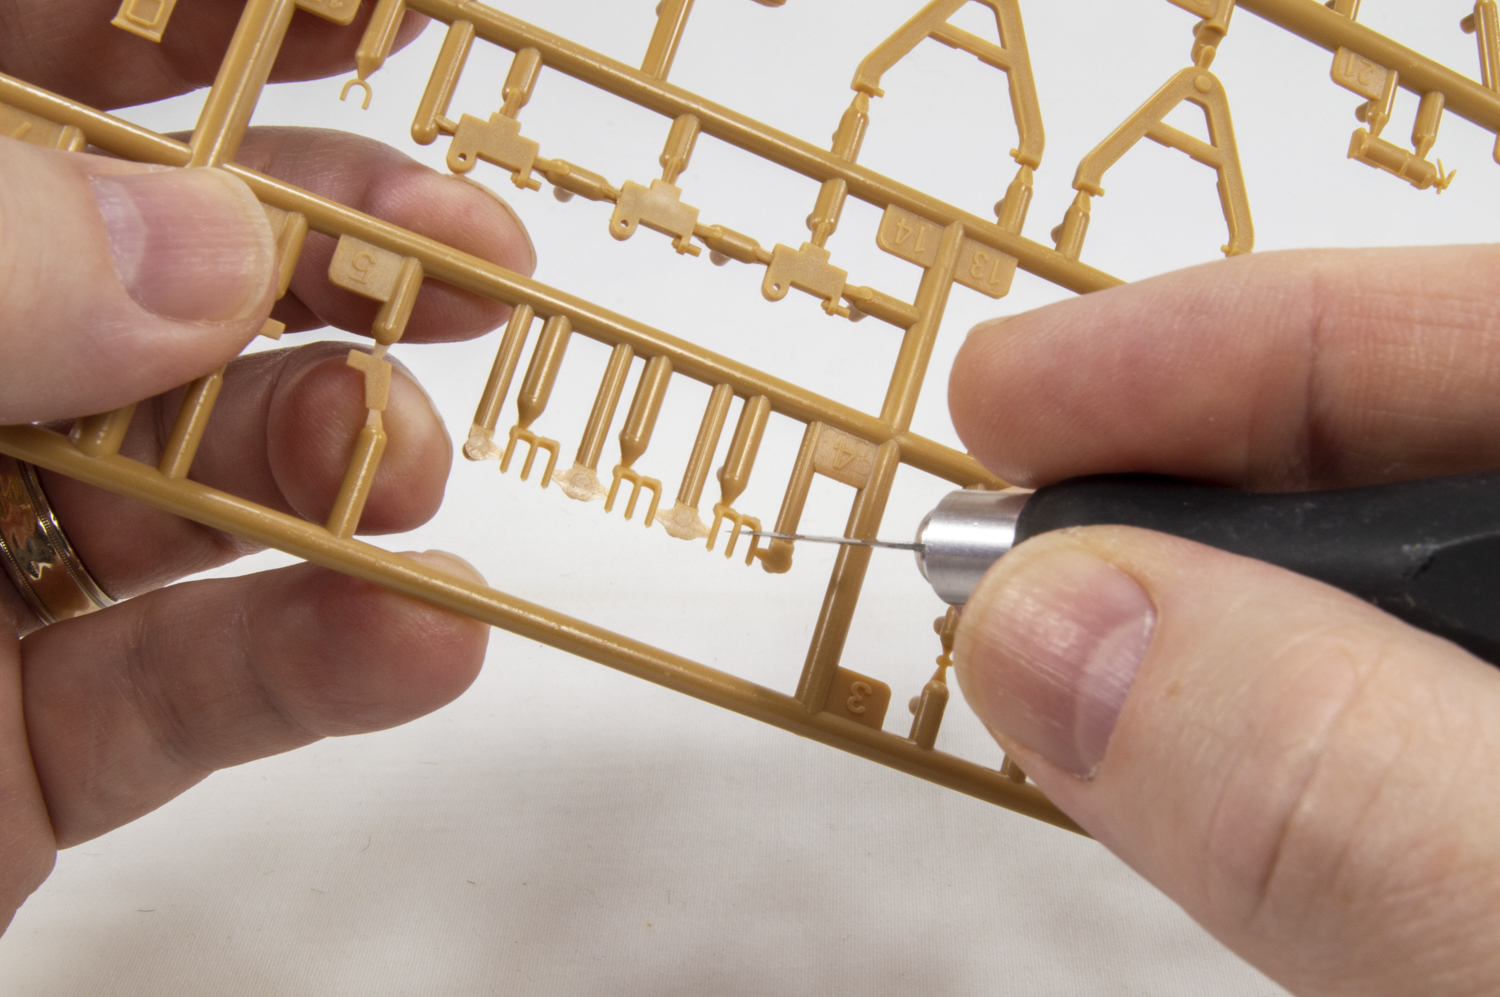
Do not use a hobby knife to remove parts from sprue. It can be difficult to control, and you may damage the part or cut yourself in the process. You can use a hobby knife for a first pass at cleaning parts while still on the sprue. These 1/35 scale jerry can handles needed a quick pass with the blade to remove mold lines, which is much easier done while still attached to the sprue.
The parts molded on sprues are of many shapes and sizes, so there is no single tool that works perfectly in all situations. Having a variety of tools can help avoid part breakage, make cleanup easier, and make removing parts from sprue quicker and easier.
This story was updated from the original published on May 5, 2021.
One of the most basic activities in model building is also one of the most misunderstood, at least by beginners: how to remove parts from sprue (or a parts tree). It’s normal to want to get in there and twist parts off or use a hobby knife to cut the parts away, but doing either could break your parts, or at the very least, leave them with ugly deformations.