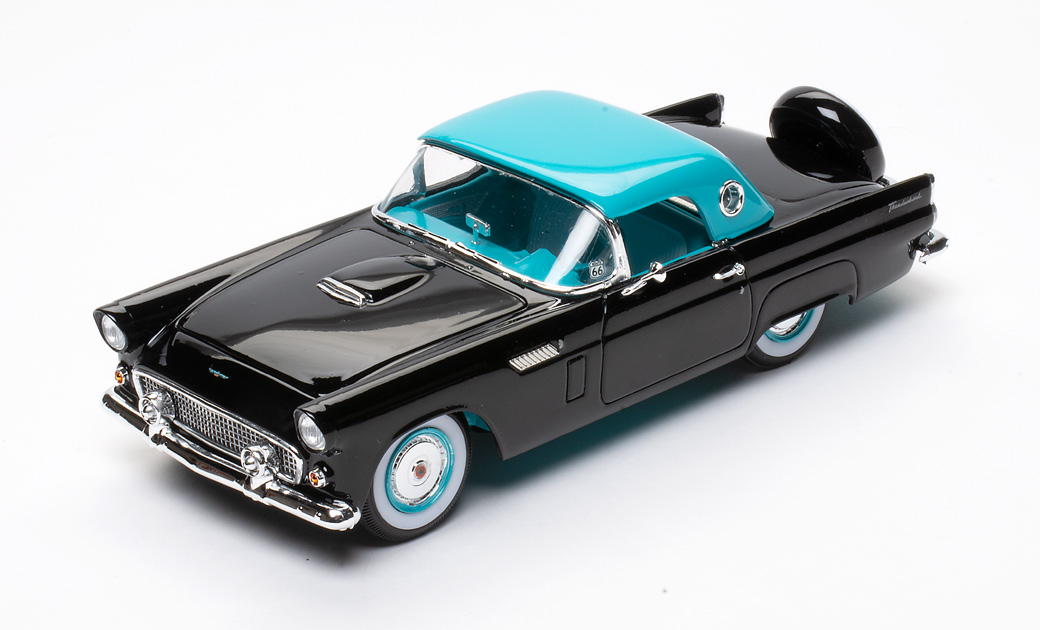
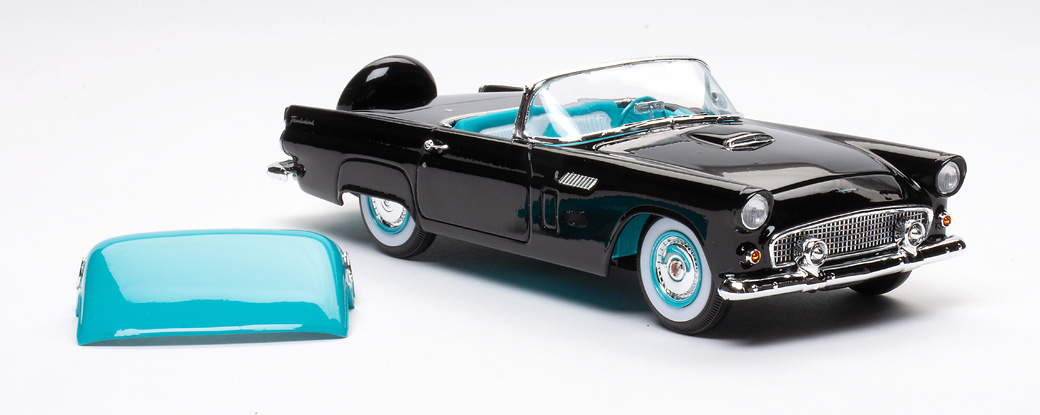
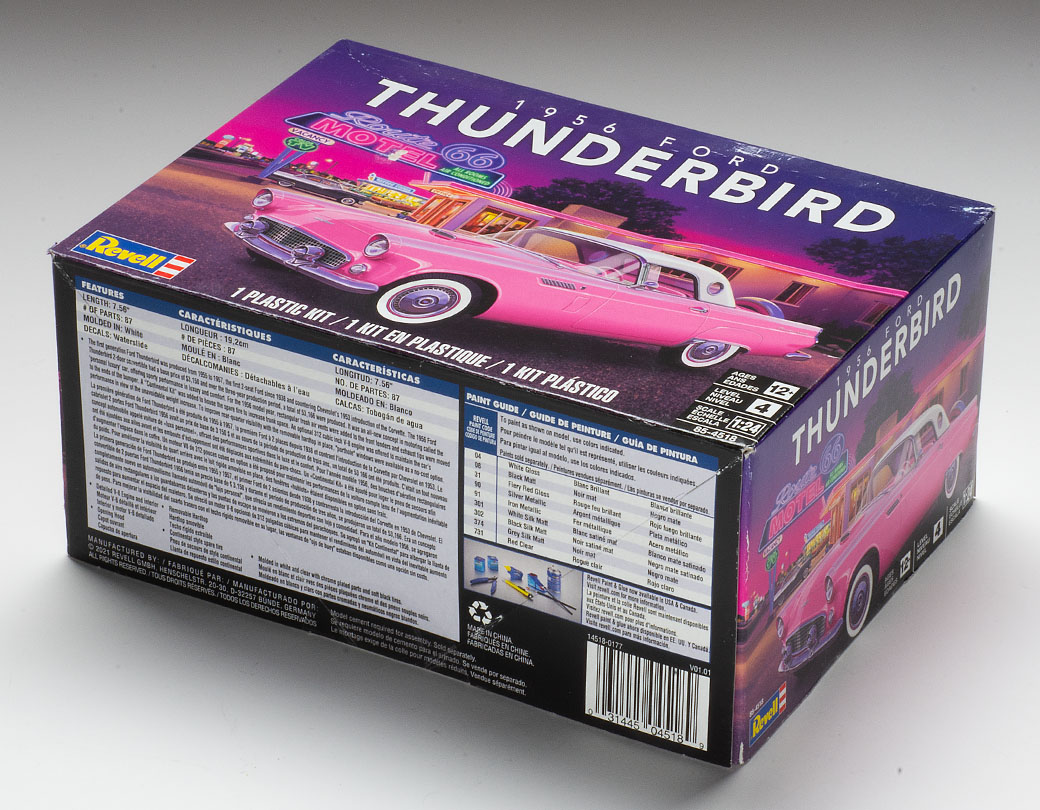
As one of the most sought-after collector cars, it’s little wonder three different model manufacturers have produced plastic model kits of the 1956 Thunderbird in the last 40 years. Revell has reissued the Monogram 1/24 scale offering, which hasn’t been available since 1991. It includes a removable roof, opening hood, highly detailed interior, chassis, engine, and decal sheet. The kit offers newly designed decals that include Thunderbird emblems, seat belts, dash, gauges, and license plates.
A review of the parts revealed sink marks in the body just forward of the taillights on the rear fenders and on the upper front panel between the hood and grille. I eliminated the sink marks with sanding, priming, and spot putty. However, correcting them unfortunately required removing removing the T-bird emblem from the front panels. Once I was happy with the repairs, I sealed the whole body with Dupli-Color Gray Primer.
Next, I worked on the engine, which comes as 14 pieces, seven of them chrome plated. Assembly proceeds pretty much as you’d expect, gluing together engine-block halves and adding other parts to them, including the intake manifold, distributor, and fan belt and pulleys. I painted the subassembly after it was all together—but not the chrome parts.
Those came next, and consisted of the valve covers, oil filler, power steering reservoir, air cleaner, and fan blade. Wait to attach the exhaust manifolds and exhaust pipes until after you glue the engine to the finished frame.
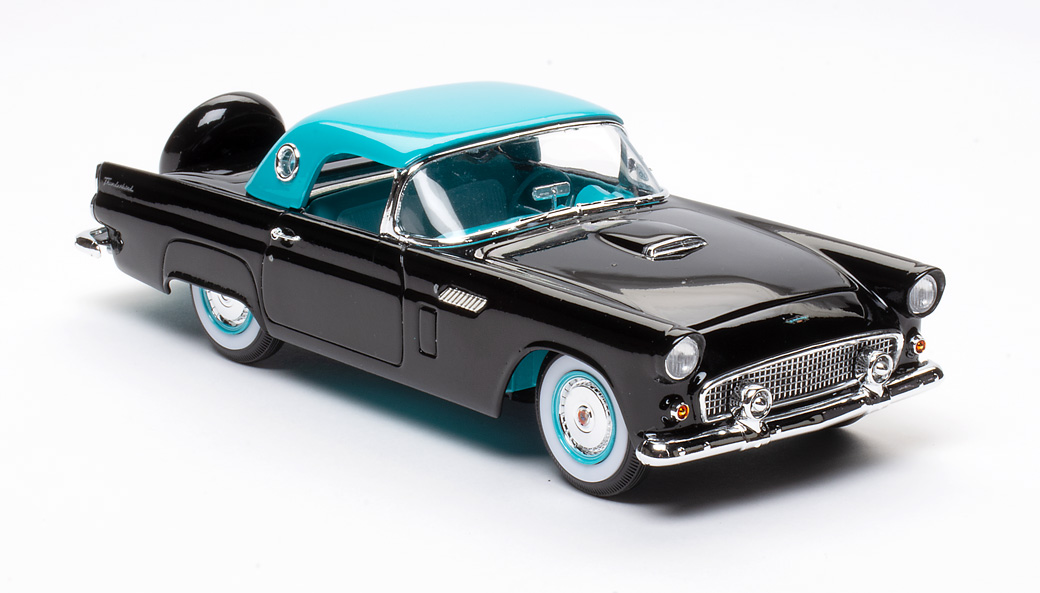
The T-bird’s interior comes molded as a single piece, so I painted both the interior and engine bay the same color. I sealed the paint with Testors Dullcote, applied the seat-insert, seat belt, door-panel decals, and layered another coat of flat clear over them for realism.
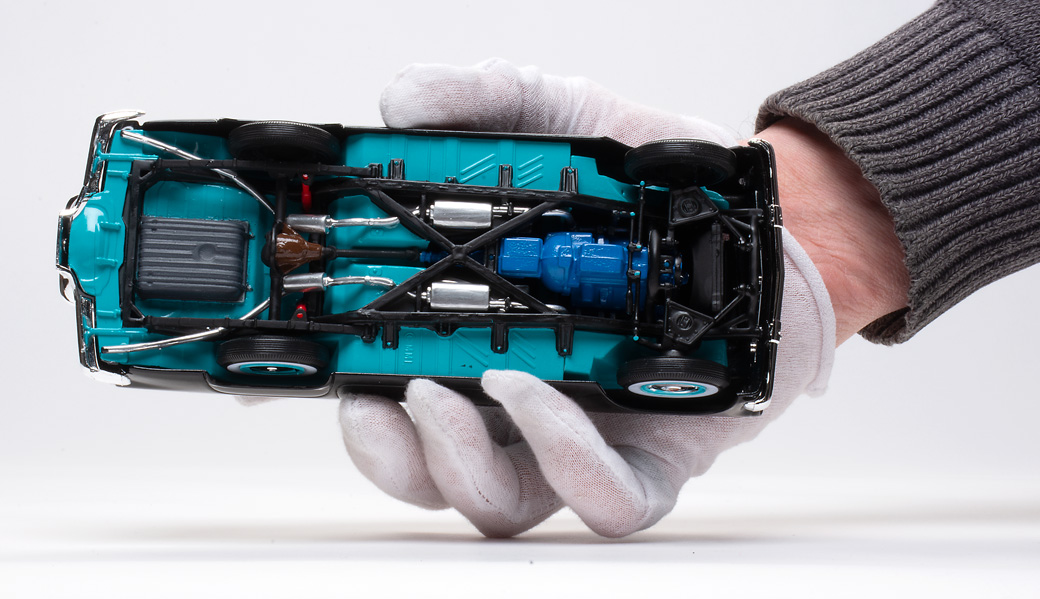
The multi-part chassis almost begs for detailing, and includes exhaust pipes, rear differential, rear shocks, and front suspension assembly with the springs.
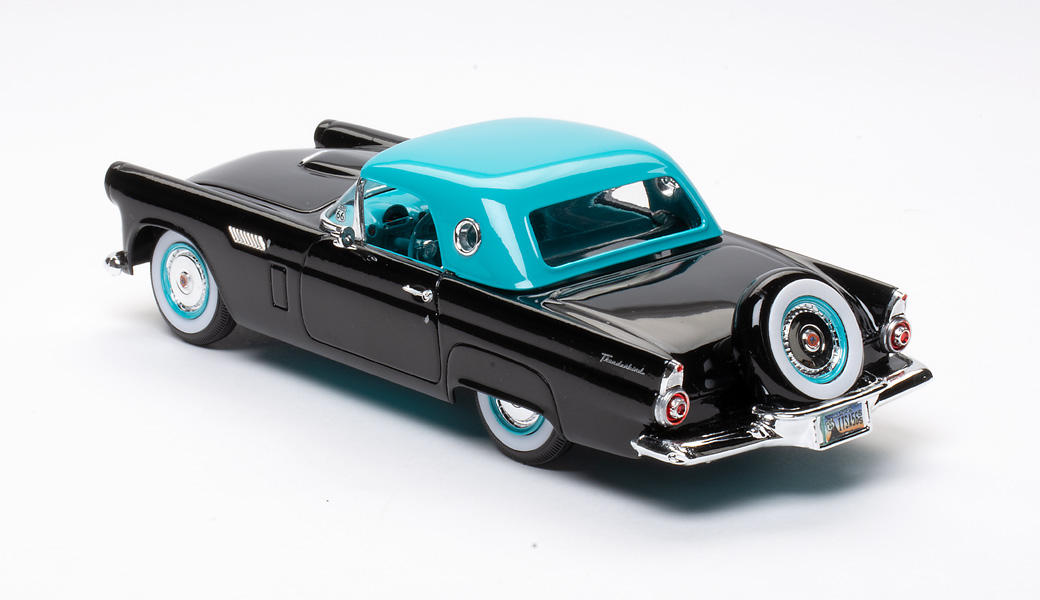
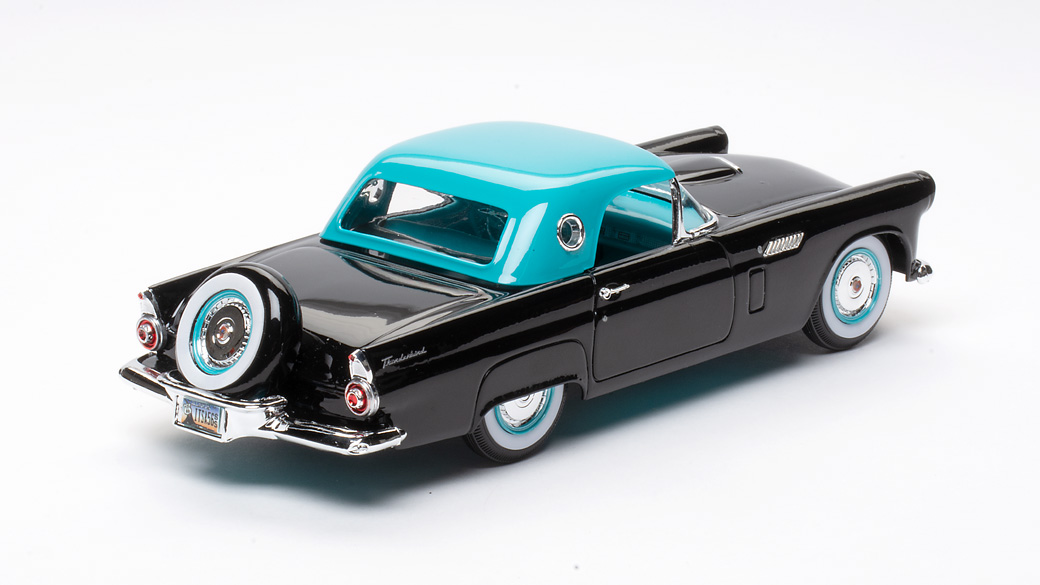
The tires come molded in two pieces: black tire and white wall insert. Handle painting should come first, then assemble the white wall, black tire, hub cap, inner wheel, and inner hub. Attaching the wheels to the suspension finishes work on the chassis.
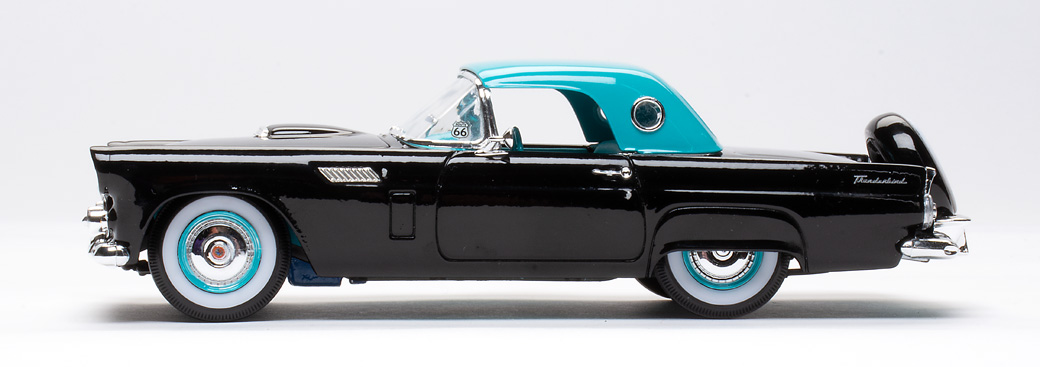
I painted the Thunderbird’s body, spare-tire cover, and hood before final assembly. After painting the base coat colors, I picked out the brightwork with Bare-Metal Foil and then sealed everything under a urethane clear coat.
Surprisingly, attaching the windshield to the frame ended up the most challenging part of the build. It did not want to stay put, so I attached it with both white glue and five-minute epoxy (pulling out the big guns!). Decals and final assembly took about an hour, and I left the roof loose so I could display the T-bird’s interior.
All in all, this is a beautiful kit. Take your time, follow the instructions, and make sure to detail the chassis.