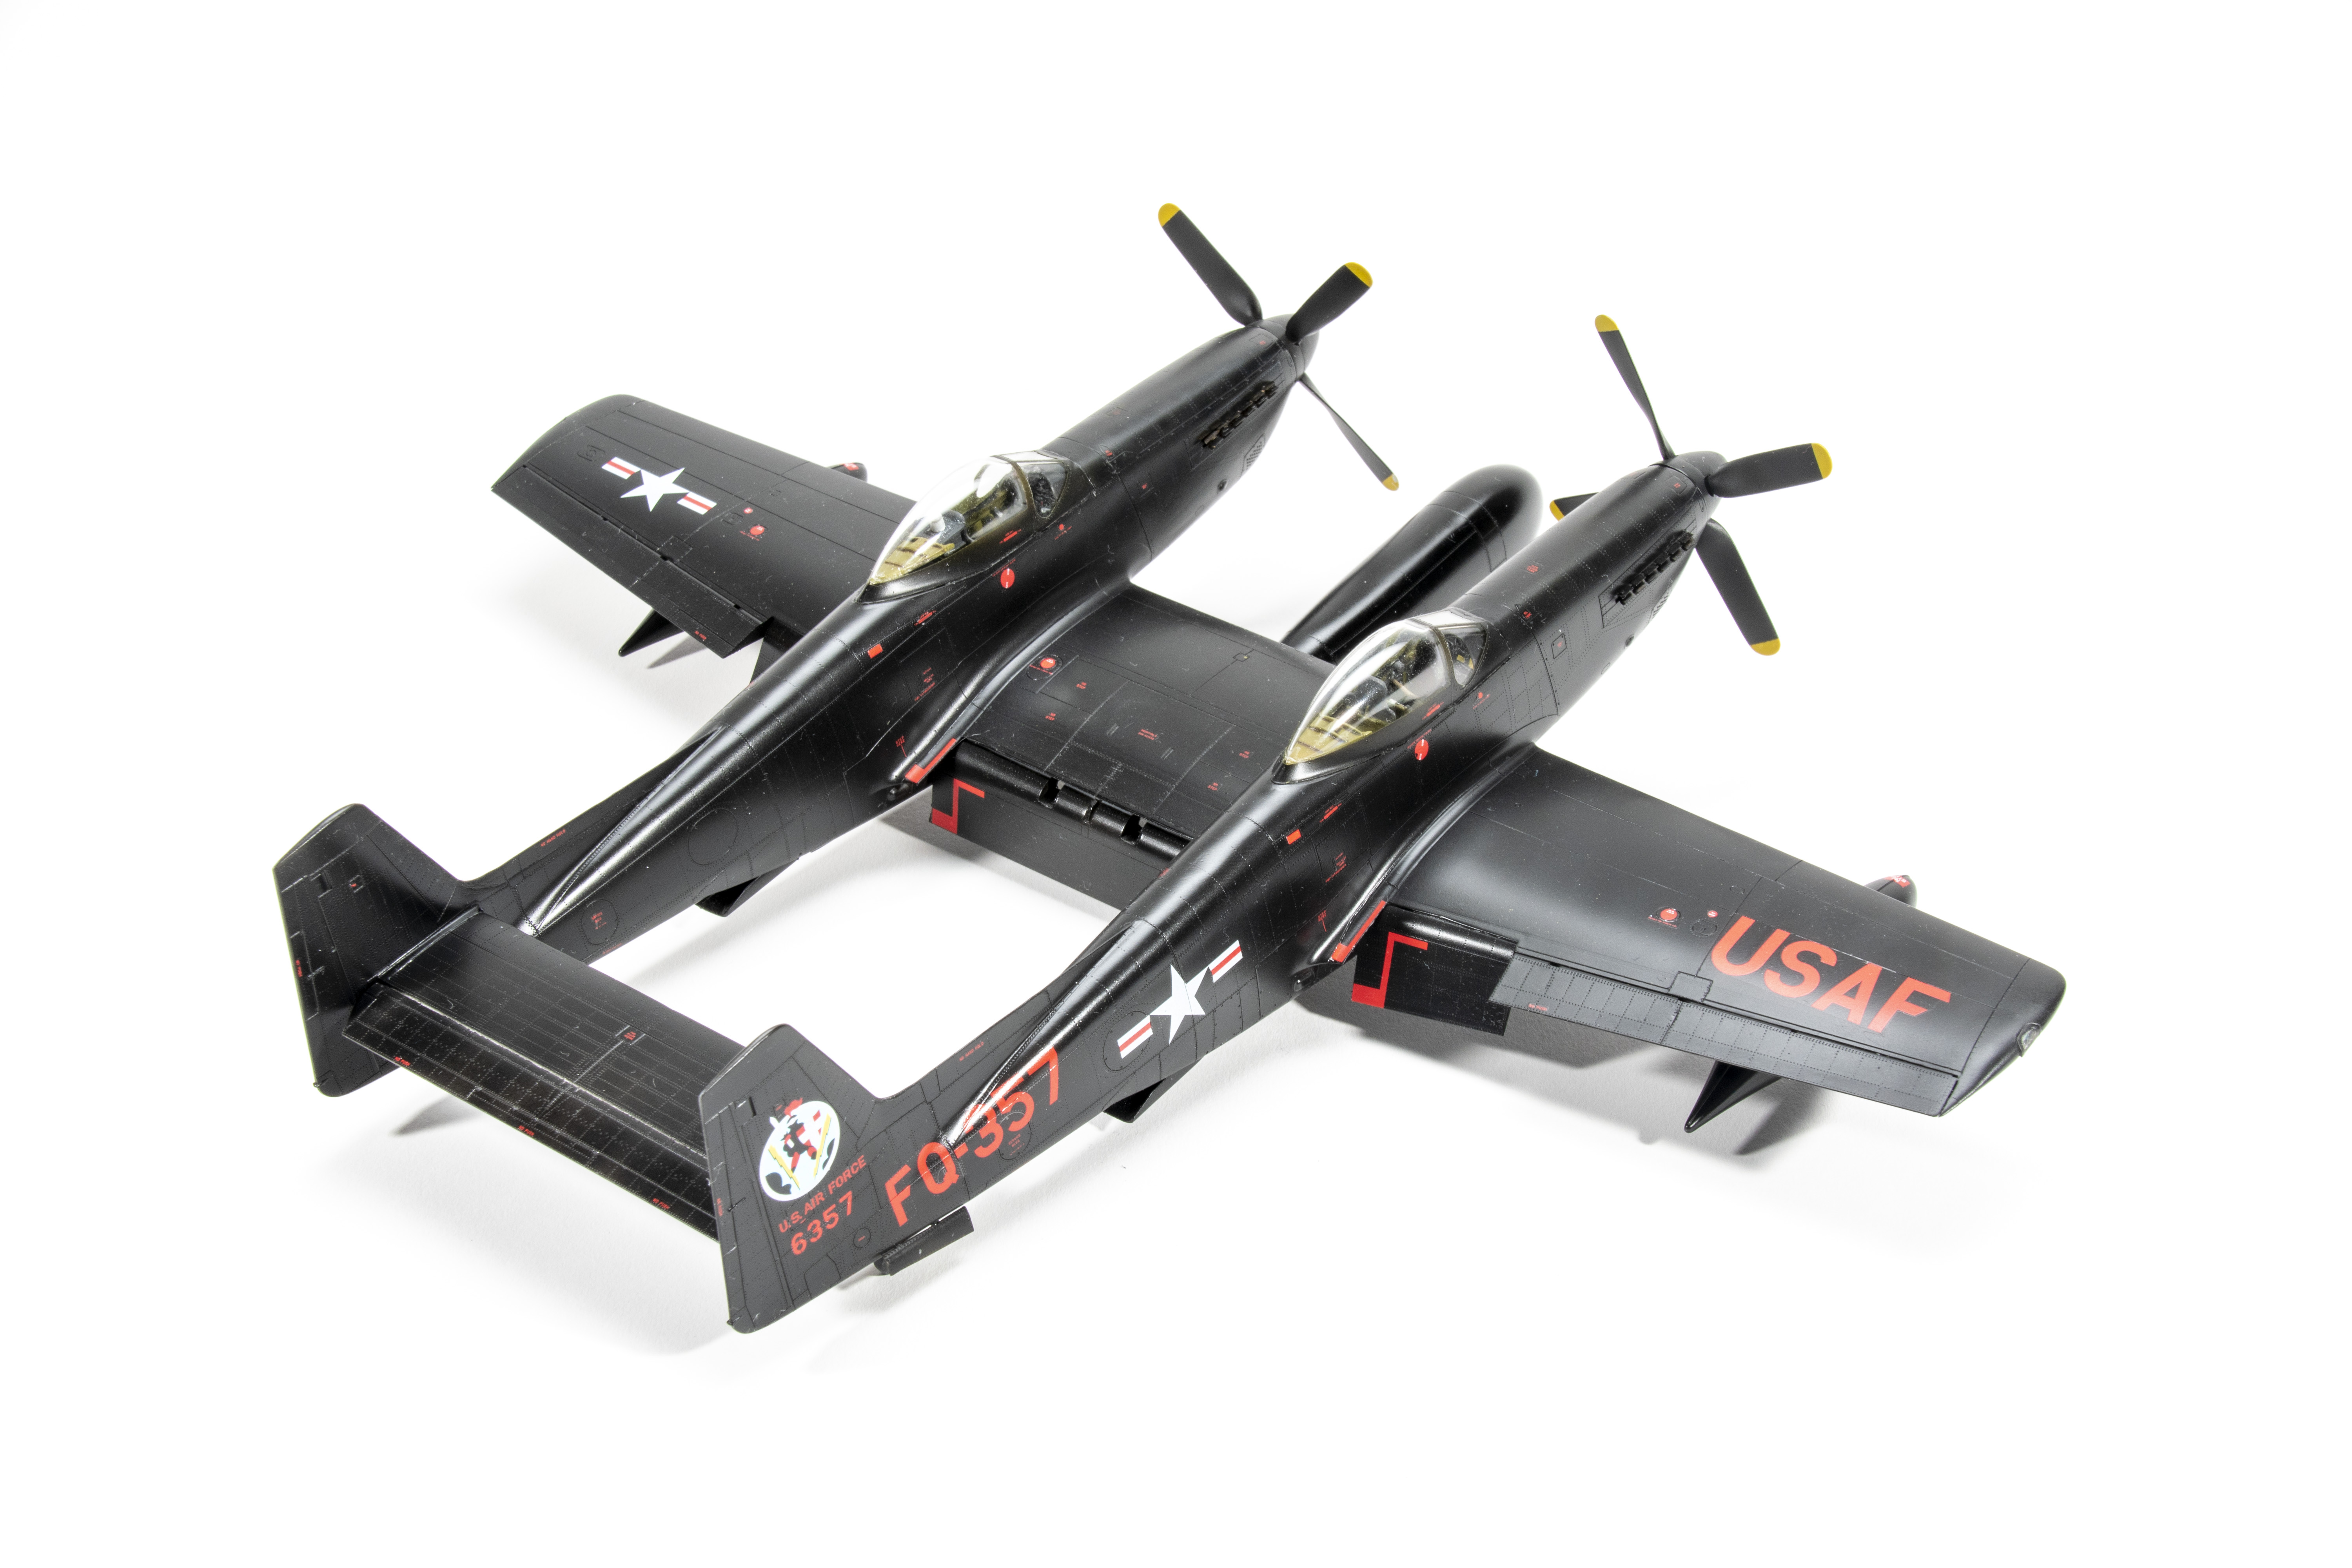
What do you do in World War II if you need to double the range of your best escort fighter? If you are North American Aviation aircraft designer Edgar Schmued, you stretch your design for the lightweight XP-51F by nearly 5 feet, connect two of them with a new center wing and stabilizer/elevator, and call it the Twin Mustang. Designated the F-82, the new fighter was nearly 30 mph faster than the P-51D and carried six bore-sighted, .50-caliber machine guns, up to 4,000 pounds of ordnance on six hard points. It could fly nearly 3,500 miles when equipped with four 110-gallon drop tanks.
Modelsvit’s new Twin Mustang contains 15 sprues of gray and clear plastic, a photo-etched metal (PE) fret of 41 parts, two sheets of vinyl masks, and two large decal sheets. The airframe components show excellent surface detail with incredibly delicate recessed panel lines and rivets. However, details on smaller parts, like the gear legs and control stick, are soft. The plastic is hard and required more cement than I used to apply in several other areas. The clear parts had a wavy appearance that I could not eliminate with polishing.
The cockpit detail was excellent, thanks to the abundance of PE, but I had difficulty aligning the parts due to a lack of slots, tabs, or locating pins of any kind. The seat frames are very delicate, and the system for mounting them in the cockpits is weak. I recommend adding blocks of styrene under the seats to secure them to the floor. The instructions will have you add the PE parts over the decals, but that mostly hides them. Instead, reverse the order and save yourself some detail-painting.
Most of the parts have heavy mold seams that will hinder the fit if not eliminated. I had to file the radiators, gear bay walls, and even the completed cockpits.
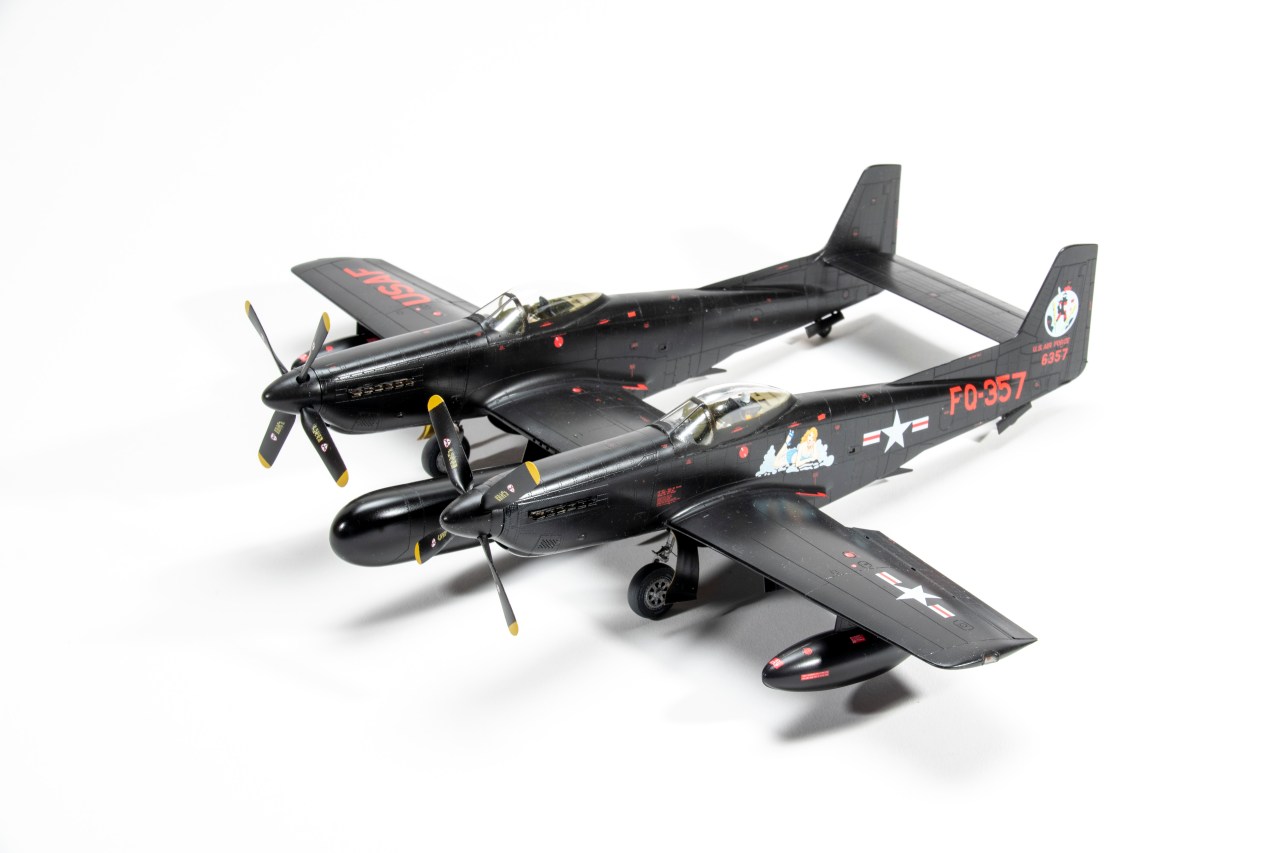
With the fuselages complete, I followed the instructions and assembled the gear bays and the four wing pieces. DO NOT DO THIS! When I dry-fitted each fuselage, I realized the curve of the outer wings did not match the molded wing roots. Strategically placed shims corrected that problem, however, testing both fuselages revealed that all three upper wing sections are too wide in span, causing the vertical tails to splay out and the wingtips to droop. Fixing this issue with the wing assembled was difficult and not 100% effective.
Instead, add the horizontal stabilizer to the fuselages and ensure everything is square and plumb. Add the lower wing, then trim and fit the center upper section keeping everything aligned. Then you can attach the outer wings, trimming and shimming to match the root curvature and maintain the dihedral.
The PE exhausts were difficult to assemble.
I found the gear legs to be weak, and there is an undersized tab rather than an axle for the main wheels. The tail strut assemblies could use more positive attachments as well. Modelsvit provides two views to align the main gear, however, the rake of the strut is hidden by the gear door in the side view.
Radar gear is supplied if you want to perform surgery and cut off the nose of the pod.
Open canopies are also provided, but they are the same size as the closed ones and won’t sit on the fuselage in the correct location. They are too brittle to force into place without cracking. I had to reshape the wingtip lights for a better fit.
The vinyl masks for the canopies stayed in place once burnished down. However, the masks for the position lights would not stay in place for more than a minute or two because the vinyl would not stick to the tight curve of the wingtip.
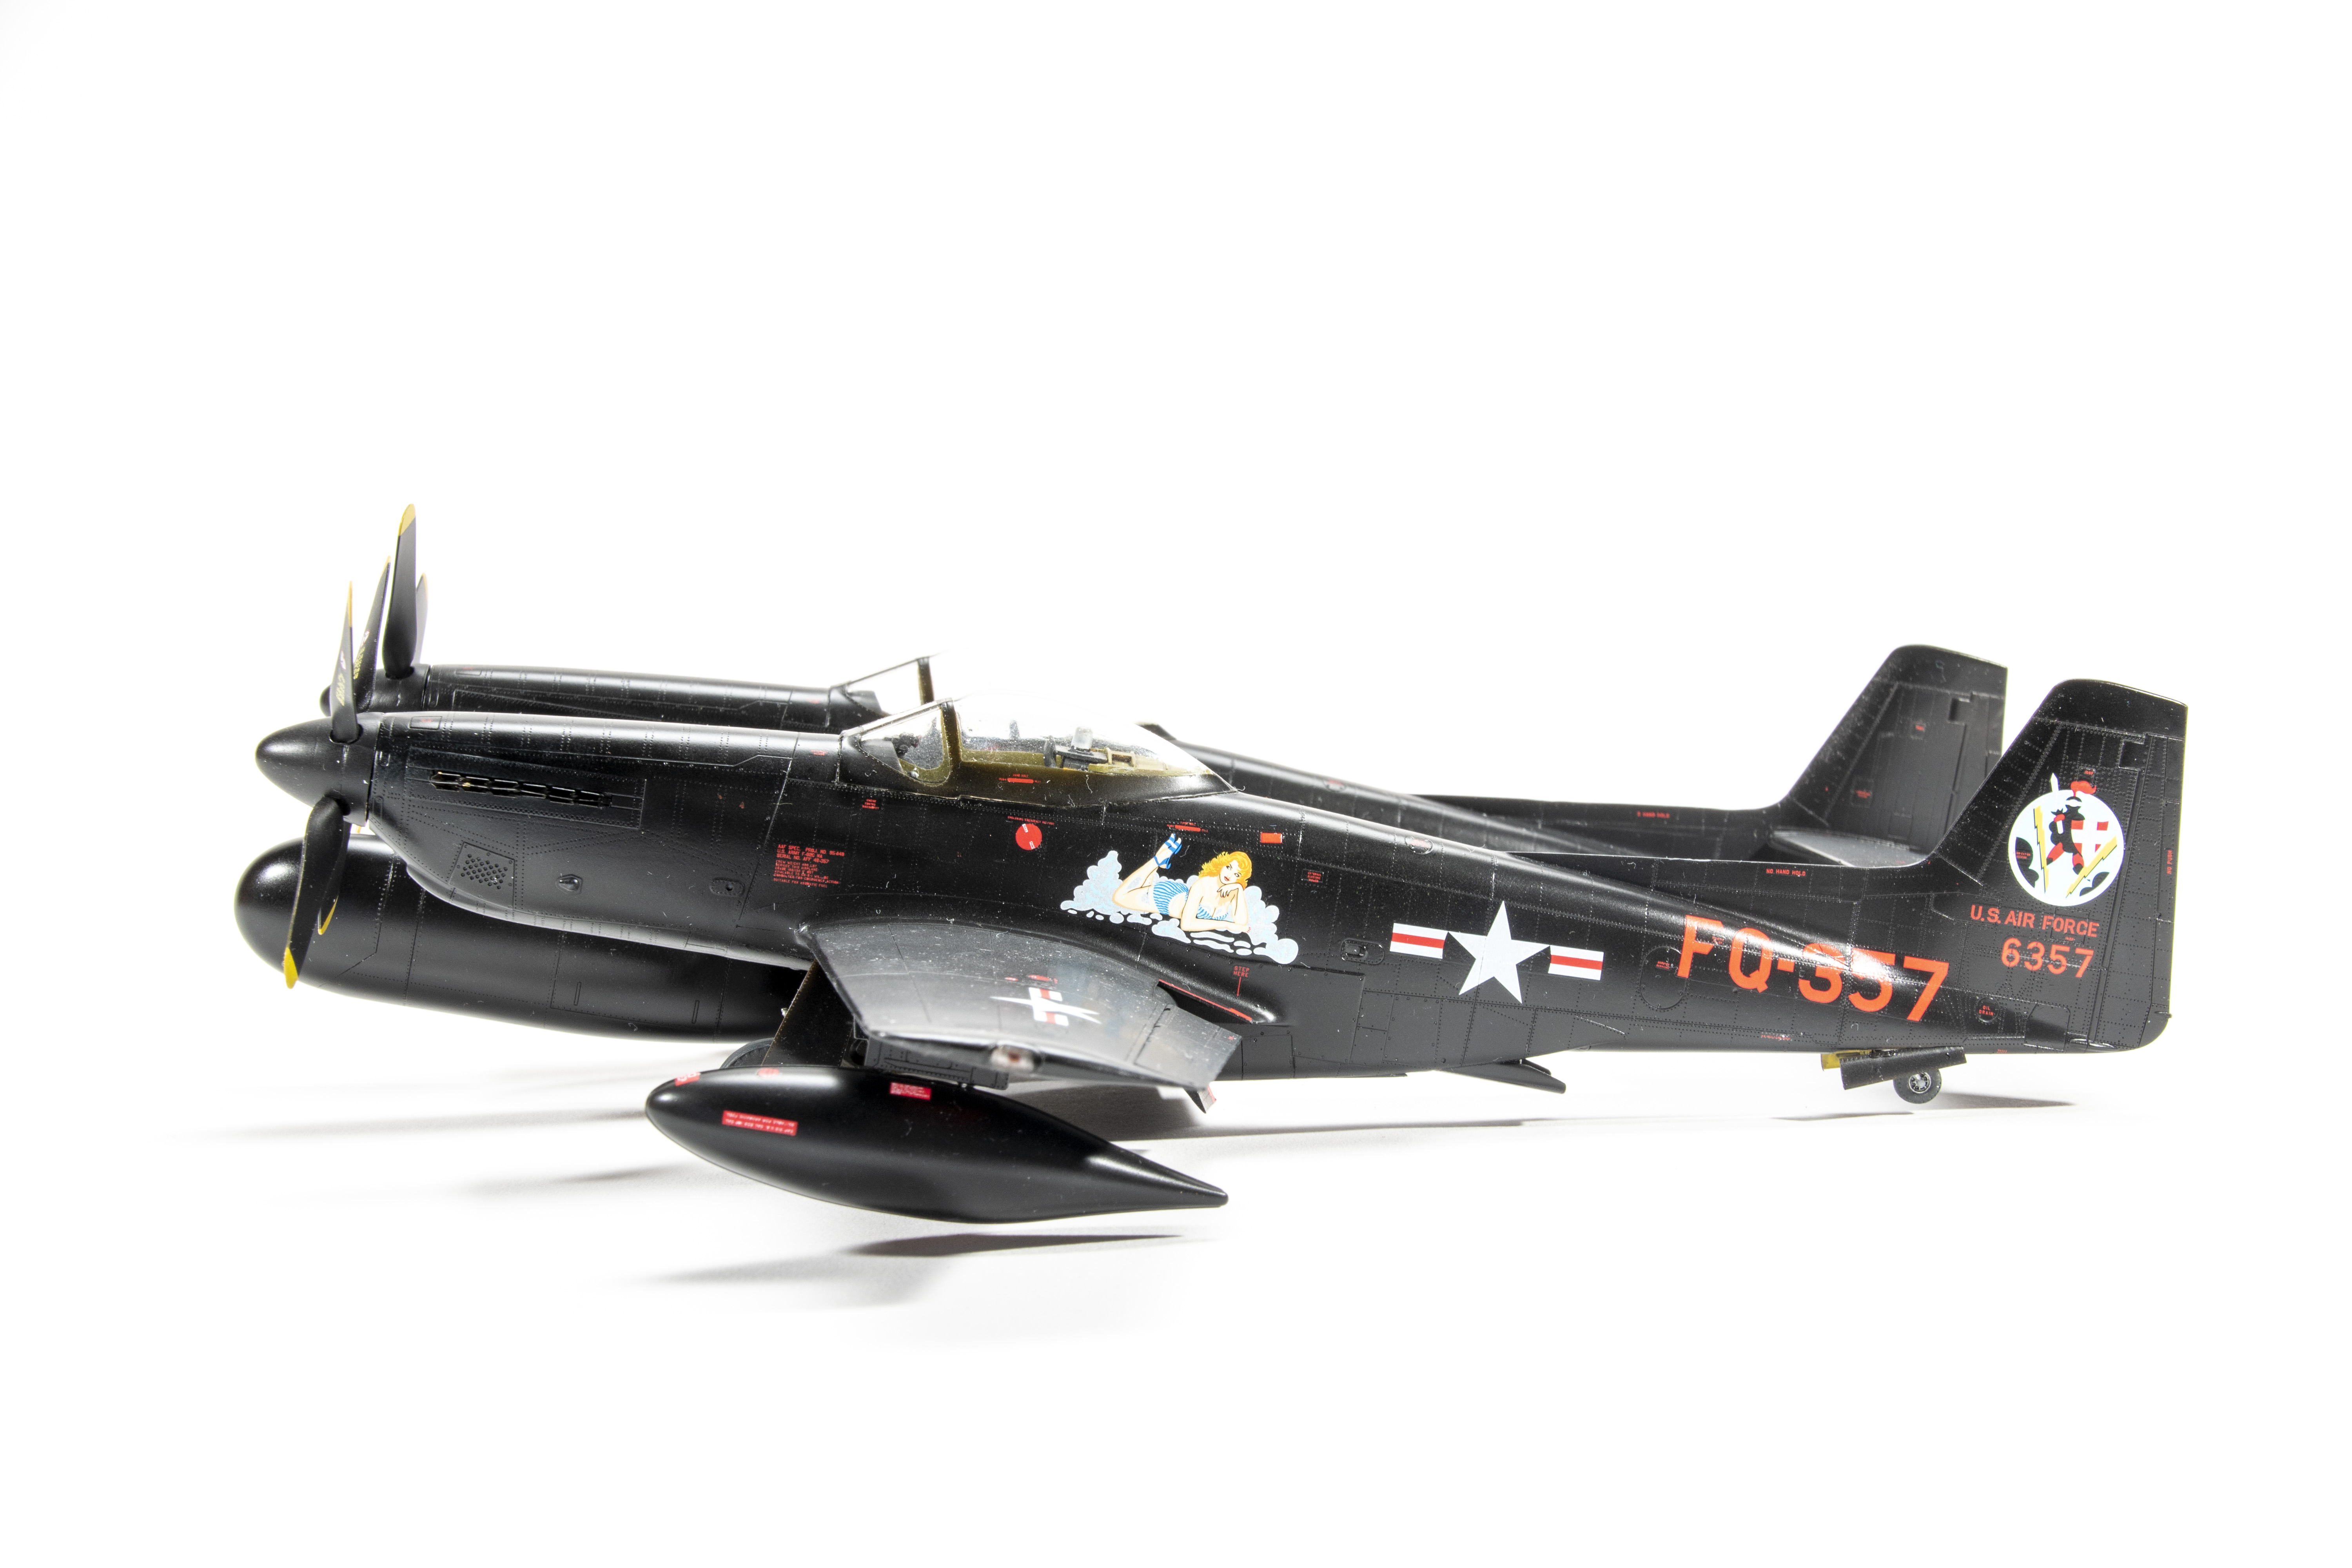
I used Mr. Surfacer Black 1500 as both a primer and color coat. It revealed the beautiful rivet detail, the ghost seams where the hard plastic resisted my Tamiya Extra Thin Cement, as well as some curious marks under the wings. Three semicircles arch from the leading to the trailing edge on both outer wings. I did not see these before painting and do not know if this is a molding flaw or reinforcement on the actual aircraft. They were symmetrical, so I let them be. Alclad II gloss prepared my F-82 for decals.
Modelsvit provides 148 stencils, along with the main markings for four aircraft, two F-82Fs, and two F-82Gs. The decals laid down without silvering but refused to settle into the rivets, even after multiple applications of setting solution.
Comparing it to published dimensions, the completed model is short in length, wide in span, and looks too short in stature. But it is currently the only F-82 in the game. If you need to add an F-82 to your collection and don’t mind fixing some issues, this kit bucks a little but provides all the detail you could ask for in a good-looking Twin Mustang.