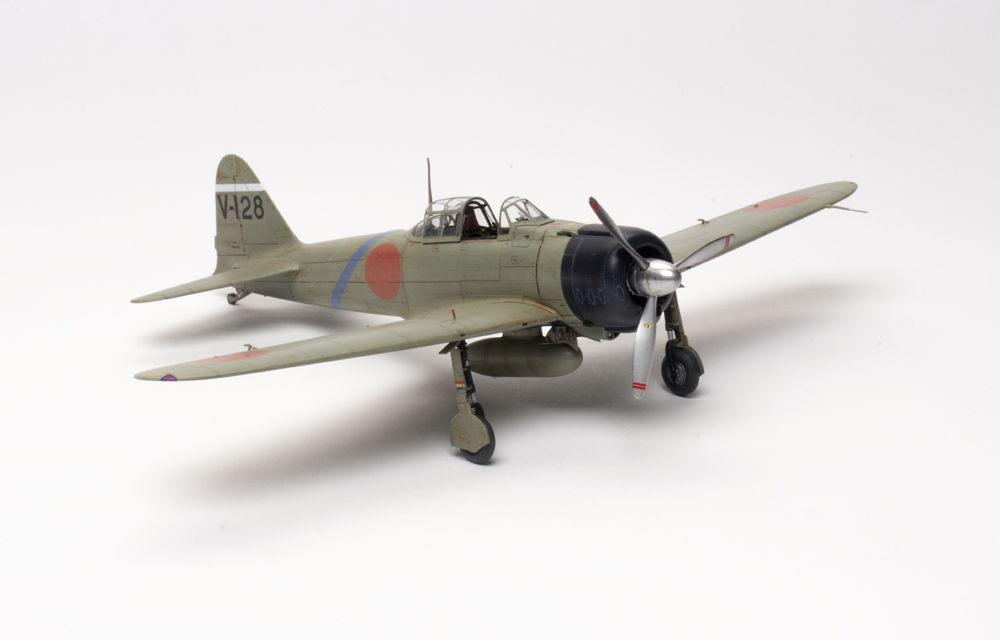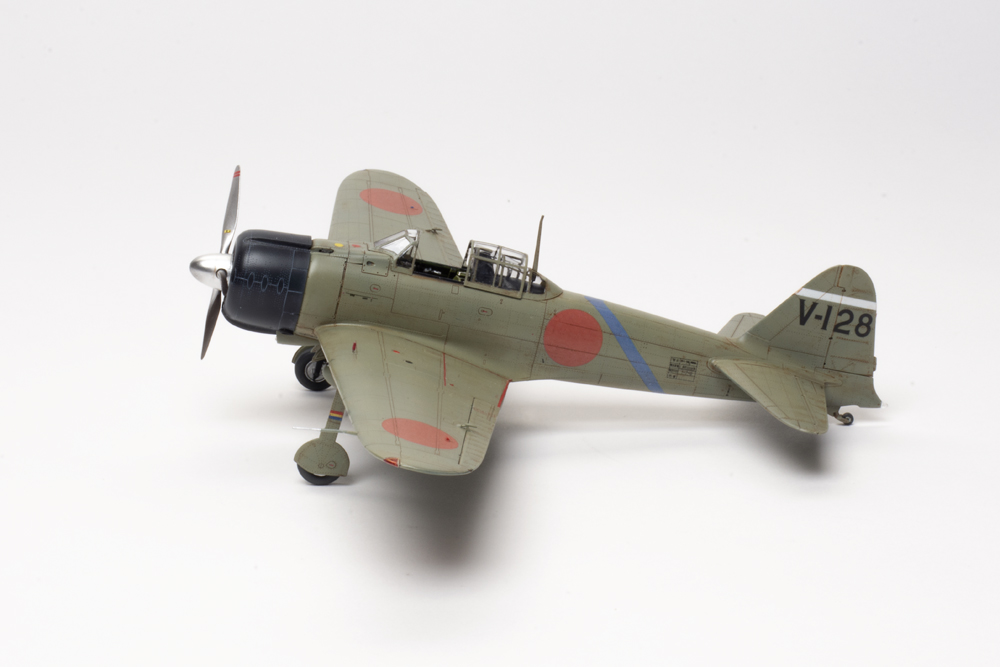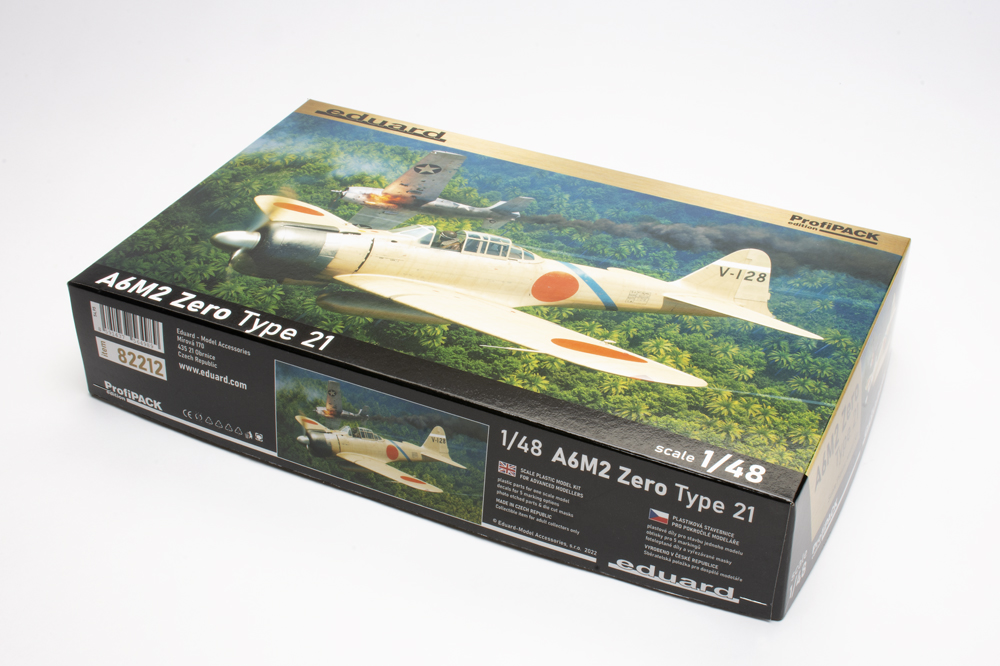
While the initial release of Eduard’s 1/48 scale Zero, the Tora, Tora, Tora! dual combo gave the option to build two Pearl Harbor attackers, the follow-up ProfiPack models the early A6M2 variant at Pearl and on through the war. Its five marking options include one flown on December 7, 1941, an overall gray fighter flown by Saburo Sakai at Rabaul in August 1942, a mottled green Rabaul fighter in April 1943, a camouflaged fighter-bomber from May 1944, and a kamikaze airframe in April 1945.
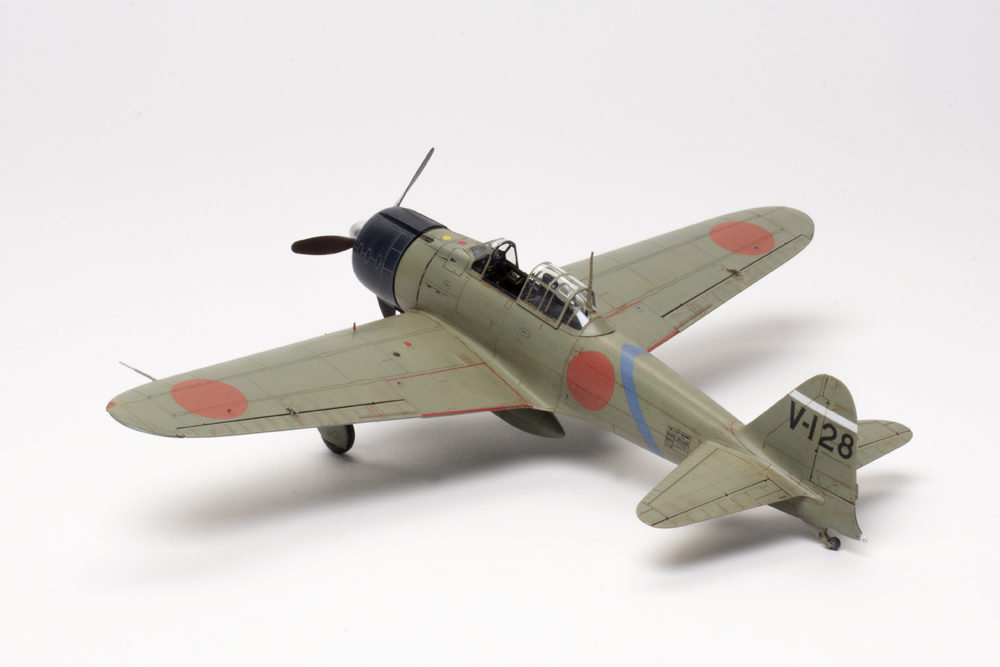
The kit’s 166 plastic parts are superbly molded in gray and marked with petite panel lines and recessed rivets so small that they are difficult to see unless the light is at just the right angle. The 89 photo-etched metal (PE) parts are pre-painted and match Eduard’s established level of quality. Crisp framework defines the crystal-clear canopies.
Cockpit construction occupies the first three pages of the instructions. The detail on the plastic parts is so beautiful that I had a tough time deciding between using them or the PE alternatives. In the end the PE won and 10 hours later the cockpit was complete.
I built the fuselage and wings simultaneously. The alignment pins are incredibly small and required great care to ensure proper alignment. Once the fuselage was together, the completed cockpit simply slides into place from underneath. Be careful when cleaning up the tail surfaces because the sprue attachment points are in places that may interfere with fit if too much material is left behind or create gaps if too much material is removed.
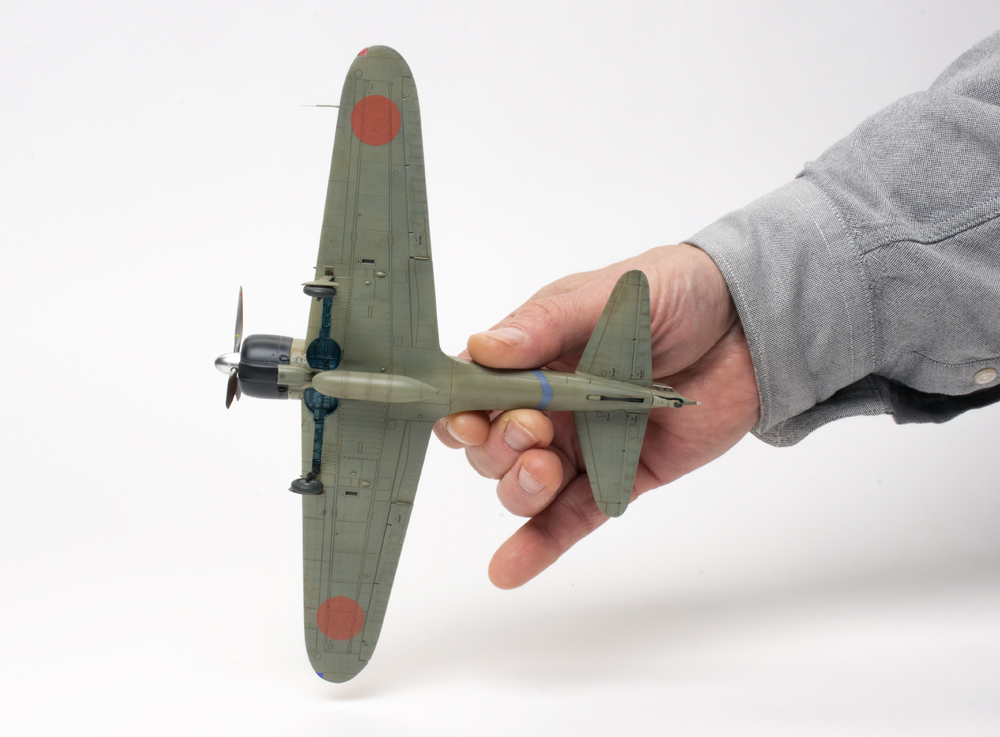
The multipart landing gear bays fit perfectly, and a dark wash made the detail pop! Be careful with small parts like the aileron push rods; my tweezers launched them across my workbench, and I had to open a second kit for replacements.
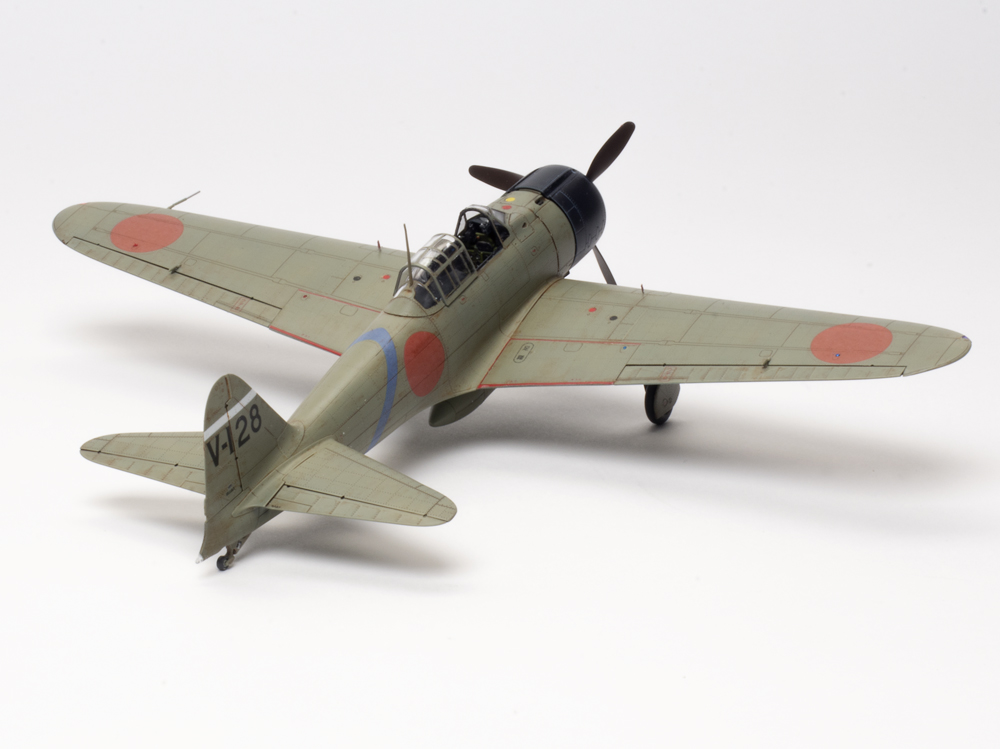
When I joined the wings and fuselage, there was a 1mm gap at the port wing root. I could have lifted the wingtips to close the gap, but that would have made the dihedral too extreme. So, I filled the gap with putty, which shrank as it cured. I suggest adding shims between the cockpit frame and the fuselage to close the gap, so you don’t risk damaging the surface detail at the wing root sanding filler.
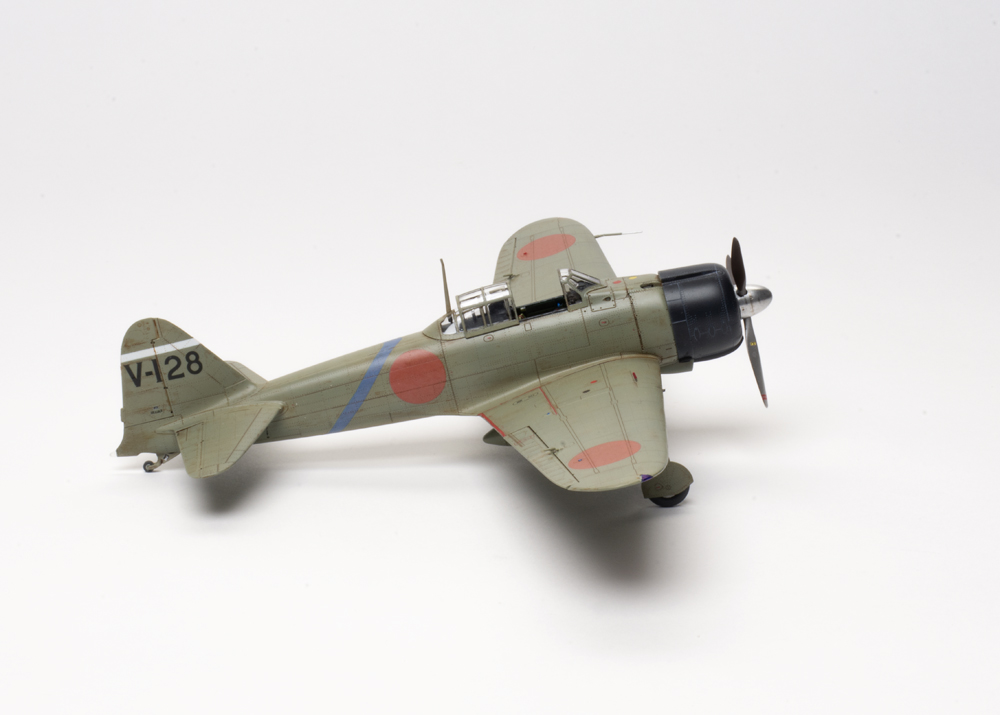
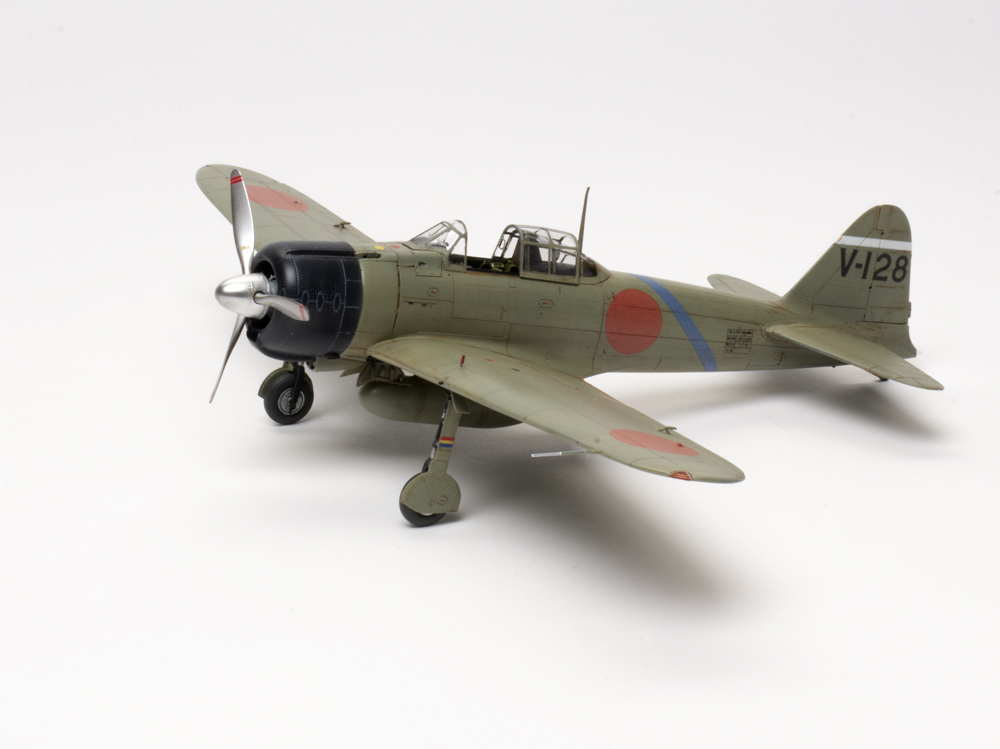
The engine is comprised of just six parts, but it looks great! You may want to add ignition leads using thin wire. I polished the cooling fins with graphite powder to highlight detail on the gloss black cylinders.
Eduard provides a jig to align the multipiece cowl and after a couple of dry runs, the parts just clicked into place.
The kit includes a full set of canopy masks making a normally tedious job a joy. Wheel masks are also provided, but the tires and wheels are molded separately so painting them was easy. I painted the open canopy section separate and seal the cockpit with the closed canopy tacked in place with Gator’s Grip glue.
I wish the main landing gear attachment points were a little deeper for a more secure fit. The clear upper-wing position lights are so small that they became ammunition for the parts catapult (tweezers); I replaced them with drops of white glue and paint.
Eduard has given us another amazing and enjoyable aircraft kit. I spent roughly 35 hours building the Zero. If you skip the PE, you could reduce that time by about 10 hours. Impressive fit, easy assembly, and the best surface detail in the business, make this Zero a 10 in my book!