North American Aviation responded to the British Purchasing Commission’s request for license-built P-40s by creating an entirely new aircraft. One quite different from the bubble canopied P-51D that comes to mind when someone says Mustang. Between NAA’s original Allison-engined, low-level wonder and the superior, six-gunned escort, the P-51B/C was the first Merlin-powered production Mustang.
To say that the Eduard Profipack 1/48 scale P-51B/C with dorsal fin plastic model kit is typical of that company would not be fair or accurate. With each new kit, Eduard’s production keeps getting better. Incredible surface detail, finer and finer pre-colored photo-etched metal (PE) parts, and full sets of beautiful clear parts for both greenhouse and Malcolm hood canopies take this kit from typical to exceptional. If that doesn’t impress, the markings for six different aircraft will. These can be used as standard decals or as wet transfers if you remove the clear film after application. A total of 343 parts are inside the box. That may seem daunting, but more than 140 are provided for alternate options, external stores, and other variants of the P-51.
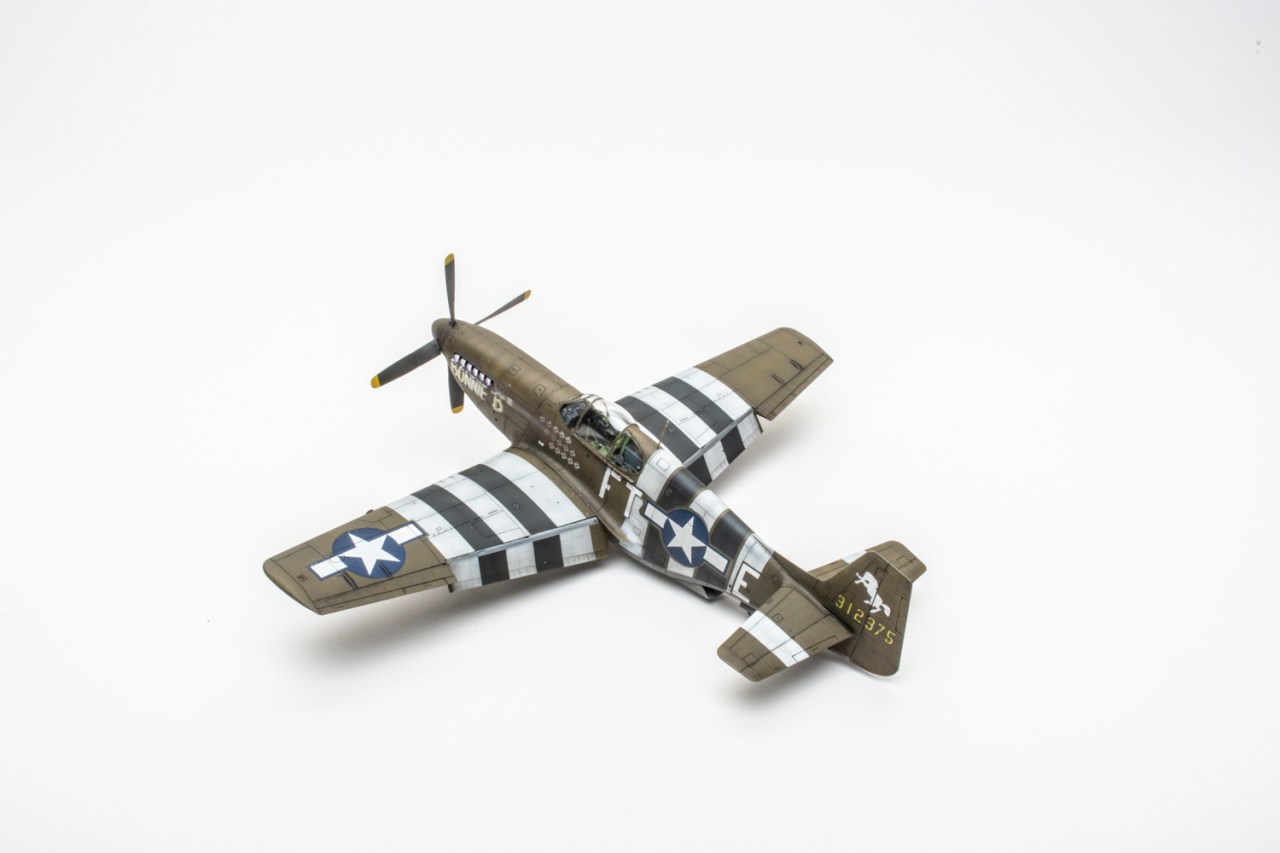
Start by choosing your favorite from the six marking options — each has specific parts and assembly sequences called out in the instructions. These multiple options can be confusing, so take the time to study them. I circled and highlighted the ones related to Bonnie “B” to avoid making any mistakes during construction.
The highly detailed interior went together quickly. Gator’s Grip thin formula worked better than superglue for the PE parts. Careful painting and washes brought the cockpit to life. There isn’t a recess for the exhaust backing plates. I placed the pipes in the backer to keep them aligned correctly while the glue set. This allowed the pipes to be glued in during the final assembly along with the tail wheel strut.
Exercising patience when assembling the landing gear wells will be rewarded. Don’t forget to drill the holes for the pylons before closing the wings. Test-fitting the wing to the fuselage revealed the only fit issue present in the kit. The aft edge of the lower wing was too tight, causing the leading edge to stand proud of the fuselage. I sanded the aft edge of the lower wing until it slid into place and made a smooth joint with Mr. Surfacer.
Both the PE and decal-over-plastic instrument panels are impressive. The drop-in installation means there is no chance of it coming loose and disappearing inside the fuselage.
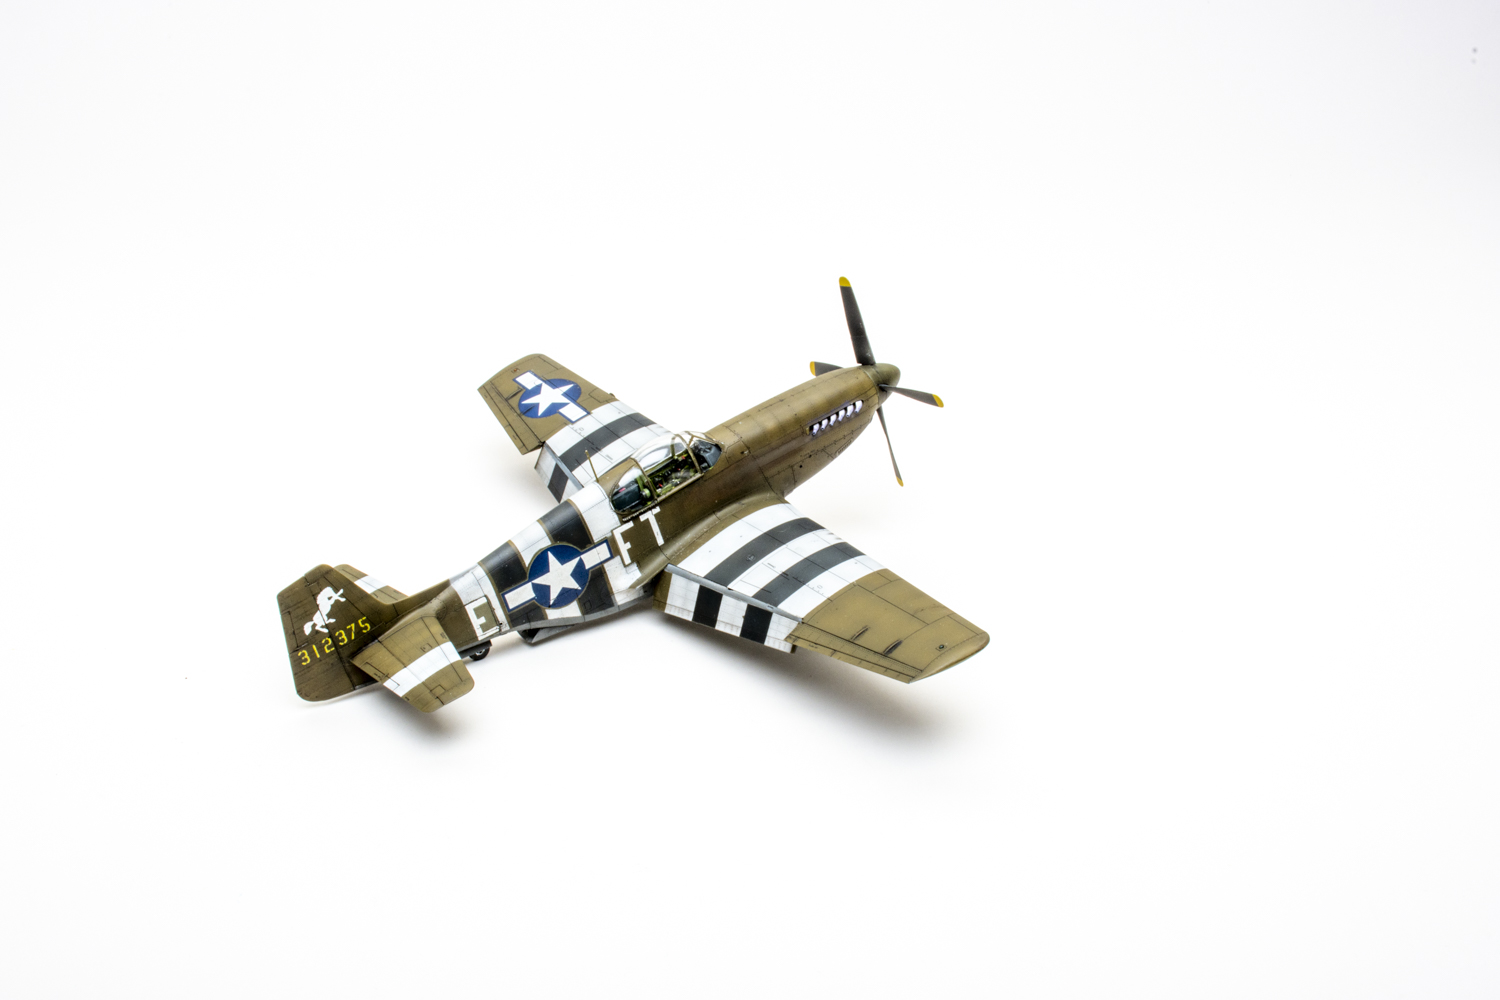
I nearly missed the unusual fuselage invasion stripes. A quick search on the web brought up several photos that confirm the accuracy of Eduard’s research. Eduard also includes two sets of insignia and call letters for Bonnie “B”, so you have a choice of masking their locations and painting the stripes or painting the stripes and using the decals that include the background color where the stripes were painted around the markings on the real aircraft.
I applied the Eduard decals with peel-away carrier film. As usual, I applied Micro Set and Micro Sol but then let them dry for 24 hours. Next, I dampened the decal with odorless enamel thinner and gently worked the edge of the film with an angled brush. The film rolled back, and, going slowly and carefully so as not to chip the markings, I lifted it off. I like the effect, but you will need to decide for yourself if it is worth the extra work.
One of these days, I’ll learn to leave the pitot tube off until after painting and decaling are finished. Mine was sacrificed to the carpet monster.
The gear legs snap into place, setting the angle and rake. When I removed the provided canopy mask, I realized a drop of white glue had dried to the middle of the hood. I cut the canopy off the model to clean it and touched up the sills. The finished model measures almost perfectly to scale.
In 2019, I reviewed the Eduard P-51D, praising the detail but finding the assembly finicky. This kit is a totally new mold, with more detail and none of the assembly issues. With most kits, I eventually reach a point where I’m ready for it to leave my bench. The Eduard Profipack 1/48 scale P-51B/C plastic model kit was one of the few that inspired me to keep investing more time and try new techniques.