“Not another 109,” is a frequent lament on the internet. If you like the Bf 109, it’s a good thing there’s another 109 kit from Eduard, because its series of Bf 109s is superlative. The latest Eduard 1/72 scale Bf 109G-6/AS & Bf 109G-14/AS “Gustav Pt.3” Dual Combo plastic model kit allows you to build one G-6 and one G-14 — two models, one box!
Eduard’s instructions offer plenty of information detailing the G-6 and G-14 versions equipped with the DB605AS engine. Clear, annotated drawings point out specific features, and given the number of options this kit has, it helps to study the instructions and mark the parts needed for your chosen version. No matter which of the construction options and 10 decal schemes you choose, you will end up with numerous parts for your spares box. A comprehensive set of stencils for both models and a placement guide are included, including one specific to Scheme D. A full paint mask set is included as well, one for each kit.
Colored and bare photo-etched (PE) metal parts enhance the cockpit. I left off some of the colored PE as the various knobs and such were better represented by the injection molded parts. I did use the colored seat belts and instrument panel. The painted interior installed in next to no time, inserting into the fuselage from underneath. Make sure the alignment tabs are engaged to avoid fit problems later. I almost got caught by an error in the part numbering of the upper cowling — it should be Part V12, which fits perfectly, not Part P6 or S6, which do not fit perfectly.
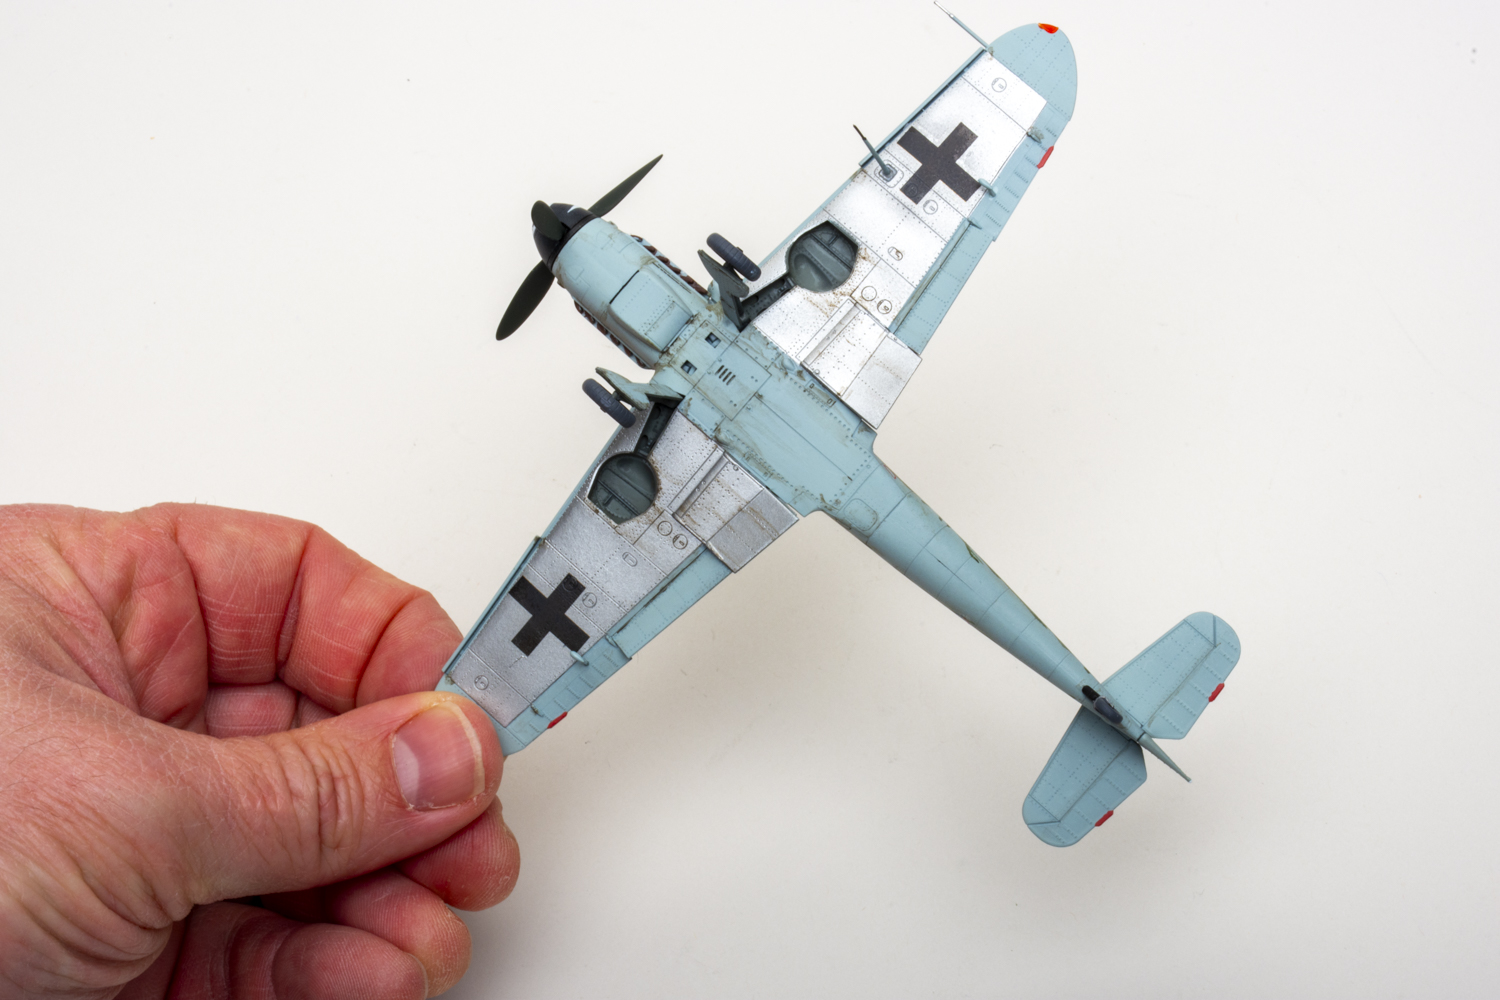
The wing assembly starts with the perfect fit of the inner walls of the gear bay. Don’t forget to paint the inner portion of the upper wing halves at the same time as you paint the inner parts of the radiator and oil cooler intakes. All the wing-mounted control surfaces are separate, including the leading-edge slats and the ability to “bend” the inner flaps connected to the radiators. I fit the radiators to the wing after painting the front grille and left the rear grille off to avoid potential fit issues (you can’t see it anyway).
There was no need for filler or sanding at the wing root or trailing edge. I installed the canopy and masked it with the supplied masks. The instructions incorrectly call out the wrong tire and hub part number combinations — but the drawings show the correct parts. The landing gear slots into place easily with the correct alignment thanks to prominent tabs. Before mounting the underwing antenna for your option, you’ll need to attach Part J19 from the clear sprue as a base, which the instructions don’t mention.
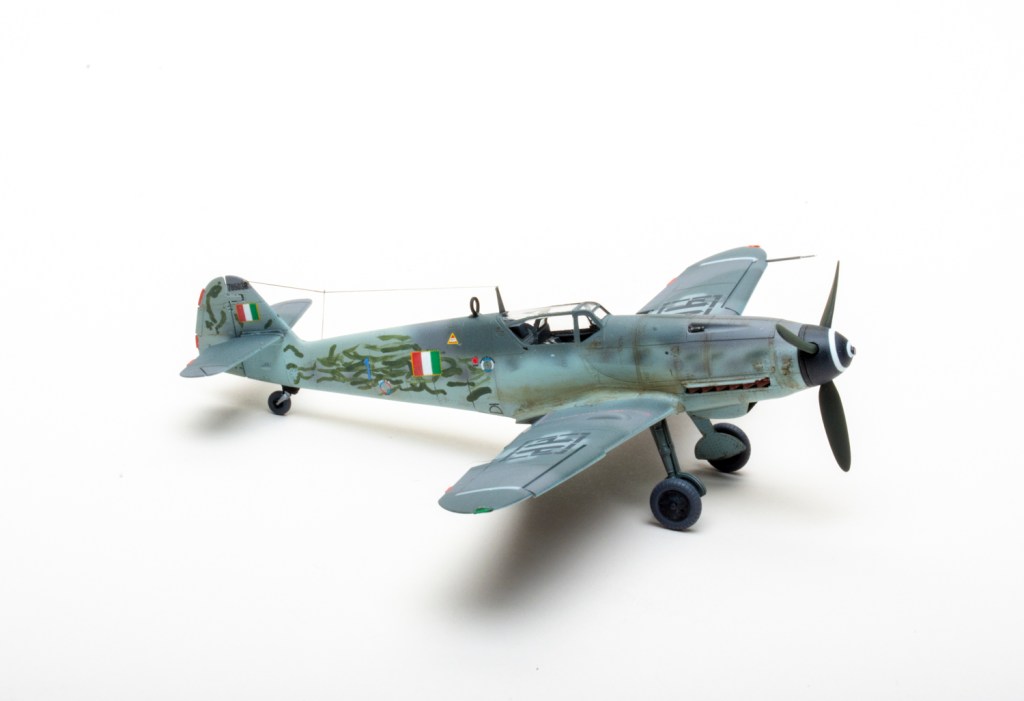
I chose the interesting Italian paint job with overpainted German markings. Omask produces a set of wheel-bay plugs (No. 77210) that makes masking the bays a snap. Decals went on without complaint, settling nicely into panel lines and over rivet detail.
I’ve used the word “perfect” numerous times to describe the fit of the Eduard 1/72 scale Bf 109G-6/AS & Bf 109G-14/AS “Gustav Pt.3” Dual Combo plastic model kit. This has to be one of the best-fitting kits I’ve encountered. I spent 16 hours on this enjoyable build, much of that painting. Do yourself a favor, if you want a 109, go grab one of these Eduard kits.