The concept of a shipborne bomber capable of carrying a nuclear bomb was made real when North American Aviation rolled out its AJ-1 Savage in 1948. It was powered by two radial engines and a single turbojet in the fuselage, aft of the wings. The Savage was a big aircraft, about 10 feet larger in length and span than the U.S. Army B-25 Mitchells that launched from the USS Hornet during the famous Tokyo raid in 1942.
Roden’s 1/72 scale AJ-1 Savage represents an early production aircraft, with dihedral to the horizontal stabilizers, a larger rudder, and a “birdcage” style canopy. Judging from the parts layout, I suspect Roden will issue a later AJ-2 or AJ-2P version. The decal sheet provides markings for three gloss sea-blue AJ-1 Savages.
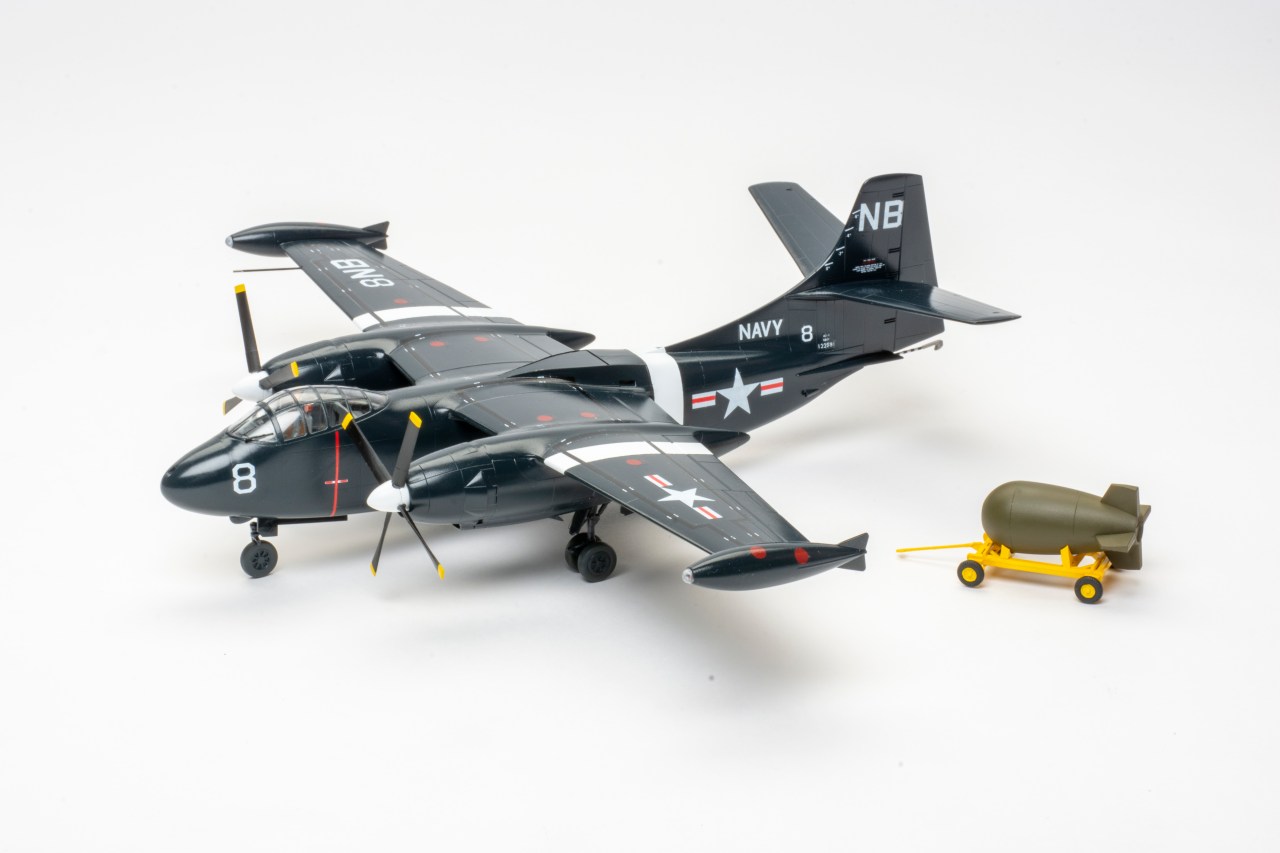
This kit includes a detailed bomb bay with racks and conventional bombs, along with a Mark 4 nuke with its transport dolly. The bomb bay doors are molded shut in one piece. Clever modelers may want to open the bay doors, but they will have to scratchbuild hinge mechanisms and develop a mount if they want to load the bonus Mark 4 in the bay.
Roden molded creases inside the AJ-1 Savage wing halves and fin to assist modelers who may want to fold these surfaces. There are no optional parts to do this, but at least the creases make cutting easier.
The instructions divide the assembly into 40 easy-to-follow steps. Each step involves a subassembly that you unite later in the building procedure.
The cockpit is highly detailed, with multipart seats and separate consoles. The engines are good, but the prop shafts loaded through the engine crankcases are too short and too small to attach to the props effectively. In Step 10, the prop shafts should be marked 19H and the firewalls 17H to match the numbers on the sprues. In Step 22, the seat braces should be marked 20H.
The nose-gear bay is molded as one piece that you need to fold into an open box. Be warned, mounting the nose gear is a bit tricky.
Although there is no intake trunking provided, you could mount the wedge-shaped jet intake ramp in the opened position or do as I did and glue only the forward tip of the ramp in the assembled fuselage. That way, I can push gently down on the ramp to reveal how the air got to the jet engine.
Step 34 has you unite all the subassemblies. Roden doesn’t indicate a need for nose weight, but you’ll want plenty to balance the model on its gear. I filled the separate nose with lead shot, and it still wasn’t enough weight. I ended up putting more shot into the nose-gear bay.
The props are molded with separate blades, so take care to install them square, true, and at the correct pitch. Part K39 is a windshield wiper, but the instructions don’t show it being added. I figured it should mount to the tiny notch on the front of the canopy.
I painted my North American AJ-1 Savage with Mr. Color Gloss Sea Blue lacquer (No. C365) and painted the white bands with white Tamiya Fine Primer. For some reason, the callouts for painting the Mark 4 nuke and dolly are not included on the paint chart; I’m pretty sure the K should be olive drab and the L should be yellow. There aren’t any indications for the prop blade or spinner colors, either.
Roden’s decals are a bit translucent, but the red on the prop warning stripe is too heavy and plugged the white lettering underneath. Some decal numbers don’t match the instructions, and the rather dark decaling diagrams hide some stencils’ locations. Also, they don’t show bottom views, so don’t forget the large NAVY decal under the left wing.
The finished model looks big and blue, just as it should! I spent 33 hours on my Roden 1/72 scale North American AJ-1 Savage, about average for me on a model of this type. Beginners might want to study the instructions carefully and test-fit parts before committing them to glue! I found it to be thoroughly enjoyable.


