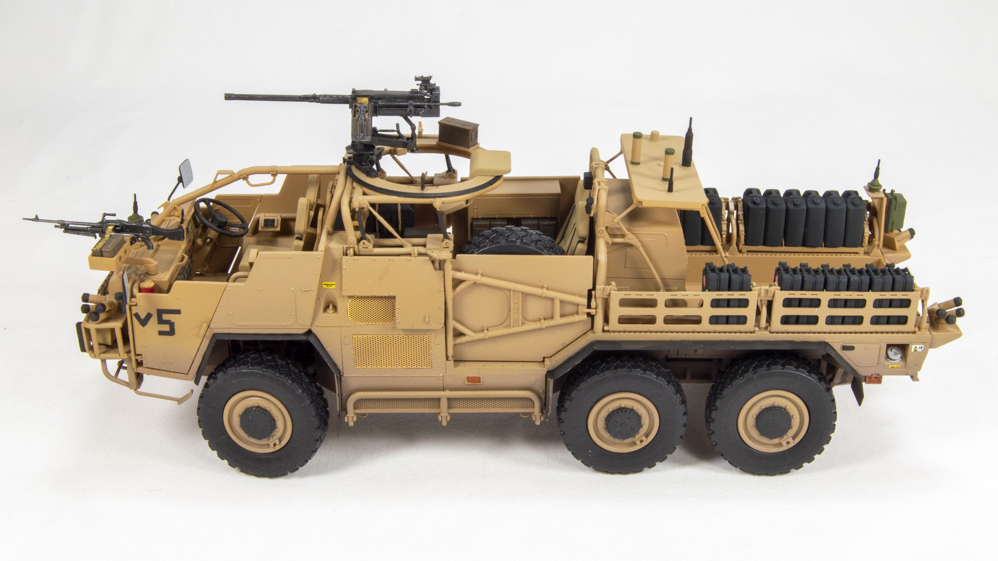
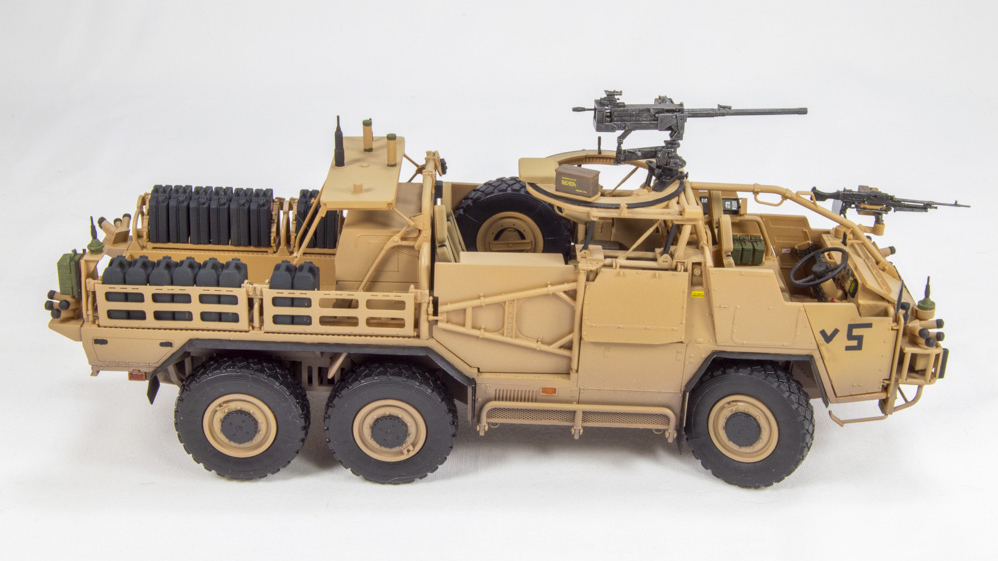
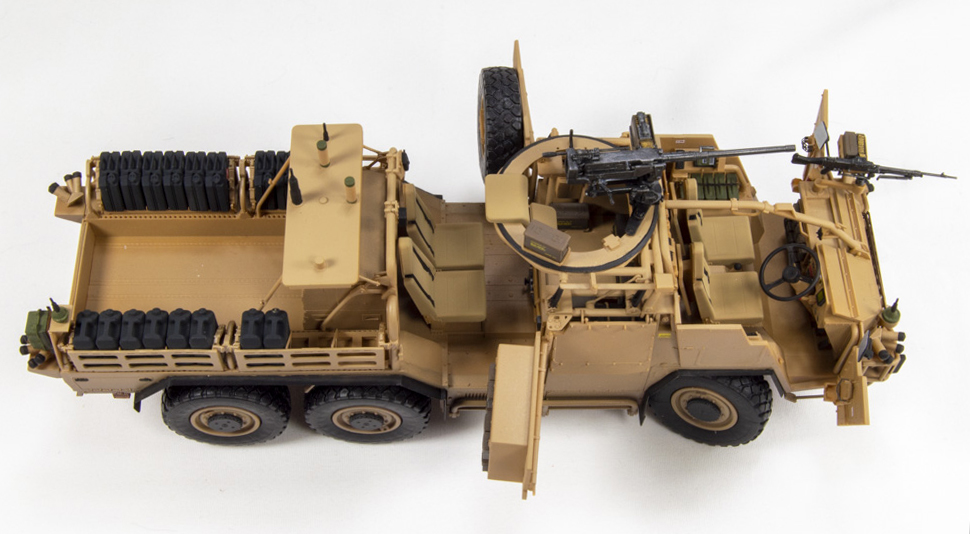
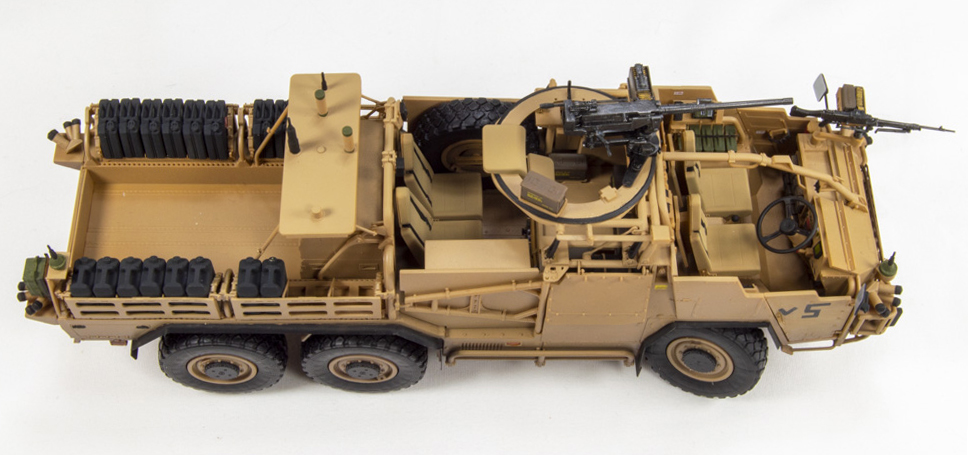
Currently used by the British military, the Coyote Tactical Service Vehicle (TSV) is based on the Jackal High Mobility Weapon Platform (also kitted by HobbyBoss). The two vehicles are used in tandem as mobile scouts and support vehicles. The Coyote is a 6×6 and is larger than the 4×4 Jackal with more cargo capacity. Open-sided, the Coyote has a “Mad Max” vibe that makes it interesting from a modern armor standpoint.
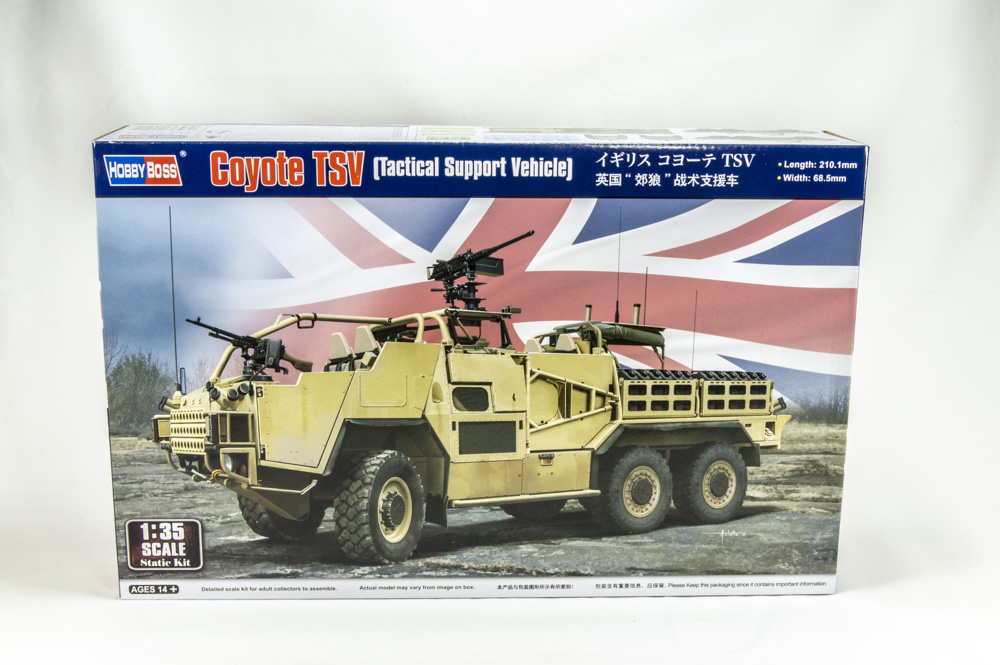
Nicely packaged parts come in the box along with the instruction booklet and a color diagram sheet with two marking options and color callouts. There are a lot of plastic and photo-etched metal (PE) parts in the box—if you’re looking for a quick build, the Coyote is not it.
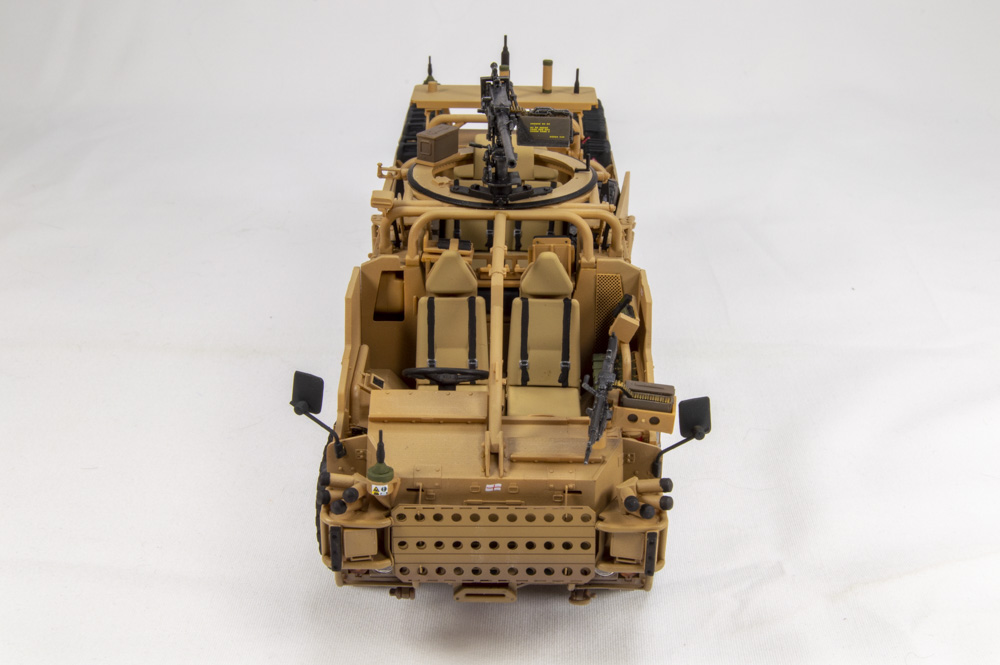
I rank the overall detail in the model as good, but the kit let me down in some places. For example, the complex suspension, interior components, and jerry-can racks look good and use PE to enhance effects. By contrast, the molded-in seat belts look soft, and detail is missing on the .50-caliber machine gun. In many cases, I had to enlarge holes so mounting pins would fit.
Assembly starts with the body. One word: Clamps. You’ll need several of them. A little filler addressed gaps between the upper and lower body parts. I left off PE grille parts C6, A2, and A6 so the areas behind them could be painted flat black (an open area on the full-sized vehicle that is molded solid for the kit).
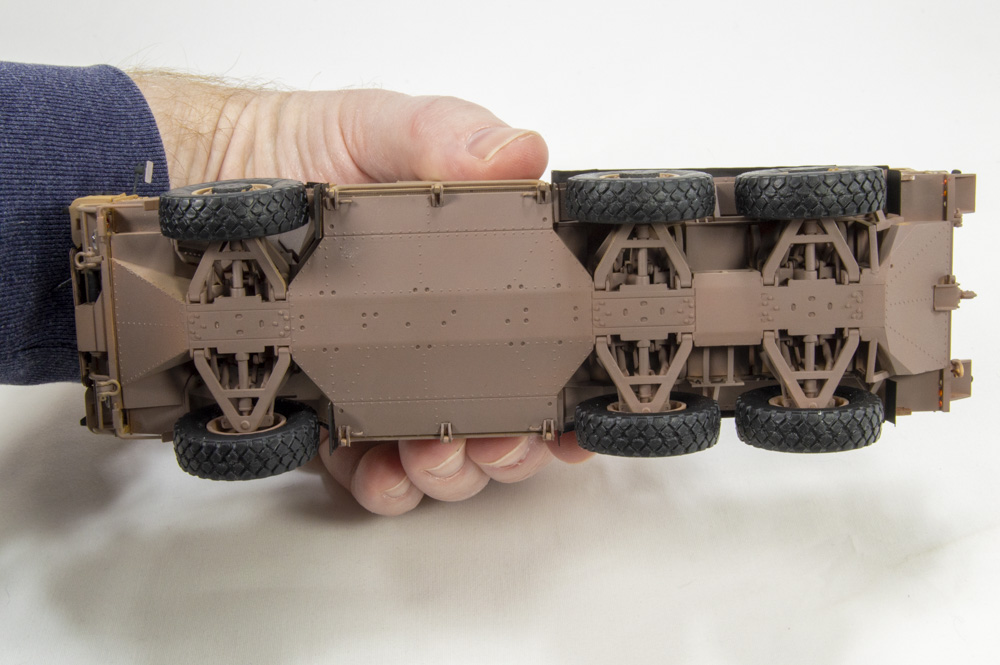
Underneath, the kit does a good job of replicating the complicated suspension and building it is, well, complicated. Make sure to ream out locator holes in B9 and B14 so locators will fit. This will also be important in Step 5 when you fit the upper suspension arms (parts B26).
Fitting Part B14 is tricky, and holes in the body where these attach have to be slightly enlarged. I had to sand some pins on the upper suspension arms to fit.
I built as much of the suspension as possible without glue. Once the parts were in place, I applied glue and clamped the whole model to a flat surface to ensure it was level and let it dry.
Anneal the PE used to represent the rubber-like material of the abbreviated fenders and bend the outer edges to match the look of the full-sized vehicle.
While only the front wheels steer on the full-sized vehicle, the model builds as if all have steering. When attaching the rear wheels, glue all attachment points and carefully check alignment to ensure they are straight. I had trouble keeping wheels aligned and keeping the front wheels from repeatedly falling off due to weak attachment while still keeping them posable.
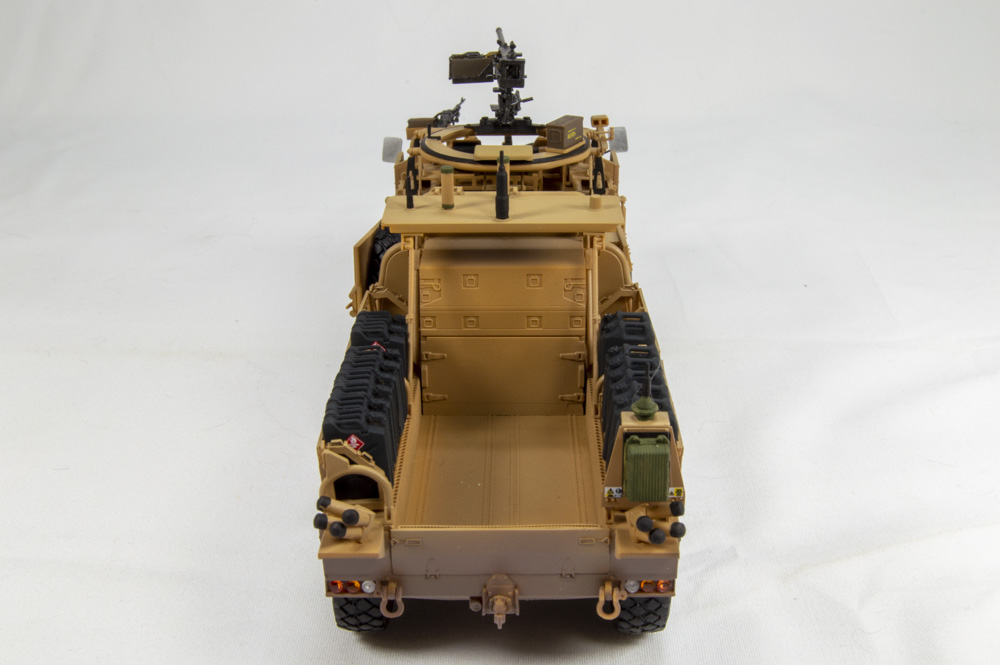
You’ll want to fill the ejector-pin marks on the tailgate, driver’s side chassis floor, and inside the side doors. They sand out without too much work. Careful painting of the molded seat belts helps, but PE parts would have been better — especially with all the PE already in the kit. You could make your own from tape.
I could not see a way for the front end to fit into the chassis correctly. A good deal of thinning and carving was required on the underside of the cab floor to get it to fit.
The building and installation of the front smoke dischargers are not shown in Step 13, but they appear installed in Step 14. These are the same as in the rear, so refer to Step 22 to see how they are built.
In Step 15, the instructions show attaching PE handles (parts D2) to ammo cans, but the handles are already molded onto the parts. I could not get the side panel (Part D32) to fit flush without removing some bolt details on the part it covers.
The gear teeth are molded into the upper ring of the gun mount, but you can’t see them when assembled, and they make the part impossible to fit. I filed them off.
The kit only provides eight fuel cans and eight water cans instead of 12 each as shown in the instructions. Assembling the racks for the cans is tricky. I recommend putting on parts B17 and B18 just before installing it in the bed so the glue has not set and all the parts can be positioned before the glue dries.
HobbyBoss provides two marking options that are pretty much identical aside from identification numbers. The marking and painting diagram calls for khaki for the seats, but a review of online images of the vehicle shows the seats as more of a buff or light tan color.
The decals include multiple informational placards on the actual vehicle. They are well printed with thin carrier film and settled well with only a little setting solution. While the vehicle is overall a single color, several details benefit from being picked out with different colors.
High part count, complex assemblies, and fit challenges mean this kit will take time to complete. I spent about 35 hours on construction and another 10 hours on finishing. The result is a good representation of the Coyote TSV, but I would only recommend this kit to experienced builders who have worked with complex kits, have experience with PE, and are willing and able to overcome some fit issues to add this unique vehicle to their collection.