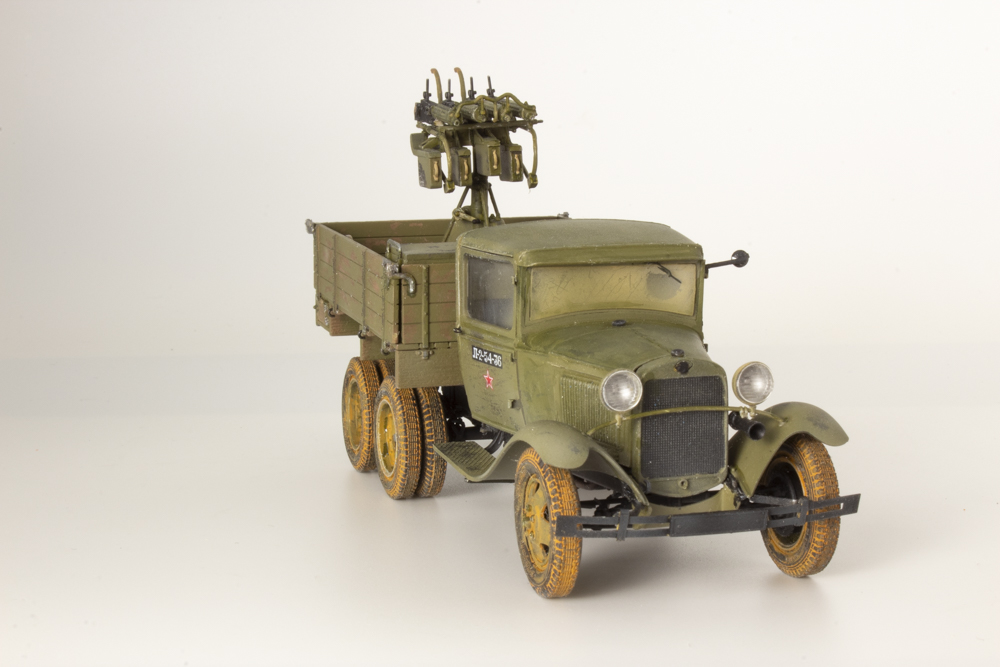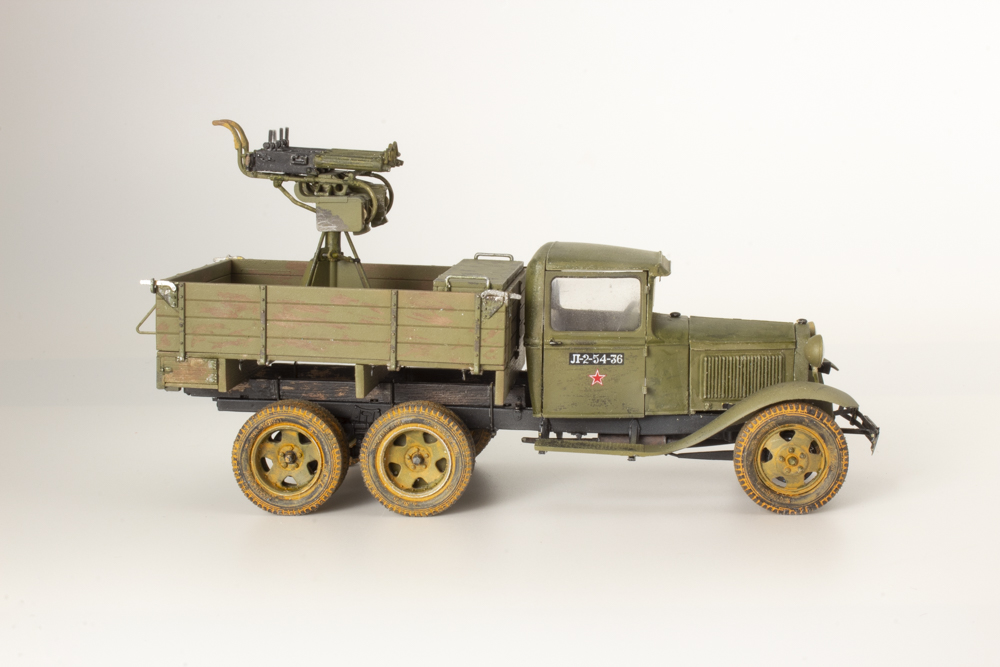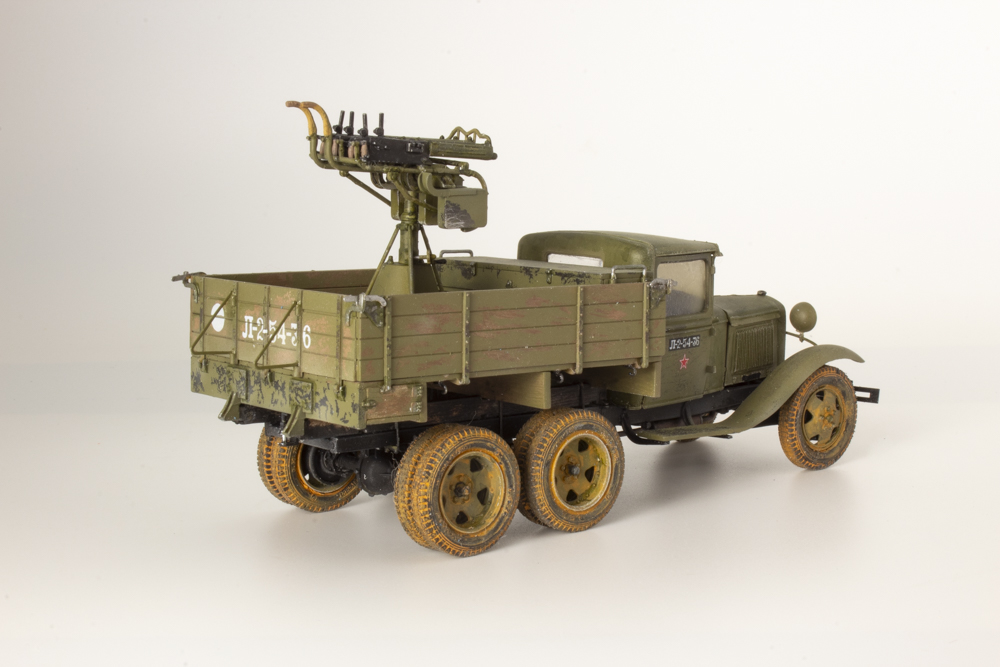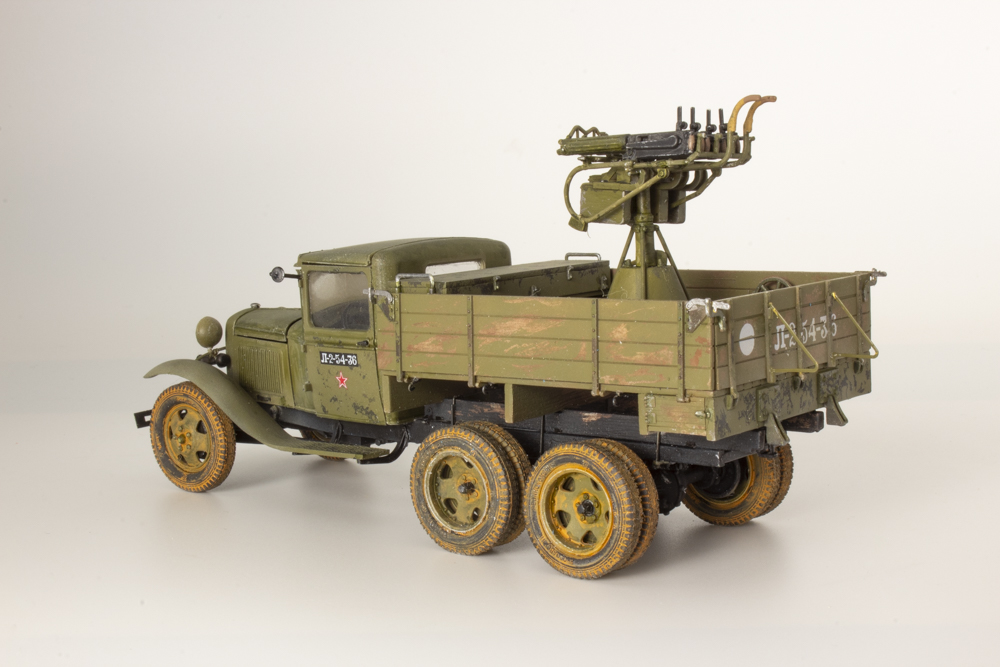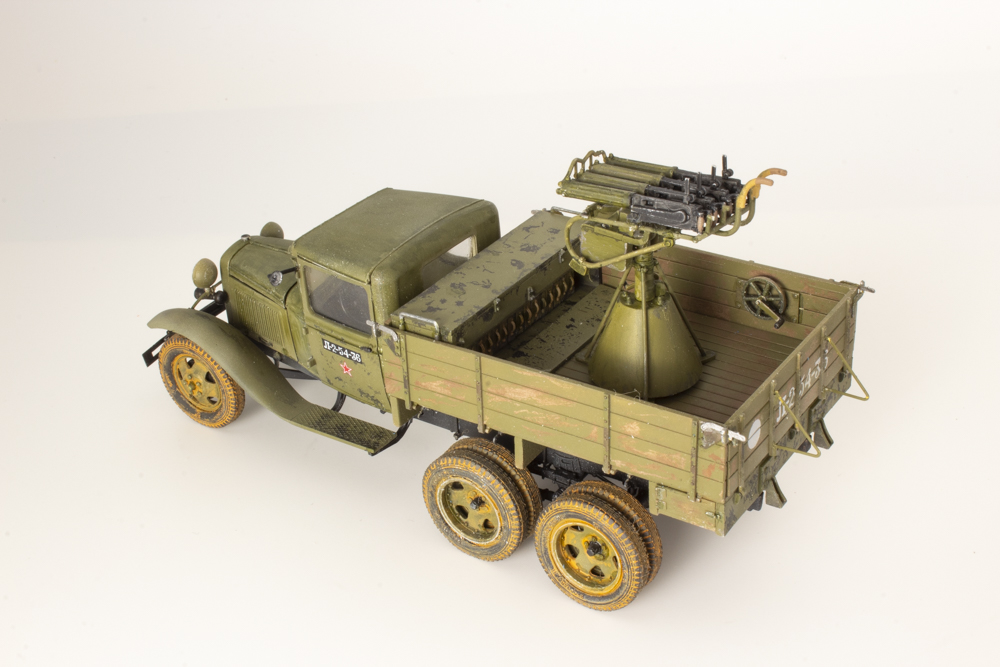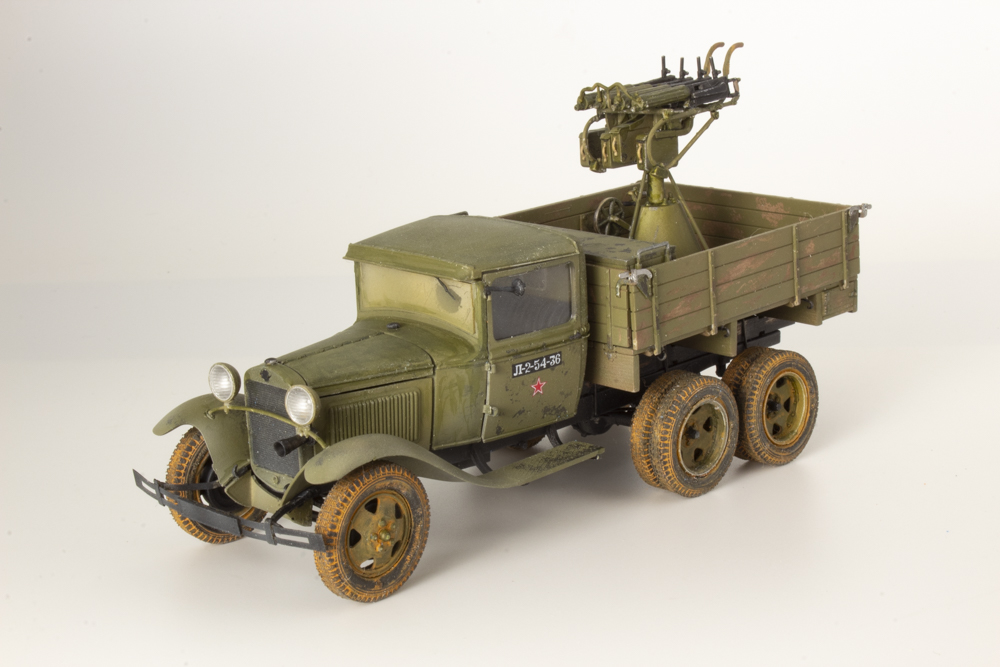
The HobbyBoss 1/35 scale GAZ-AAA with Quad Maxim AA gun plastic model kit replicates the World War II-era tandem truck built by the Soviet Union under license from Ford. Highly detailed, the kit includes 330 parts (23 unused), 12 photo-etched metal (PE) details, precut masks, and a small decal sheet. Even though there are only 18 steps in the instructions, it is a demanding kit, and you should follow the directions closely.
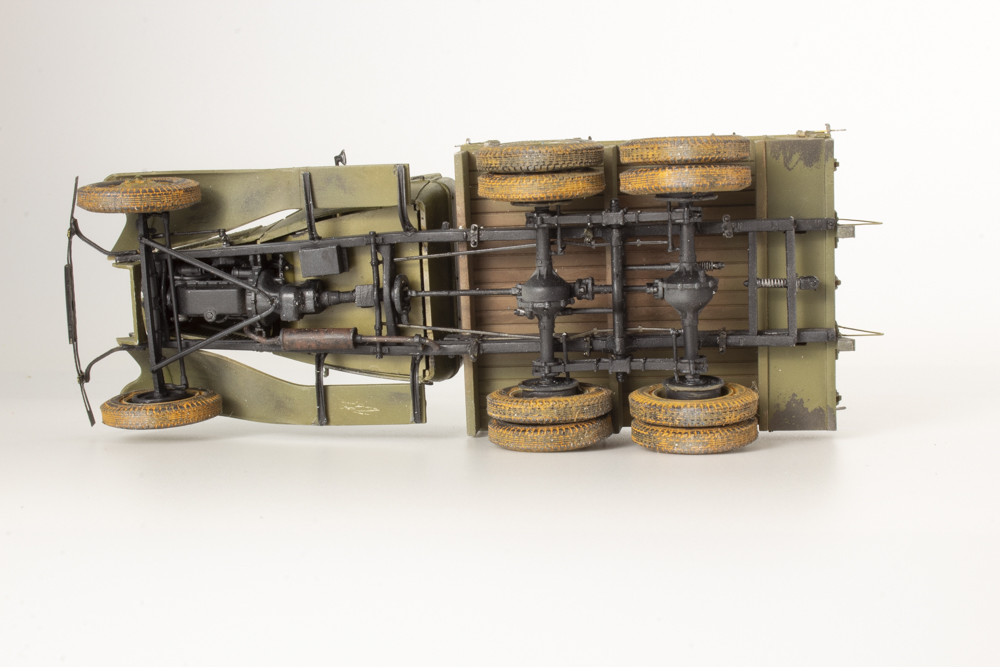
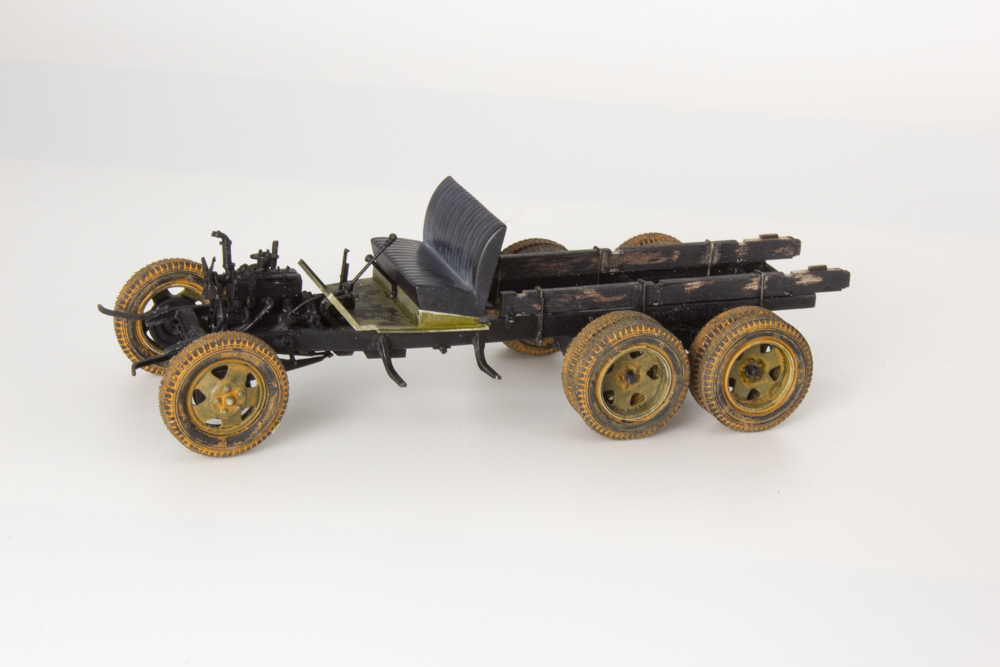
Assembly starts with the chassis and drive train, where you’ll use about half the kit’s parts — many of them small (the rear suspension and axles consist of more than 45 parts alone!). Be sure to assemble the multipart frame squarely, or you’ll run into trouble later. I made a jig to keep it all square and to compensate for the fact that I only have two hands.
The front suspension and axle consist of 14 pieces. The Ford 4-cylinder engine is well represented.
The 10 vinyl tires mount to single-part wheels. The front wheel join did not appear to be very strong, so I drilled and pinned the wheels.
With the cab, the instructions direct you to first mount the firewall and instrument panel to the frame. Instead, I made a subassembly using these parts, the cowl, and windshield assembly, and mounted it as a unit. If you are going to use the masks, you need to start now.
I pre-painted the remaining panels, fenders, hood and its side panels, rear cab panel, doors, and roof and left them off the model until later. Don’t forget to attach the individual glass panels before the final cab assembly.
When placing the bed spacers (parts M25 and M26), I attached the individual U-bolts (parts D3 and D5) first. Wrong! These mount to brackets, (Part D6). I believe it would have been much easier to attach the brackets first.
You’ll build the bed separate from the chassis. I needed to enlarge the assembly slots on the underside of the bed for the rear storage box and other parts to mate. I suggest lining these up before the glue is set. The individual bed sides have vertical supports that insert into slotted brackets on the floor that I needed to widen a bit. Test-fit for your particular model.
The quad Maxim machine guns were replete with small, fiddly parts that needed accurate alignment. There should be a single, circular gunsight that is not supplied. Multiple ammo boxes mount to both the weapon and in the storage box mounted to the bed.
The decals performed well and appeared in registration.
The HobbyBoss 1/35 scale GAZ-AAA with Quad Maxim AA machine gun plastic model kit is well-engineered. However, due to its high parts count, I recommend it for experienced builders. That said, the kit gives you the opportunity to add a unique and attractive replica to your model collection.