The P-39 Airacobra was one of those planes that pilots either loved or hated. Finding great success when flown by Russians against German armor, its weaknesses were revealed when flown against Japanese fighters. An innovative design, mounting the engine at the center of gravity behind the pilot allowed ample space for two .50-cal machine guns and a 37mm cannon bore-sighted in the nose. However, streamlining the fuselage eliminated the space for a turbo-supercharger, leaving the P-39 underpowered at altitude.
The new Arma Hobby 1/48 scale P-39 Airacobra Recon plastic model kit includes three gray and one clear plastic sprue, die-cut Kabuki tape canopy masks, nose weights, and 3D-printed nose vents, camera lenses and scribing template. In an innovative approach, Arma provides a QR code in the instructions that links to STL files for you to print a pilot’s seat with harness, cockpit levers, gun barrels, and exhaust pipes if you have a 3D printer. Surface detail was excellent, however flash, soft cockpit detail, and larger than average sprue gates reveal the short-run nature of the kit.
I pre-painted most of the interior parts with MR Paint U.S. WWII Interior Bronze-Green (No. MRP-132) before starting assembly. First, you have to twist the nose-gun receivers into place. I snapped one off in the process. I then lost Part A7 to “the Carpet Monster” when adding it to the rudder pedals. The remainder of the cockpit went together without issue, although I found test-fitting and sanding most of the parts was imperative.
I separated the instrument decals into smaller sections and used Solvaset to get them to conform. I also had to paint the back side of the seat belt decals with Pledge Floor Gloss (PFG), as they did not want to adhere to the seat. Enlarge the four small holes in the forward face of Part A12. These are not weight reduction holes but will receive part of the nose gear strut later in the build. The completed structure looks good after careful painting. However, the additional floor-mounted camera control switch box is not provided in the kit.
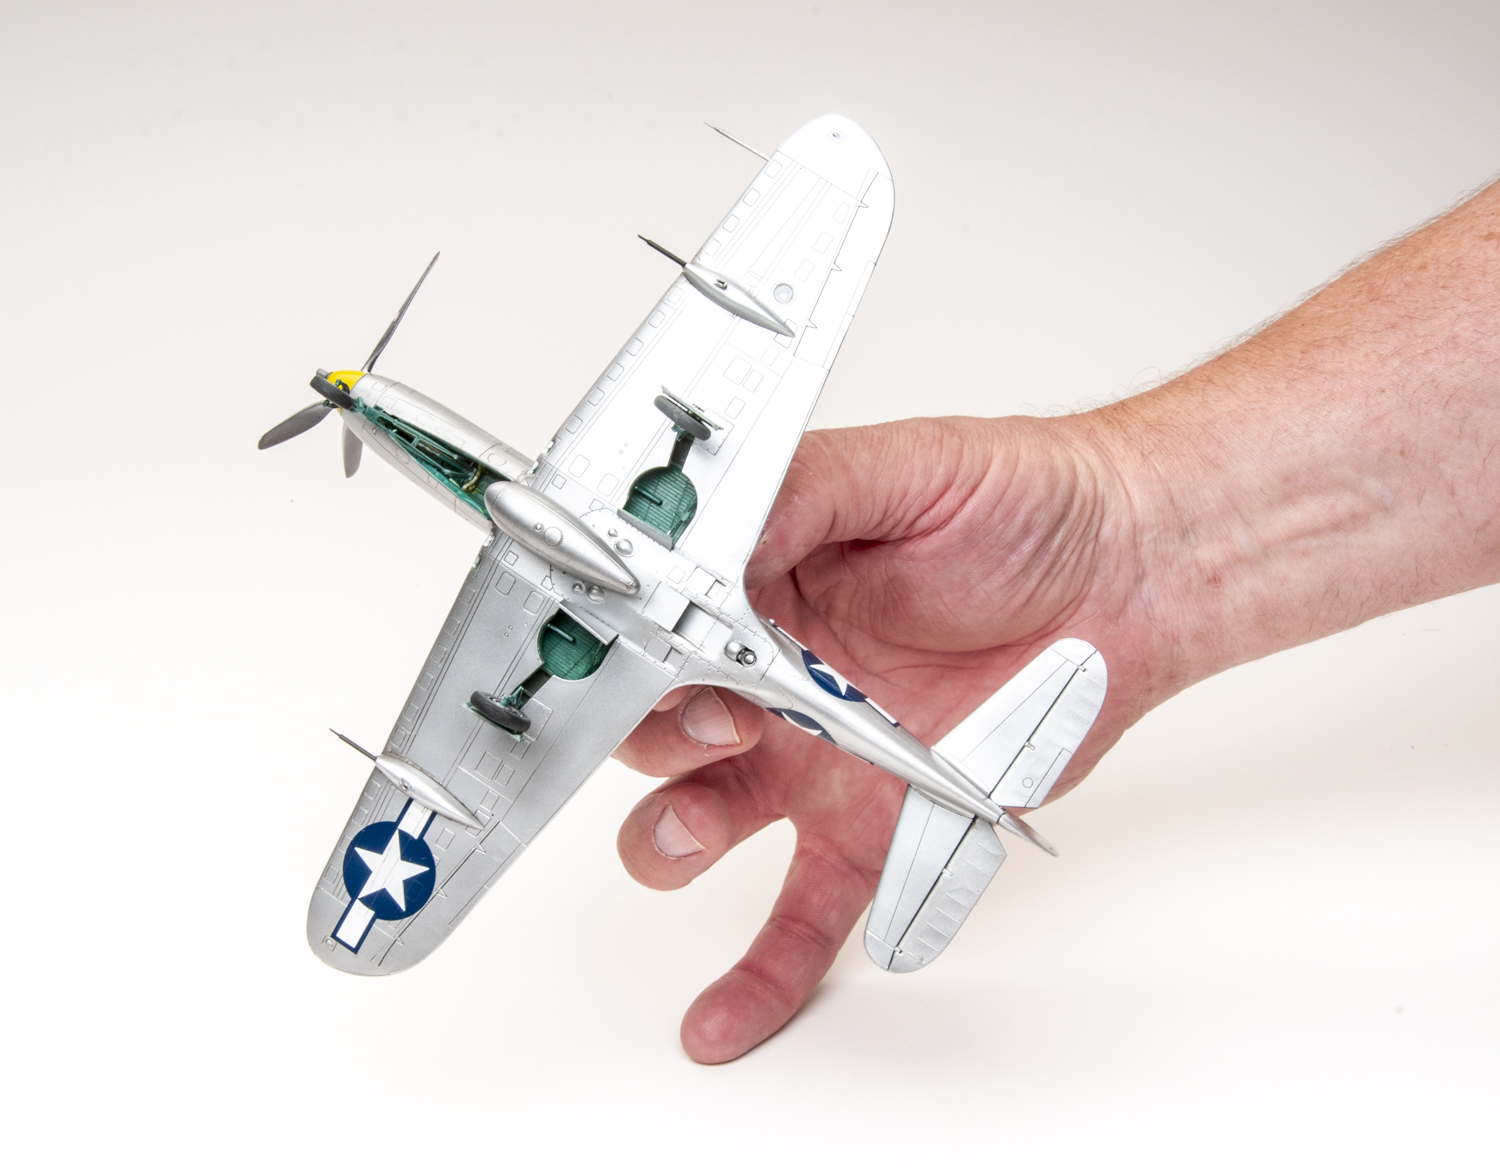
The nose weights would not allow the fuselage to close. Surgery to shift the weight lower and slightly aft fixed the issue. I used the tip of a punch to scribe the camera bay opening and then drilled it out with a No. 15 bit. The provided template makes this a simple process, and the 3D-printed camera looks great when installed. The instructions have notes indicating panel lines and scoops to remove and fill in several areas, including two on the nose that were originally molded facing forward when they need to face aft. The extremely delicate 3D-printed vents replace them.
When you clip the upper wing from the sprue, do not remove what looks to be pour stubs along the leading edge of the wing root. These are the upper lips of the inboard air intakes. Also, do not install the rudder to the vertical stabilizer as shown in the instructions. Wait until the stabilizer has been glued to the fuselage. While the trailing edge of the fuselage-to-wing joint fit nicely, the fuselage was too wide along the forward third of the wing root. Multiple rounds of fitting and sanding removed much of the structure under the cockpit and portions of Part B40 to achieve an acceptable fit.
Step 20 has you bend the nose gear retraction structure (Part A13). I broke this part three times as I tried to install the completed strut. Do yourself a favor and reinforce the bend now. I used a grinding bit in a rotary tool to thin the spinner (Part B53) from the inside until it fit over the prop.
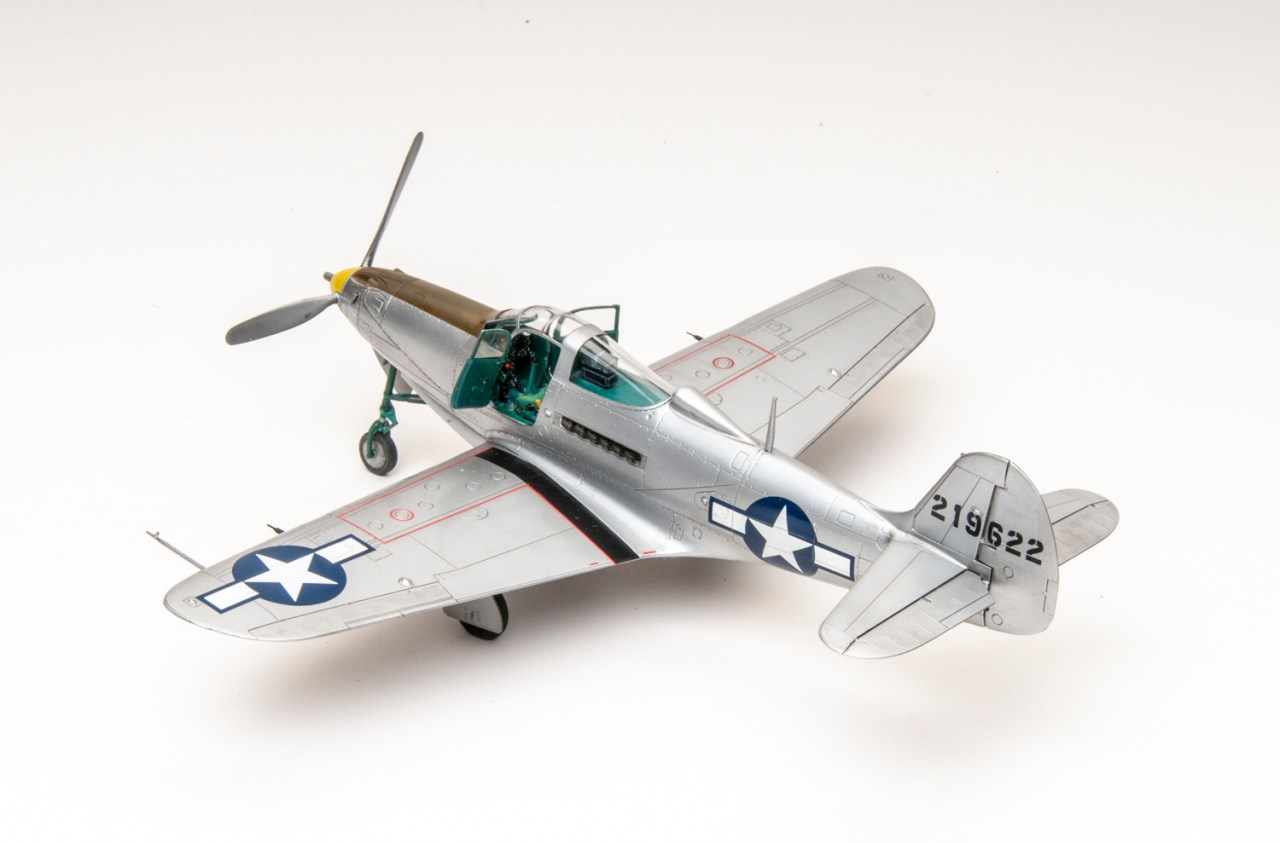
I left off the cockpit doors for final assembly and used upholsterer’s padding (sponge-like foam) to mask the intakes, gear wells, and cockpit. Tamiya Gloss Aluminum (No. LP-70)and Mr. Color Olive Drab (No. C-38) made for an interesting scheme. I airbrushed Alclad II Gloss Clear (No. ALC-310) in preparation for the exterior markings, which went down well using the Micro Set and Micro Sol.
After the decals were on, I added the landing gear, cockpit doors, and exhausts. Although both sets of exhaust pipes have the same part number, they are not interchangeable. The location lugs are off-center to match the location slots buried in the fuselage sides.
The finished Arma Hobby 1/48 scale P-39 Airacobra Recon plastic model kit looks great, but scales out slightly undersized by a few millimeters. While you’ll need to do some extra work along the way, Arma’s innovative approach results in a nice P-39.